How to Sew by Hand

SewingEasy5:537 stepsPart of DIY Crafts for BeginnersBrowse more →
The finished result: How to Sew by Hand

By CraftingStepByStepPublished

Based on a video by Sew Anastasia.

Hand sewing is one of those skills that sounds quaint until a seam splits on a trip, a button goes on a coat you are already wearing, or you need a hem taken up and there is no machine in the house. It takes about ten minutes to learn and you keep it for life.

This walkthrough follows Sew Anastasia, who runs sewing classes in Chicago. She builds one plain seam start to finish: cut and thread, knot, stitch, tie off, trim. Everything is shot close over the fabric so you can see where the needle actually goes.

What you need

A needle, thread, scissors and some pins. That is the whole list. A pack of assorted needles costs a couple of dollars and covers everything from fine cotton to denim.

Match the thread to the fabric weight rather than to the colour if you have to choose. Heavy thread on light fabric cuts through it over time, and light thread on canvas snaps.

The four stitches that cover almost everything

Running stitch. In, out, in, out, evenly spaced. Fast, not strong. Good for gathering fabric and for basting two pieces together temporarily before you sew them properly.

Backstitch. The one this tutorial builds. Each stitch doubles back into the last, so there are no gaps and it holds under strain. This is your seam stitch and your repair stitch.

Whipstitch. Small diagonal stitches over an edge, used to close a gap or join two folded edges. It is how you shut the opening on a stuffed toy or a cushion.

Slip stitch. Worked inside the fold of a hem so the thread is almost invisible from the front. Slower, and the right choice on anything smart.

Three things that go wrong

The thread keeps tangling. Your working length is too long, or you are letting the needle spin as you sew, which twists the thread on itself. Shorter thread, and let the needle hang loose every so often to unwind.

The seam is gathered and puckered. You are pulling each stitch too tight. The thread should lie against the fabric, not pull it.

The stitches show on the outside when they shouldn't. On a hem, catch only one or two threads of the outer fabric each time rather than going through the full thickness.

Where to go from here

The most common repairs each have their own method. Sewing a button back on is the one everybody needs first, attaching a patch covers a hole rather than closing it, and darning a sock rebuilds fabric that is no longer there.

For longer seams, a machine is genuinely faster. Using a sewing machine and threading one are the two things to learn, then sewing a straight line and putting in a zipper.

And once a seam holds, hemming your own trousers saves the $20 a tailor charges every time.

What you'll need

Step-by-Step Guide

7 steps · about 6 minutes.Check off each step as you go and your progress saves automatically.

1

Step 1: Cut the Thread and Double It Through the Needle

1:12
Step 1: Cut the Thread and Double It Through the Needle - How to Sew by Hand

Cut a length of thread roughly from your hand to your elbow. Longer than that and it tangles on itself every second stitch; shorter and you are re-threading constantly.

Snip the end square with sharp scissors. A frayed end will not go through the eye no matter how long you spend squinting at it. Pass it through and pull until both tails are the same length, so you are sewing with a doubled thread. That makes the seam twice as strong and gives the end knot four strands to grip.

Tip

If the thread will not go through, cut it at a steep angle rather than straight across and press the end flat between your fingernails first.

2

Step 2: Tie the Knot the Way Tailors Do

1:40
Step 2: Tie the Knot the Way Tailors Do - How to Sew by Hand

Forget looping the thread round your finger and hoping. Hold both tails flat against the back of the needle and pinch them there. Wrap the loop of thread around the needle three or four times, then trap those wraps under your thumb so they cannot unwind.

Pull the needle all the way through while keeping the thumb pressure on, and slide the little coil down the full length of the thread until it reaches the end. You get a tight, compact knot in the same place every time.

Tip

More wraps make a bigger knot. Use four on loose-weave fabric so the knot cannot pull straight through the gaps in the weave.

3

Step 3: Pin the Fabric and Come Up From Underneath

2:02
Step 3: Pin the Fabric and Come Up From Underneath - How to Sew by Hand

Line the two pieces up with the right sides facing each other and pin along the seam line. Put the pins in at right angles to the seam so you can pull each one out as you reach it without disturbing the rest.

Bring the needle up from the underside for your first stitch. The knot catches on the back and cannot pull through, and it stays buried inside the finished seam instead of sitting on the outside where you can see it.

Tip

Sew about half an inch in from the raw edge. That seam allowance is what stops the fabric fraying away from your stitches over time.

4

Step 4: Make Quarter-Inch Stitches

2:46
Step 4: Make Quarter-Inch Stitches - How to Sew by Hand

Push the needle down through both layers, then come back up about a quarter of an inch further along. Keep going in that rhythm and a line of even stitches appears on the front.

Pull each stitch only until the thread lies flat against the fabric. This is where beginners go wrong: pull harder than that and the fabric bunches into gathers along the seam, and no amount of pressing takes it out afterwards.

Tip

Consistent stitch length matters more than short stitches. An even row of quarter-inch stitches looks deliberate; a mix of long and short looks like a repair.

5

Step 5: Go Back and Fill the Gaps

3:20
Step 5: Go Back and Fill the Gaps - How to Sew by Hand

A plain running stitch leaves gaps, and a seam made of gaps pulls apart. The fix is to double back. Come up a quarter inch ahead of your last stitch, then go back down into the point where that stitch ended.

That single change turns a running stitch into a backstitch. The front shows a solid unbroken line and the back shows overlapping stitches, which is what gives it the strength to hold a real seam under strain. It is the closest thing by hand to what a machine does.

Tip

Backstitch is the one hand stitch worth knowing if you only learn one. It repairs a split seam, attaches a patch and closes a cushion.

6

Step 6: Finish With Two Knots on the Wrong Side

4:35
Step 6: Finish With Two Knots on the Wrong Side - How to Sew by Hand

Bring the needle through to the back of the work. Catch a small bite of the last stitch with the needle so a loop of thread forms, pass the needle through that loop and pull it gently closed against the fabric.

Do it a second time in the same place. One knot works loose in the wash; two does not. Keep the tension light as you close each one or you will pucker the end of a seam you just got right.

Tip

Tie off on the wrong side every time, even on a quick repair. A knot on the right side snags and is the first thing anyone notices.

7

Step 7: Trim Close and Check Both Faces

4:48
Step 7: Trim Close and Check Both Faces - How to Sew by Hand

Cut the thread close to the knot, but not flush against it. Leave a couple of millimetres so the knot has something to hold.

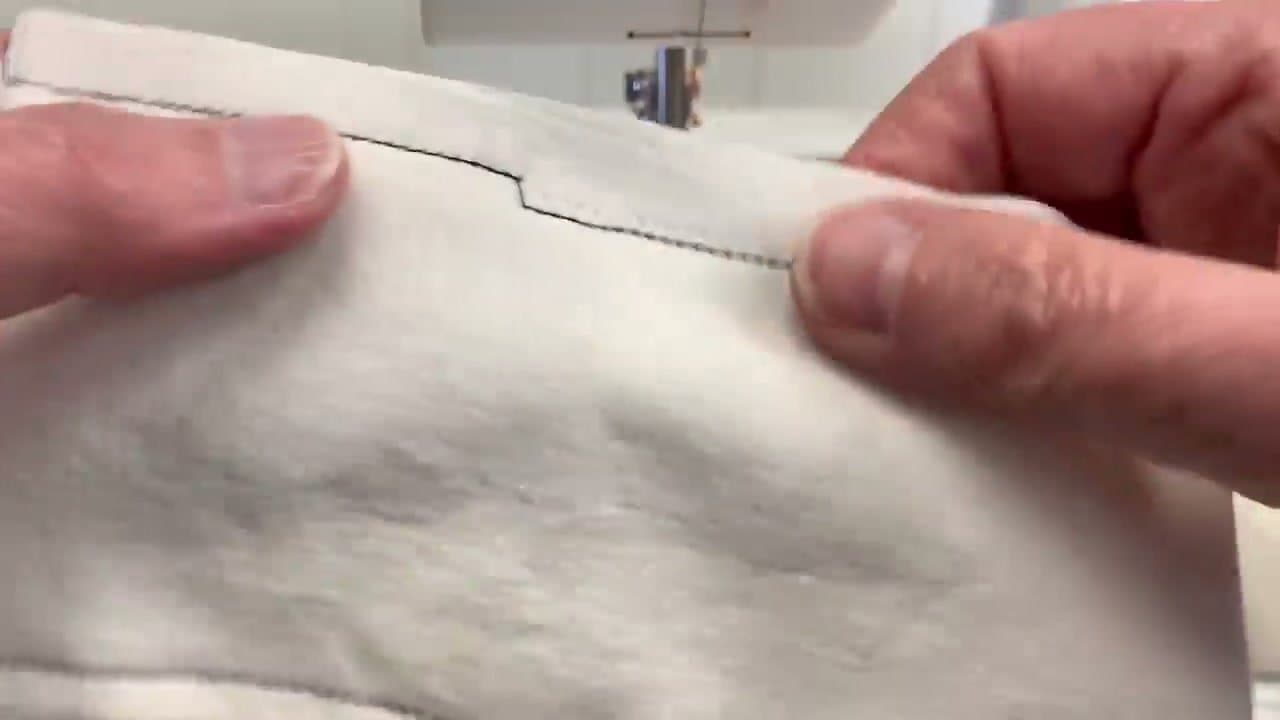
Then look at both sides. The right side should show an even line of stitches running straight along the seam with no waviness. The back should show the seam allowance lying flat rather than curling. If the fabric ripples along the stitch line, you pulled the thread too tight as you went, and the only real fix is to unpick and go again with a lighter hand.

Tip

Press the finished seam with an iron. It flattens the stitches into the fabric and makes a hand-sewn seam look far closer to a machine one.

Keep going

How to Sew in a Straight Line: 7 Beginner Sewing Tips

7 steps · about 7 minutes

Products Used

The Checklist

How to Sew by Hand

Tools
5
Materials
2
Steps
7
Video
6 min

Tools we recommend

Your Guide

Sew Anastasia

As an Amazon Associate we earn from qualifying purchases. Links on this page may be affiliate links - clicking them and buying doesn't change your price, but helps support CraftingStepByStep.

Tags

Sunday How-To

New sewing tutorials, every Sunday

One short email with the week's best step-by-step guides. Free, no spam, unsubscribe anytime.

Did this work for you?

What's next

Related collections

Curated theme pages that include this tutorial.

Weekly Digest

Liked this sewing tutorial?

Pick the categories you want to hear about. Weekly digest of new step-by-step tutorials. No spam, easy unsubscribe.

Send me tutorials about

We only email about new tutorials. Easy unsubscribe anytime.