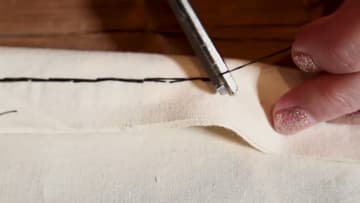
How to Sew by Hand
Source: Sew Anastasia • Full tutorial: www.craftingstepbystep.com/sewing/how-to-sew
- Difficulty
- Easy
- Hands-on time
- About 15 minutes

Tools
- Hand sewing needles (assorted sizes)
- Fabric scissors
- Straight pins
- Thimble
- Iron
Materials
- All-purpose thread
- Two pieces of fabric
Steps
1. Cut the Thread and Double It Through the Needle
Cut a length of thread roughly from your hand to your elbow. Longer than that and it tangles on itself every second stitch; shorter and you are re-threading constantly.
Tip: If the thread will not go through, cut it at a steep angle rather than straight across and press the end flat between your fingernails first.
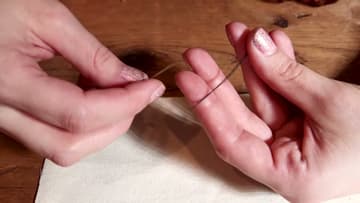
2. Tie the Knot the Way Tailors Do
Forget looping the thread round your finger and hoping. Hold both tails flat against the back of the needle and pinch them there.
Tip: More wraps make a bigger knot. Use four on loose-weave fabric so the knot cannot pull straight through the gaps in the weave.
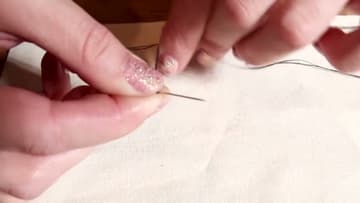
3. Pin the Fabric and Come Up From Underneath
Line the two pieces up with the right sides facing each other and pin along the seam line. Put the pins in at right angles to the seam so you can pull each one out as you reach it without disturbing the rest.
Tip: Sew about half an inch in from the raw edge. That seam allowance is what stops the fabric fraying away from your stitches over time.
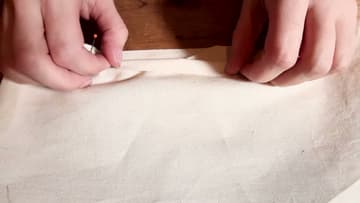
4. Make Quarter-Inch Stitches
Push the needle down through both layers, then come back up about a quarter of an inch further along. Keep going in that rhythm and a line of even stitches appears on the front.
Tip: Consistent stitch length matters more than short stitches. An even row of quarter-inch stitches looks deliberate; a mix of long and short looks like a repair.
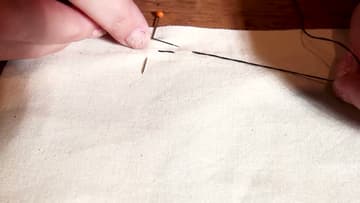
5. Go Back and Fill the Gaps
A plain running stitch leaves gaps, and a seam made of gaps pulls apart. The fix is to double back.
Tip: Backstitch is the one hand stitch worth knowing if you only learn one. It repairs a split seam, attaches a patch and closes a cushion.
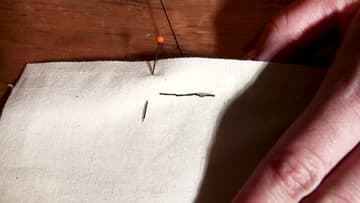
6. Finish With Two Knots on the Wrong Side
Bring the needle through to the back of the work. Catch a small bite of the last stitch with the needle so a loop of thread forms, pass the needle through that loop and pull it gently closed against the fabric.
Tip: Tie off on the wrong side every time, even on a quick repair. A knot on the right side snags and is the first thing anyone notices.
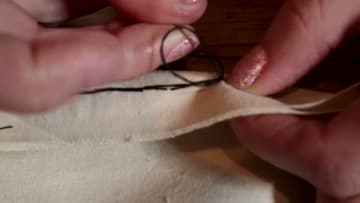
7. Trim Close and Check Both Faces
Cut the thread close to the knot, but not flush against it. Leave a couple of millimetres so the knot has something to hold.
Tip: Press the finished seam with an iron. It flattens the stitches into the fabric and makes a hand-sewn seam look far closer to a machine one.