Guided
Learning Paths
Step-by-step paths that sequence a handful of tutorials, in order, so you can go from beginner to a finished skill.
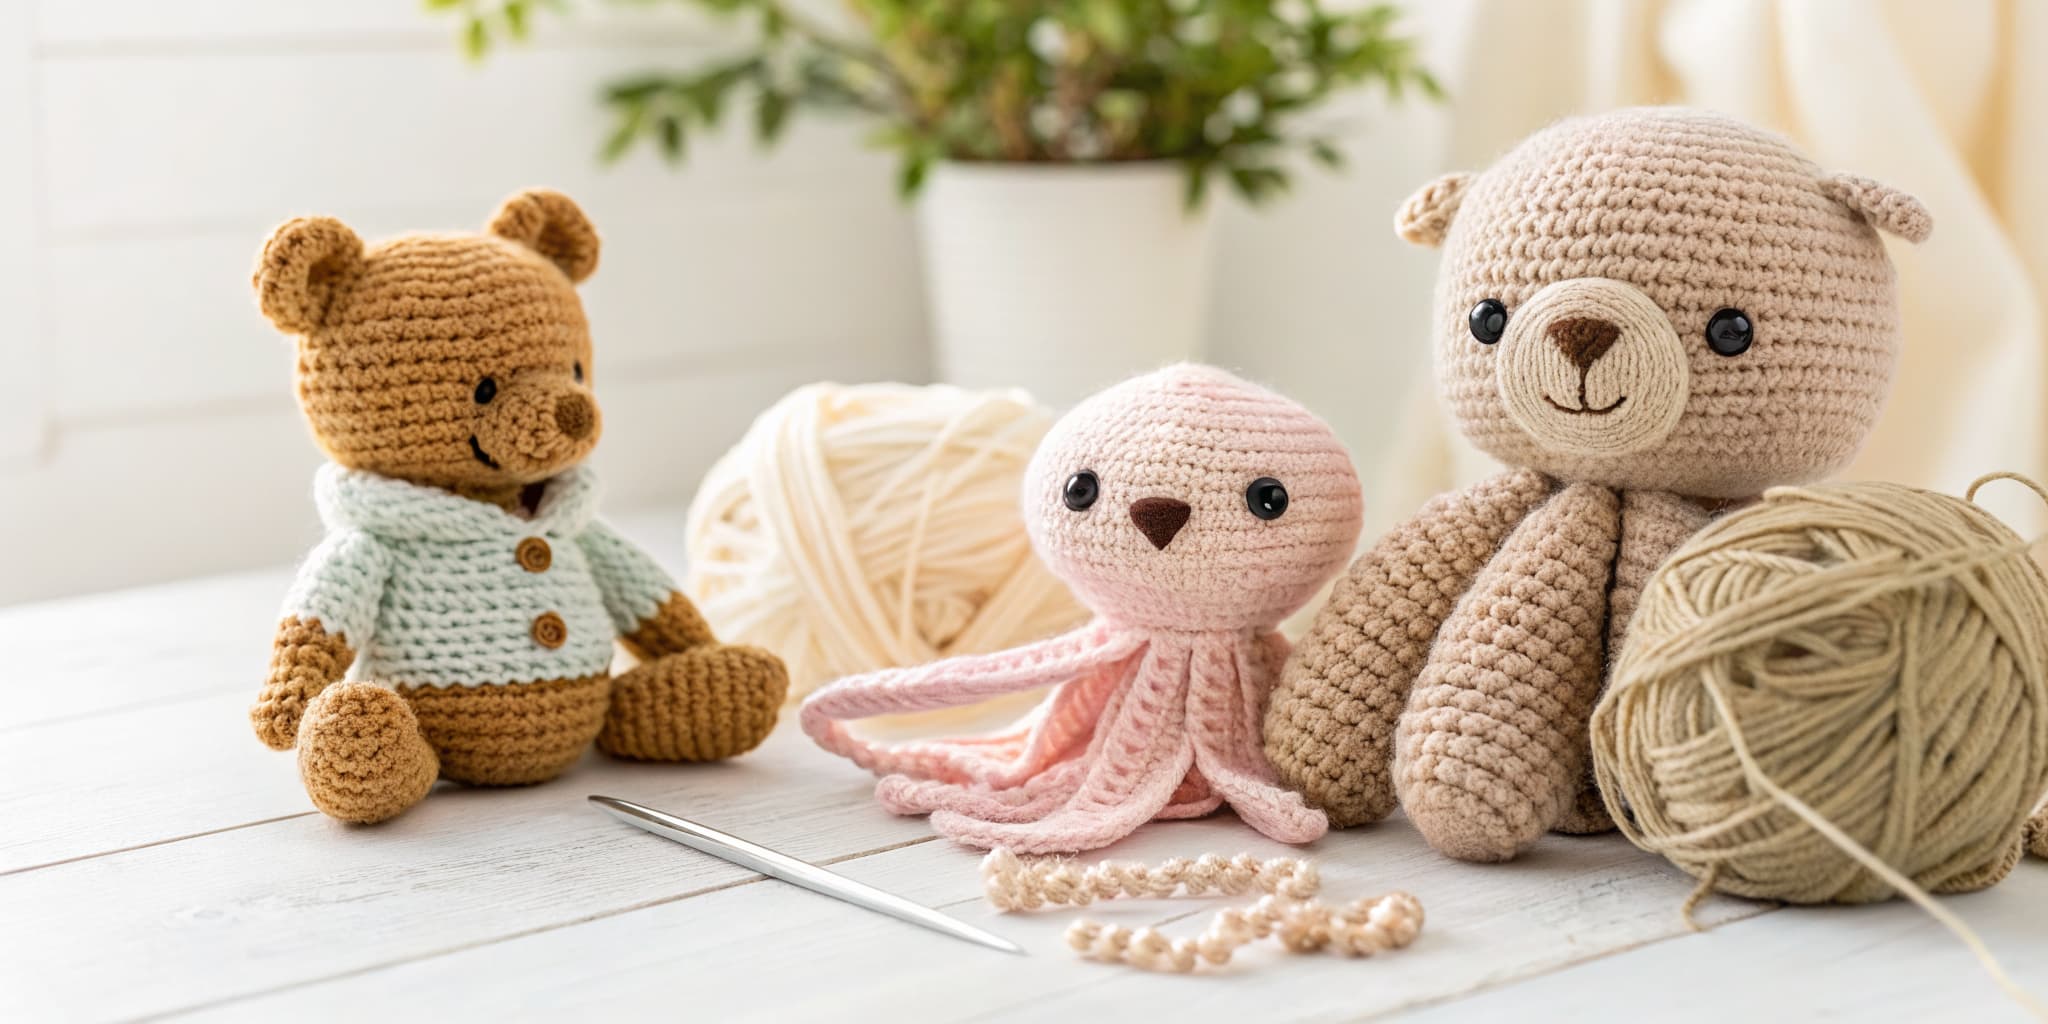
Amigurumi Animals from Scratch
This course is for anyone who wants to crochet a stuffed animal of their own, even if the first stitches are still new. The first four lessons cover the magic ring, single crochet, working in the round so your circle stays flat, and the five basic amigurumi skills, including the invisible decrease that closes a piece neatly. Then you put them to work on two chunky, beginner-friendly animals: a two-color turtle with a brown shell and green flippers, and a soft, no-sew chenille cat with a stitched face. For the practice lessons, a 4mm or 5mm hook and a ball of worsted-weight yarn are plenty. The animals use thicker yarn and bigger hooks: super bulky blanket yarn in brown and green with a 7mm hook for the turtle, and super-chunky chenille yarn with an 8mm hook for the cat. You will also need polyester stuffing, stitch markers, a large-eye yarn needle, and a pair of 18mm safety eyes for the turtle. The cat's face is stitched with black yarn, so it needs no safety eyes. The skill lessons take about an hour and a quarter. The turtle takes about five and a half hours and the cat about four, so plan a few relaxed sittings for each. Afterward, try a crocheted heart or scrunchie for a quick win.

Crochet for Complete Beginners
This course is for anyone who has never held a crochet hook, or who tried once and put it down. You learn five things in order: the magic ring, single crochet, double crochet, a small crocheted heart, and the five basic skills behind every amigurumi stuffed toy. By the end you will have a finished heart and the know-how to start a little plush of your own. To begin, you need a 5mm (H/8) crochet hook, one ball of smooth worsted-weight yarn in a light color so you can see your stitches, a pair of scissors, and a blunt yarn needle for weaving in the ends. The amigurumi lesson also uses a slightly smaller 4mm hook, a handful of polyester stuffing, a pair of safety eyes and a few stitch markers, so you can wait to buy those until you get there. The hands-on time adds up to about an hour and a half across all five lessons. You can do it in one afternoon or spread it over several short sittings. Take the lessons in order, and repeat any stitch that feels shaky before you move on. When you finish, Amigurumi Animals from Scratch is the natural next course: it builds on the same stitches and ends with a chunky turtle and a soft cat.
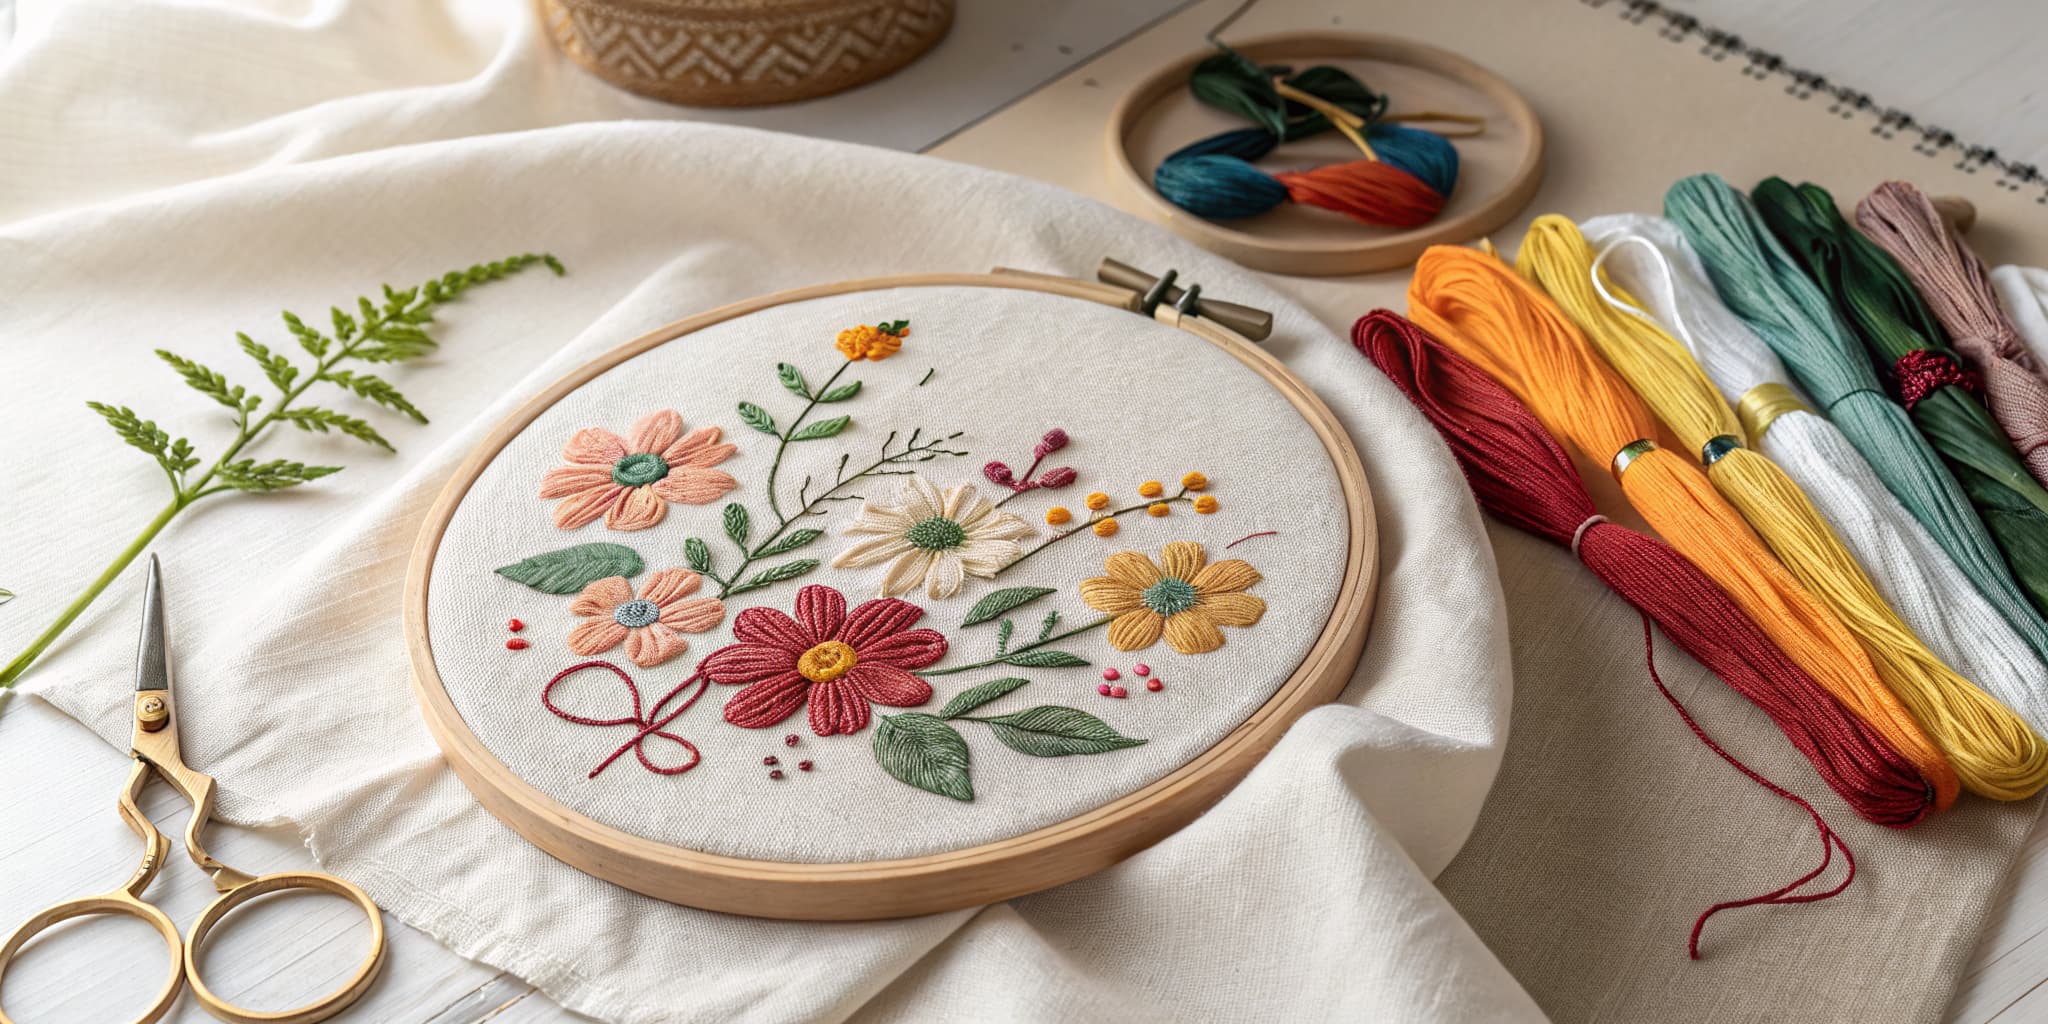
Embroidery Stitch Starter
This course is for anyone who wants to start hand embroidery and learn the stitches that show up in almost every pattern. You work through five stitches in order: backstitch for clean outlines, chain stitch for bold lines, satin stitch for smooth filled shapes, the French knot for dots and flower centers, and the lazy daisy for quick little petals. The last lesson shows four ways to finish the back of your hoop, so your stitching is ready to hang on the wall or give as a gift. To start, you need a 6-inch embroidery hoop, a few embroidery needles, six-strand cotton embroidery floss in colors you like, a piece of plain cotton or linen fabric, small sharp scissors, and a fabric marking pen or pencil for drawing your design. A milliner needle makes French knots much easier, and for finishing you will want a scrap of backing fabric or a sheet of stiff felt. Hands-on time adds up to a little over two hours, and satin stitch is the longest lesson at about 35 minutes. Short sittings work well, and a good lamp helps. Once these stitches feel comfortable, try a small design that uses several of them together, such as an embroidered bee or a butterfly.
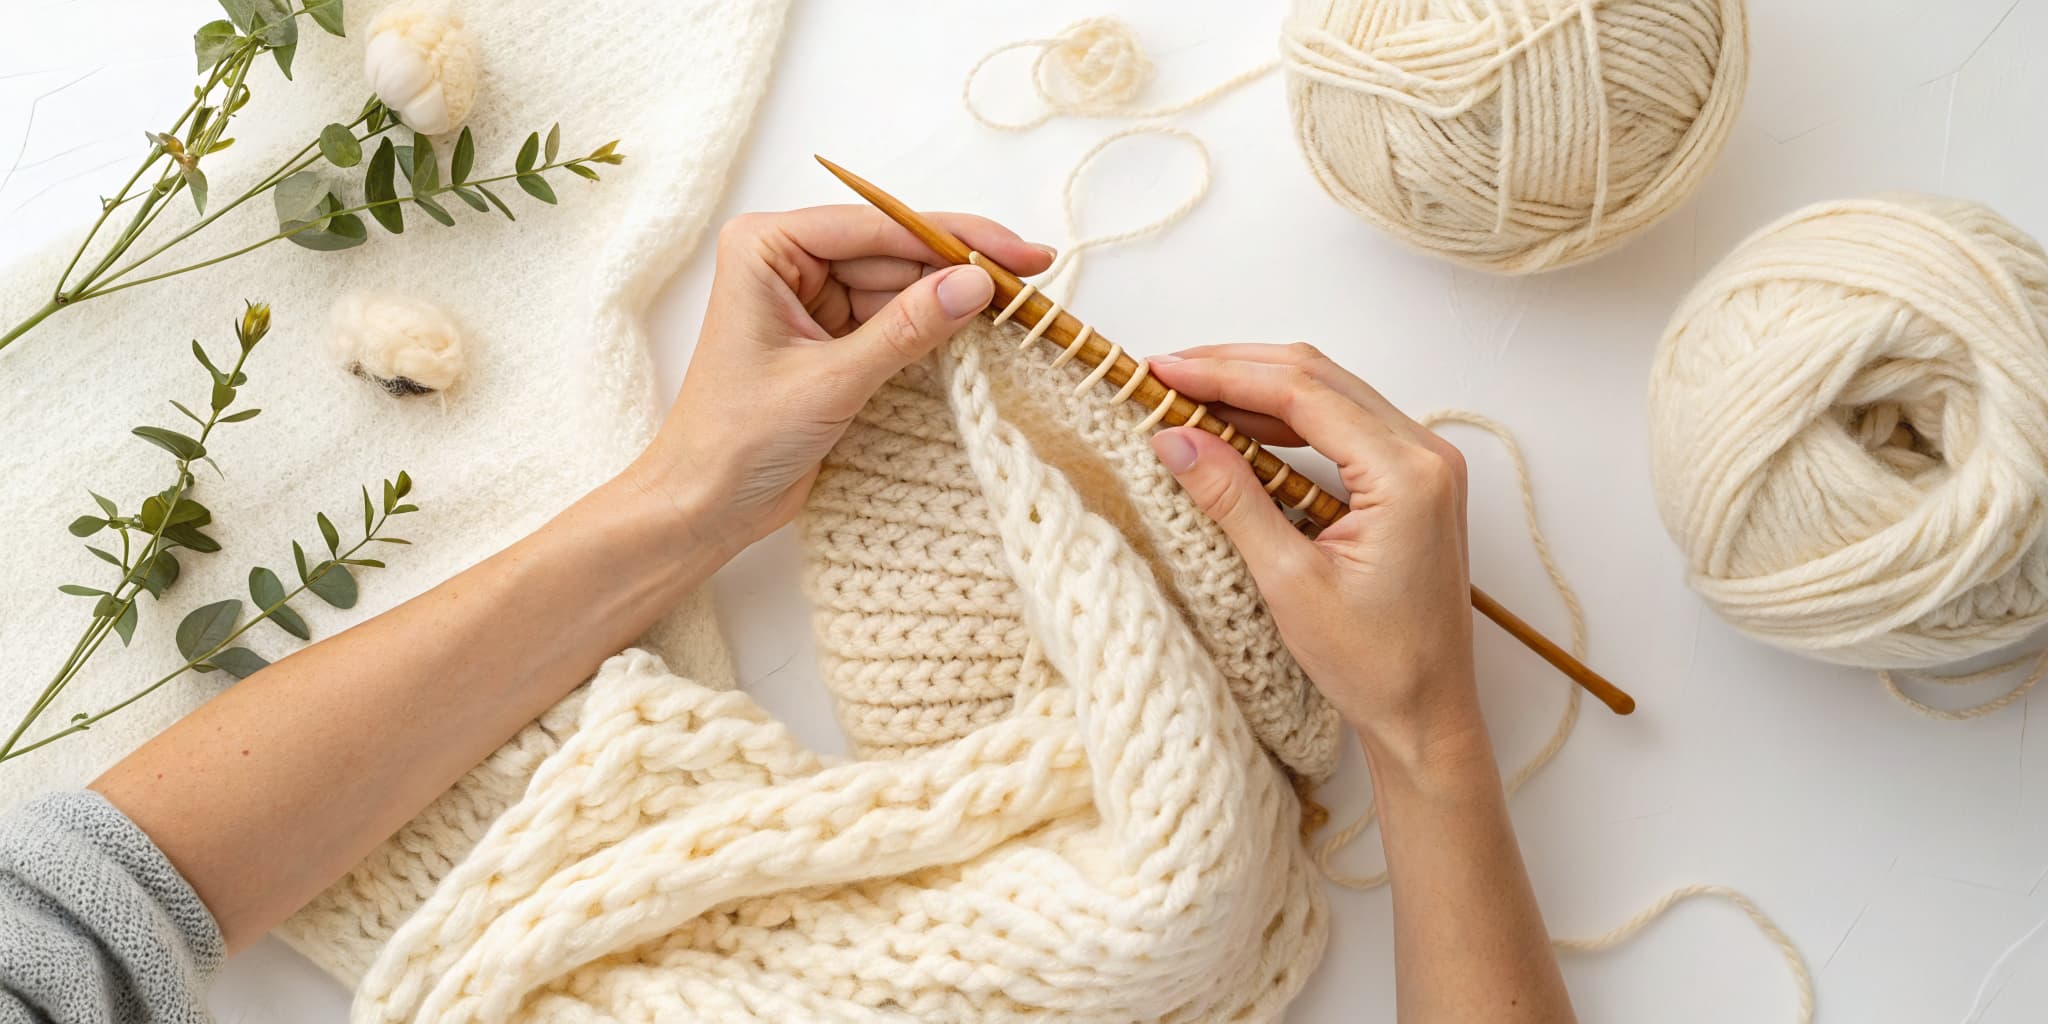
Knitting for Absolute Beginners
This course is for anyone who would love to knit but has never cast on a stitch. It walks you through the core moves in order: casting on with the long tail method, the knit and purl stitches, rescuing a dropped stitch, and binding off so your work comes off the needles with a neat edge. The last lesson puts it all together in a real project, a cozy blanket made from simple garter-stitch squares. To practice, you need one pair of knitting needles and a ball of smooth yarn in a light color. Wooden or bamboo needles are kind to beginners because the stitches do not slide off as easily. The lessons use a few different sizes, from US 7 or 8 needles with worsted yarn to 10mm needles with bulky yarn, and any of them is fine for learning. For the blanket you will want chunky yarn, 12mm or 15mm needles, and a tapestry needle for sewing the squares together. The four skill lessons take a little under an hour of hands-on time. The blanket is the long part: 35 squares of roughly half an hour each, so plan on many relaxed evenings, with a finished square to show for every one. After this course, try ribbing or knitting continental style.
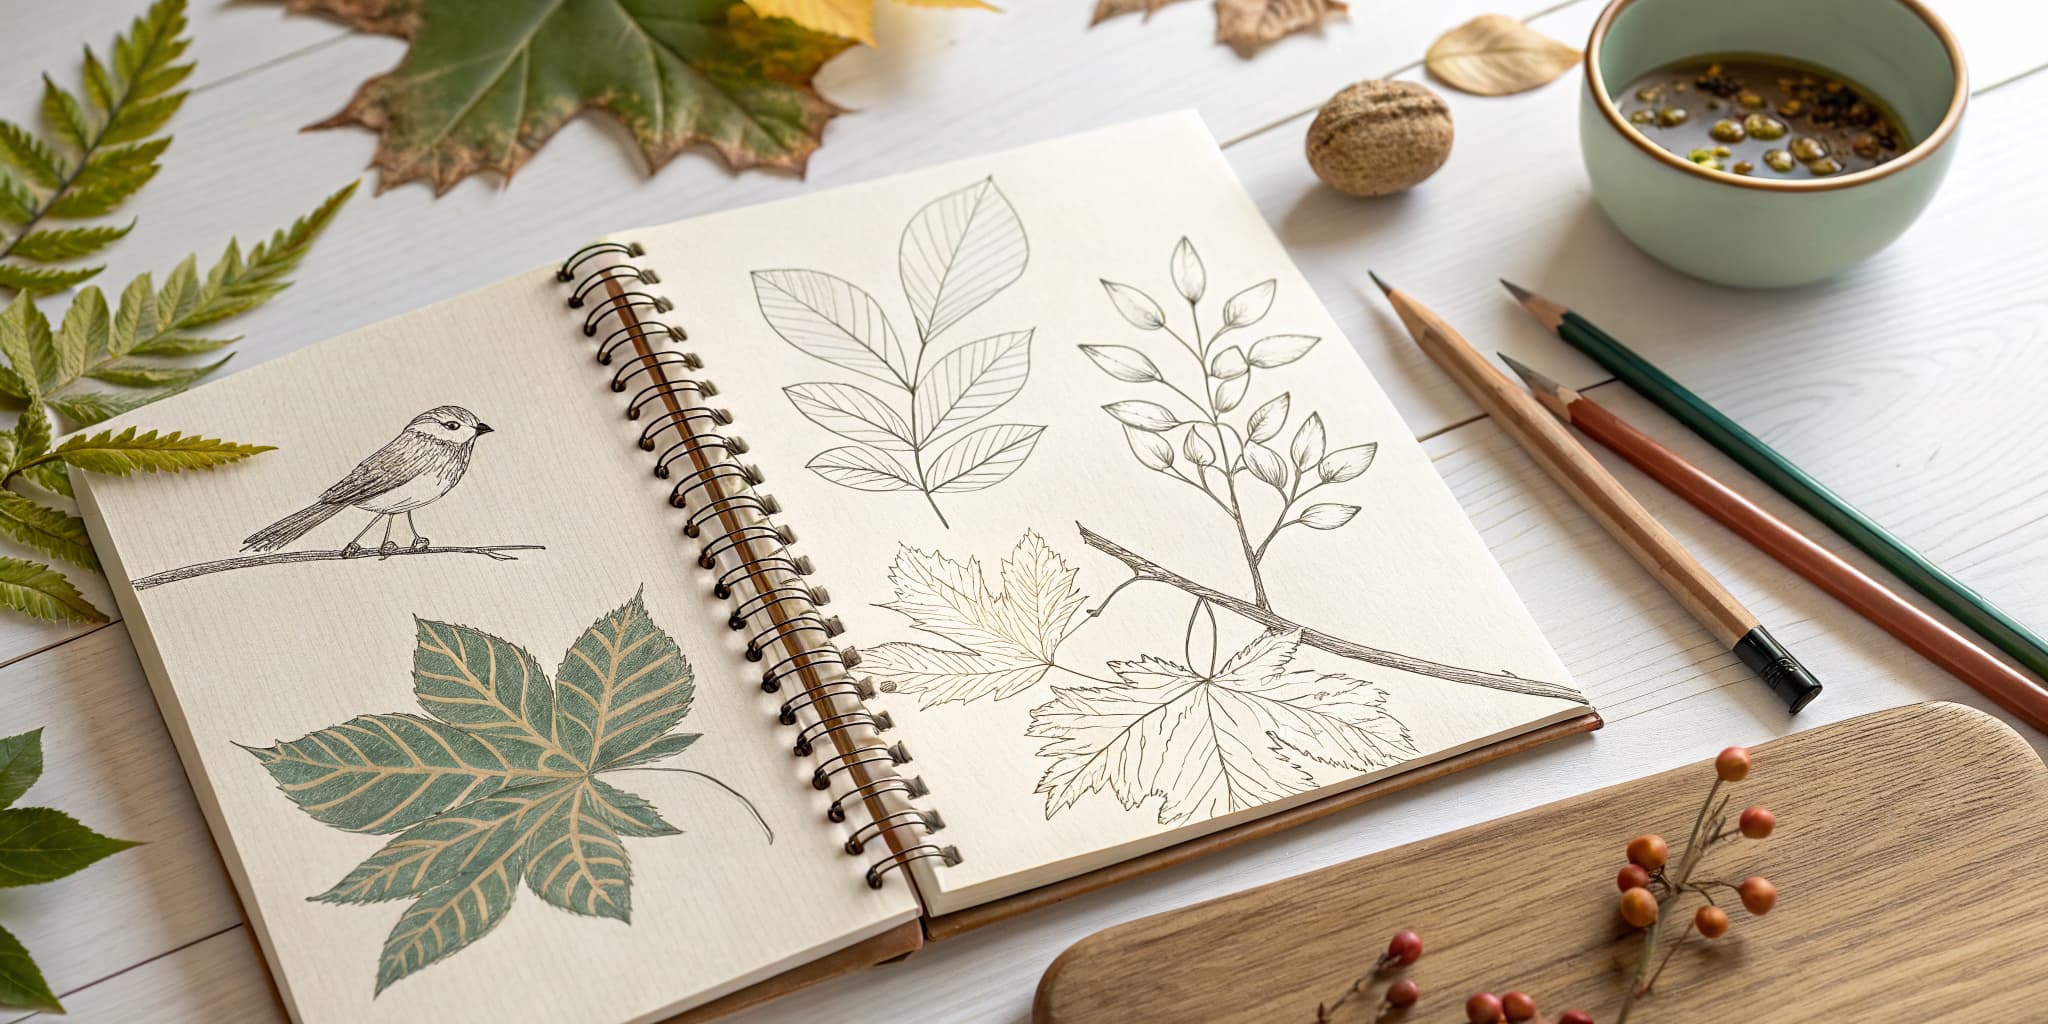
Learn to Draw: Nature and Landscapes
This course is for anyone who would like to draw the outdoors but is not sure where to begin. Each lesson takes one piece of nature and builds it up from simple shapes. You start with a shaded pencil tree, then move on to soft, fluffy clouds and a layered mountain landscape with snow caps and pine trees. Next you try water two ways: a pen and ink seascape with foaming waves and a sailing ship, and a row of bright ocean waves in marker and colored pencil. The last lesson is a simple rose drawn with markers. For the pencil lessons you need a set of drawing pencils from HB to 6B, a kneaded eraser, a blending stump, a sharpener and a sketchbook. The seascape uses a fineliner pen and a brush-tip ink pen. The waves and the rose use markers and a few colored pencils in blue, teal, red and green, and the rose works best on smooth marker paper. Hands-on time adds up to about two and a half hours, and no lesson takes more than half an hour. You do not need any drawing experience, only the patience to go from light lines to dark ones. When you finish, try a picture of your own that puts trees, clouds, mountains and water together in one scene.
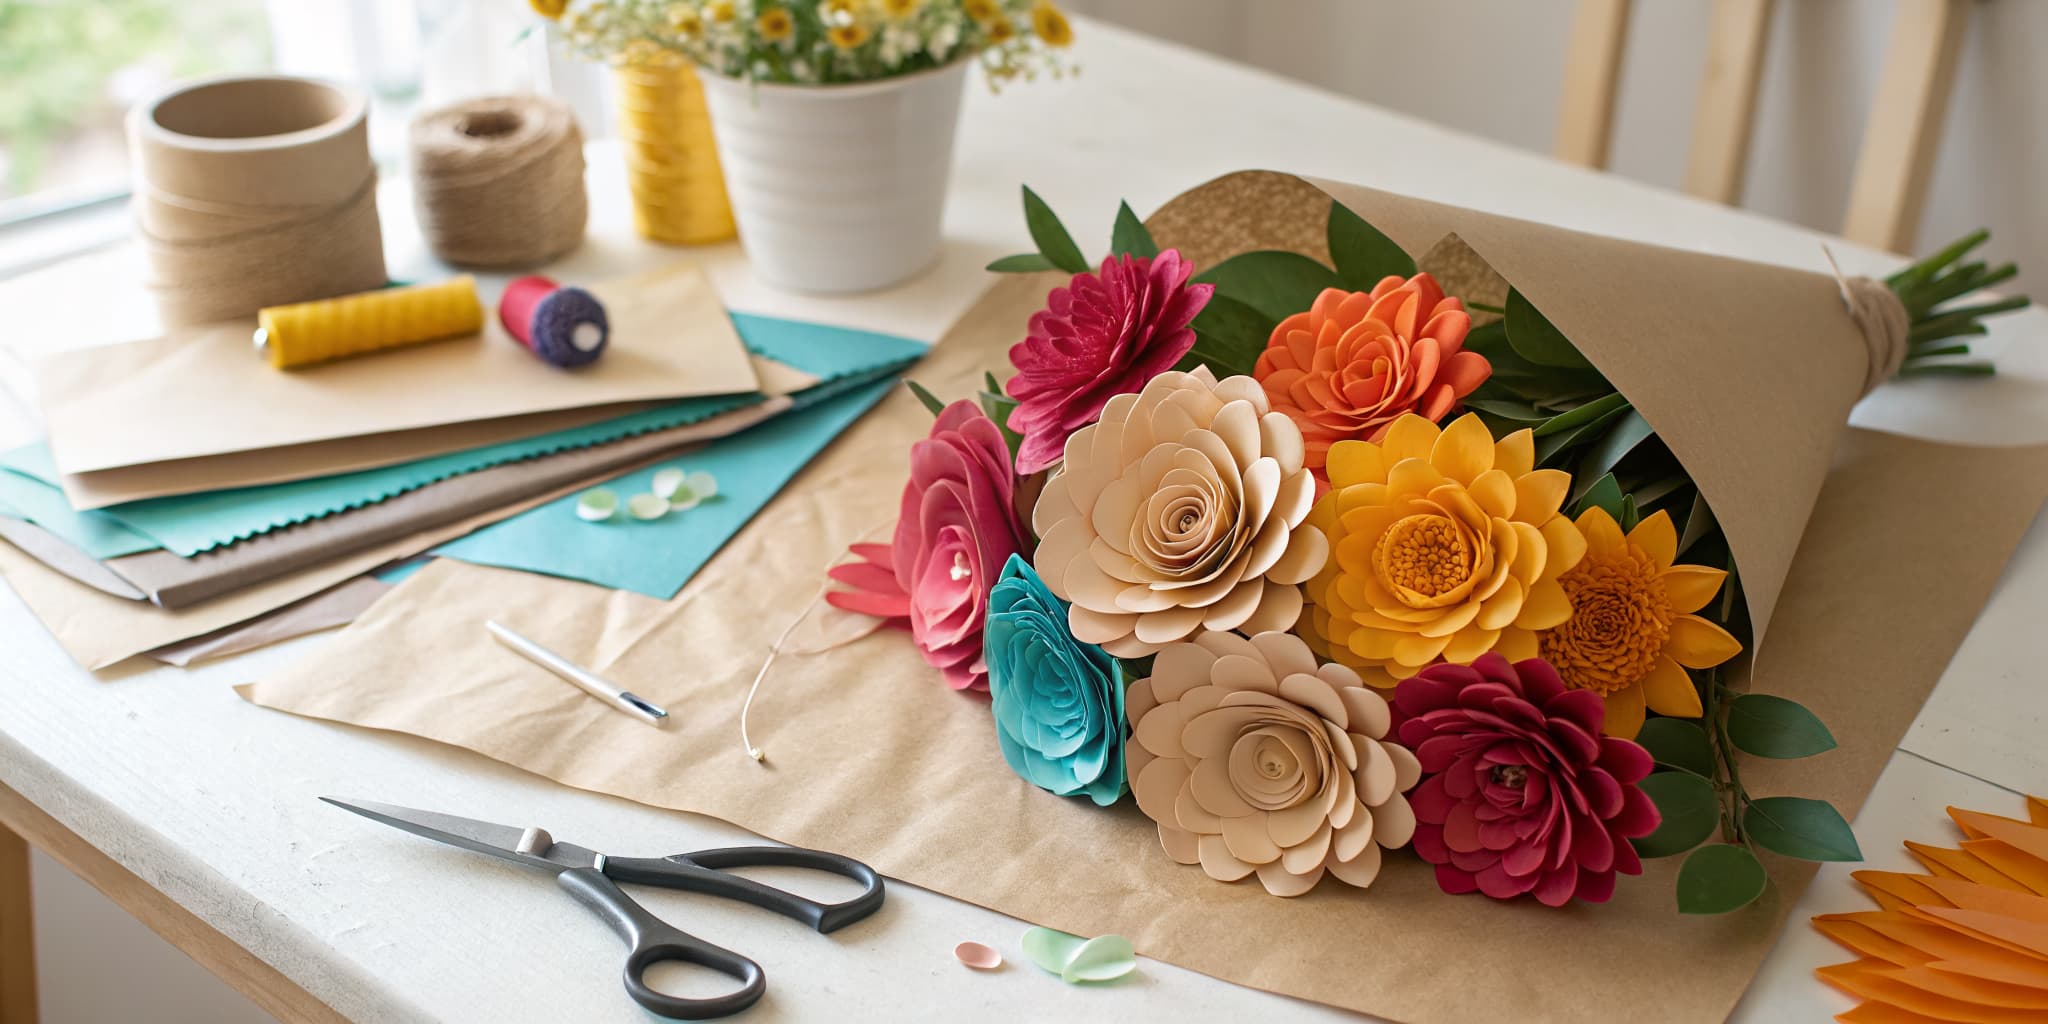
Paper Flowers from Scratch
This course is for anyone who would like flowers that never wilt, for a party table, a gift, or a bright corner at home. You make five kinds of paper flower, one lesson at a time. First come quick tissue paper blooms that look like peonies, then layered paper roses, then full roses made from plain white coffee filters. After that you build a gift bouquet of ten to twelve rolled red roses wrapped in a black paper cone and tied with ribbon, and you finish by folding an origami rose from a single square of paper. The supplies are inexpensive and easy to find: tissue paper, colored craft paper or cardstock, a pack of basket-style coffee filters, some floral wire or pipe cleaners, a glue stick, a low-temperature hot glue gun, a length of ribbon, and a good pair of scissors. A pencil or chopstick helps you curl the petals. Hands-on time adds up to about three hours across all five lessons, and the bouquet is the longest at about an hour. Every lesson ends with a finished flower, so you can stop after any of them and still have something lovely to show. When you are done, mix your flowers together into a vase arrangement, or tuck one onto a handmade card or a wrapped gift.
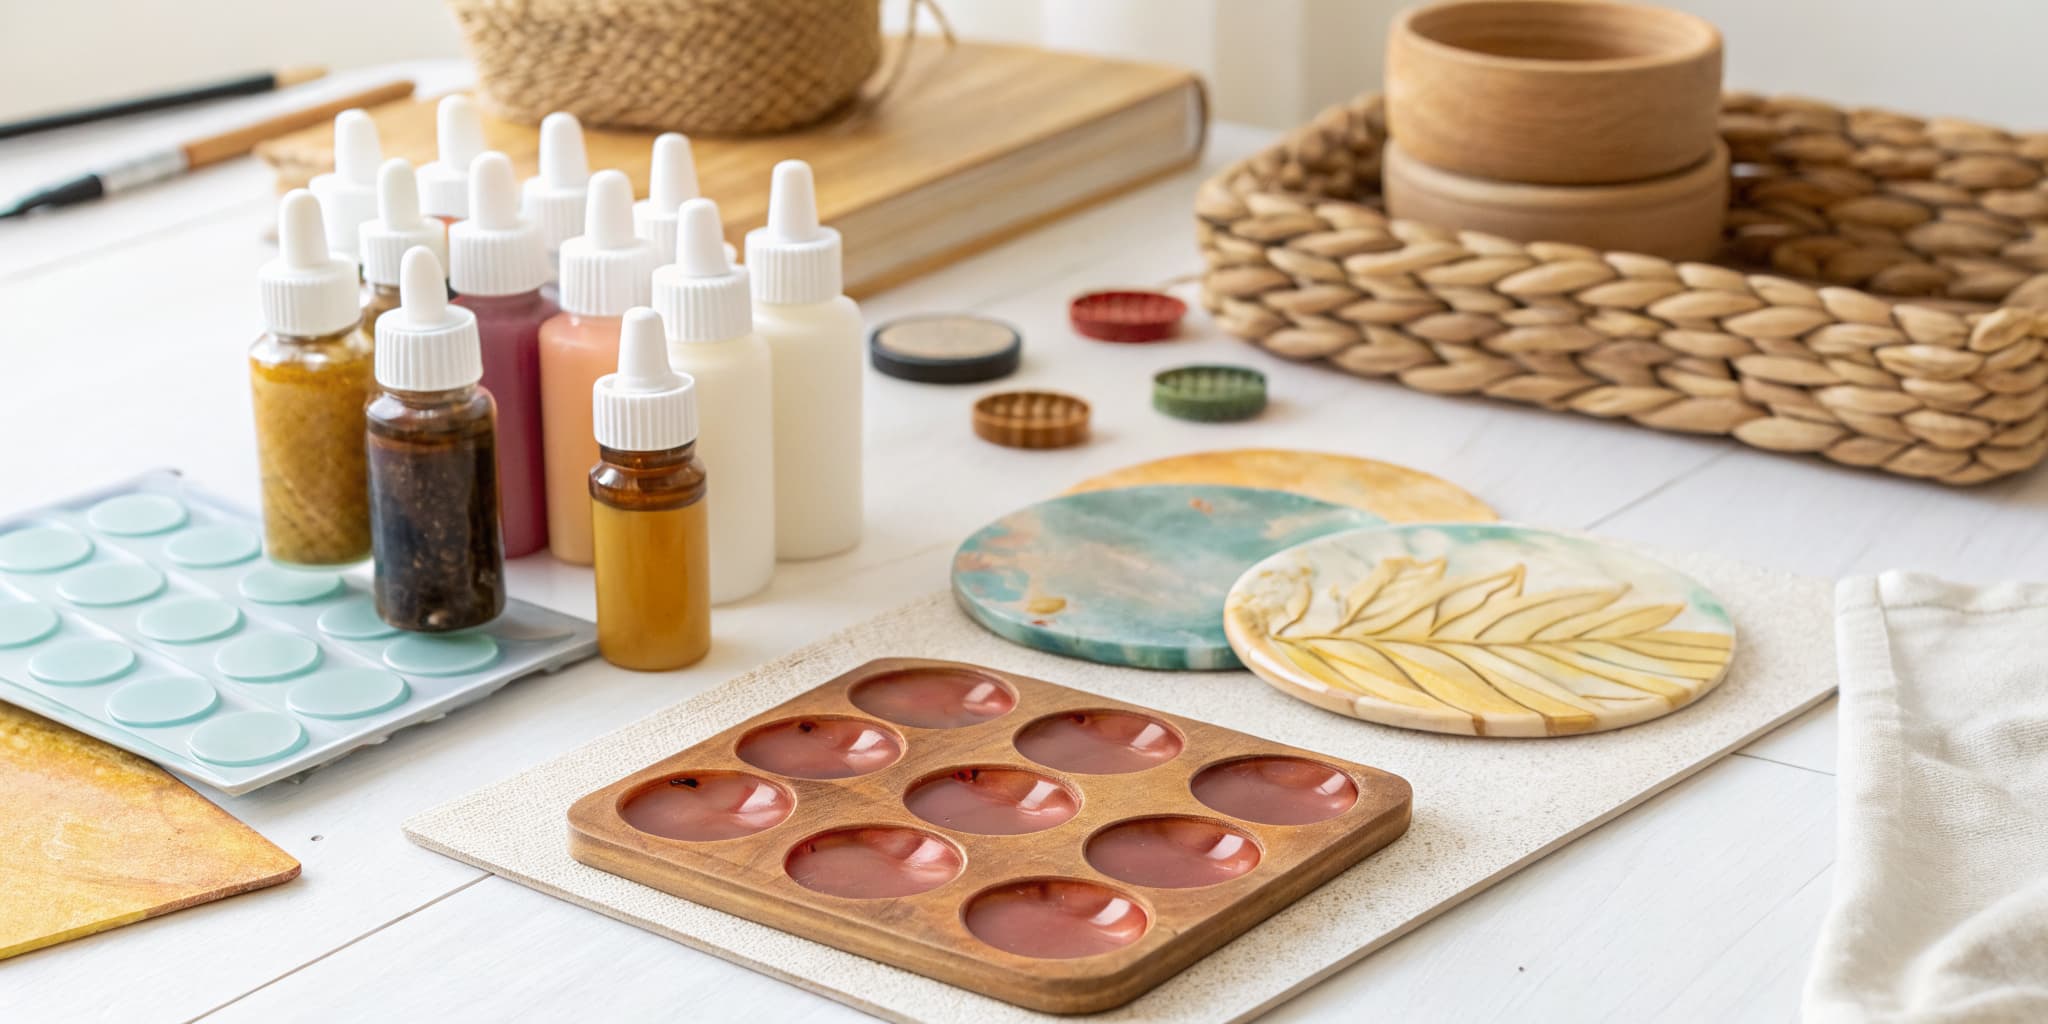
Resin Craft Starter
This course is for crafters who want to try resin and get it right the first time, without sticky spots, cloudy pieces or a mess on the table. You start by learning to measure and mix two-part epoxy resin slowly so it cures clear, then how to prepare silicone molds, pour, and get clean pieces out. From there you make a set of resin coasters with wood inlays, learn three ways to color resin with pigment ink, alcohol ink and mica powder, and finish with keychains filled with glitter, beads or dried flowers. You will need two-part epoxy resin, measuring and mixing cups, wooden stir sticks, silicone molds, a silicone mat to protect your table, and a small torch or lighter to pop bubbles. Safety gear matters with resin: wear nitrile gloves and a respirator mask rated for organic vapors, and work in a room you can air out with an open window or a fan. Expect to spend roughly $20 to $50 on supplies to get started. Hands-on time adds up to a little over three hours, but each pour then needs half a day to a full day to cure, so this course works best spread over a week or two. Afterward, try a trinket dish, bookmarks or a suncatcher.