How to Hem Pants

The finished result: How to Hem Pants

By CraftingStepByStepPublished Updated

Based on a video by Good Housekeeping.

A tailor charges $15 to $20 a pair and keeps them for a week. Doing it yourself takes about twenty minutes once, and maybe ten every time after that.

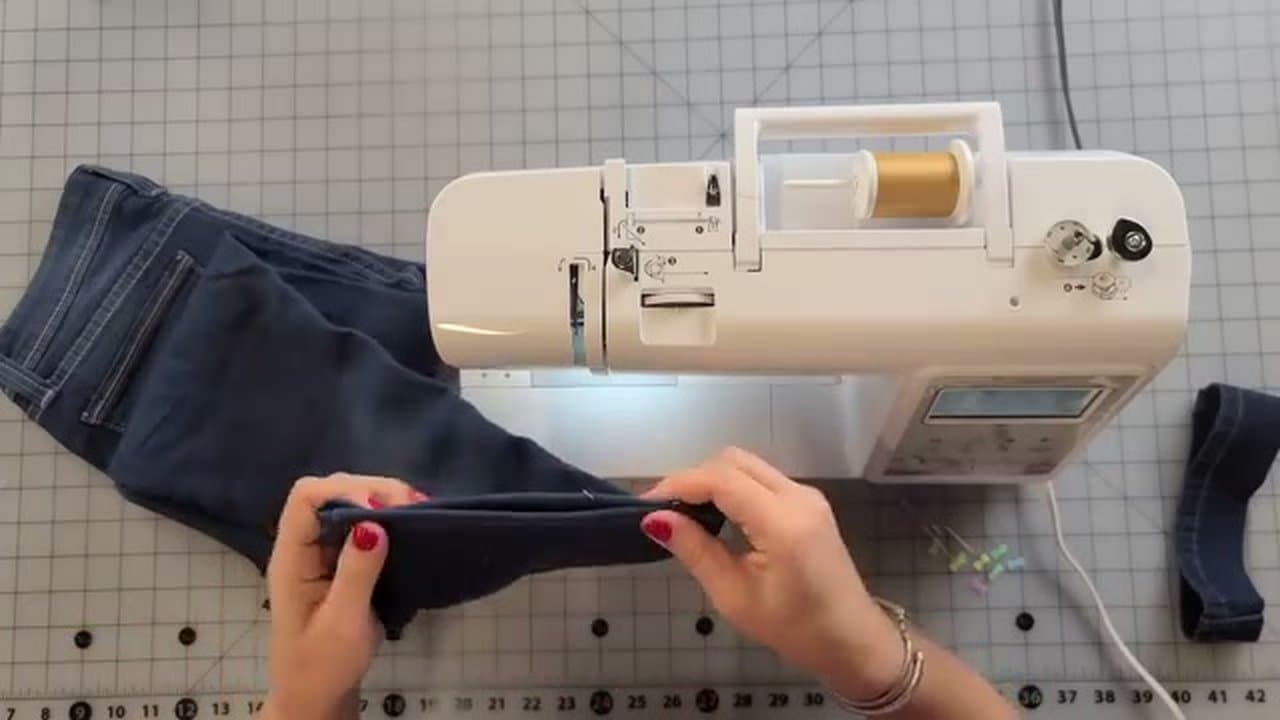
Amanda Perna from Good Housekeeping walks through a top-stitch hem on denim, which is the most forgiving type to learn on. You need a sewing machine, pins, tailor's chalk and scissors that actually cut fabric.

Measure on the person, wearing the shoes

This is the step people skip and then redo. Put the pants on with the shoes you will actually wear them with, because a heel and a trainer are two different lengths. Fold the excess under until the hem sits where you want it, then pin.

Where it should sit depends on the cut. Dress trousers want a slight break on the shoe. Jeans usually sit just above the sole. Cropped styles hit above the ankle bone and should be measured to the same point on both legs, not to the same number.

Mark twice, cut once

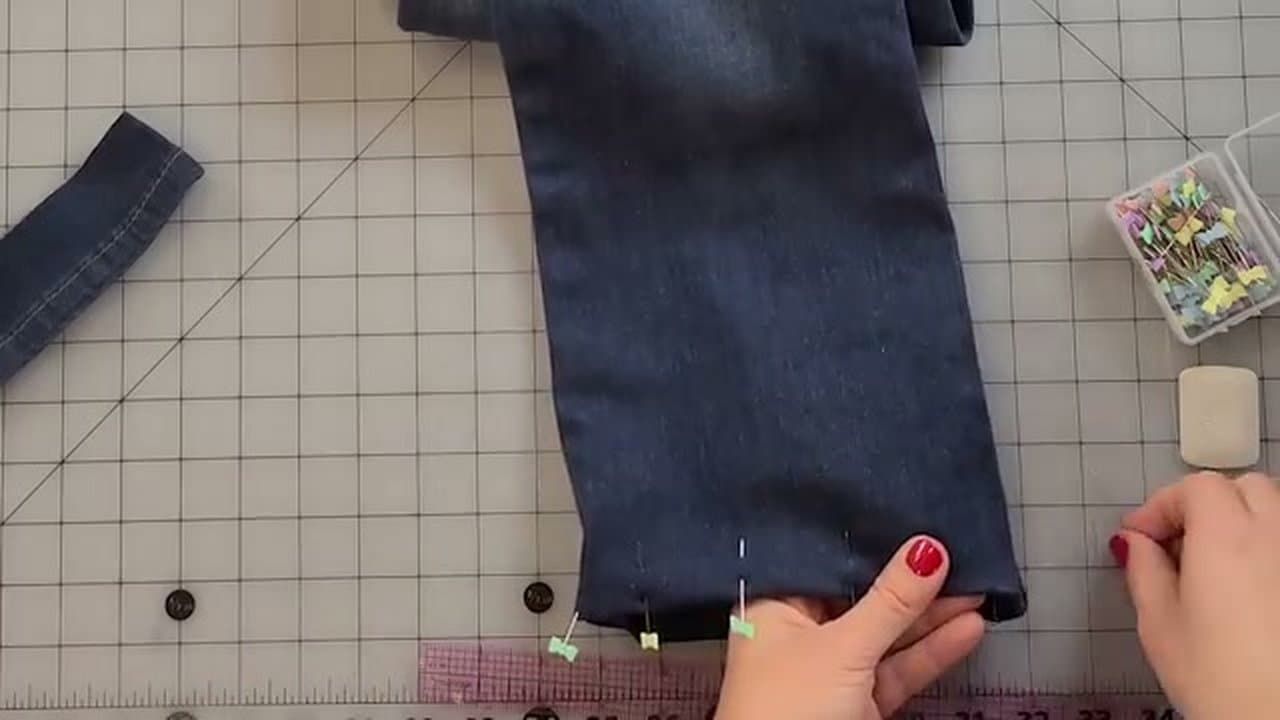
Turn the pants inside out and mark the finished hemline in chalk. Then mark a second line below it for the seam allowance, usually an inch and a half, which gives you a double fold. Cut along the lower line only.

Measure both legs against each other before cutting. Trouser legs are frequently a few millimetres different from the factory and you will notice once they are on.

Double fold, press, then pin

Fold the raw edge up about three quarters of an inch and press it flat. Fold again to the chalk line and press again. That second fold hides the raw edge completely so nothing frays.

Press before you pin. An iron does more for a straight hem than careful pinning does, because the crease holds the fold while you feed it through the machine.

Stitch length and thread

Match the thread to the existing topstitching, not to the fabric. On jeans that usually means gold or orange, and getting it wrong is the giveaway that a hem was redone. Set the stitch length to about 3mm for denim, shorter for lighter fabrics.

Sew from the inside seam so your start and stop point is hidden, keep the folded edge running against a fixed guide on the machine bed, and backstitch a few stitches at the end.

The trick for keeping the original jean hem

If the pants have a distinctive factory hem you want to keep, do not cut it off. Fold the excess length up on the outside so the original hem sits just above where you want the new length, stitch a new seam right above the old hem's stitching, then trim the excess inside and press the fold down. The original hem ends up at the bottom, wear and all.

If you would rather not sew

Hemming tape bonds with an iron and holds for a while, but it stiffens the fabric and eventually lets go in the wash. Fine for a one-night fix on a rental, not for anything you own. Hand-stitching a blind hem is slower than the machine but nearly invisible, which is what you want on dress trousers.

Related sewing steps

If the machine itself is the unfamiliar part, start with using a sewing machine and threading it. Sewing a straight line is the whole skill this project needs, and sewing a zipper is the natural next repair once hems feel routine.

A hem is a folded edge held down with stitches, by machine or by hand. If the needle work itself is the unfamiliar part, how to sew by hand covers threading, the tailor's knot, the backstitch and how to tie off so it holds.

What you'll need

Step-by-Step Guide

8 steps · about 9 minutes.Check off each step as you go and your progress saves automatically.

1

Measure and Mark Where You Want Them

1:30
Step 1: Measure and Mark Where You Want Them - How to Hem Pants
Put the pants on with the shoes you'll wear most. Mark the outside seams at the length you want. Then lay them flat and measure from the bottom up to your marks. Round up a little to be safe. Amanda marked hers at about 3 inches.

Tip

Mark both outside seams so if one rubs off you still have a reference.

Used in this stepTailor's ChalkRuler
2

Mark the Seam Allowance

2:10
Step 2: Mark the Seam Allowance - How to Hem Pants
You need a half-inch hem that folds back twice. From your finished-length line, measure down half an inch and mark it. Then go down another half inch and mark again. That second line is where you'll cut.
Used in this stepRulerTailor's Chalk
3

Cut the Excess Fabric

2:35
Step 3: Cut the Excess Fabric - How to Hem Pants
Cut along that bottom line with sharp scissors. Keep it as straight as you can. If the line's a little wobbly, that's okay since it'll be hidden inside the fold.

Tip

Sharp scissors make a huge difference on denim. Dull ones will chew up the edge.

Used in this stepFabric Scissors
4

Fold and Pin the First Turn

2:50
Step 4: Fold and Pin the First Turn - How to Hem Pants
Fold the fabric up half an inch along your first mark. Pin it in place as you go around the leg. You can press it with an iron if you have one to make it lay flat, but it's not required.
Used in this stepSewing Pins
5

Fold and Pin the Second Turn

4:20
Step 5: Fold and Pin the Second Turn - How to Hem Pants
Roll it up one more time so the raw edge is hidden inside the fold. The bottom of the pant leg becomes your guide since it should line up with your finished-length mark. Pin it all the way around with pins on the outside so you can pull them while sewing. Make sure the side seam lines up.

Tip

Don't stretch the fabric while pinning, especially with stretch denim. It'll pull the leg out of shape.

Used in this stepSewing Pins
6

Pick Your Thread and Set Stitch Length

5:20
Step 6: Pick Your Thread and Set Stitch Length - How to Hem Pants
Match the thread to the original stitching color if you want it to blend, or go with something close. For stretchy denim, set your stitch length to about 3.5 or 4 so the thread has room to move with the fabric. Tighter stitches can pop when you pull the jeans on.
Used in this stepThreadSewing Machine
7

Sew the Hem

8:20
Step 7: Sew the Hem - How to Hem Pants
Stitch just under half an inch from the bottom edge to catch all the folded fabric. Pull pins out as you reach them. Go slow through the side seams where it gets thick - use the hand wheel if your machine struggles. Do a small backstitch at the start and where you meet back up at the end.

Tip

Keep checking that you're not accidentally sewing through the other side of the leg. Easy to do on skinny jeans.

Used in this stepSewing Machine
8

Finish Up

8:40
Step 8: Finish Up - How to Hem Pants
Cut the thread, pull the pants off the machine, and check your work. Press the hem flat with an iron if you want a crisp finish. Do the same thing on the other leg and you're done.

Keep going

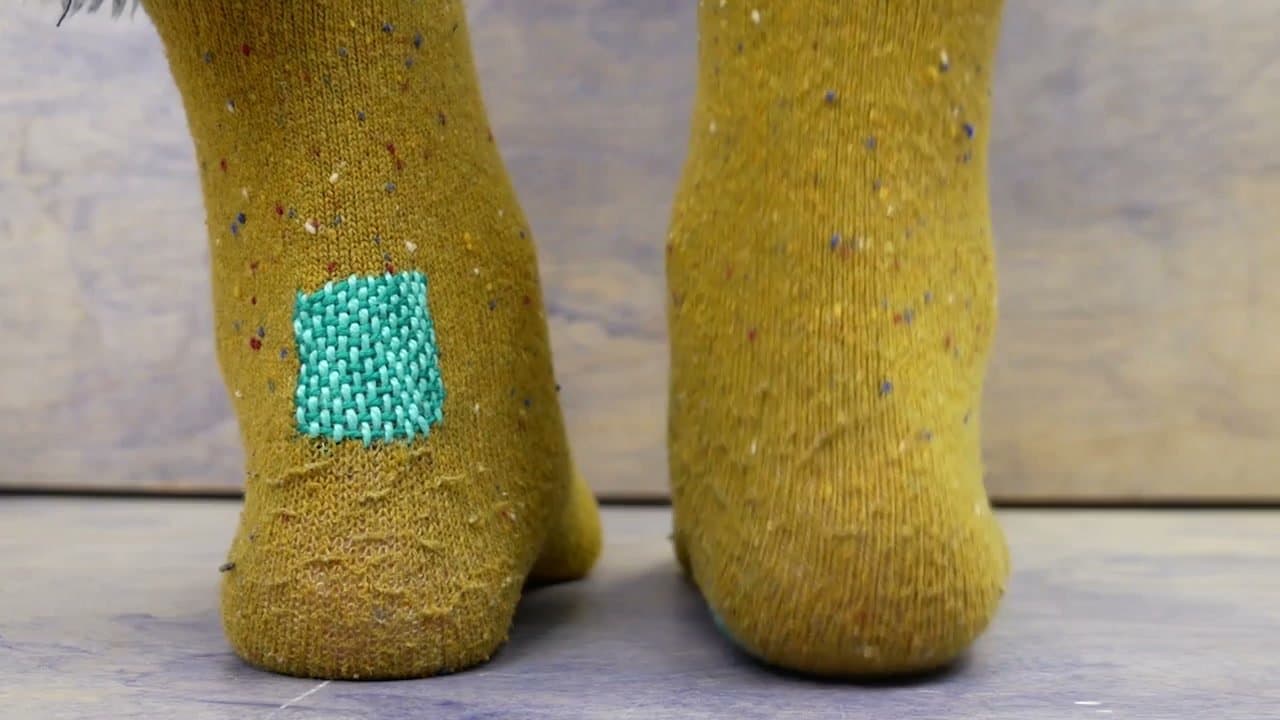
How to Darn a Sock

Products Used

The Checklist

How to Hem Pants

Tools
5
Materials
1
Steps
8
Video
9 min

Tools we recommend

Your Guide

Good Housekeeping

As an Amazon Associate we earn from qualifying purchases. Links on this page may be affiliate links - clicking them and buying doesn't change your price, but helps support CraftingStepByStep.

Tags

Sunday How-To

New crafts tutorials, every Sunday

One short email with the week's best step-by-step guides. Free, no spam, unsubscribe anytime.

Test your knowledge

Did the lesson stick? Start with this one.

5 questions covering what you just read. No signup, no score saved, and you can stop after this one.

Question 1 of 5

Right way to mark hem length?

Quick reference

Key takeaways from How to Hem Pants

5 questions, answers, and one-line explanations. Tap to expand.

  1. 1.Right way to mark hem length?

    Answer: Wearing your shoes

    Put pants on with the shoes you'll wear most. Mark outside seams at the length you want.

  2. 2.How much extra to leave below the finished mark?

    Answer: One inch total

    Half-inch then another half-inch = 1 inch total. First fold under, raw edge hidden inside the second fold.

  3. 3.Stitch length for stretchy denim?

    Answer: About 3.5 to 4

    Longer stitch gives thread room to move with the fabric. Tight stitches pop when you pull jeans on.

  4. 4.Where do you sew the seam?

    Answer: Just under half inch

    Stitch just under 1/2 inch from the bottom edge to catch all the folded fabric. Backstitch at start and end.

  5. 5.Where to place pins?

    Answer: On outside, pull while sewing

    Pins on the outside so you can pull them while sewing. Through side seams use hand wheel if machine struggles.

Did this work for you?

What's next

Related collections

Curated theme pages that include this tutorial.

Weekly Digest

Liked this crafts tutorial?

Pick the categories you want to hear about. Weekly digest of new step-by-step tutorials. No spam, easy unsubscribe.

Send me tutorials about

We only email about new tutorials. Easy unsubscribe anytime.