How to Make a Christmas Stocking

SewingEasy19:2710 stepsBrowse more →
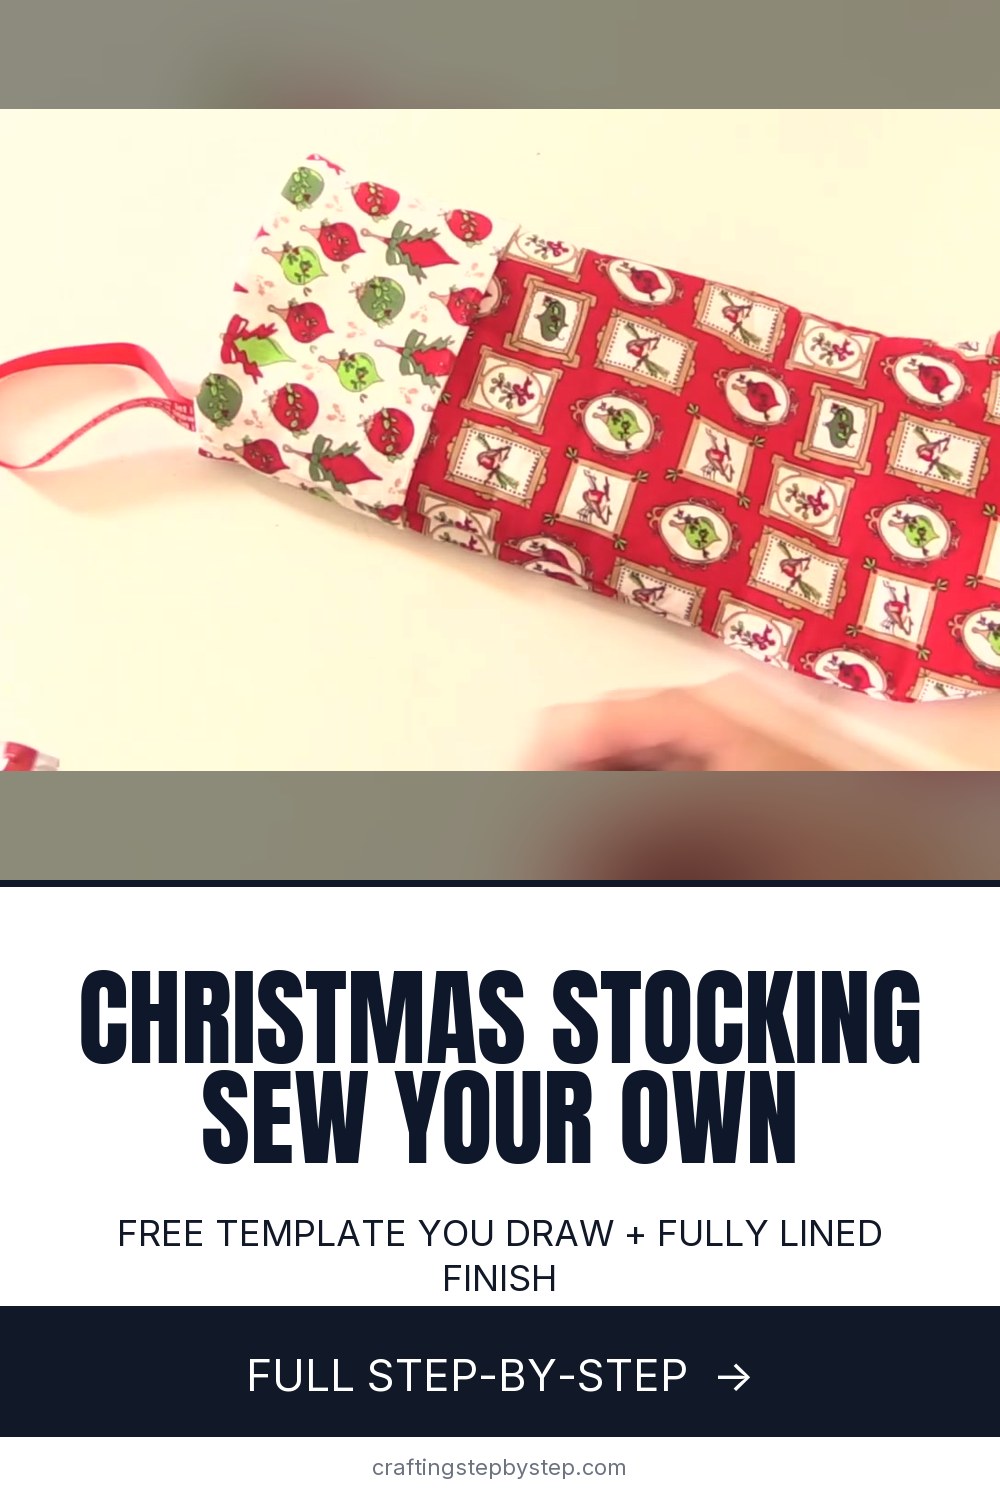
The finished result: How to Make a Christmas Stocking

By CraftingStepByStepPublished

Based on a video by Debbie Shore.

A fully lined Christmas stocking with a contrast cuff and a ribbon loop, made from a pattern you draw yourself in about five minutes. No pattern to buy and no printing.

This follows Debbie Shore's method. The part worth paying attention to is the ankle: you cut into the pattern and tape a strip in to widen it. Skip that and you get a stocking shape that looks right and will not take anything bigger than an orange.

The whole thing is straight seams and one curve. If you have sewn a cushion cover you can sew this.

Step-by-Step Guide

10 steps · about 19 minutes.Check off each step as you go and your progress saves automatically.

1

Step 1: Draw the Pattern

1:15
Step 1: Draw the Pattern - How to Make a Christmas Stocking

On a sheet of paper, measure 7 inches across the top and draw a long rectangle down from it, about 16 inches deep.

The measurements are not sacred - it is a stocking, not a dress. What does matter is that the top two corners are true right angles, because that edge is what the cuff has to sit flat against later.

Watch this step

Tip

Copy paper taped together works fine. There is no need for proper pattern paper for a shape this simple.

2

Step 2: Curve the Foot and Cut It Out

1:55
Step 2: Curve the Foot and Cut It Out - How to Make a Christmas Stocking

Draw a curve across the bottom to make the foot, then cut the whole shape out.

If you want the curve even, draw around a 7 inch plate. Freehand is genuinely fine though - nobody hangs a stocking and inspects the radius of the toe.

Watch this step

Tip

Cut just outside your pencil line. It is far easier to shave a pattern down than to tape a slice back on.

Used in this steppaper craft scissors
3

Step 3: Widen the Ankle

3:58
Step 3: Widen the Ankle - How to Make a Christmas Stocking

Measure 6 inches up from the end of the curve and mark a line straight across. Cut up to that line but not all the way through, so the pattern still holds together.

Open the cut out, tape a spare strip of paper into the gap, and blend the new edge back into the curve. That widening is what turns a narrow tube into something you can actually get a present into.

Watch this step

Tip

It does not matter that there is now a hole in the middle of the pattern. You are only drawing round the outside of it.

Used in this stepclear tape
4

Step 4: Cut the Outer and Lining Pieces

5:32
Step 4: Cut the Outer and Lining Pieces - How to Make a Christmas Stocking

Cut two pieces from your outer Christmas fabric and two from the lining.

Fold the fabric double and cut both layers at once so the pair come out identical and mirrored. Plain cotton is the sensible choice for the lining - there is no reason to spend good Christmas print on the inside of a stocking.

Watch this step

Tip

Right sides together or wrong sides together makes no difference at this stage. You just need two of each and they need to match.

Used in this stepfabric scissors
5

Step 5: Cut the Cuff

7:20
Step 5: Cut the Cuff - How to Make a Christmas Stocking

Cut two cuff pieces from a contrast fabric, 7 inches across to match the stocking top and 9 inches deep.

The cuff gets folded in half, so the depth you cut is roughly double what will show. Cutting it deep is what gives you a proper turned-over cuff rather than a thin band.

Watch this step

Tip

Watch the direction of a patterned fabric here. The raw edge ends up at the top of the stocking, so the print needs to be upside down relative to how you are looking at it.

6

Step 6: Sew the Cuff into a Tube

9:26
Step 6: Sew the Cuff into a Tube - How to Make a Christmas Stocking

Place the two cuff pieces right sides together with the print running the same direction, and sew down both short ends to make a tube. A quarter inch seam allowance is plenty.

Whichever allowance you choose, use the same one for every seam in the project. Consistency matters more than the number.

Watch this step

Tip

Turn the finished tube right side out and set it aside. It does not get attached until step 9.

7

Step 7: Sew the Outer Stocking

10:50
Step 7: Sew the Outer Stocking - How to Make a Christmas Stocking

Put the two outer pieces right sides together and sew around the edge, leaving the top open.

Then snip into the concave curve at the ankle - up to the stitching but not through it - and trim some of the seam allowance away around the toe. Both let the fabric spread instead of bunching, so the seam sits flat once it is turned.

Watch this step

Tip

If you are adding applique or a name, do it before this seam goes in, while the fabric is still a flat single layer.

Used in this stepsmall embroidery scissors
8

Step 8: Sew the Lining and Leave a Gap

11:40
Step 8: Sew the Lining and Leave a Gap - How to Make a Christmas Stocking

Sew the lining pieces the same way, but leave a gap of a few inches in the long back seam near the heel. That gap is how the whole stocking gets turned right side out at the end.

Make the lining seam allowance a fraction wider than the one you used on the outer. The lining ends up very slightly smaller, which is what makes it sit neatly inside instead of bagging.

Watch this step

Tip

Put the gap low on the back seam. Nobody sees the inside of a stocking, but if you are going to close it by hand you may as well hide it.

9

Step 9: Attach the Cuff and the Hanging Loop

13:25
Step 9: Attach the Cuff and the Hanging Loop - How to Make a Christmas Stocking

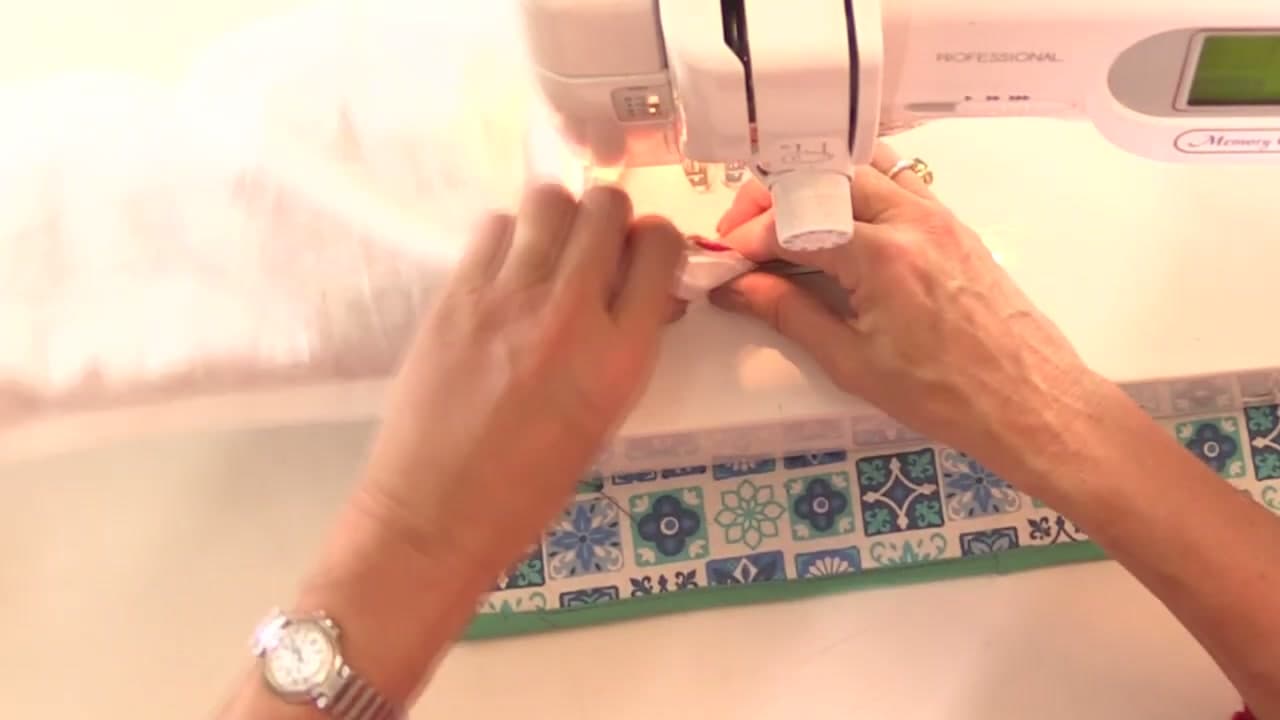
Turn the outer stocking right side out and slide the cuff tube down over the top, matching the side seams and lining up the raw top edges.

Fold a length of ribbon into a loop and pin it to the back, directly over the seam, with the loop pointing down into the stocking. Tack across the top to hold everything before the lining goes on.

Watch this step

Tip

Squash the seam allowances open where the layers stack up. Less bulk under the needle makes the final seam far easier to sew.

10

Step 10: Sew the Top, Turn Through and Finish

15:28
Step 10: Sew the Top, Turn Through and Finish - How to Make a Christmas Stocking

Push the whole stocking down inside the lining so all three layers meet at the top, then sew right around that edge with a half inch seam allowance.

Pull everything out through the gap you left in the lining, turn it all right side out, then stitch the gap closed. Push the lining down inside the stocking, fold the cuff over, and it is done.

Watch this step

Tip

When you pull through the gap, the seam allowances fold themselves inward. Press them flat with your fingers before you sew across and the closure will be almost invisible.

Keep going

How to Thread a Sewing Machine

7 steps · about 4 minutes

Products Used

The Checklist

How to Make a Christmas Stocking

Tools
7
Materials
7
Steps
10
Video
19 min

Tools we recommend

Your Guide

Debbie Shore

As an Amazon Associate we earn from qualifying purchases. Links on this page may be affiliate links - clicking them and buying doesn't change your price, but helps support CraftingStepByStep.

Tags

Sunday How-To

New sewing tutorials, every Sunday

One short email with the week's best step-by-step guides. Free, no spam, unsubscribe anytime.

Did this work for you?

What's next

Related collections

Curated theme pages that include this tutorial.

Weekly Digest

Liked this sewing tutorial?

Pick the categories you want to hear about. Weekly digest of new step-by-step tutorials. No spam, easy unsubscribe.

Send me tutorials about

We only email about new tutorials. Easy unsubscribe anytime.