1
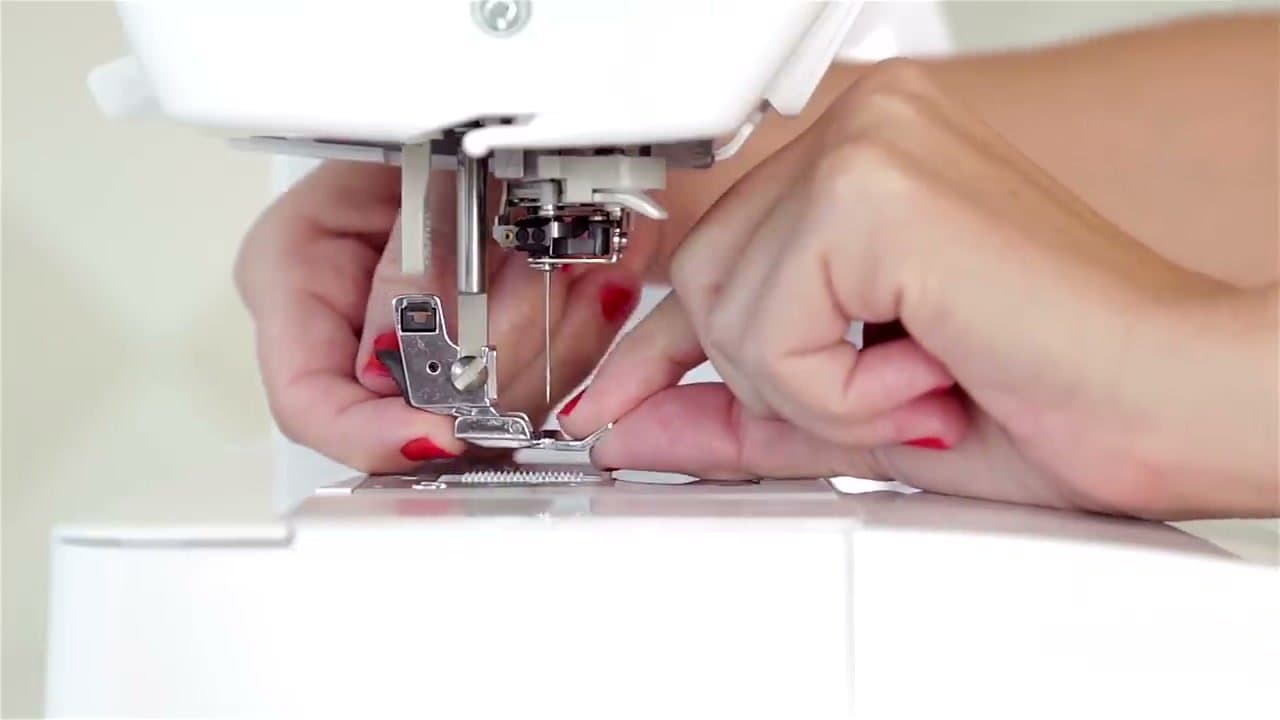
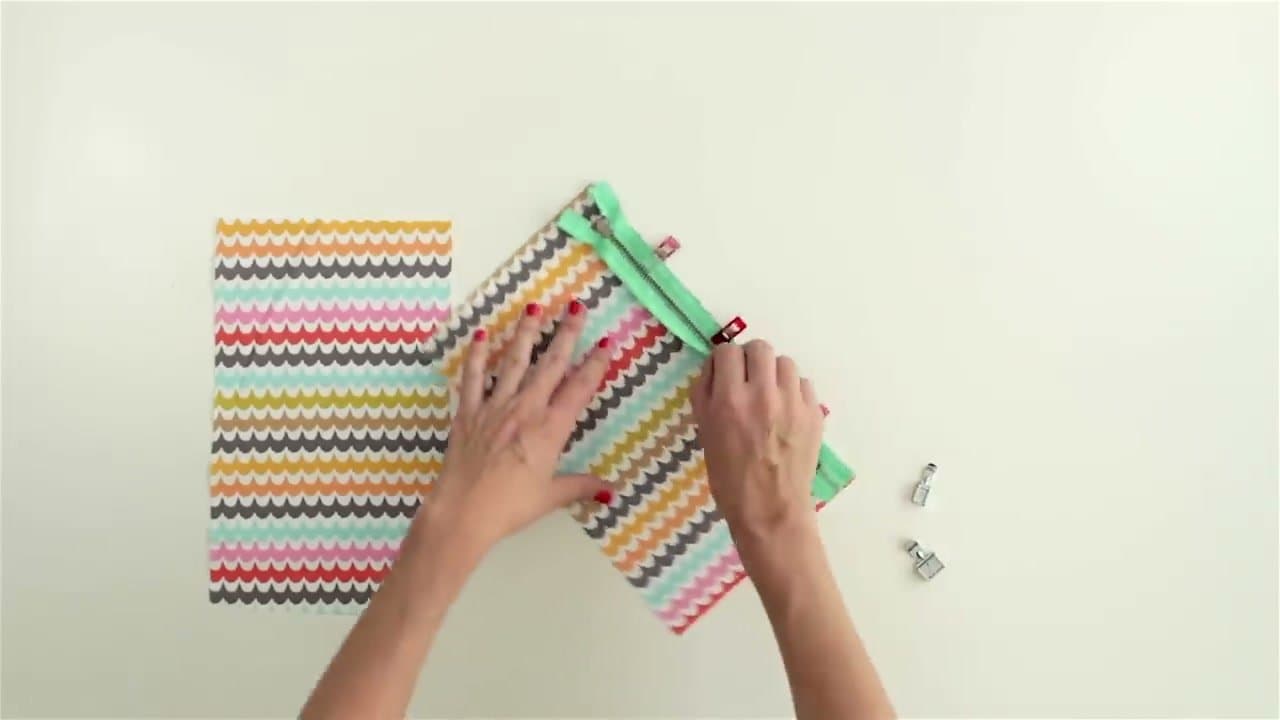
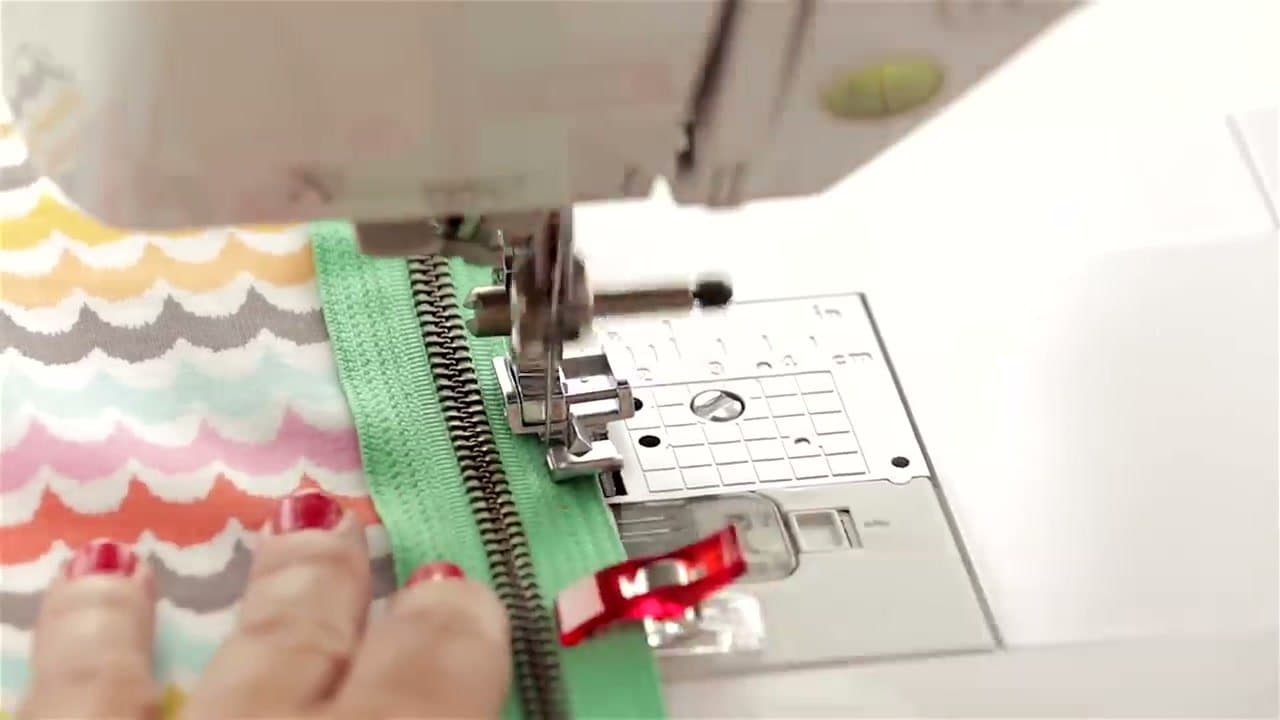
Step 1: Pick the Right Zipper
0:50
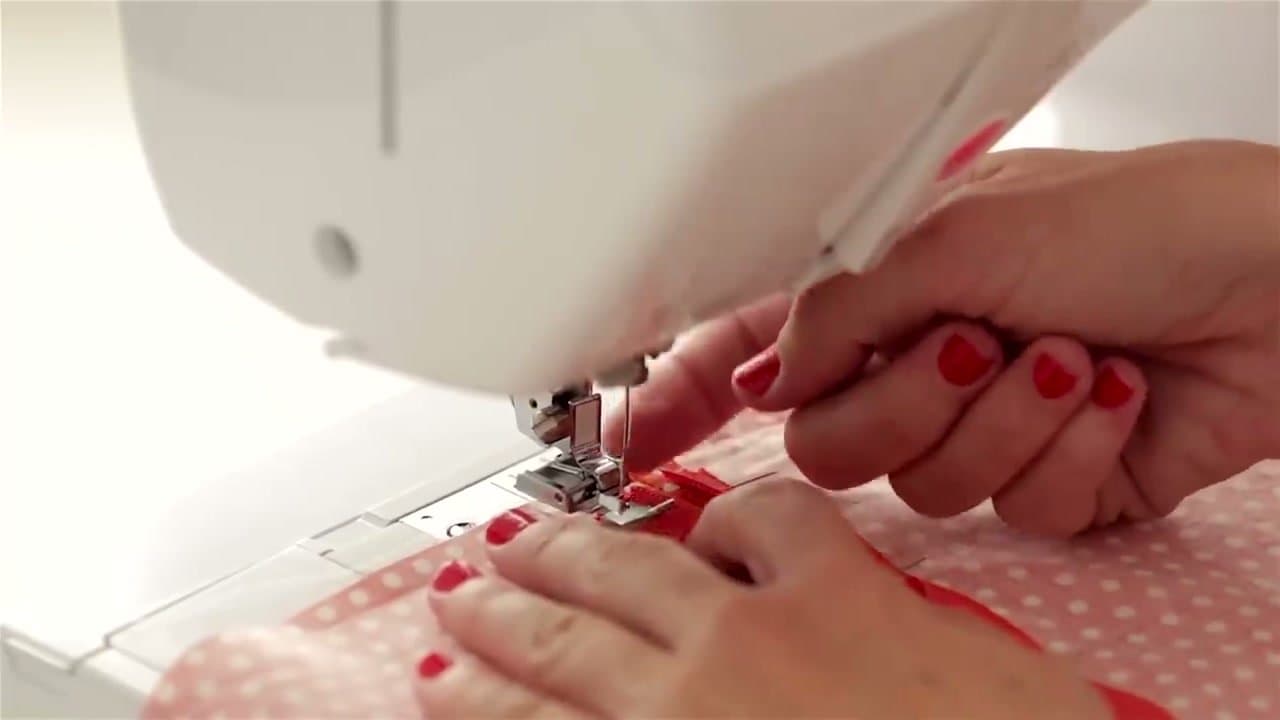
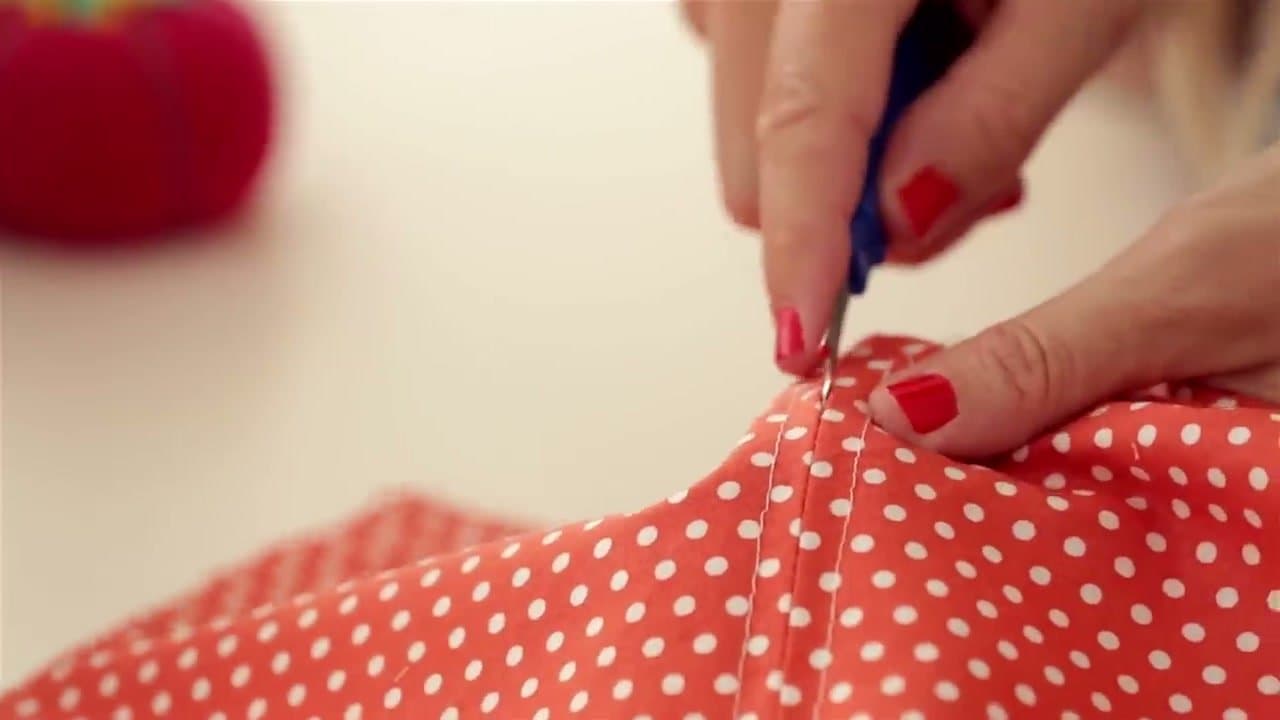
Color matches if you want the zipper to disappear into the fabric. Contrast colors if you want it to be a feature. Metal teeth are sturdier and look better but you can't iron over them. Plastic teeth are softer and you can shorten them with scissors if the zipper is longer than your opening.
For a beginner project, get a zipper at least as long as the opening you're closing. Buy a few extras in different lengths so you don't end up making a special trip when you start your real project.