How to Wind a Bobbin

SewingEasy4:0110 stepsBrowse more →
The finished result: How to Wind a Bobbin
Also in:Adulting

By CraftingStepByStepPublished

Based on a video by Vintage Coach Restoration | Jann Newton .

Every sewing machine stitch uses two threads: the one from the spool on top, and the one from the bobbin underneath. The bobbin is a small spool you fill yourself, and the machine has a winder built in to do it.

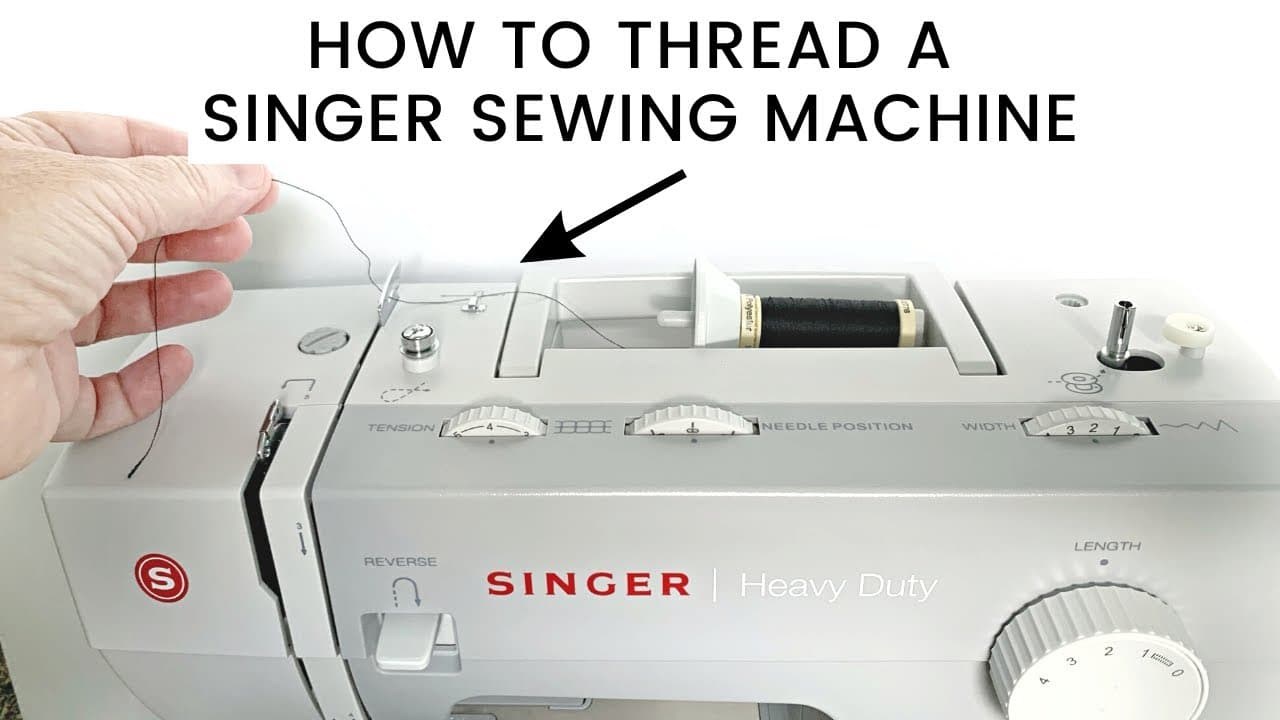
Jann Newton of Vintage Coach Restoration runs through it on a Singer Heavy Duty. The sequence is the same on almost every modern machine, though the bobbin case at the end differs.

The step that causes most of the problems

Taking the thread around the bobbin tension disc. It looks like an optional detour on the way to the bobbin and it is not. That disc is the only thing applying tension while the bobbin fills. Wind without it and the thread packs on loose and uneven, and you get looping on the underside of your seams, skipped stitches, and thread nesting under the needle plate. Almost all of it traces back to a bobbin wound without tension.

Use the bobbins that came with your machine

Bobbins look generic and are not. Class 15, Class 66 and L-style bobbins differ by a millimetre or two in height and rim shape, and the wrong one sits at the wrong depth in the case. Plastic and metal are not interchangeable either, even in the same size.

How full is full?

Up to the rim, not past it. Most machines stop automatically at that point. An overfilled bobbin binds against the walls of the case and pulls your tension tight in a way no amount of dial adjustment will fix.

Step-by-Step Guide

10 steps · about 4 minutes.Check off each step as you go and your progress saves automatically.

1

Step 1: Put the Spool on the Pin

0:14
Step 1: Put the Spool on the Pin - How to Wind a Bobbin

Slide the thread spool onto the spool pin and fit the cap over the end.

Snug, not tight. The cap is there to stop the spool jumping off, and if you clamp it down hard the thread cannot feed freely and you get uneven winding.

Tip

Most machines take the cap flat side out against the spool. Check which way round yours sits if the thread keeps catching.

Products used in this step

2

Step 2: Run the Thread to the First Guide

0:20
Step 2: Run the Thread to the First Guide - How to Wind a Bobbin

Take the thread across the top of the machine to the first metal thread guide.

Tip

Almost every machine has the bobbin thread path printed or embossed on the top casing. It is worth following yours rather than guessing.

3

Step 3: Around the Bobbin Tension Disc

0:28
Step 3: Around the Bobbin Tension Disc - How to Wind a Bobbin

Bring the thread around the front of the bobbin tension disc, going clockwise, so it seats properly between the plates.

This is the step people skip, and it is the one that matters. The disc is what puts tension on the thread as it winds. Skip it and the bobbin fills loosely, which shows up later as skipped stitches, loops on the underside and nests of thread under the plate.

Tip

If the thread is not properly down between the discs it will simply slip past. Give it a tug and watch that the disc holds it.

4

Step 4: Thread the Empty Bobbin

1:44
Step 4: Thread the Empty Bobbin - How to Wind a Bobbin

Take the tail up through the small hole in the top of the empty bobbin, from the inside out.

Use the bobbins that came with your machine. They look interchangeable and they are not, and the wrong size is a common cause of tension problems that get blamed on everything else.

Tip

Plastic and metal bobbins are not swappable either, even at the same size. Match what the manual specifies.

Products used in this step

5

Step 5: Seat the Bobbin on the Spindle

1:48
Step 5: Seat the Bobbin on the Spindle - How to Wind a Bobbin

Drop the bobbin onto the winder spindle and push it all the way down until it clicks home.

Tip

If it will not seat, check the little notch inside the bobbin lines up with the pin on the spindle.

6

Step 6: Push the Spindle Across

2:14
Step 6: Push the Spindle Across - How to Wind a Bobbin

Slide the spindle to the right until it engages.

With the spindle over, the motor drives only the winder. The needle stays put, which is why the machine sounds different and why you do not need to worry about the needle bar moving while you wind.

Tip

Many machines will not wind at all until the spindle clicks across, and some disengage the handwheel too.

7

Step 7: Hold the Tail and Wind

2:18
Step 7: Hold the Tail and Wind - How to Wind a Bobbin

Hold on to the thread tail and press the foot pedal.

Keeping hold of the tail for the first few turns is what anchors the thread to the bobbin. Let go too early and the thread just spins around without catching.

Tip

Start slowly. A full-speed start throws the tail loose before it has wrapped.

Products used in this step

8

Step 8: Trim the Tail and Fill It

2:36
Step 8: Trim the Tail and Fill It - How to Wind a Bobbin

After a few wraps, stop and snip off the loose tail sticking out of the top, then carry on winding until the bobbin is as full as you want it.

When it is done, slide the spindle back to the left and cut the thread.

Tip

Do not overfill. A bobbin wound past the edge of its rim drags in the case and throws your tension out.

Products used in this step

9

Step 9: Open the Bobbin Case

3:10
Step 9: Open the Bobbin Case - How to Wind a Bobbin

Slide the little lever and pop the cover plate off the front of the machine.

This one is a drop-in bobbin, which is the most common arrangement now. If yours loads from the side into a removable metal case, the winding is identical but the loading is not, so check your manual.

Tip

Keep the cover plate somewhere it will not get knocked to the floor. They are clear plastic and easy to lose.

10

Step 10: Drop It In and Hook the Thread

3:36
Step 10: Drop It In and Hook the Thread - How to Wind a Bobbin

Sit the bobbin in the case, then take the tail and pull it under the little metal bar and along the slot.

Which way the bobbin faces matters. Most drop-in machines want the thread coming off it anticlockwise, and there is usually a diagram inside the cover showing the direction.

Tip

Give the tail a gentle pull once it is seated. It should feed with a light, even resistance rather than running free.

Keep going

How to Darn a Sock

6 steps · about 7 minutes

Products Used

☐ The Checklist

How to Wind a Bobbin

Tools
2
Materials
2
Steps
10
Video
4 min

Tools we recommend

Your Guide

Vintage Coach Restoration | Jann Newton

As an Amazon Associate we earn from qualifying purchases. Links on this page may be affiliate links - clicking them and buying doesn't change your price, but helps support ShowMeStepByStep.

Tags

Sunday How-To

New sewing tutorials, every Sunday

One short email with the week's best step-by-step guides. Free, no spam, unsubscribe anytime.

Did this work for you?

What's next

Related collections

Curated theme pages that include this tutorial.

Weekly Digest

Liked this sewing tutorial?

Pick the categories you want to hear about. Weekly digest of new step-by-step tutorials. No spam, easy unsubscribe.

Send me tutorials about

We only email about new tutorials. Easy unsubscribe anytime.