How to Use a Sewing Machine: 8-Step Beginner Walkthrough

SewingEasy12:218 steps

By CraftingStepByStepPublished Updated

Based on a video by Sew Bake Make.

A sewing machine looks intimidating sitting in its box. Most beginners get one for a project, set it on a shelf, and never plug it in. The good news: 90% of modern domestic machines work the same way. Once you've threaded one, you can thread almost any of them.

This walkthrough from Sew Bake Make's Candice covers the full first-time-user flow - learning the parts, picking a needle and thread, winding and loading the bobbin, threading the top, sewing your first straight seam, trying a zigzag, and dialing in the tension. Eight steps, twelve minutes of source video, and you've got a working machine.

Step-by-Step Guide

1

Step 1: Get to Know Your Machine

0:42
Step 1: Step 1: Get to Know Your Machine

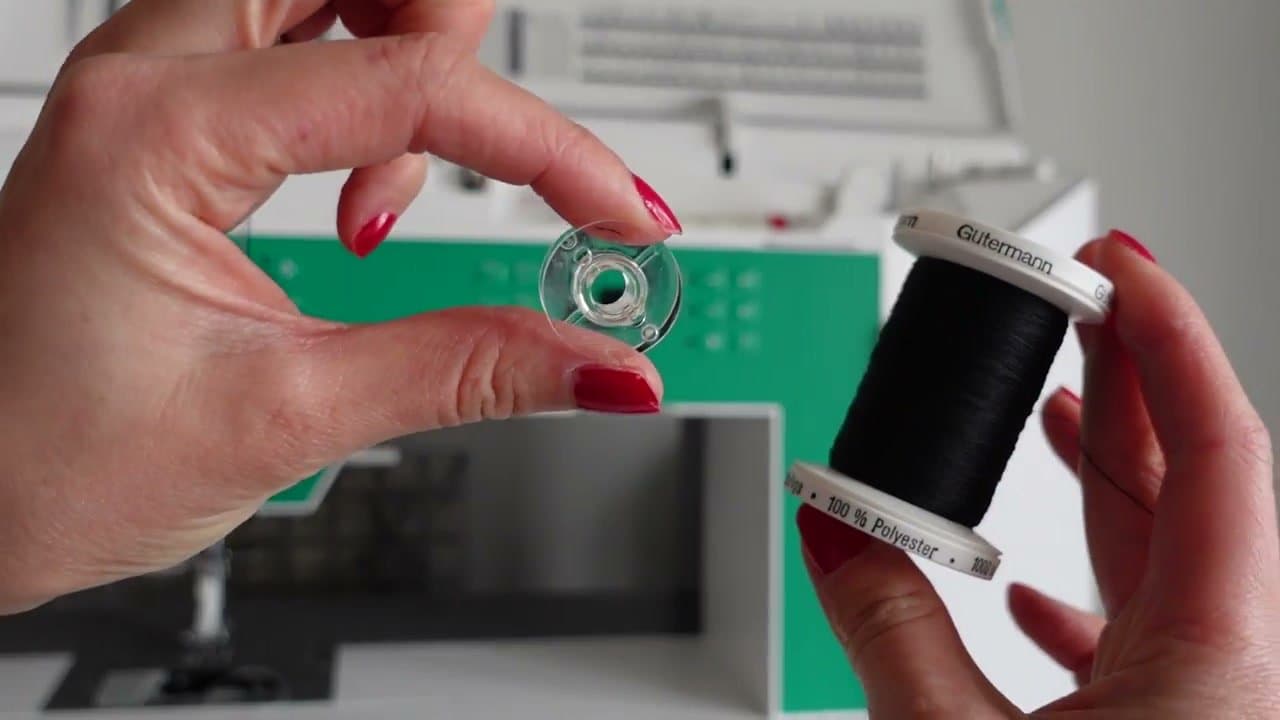
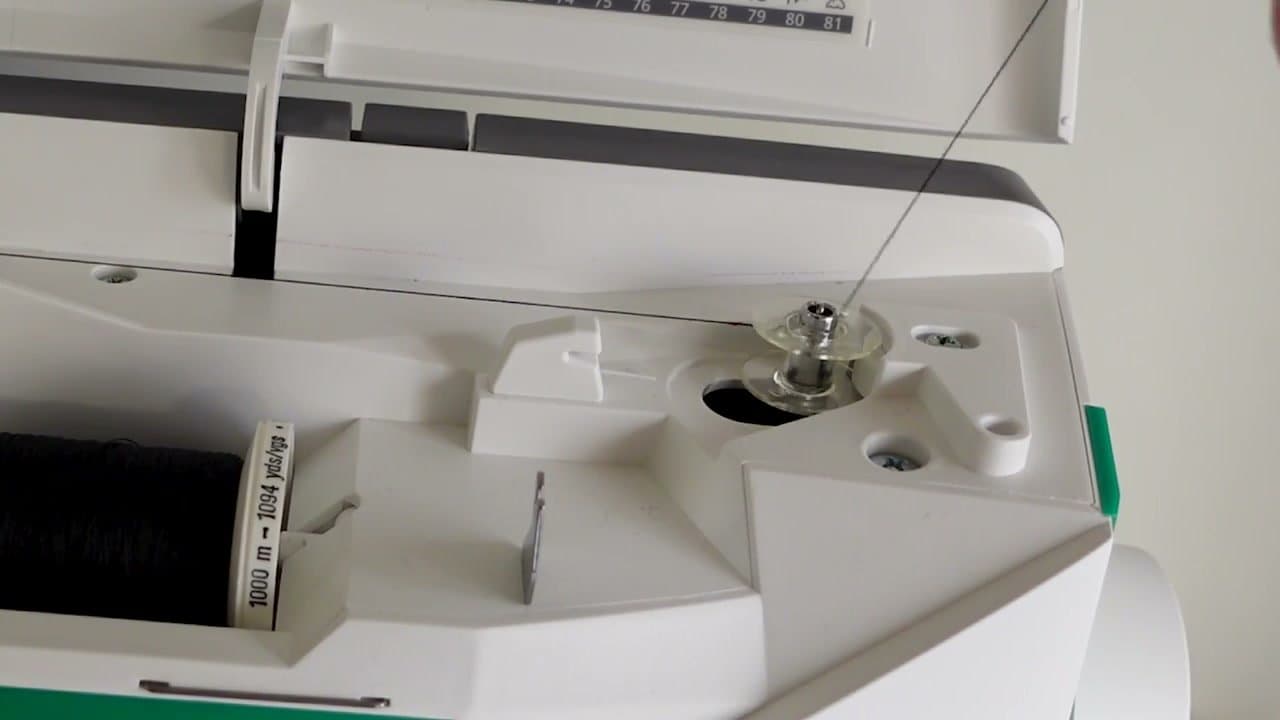
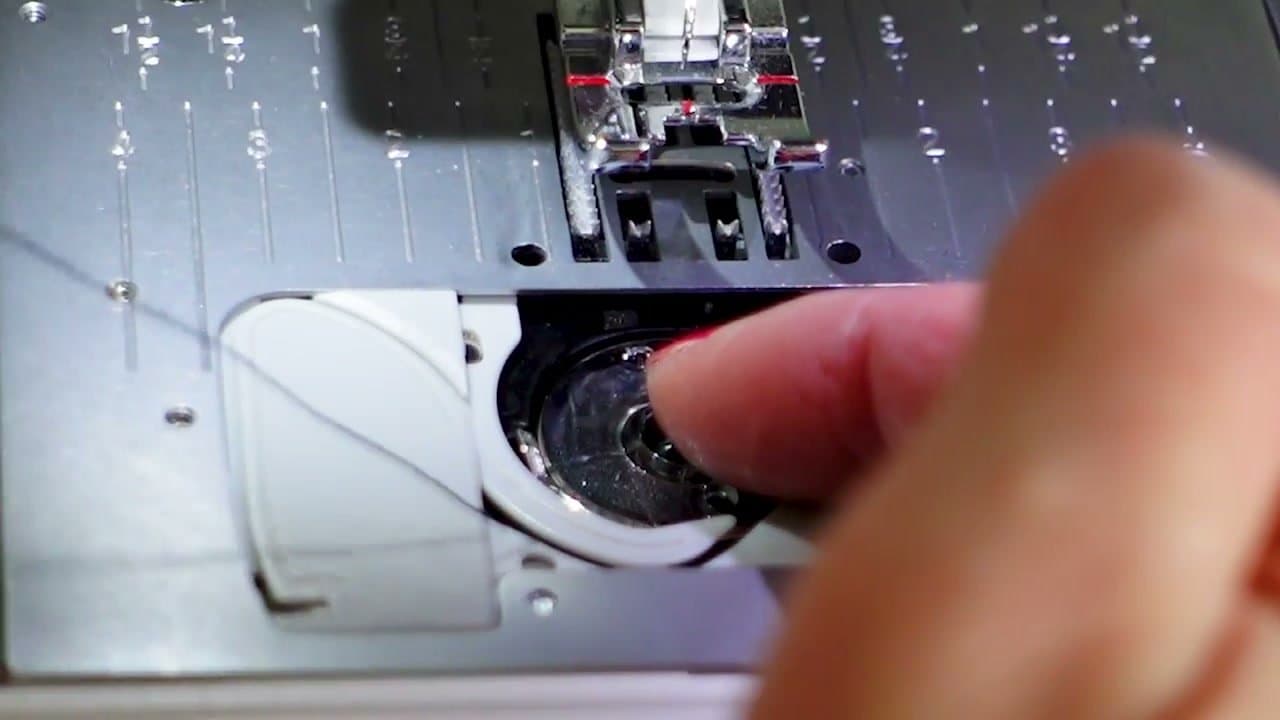
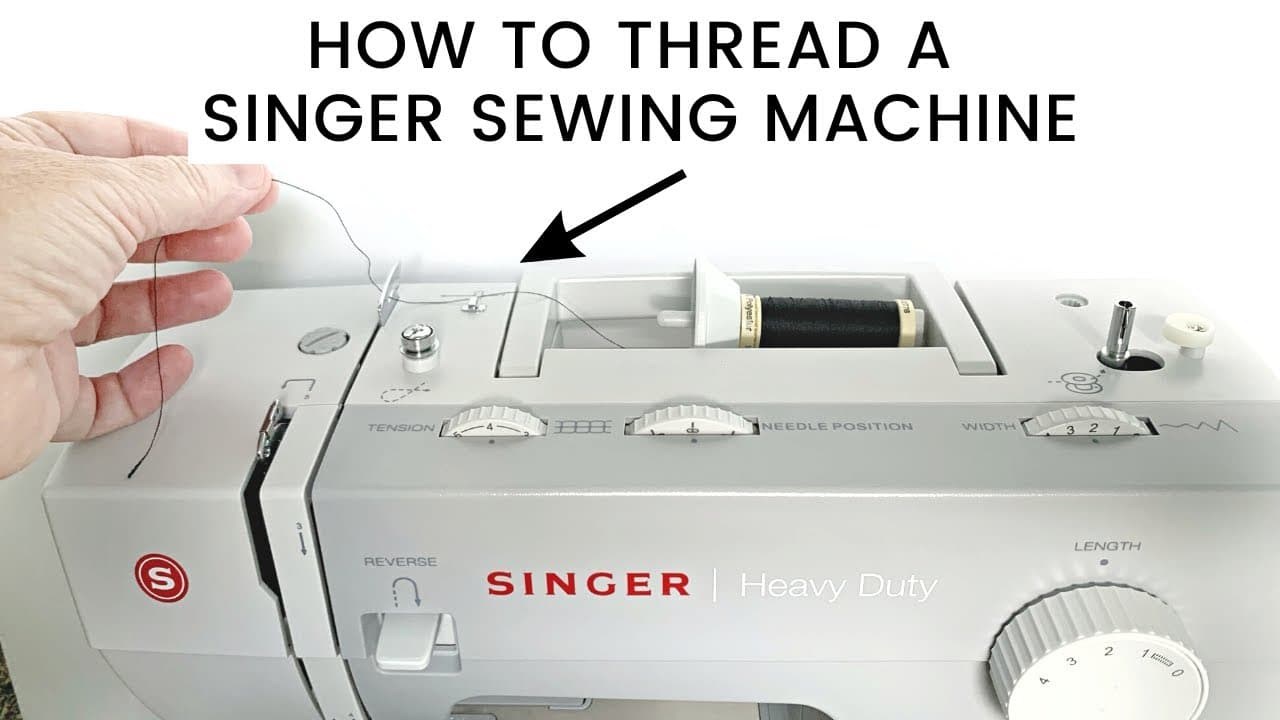
Set your machine on a flat surface and take a minute to find the parts. Most modern machines have the same basics: a hand wheel on the right (turns the needle up and down by hand), a presser foot lever (raises and lowers the foot that holds your fabric), the feed dogs (the small spiky teeth that pull fabric through), the bobbin case below the needle plate, the spool pin on top for the upper thread, and a tension dial.

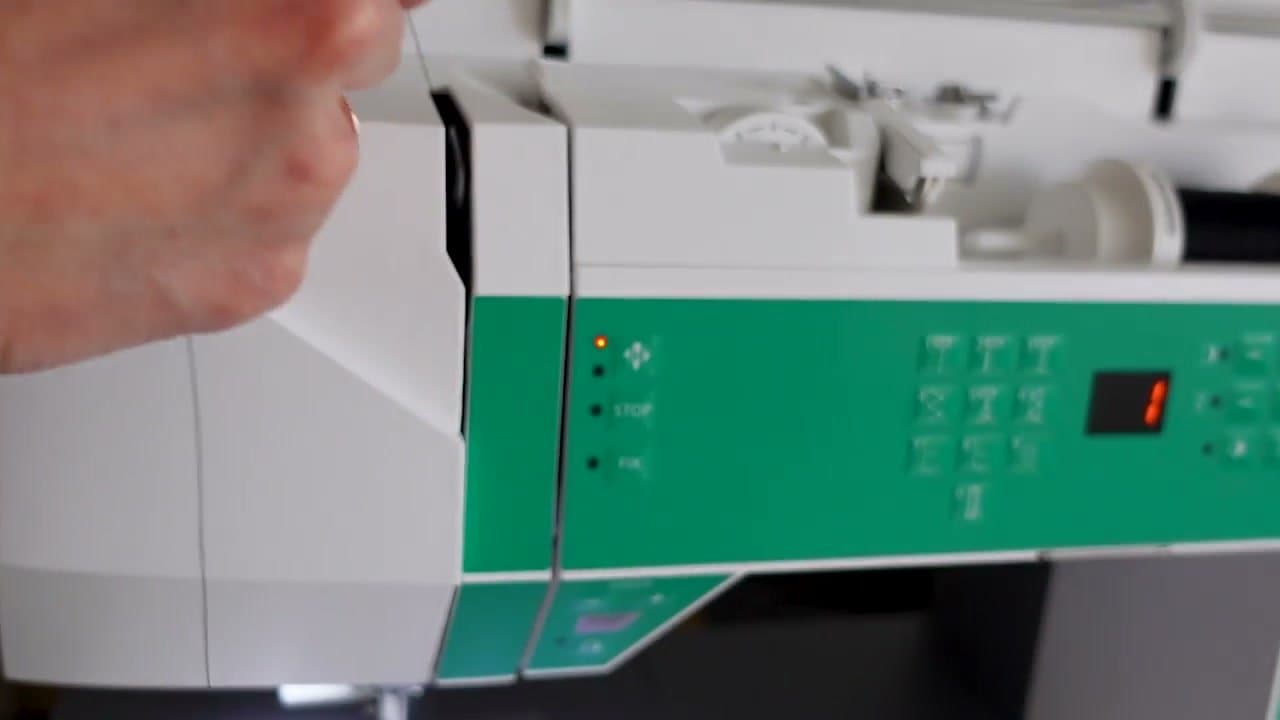
If your machine is computerized, the stitch length and width are controlled by buttons. Mechanical machines use dials. Either way, the parts do the same thing.

Tip

Pop the bottom storage compartment off if your machine has one. It uncovers the free arm, which is what lets you sew small tubes like sleeves and pant legs.

2

Step 2: Pick the Right Needle and Thread

3:05
Step 2: Step 2: Pick the Right Needle and Thread

For most projects, you want a universal 80/12 or 90/14 needle. The number is the size; bigger numbers handle heavier fabrics. Universal needles work on most woven cotton, linen, and quilting fabric.

For thread, use 100% polyester all-purpose (also called sew-all). Mettler and Gutermann are reliable brands - cheap thread is fuzzy and jams machines. Match the thread color to your fabric, or get a neutral grey that disappears in a wide range of colors.

Tip

Save the multipack of needles your machine came with. The pack usually includes universal, ballpoint (for knits), and denim sizes - swap to the right one when your fabric changes.

3

Step 3: Wind the Bobbin

3:50
Step 3: Step 3: Wind the Bobbin

The bobbin holds the lower thread. Place a thread spool on the top spool pin and slide a spool cap over the end. Follow the bobbin-winding thread path printed on the machine - usually left to a tension disc, then to the bobbin.

Thread the tail through the small hole in the bobbin from inside out, then push the bobbin onto the bobbin winder spindle and click it to the right (or flip the lever, depending on your machine). Press the foot pedal and let it wind. It stops automatically when full.

Tip

Don't fill the bobbin all the way at the highest pedal speed - go slow at first. Lopsided winding creates uneven tension when you sew.

4

Step 4: Drop the Bobbin Into the Bobbin Case

4:20
Step 4: Step 4: Drop the Bobbin Into the Bobbin Case

Open the bobbin cover under the needle plate. Drop the bobbin in so the thread comes off counterclockwise - it should look like the letter P from above. That direction matters; reversed bobbins cause skipped stitches.

Pull the thread through the slot in the bobbin case and follow the small arrows. Hold the bobbin down with one finger as you pull the thread through so it doesn't pop back out.

Tip

If the thread won't pull through smoothly, the bobbin probably went in clockwise. Pull it out, flip it over, and drop it back in.

5

Step 5: Thread the Top

4:55
Step 5: Step 5: Thread the Top

Lift the presser foot lever (this opens the tension discs and lets the thread slide in). Follow the threading arrows printed on your machine - usually across to the upper thread guide, down past the tension plate, U-turn back up to the take-up lever, then back down through the hook above the needle.

Thread the needle from front to back. If your machine has an automatic needle threader, use it - the small hook bends the thread through the eye for you so you don't have to squint.

Tip

If you skip the take-up lever (the hook at the top that moves up and down), your stitches will birds-nest underneath. Always check it's threaded.

6

Step 6: Sew Your First Straight Seam

8:15
Step 6: Step 6: Sew Your First Straight Seam

Place two layers of fabric right sides together under the presser foot. Line the raw edge up with the seam allowance guide on the needle plate - 5/8" is standard for garments, 1/4" for quilting.

Lower the presser foot. Sew a few stitches forward, then press the reverse button and stitch back over those few stitches. This is a backstitch and it locks the seam so it doesn't unravel. Then sew forward to the end of your seam and backstitch again.

Tip

Don't stare at the needle - look at the seam allowance guide on the needle plate. Watching where the fabric meets the line is the trick to sewing straight.

7

Step 7: Try a Zigzag Stitch

9:25
Step 7: Step 7: Try a Zigzag Stitch

Select the zigzag stitch on your machine - usually stitch number 5 on computerized models, or a labeled position on a mechanical dial. The width controls how wide each zigzag swings; the length controls how close together each stitch sits.

Sew a sample on a fabric scrap with the width set to 4 and the length to 1.5 to start. Zigzag is what holds knits together (since it stretches with the fabric) and what finishes raw edges if you don't have a serger.

8

Step 8: Set the Tension

10:45
Step 8: Step 8: Set the Tension

Tension controls how tight the upper and lower threads pull against each other. The default for most machines is 4. Lighter fabric usually wants lower tension; heavier fabric wants higher.

Sew a test seam on a scrap, then look at both sides. The stitches should look balanced - the same loops on top and bottom. If the top thread is being pulled to the underside, lower the upper tension. If the bobbin thread is showing on top, raise it. Adjust one number at a time and re-test.

Tip

Wind a bobbin with a contrasting thread color and use it for tension testing. Different colors top and bottom make tension issues impossible to miss.

Products Used

☐ The Checklist

How to Use a Sewing Machine: 8-Step Beginner Walkthrough

Tools
4
Materials
4
Steps
8
Video
12 min

Your Guide

Sew Bake Make

As an Amazon Associate we earn from qualifying purchases. Links on this page may be affiliate links - clicking them and buying doesn't change your price, but helps support ShowMeStepByStep.

Tags

Related Tutorials