1
Step 1: Set the spool on the spindle
0:30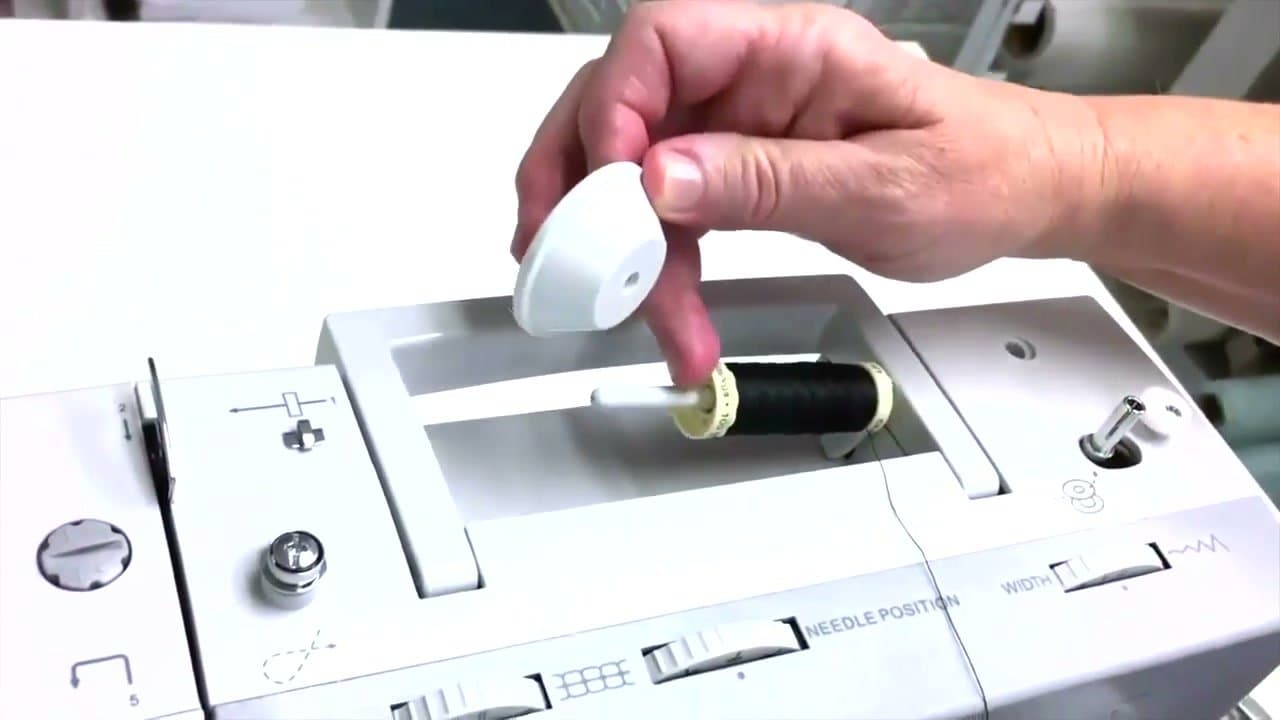
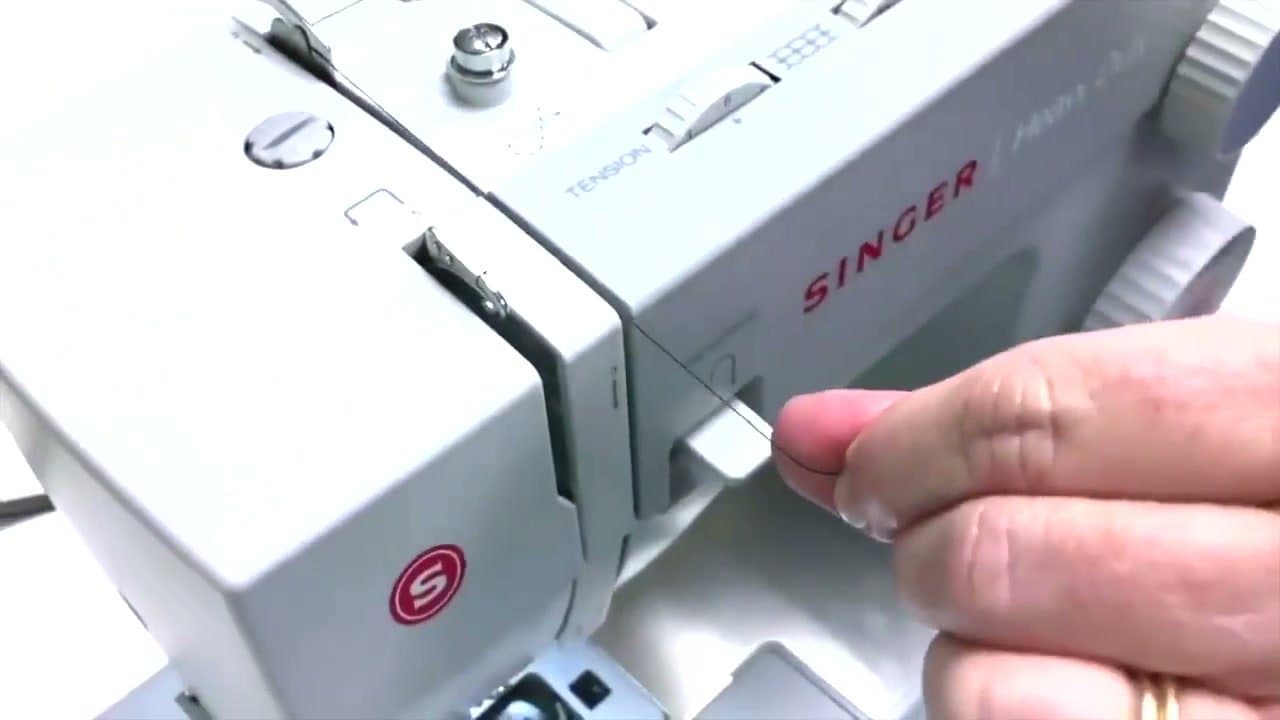
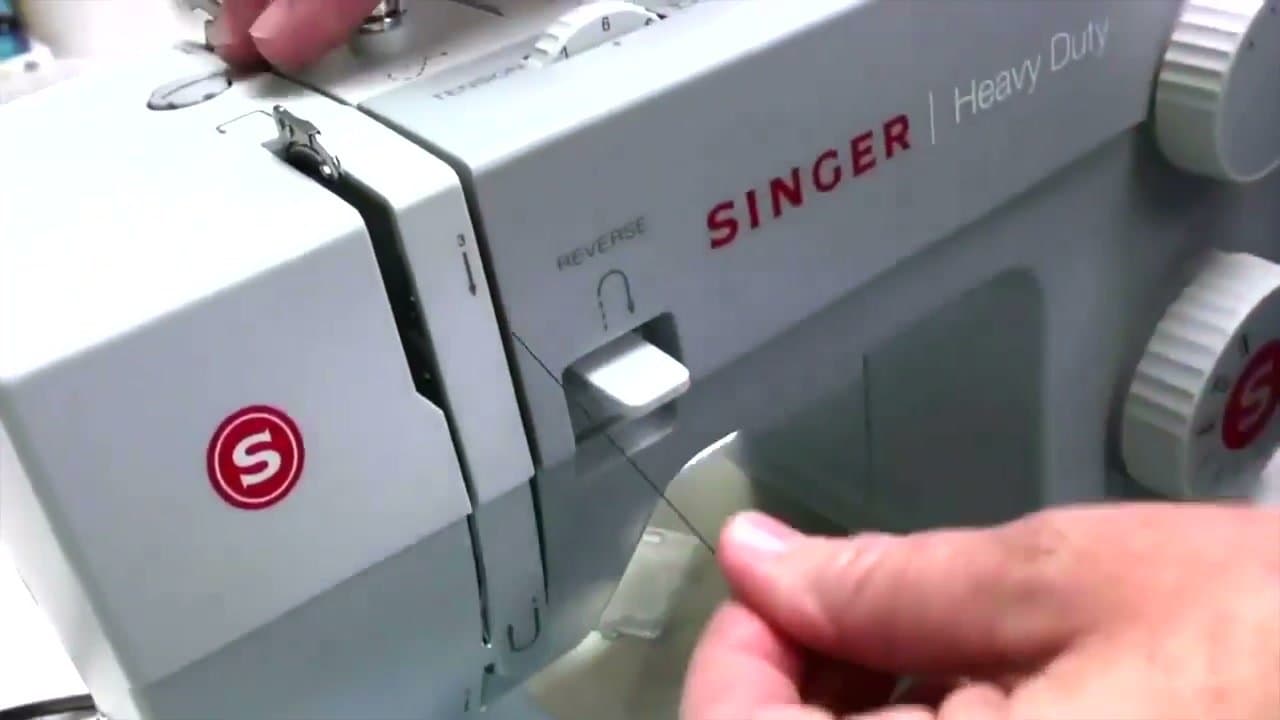
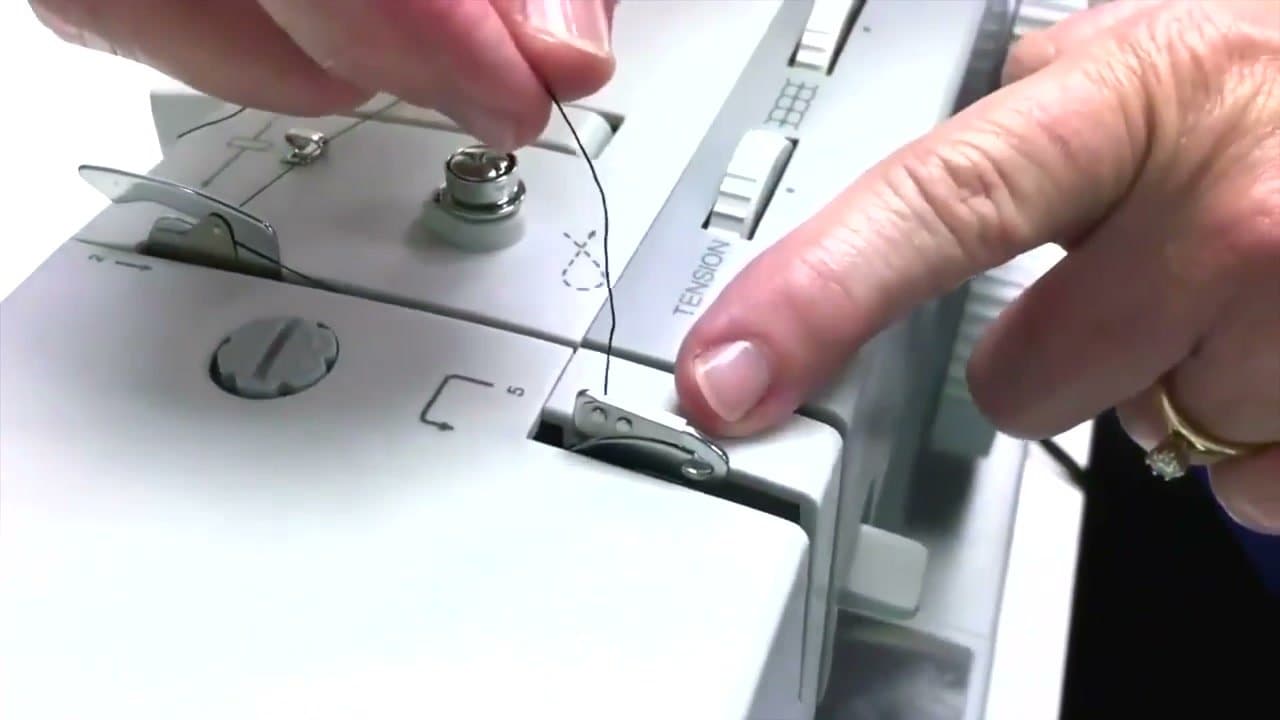
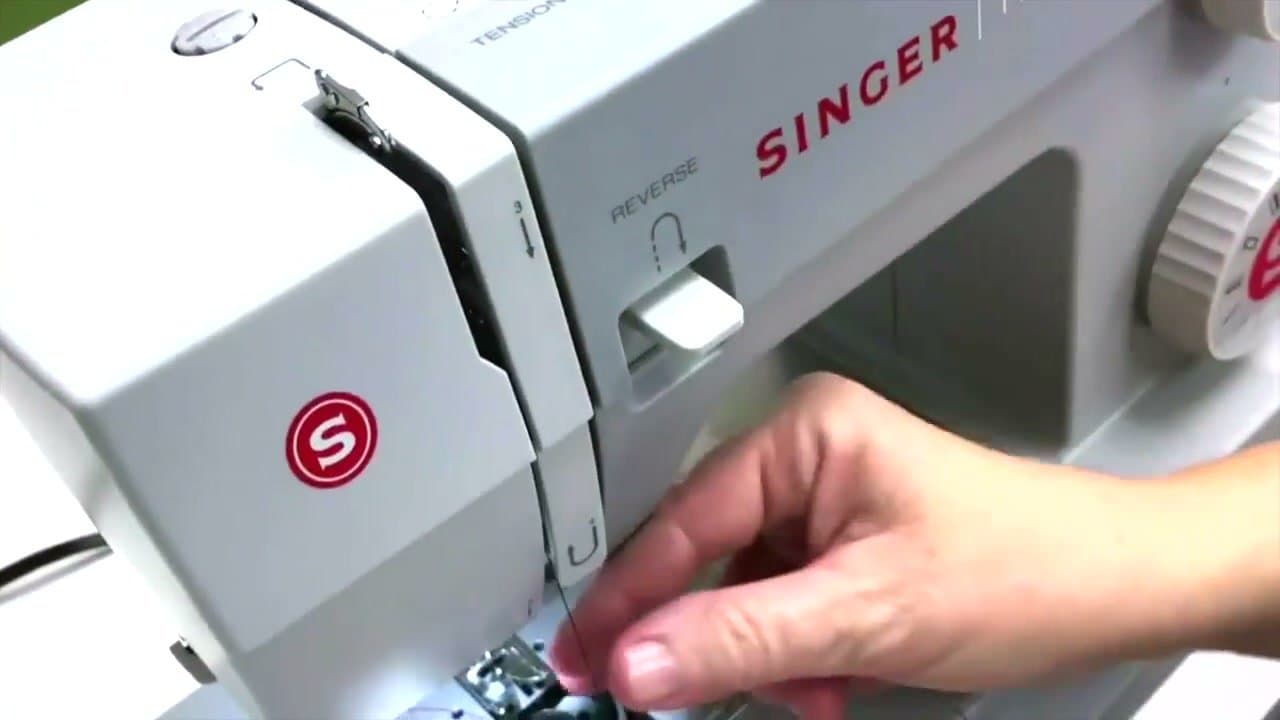
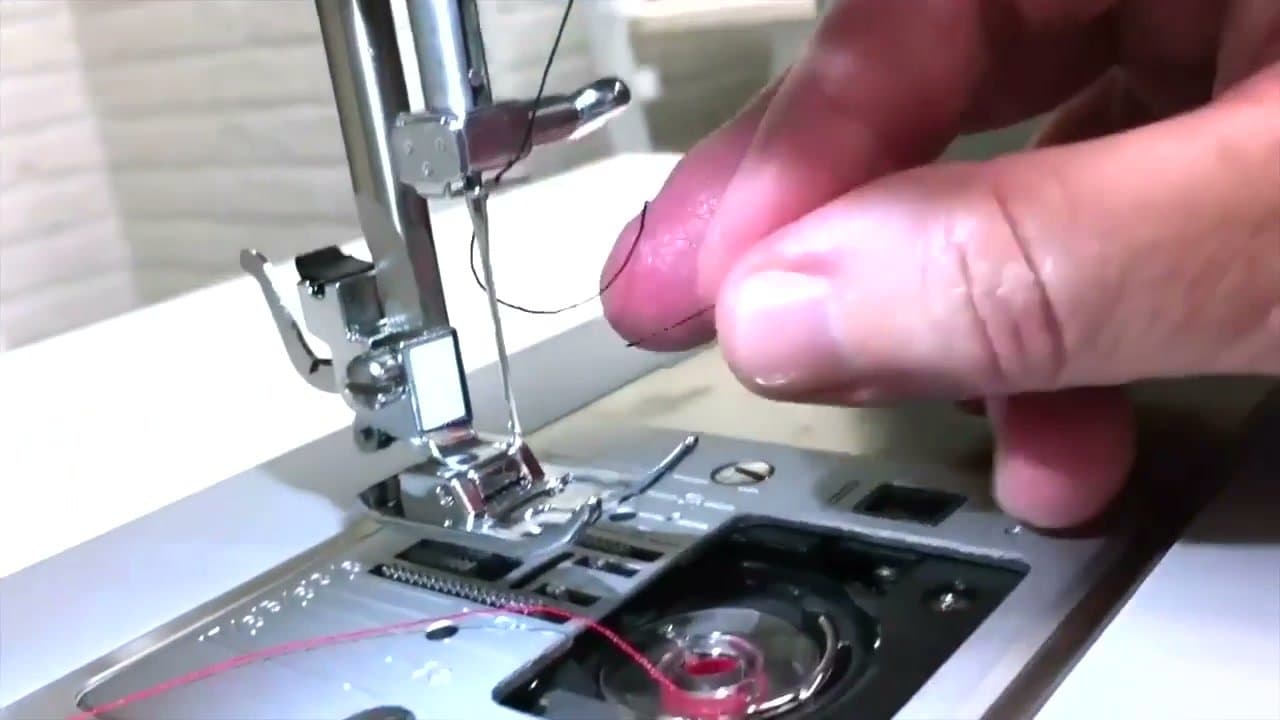
Drop the spool onto the top spindle. Push the cap on so the thread feeds off in the direction your manual specifies. Most machines pull the thread from over the top of the spool, but some pull from underneath, so check before you start.
Don't ram the cap down. The spool should turn freely as you pull thread off it.
Tip
Smaller spools sit better when you flip the cap to its narrow side. That keeps the thread from slipping off the top.