How to Iron On a Patch

SewingEasy10:019 stepsPart of DIY Crafts for BeginnersBrowse more →
The finished result: How to Iron On a Patch
Also in:Adulting

By CraftingStepByStepPublished

Based on a video by Under London Lights.

An iron-on patch has a layer of heat-activated glue on the back. Get the denim hot, put the patch down, cover it, press for a couple of minutes and the glue melts into the weave. No needle, no thread. This walkthrough follows Under London Lights on YouTube, who covers a whole sherpa-lined jean jacket in patches using a regular household iron, a bath towel and a bed sheet.

Her method is slower than the 30-second version printed on most patch packets, and that is why it holds. Two to three minutes of pressure with the iron moving the whole time, then a fingertip check of every edge. Any edge that lifts gets more heat before she moves on. The sheet between the iron and the patch stops the embroidery from scorching or going shiny.

What you need

A steam iron on its hottest setting with the steam turned off, a thick bath towel to pad the table, a Sharpie or tailor's chalk for marking, a clean cotton bed sheet or pillowcase as a pressing cloth, and your patches. A denim jacket is the classic canvas, but the same routine works on a backpack, a jean pocket or a canvas tote.

When to sew instead

Iron-on glue does not love stretch fabric, nylon, leather or anything that cannot take high heat. It also gives up eventually on a patch that goes through the dryer every week. For those, sew the patch on or tack an ironed patch down with a few stitches around the edge. If you have never threaded a needle, the hand sewing basics take a few minutes to pick up, and the same skills fix a hem on the jeans you wear the jacket with.

What you'll need

Step-by-Step Guide

9 steps · about 10 minutes.Check off each step as you go and your progress saves automatically.

1

Step 1: Lay the Jacket Flat on a Bath Towel

0:54
Step 1: Lay the Jacket Flat on a Bath Towel - How to Iron On a Patch

Spread a thick bath towel over a table and lay the jacket on top, front side up. Smooth the body flat with your hands, pull the sleeves straight and open the collar so nothing is bunched under the spot you plan to press.

Plug the iron in and turn it to its highest setting with the steam off. While it heats, set the patches, a Sharpie and a bed sheet next to the jacket so you are not hunting for them with a hot iron in one hand.

Tip

No ironing board needed. A folded towel on a sturdy table gives you a bigger, flatter surface than a board for a jacket back.

2

Step 2: Position the Patch and Mark the Spot With a Sharpie

1:36
Step 2: Position the Patch and Mark the Spot With a Sharpie - How to Iron On a Patch

Set the patch on the jacket and move it around until it sits where you want it. Turn it, nudge it, step back and look at the whole jacket. Under London Lights starts with the sleeves and chest because those spots are trickier than the big open back.

Happy with it? Lift one edge at a time and put a tiny Sharpie dot at two or three points around the outline. The patch comes off for the next step, and the dots put it back in exactly the same place.

Tip

Sharpie dots vanish under the patch. On a pale wash near an edge, use tailor's chalk instead so a stray mark brushes off.

3

Step 3: Preheat the Denim With the Iron for a Minute or Two

2:10
Step 3: Preheat the Denim With the Iron for a Minute or Two - How to Iron On a Patch

Slide the patch out of the way and run the hot iron over the marked area. Keep it moving for one to two minutes and hold the jacket flat with your free hand so the denim does not bunch under the soleplate.

This is the step most people skip. Warm denim lets the glue on the patch melt into the fabric from both sides instead of only from the top, which is the difference between a patch that stays and one that peels at the first wash.

Tip

Steam off. Moisture in the denim fights the glue. If your iron drips, empty the tank before you start.

Used in this steprowenta focus steam iron
4

Step 4: Place the Patch and Cover It With a Bed Sheet

2:18
Step 4: Place the Patch and Cover It With a Bed Sheet - How to Iron On a Patch

Put the patch back down on the Sharpie dots, glue side against the denim. Check it is straight one more time. Once the glue melts there is no nudging it.

Lay a clean cotton bed sheet or pillowcase over the patch and smooth it flat with your hand. This is your pressing cloth. It keeps the iron off the embroidery so the threads do not scorch, melt or turn shiny, and it stops any glue that oozes out from ending up on your soleplate.

Tip

One layer of sheet is enough. A folded towel here blocks too much heat and the glue never melts.

5

Step 5: Press Through the Sheet for 2 to 3 Minutes, Iron Moving

2:43
Step 5: Press Through the Sheet for 2 to 3 Minutes, Iron Moving - How to Iron On a Patch

Set the iron down on the sheet over the patch and lean on it. Move it in slow circles the whole time, two to three minutes, working from the middle of the patch out to the edges. Do not park it in one spot, and do not lift it to check every ten seconds.

It feels like a long time. The patch packet probably says 30 seconds. Under London Lights found the short version left the edges lifting, so she presses until the whole patch has had heat and weight, edges included.

Tip

Denim and a towel underneath soak up a lot of heat. Thick jacket seams near the patch may need an extra minute.

6

Step 6: Peek Under the Sheet and Press the Edges With a Finger

2:46
Step 6: Peek Under the Sheet and Press the Edges With a Finger - How to Iron On a Patch

Lift a corner of the sheet and look at the patch. Run a fingertip around the whole edge and press down as you go. The denim will be hot, so go quick. A stuck edge feels like part of the jacket. A loose edge lifts against your nail.

Any edge that lifts, cover it again and give it another minute of heat with the iron pressing right on that spot. Then check again. When every edge holds, leave the patch to cool for a minute before you touch it more.

Tip

Corners and points lift first. On a shield or star shaped patch, spend the extra heat on the points.

7

Step 7: Mark the Cuff and Repeat for the Small Patches

3:20
Step 7: Mark the Cuff and Repeat for the Small Patches - How to Iron On a Patch

Every other patch gets the same routine: Sharpie dots, preheat, place, sheet, press, check. Under London Lights does the cuffs next. She lays the patch on the folded cuff, marks the spot with a Sharpie dot at each end, then irons it exactly as before.

Cuffs and sleeves are double thickness with seams close by, so slide a rolled towel inside the sleeve first. That gives the iron one flat layer to press on and stops the back of the sleeve from getting glued to the front.

Tip

Do small patches near buttons and pockets with the tip of the iron. The soleplate does not need to cover the whole patch at once.

8

Step 8: Centre the Big Back Patch With Both Hands

5:58
Step 8: Centre the Big Back Patch With Both Hands - How to Iron On a Patch

Flip the jacket over and smooth the back flat. Lay out every patch you plan to put on the back so you can see the whole arrangement before anything gets ironed. The big one goes on first and everything else fits around it.

Hold the main patch with both hands and centre it between the side seams and below the yoke. Measure from each side seam to the patch edge if you are not sure. Then ask someone else to look. A back patch that is off by half an inch is the first thing everyone notices.

Tip

Mark the centre of the patch with a chalk tick on the top edge and line it up with the centre seam of the yoke.

9

Step 9: Check the Edges and Reheat Anything That Lifts

6:23
Step 9: Check the Edges and Reheat Anything That Lifts - How to Iron On a Patch

After the back patch has had its two to three minutes, fold the sheet away and run a finger around the entire edge. The big oval in the video needed a second round of heat on one side. That is normal for a large patch, because the iron cannot sit on all of it at once.

Cover the loose section, press for another minute, and check again. Once every patch on the jacket lies flat, let it cool completely. Add enamel pins last. They go through the fabric and cannot sit under the iron.

Tip

Wash the jacket inside out in cold water and skip the dryer. A patch that lifts after a wash can be tacked down with a few stitches around the edge.

Keep going

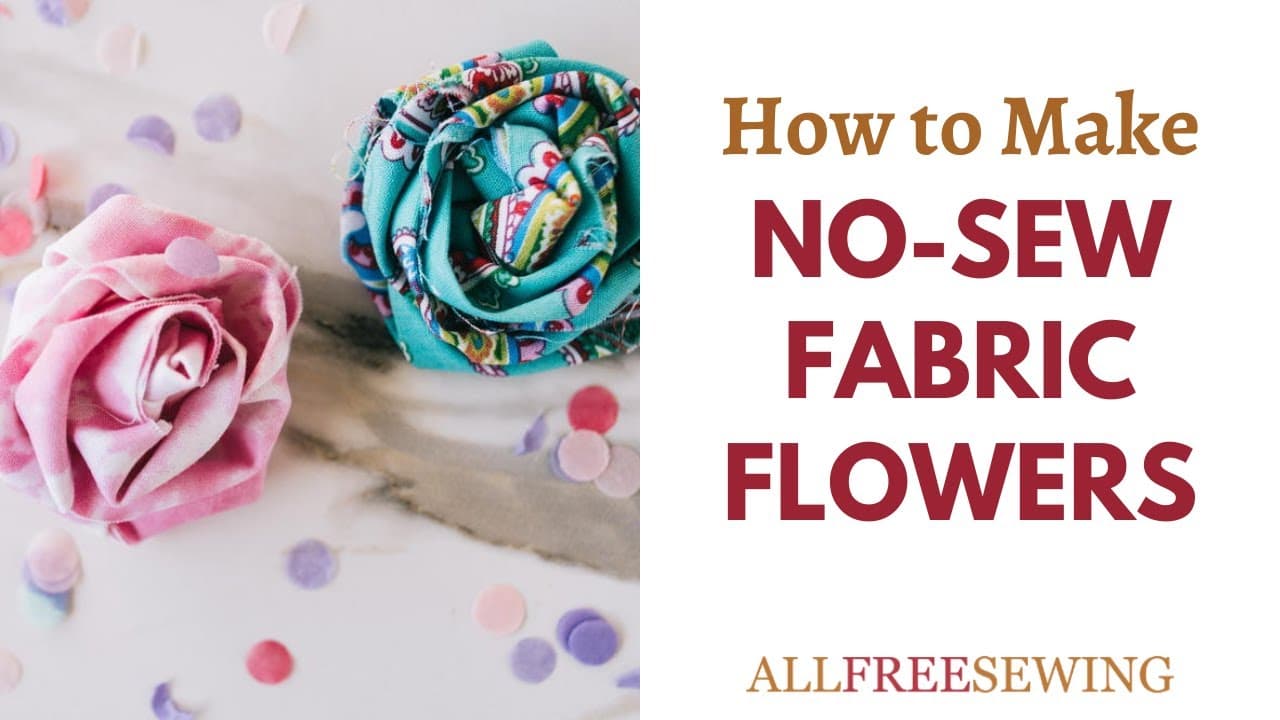
How to Make a No Sew Fabric Flower (Rolled Rose Technique)

7 steps · about 8 minutes

Products Used

The Checklist

How to Iron On a Patch

Tools
5
Materials
3
Steps
9
Video
10 min

Tools we recommend

Your Guide

Under London Lights

As an Amazon Associate we earn from qualifying purchases. Links on this page may be affiliate links - clicking them and buying doesn't change your price, but helps support CraftingStepByStep.

Tags

Sunday How-To

New sewing tutorials, every Sunday

One short email with the week's best step-by-step guides. Free, no spam, unsubscribe anytime.

Did this work for you?

What's next

Related collections

Curated theme pages that include this tutorial.

Weekly Digest

Liked this sewing tutorial?

Pick the categories you want to hear about. Weekly digest of new step-by-step tutorials. No spam, easy unsubscribe.

Send me tutorials about

We only email about new tutorials. Easy unsubscribe anytime.