To sew a button by hand: thread a needle with a doubled length of thread and knot the ends. Position the button on the fabric, push the needle up through one hole and down through the next. Repeat 4-6 times in an X pattern. Wrap thread under the button to build a shank, then tie off.
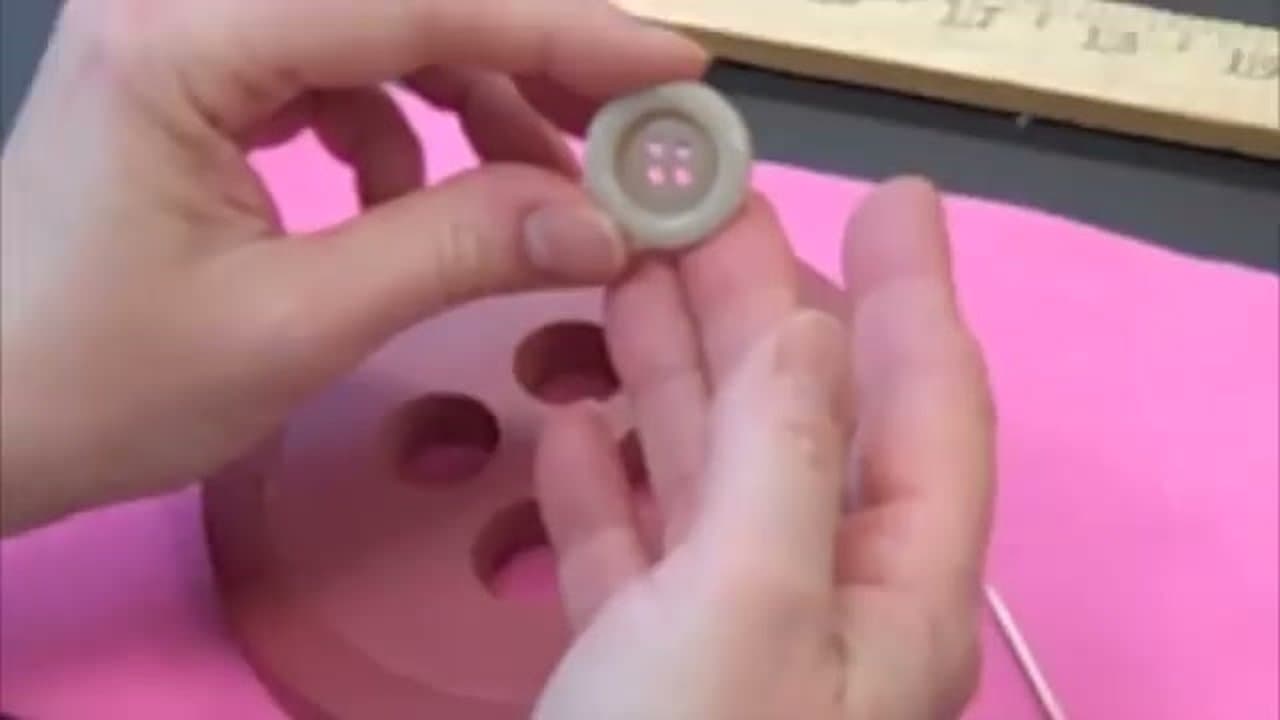
- Check the button orientation — the side with the raised ridge faces out; the flat side sits against the fabric.
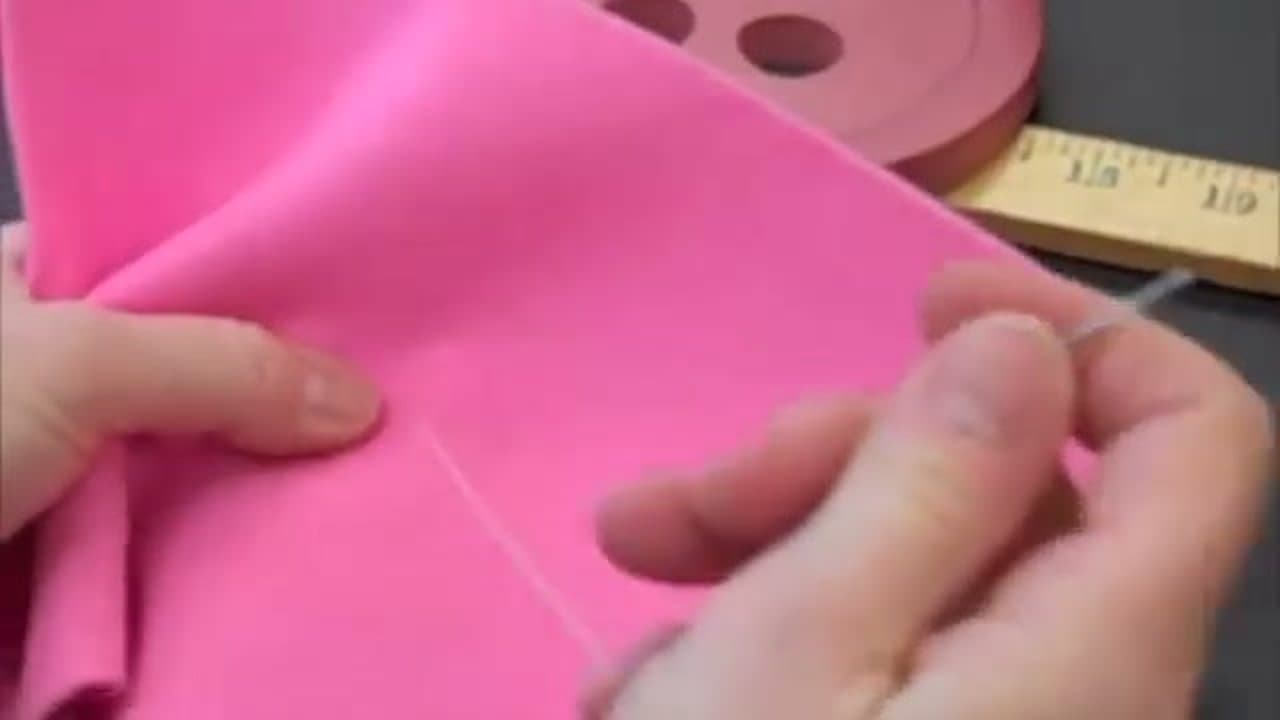
- Thread the needle with about 18 inches of thread, double it back, and tie the two ends together with a small knot.
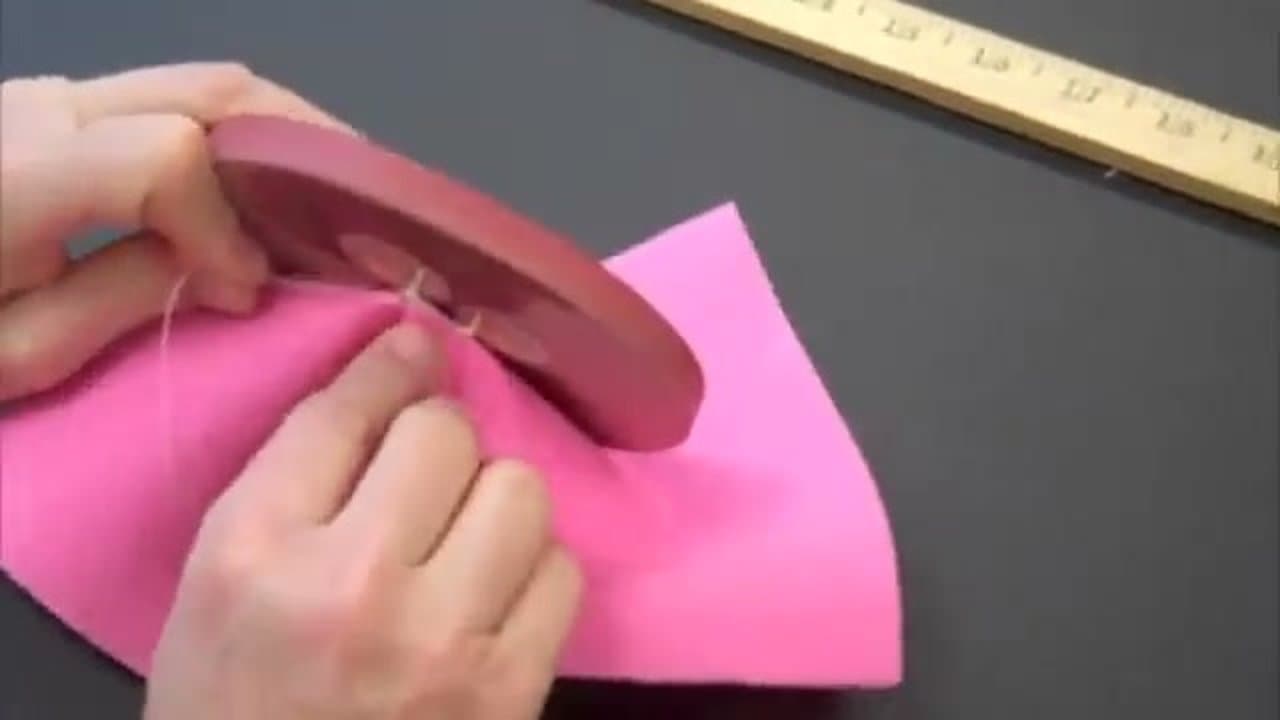
- Anchor the thread by pushing the needle up through the back of the fabric where the button will sit.
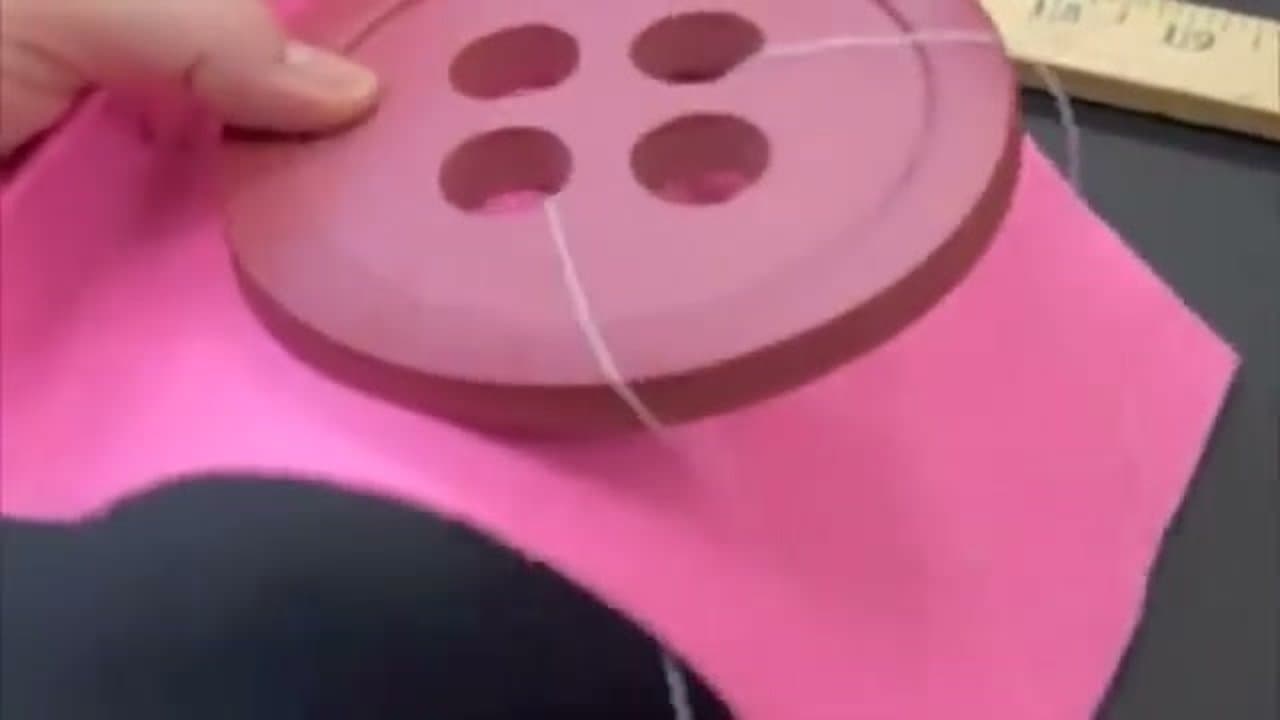
- Position the button over the anchor stitch and push the needle up through one hole and down through the next.
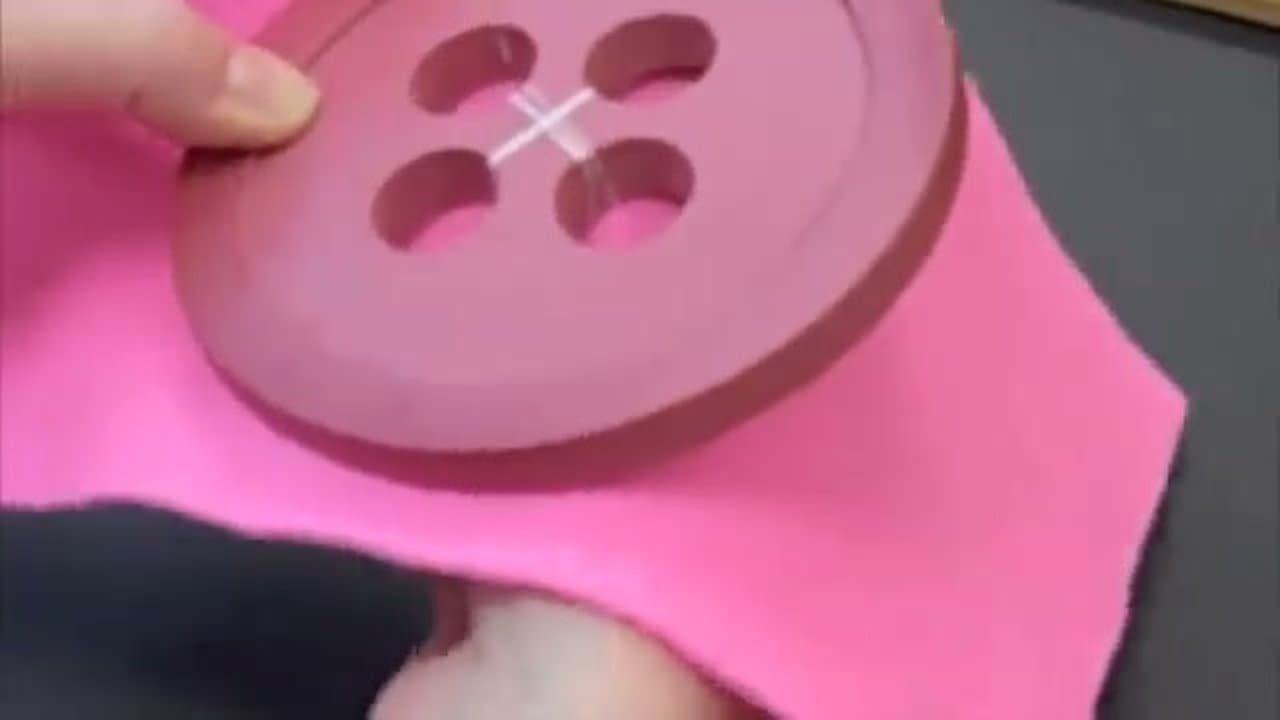
- Repeat 4-6 times, alternating diagonally between the four holes to form an X pattern (or two parallel passes for a 2-hole button).
- Build a shank by wrapping thread 5-6 times around the threads between the button and the fabric — this gives the button room to sit in the buttonhole.
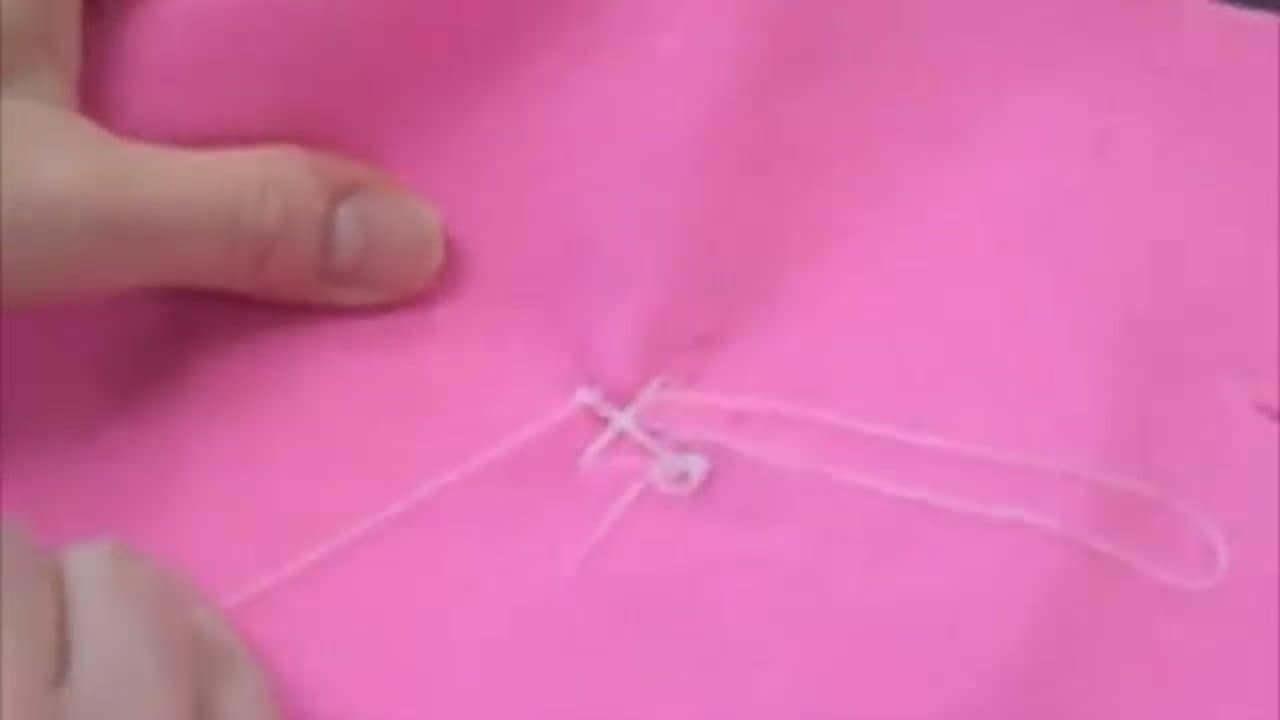
- Tie off by passing the needle under the fabric and looping the thread through itself two or three times. Trim the excess.
A hand-sewn button takes about five minutes and saves a shirt that might otherwise end up in the trash. The shank step is what most beginners skip, but it's the difference between a button that buttons cleanly and one that pulls sideways every time. For matching projects, see our sewing machine threading guide and hem-your-own-pants tutorial.
Common questions about sewing a button
Answers to the questions we see most often about hand-sewn buttons — what thread to use, why your button keeps falling off, and how tight to pull each stitch.
What's the easiest way to sew a button?
The X stitch with a doubled thread, finished with a wrapped shank. Doubling the thread halves the number of passes you need; the X pattern is faster than parallel stitching and looks cleaner. The shank step (wrapping thread between the button and fabric) is what makes the button sit right in the buttonhole instead of pulling flat against the shirt.
What kind of thread should you use to sew on a button?
All-purpose polyester thread is the standard — strong, fine enough to pass through small button holes, and won't snap under load. Match the thread color to the button (or to the fabric if you want the stitch to disappear). Avoid hand-quilting thread or upholstery thread for shirts: they're too thick to pass through standard four-hole buttons cleanly.
How do you tie off thread when sewing a button?
Pass the needle to the back of the fabric and make two small stitches in the same spot, leaving a small loop on the second pass. Pull the needle through the loop and pull tight to form a knot. Repeat once more for security, then trim the thread close to the knot. Don't tie off on top of the button — the knot will rub against your skin or catch in the buttonhole.
Why does my button keep falling off?
Three usual causes: not enough passes through the holes (4-6 is the minimum), no shank wrap (so the button pulls flat and rips threads under tension), or a knot tied directly under the button instead of secured with stitches. Replacing all three takes only a few minutes and the next button you sew won't budge for years.
How tight should a sewn-on button be?
The button should sit flush with the fabric but not be pulled tight against it. After the X-stitch passes, the button needs about 1-2 mm of clearance — enough room for the buttonhole's far edge to slide between the button and the fabric. The shank wrap creates that clearance. If the button feels squashed against the shirt, you skipped the shank.
How do you sew a button without a sewing machine?
You can't sew a button on with a sewing machine — buttons are always sewn by hand. The machine's needle and presser foot can't navigate four small holes, and the standard machine stitch isn't strong enough on its own to hold a button under buttonhole tension. Even commercial garment factories sew shirt buttons by hand or with a special-purpose button-attaching machine that mimics the hand technique.