How to Darn a Sock

SewingEasy6:486 steps
Also in:Crafts

By CraftingStepByStepPublished Updated

Based on a video by WonderFil Specialty Threads.

Socks wear out faster than almost any other piece of clothing. Darning is the classic fix - a small woven patch over the hole that's stronger than the fabric around it and looks intentional rather than worn.

This walkthrough from WonderFil shows the basic woven darn (matching thread, invisible mend) plus the visible mending option (contrast thread, decorative). Both use the same technique. The trick is the foundation: a grid of straight stitches across the hole that you then weave through.

You'll need a darning mushroom (a wooden tool with a curved top - any thrift shop has one, or use a tennis ball in a pinch), a darning needle, and pearl cotton thread. WonderFil's Eleganza thread is the gold standard but any pearl cotton in the right weight works.

Step-by-Step Guide

1

Step 1: Choose the right thread weight

0:50
Step 1: Step 1: Choose the right thread weight

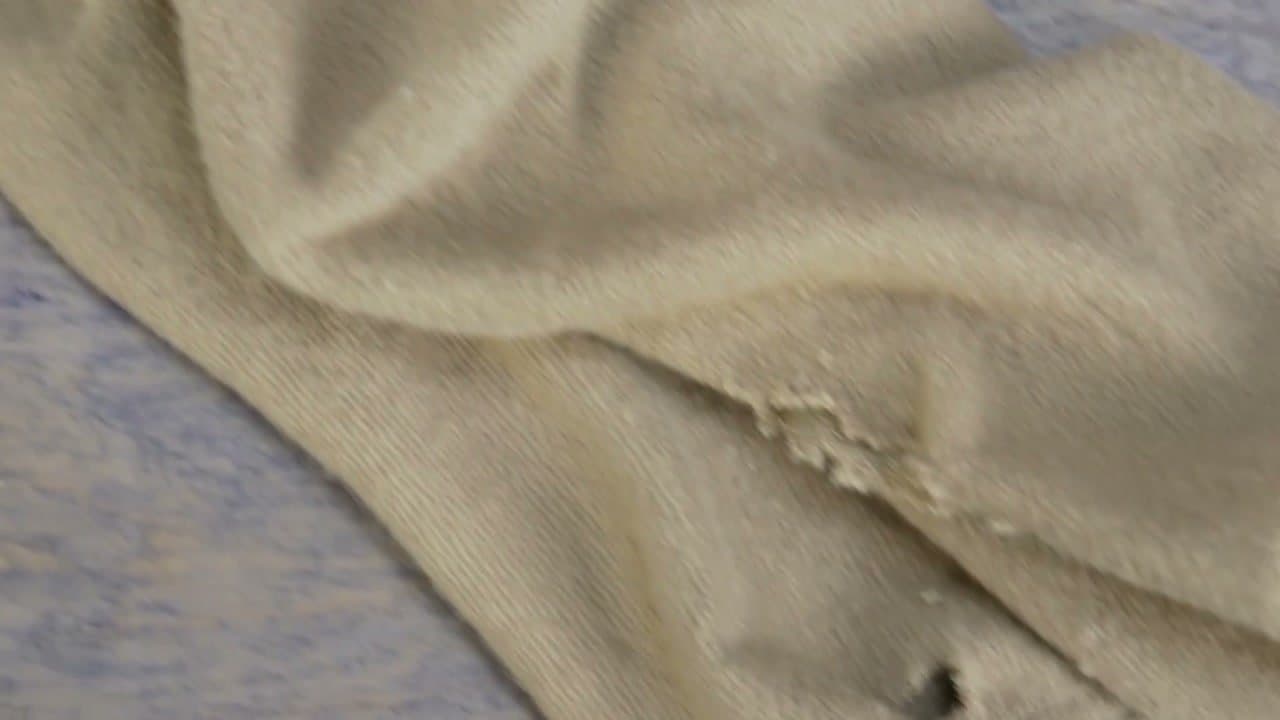
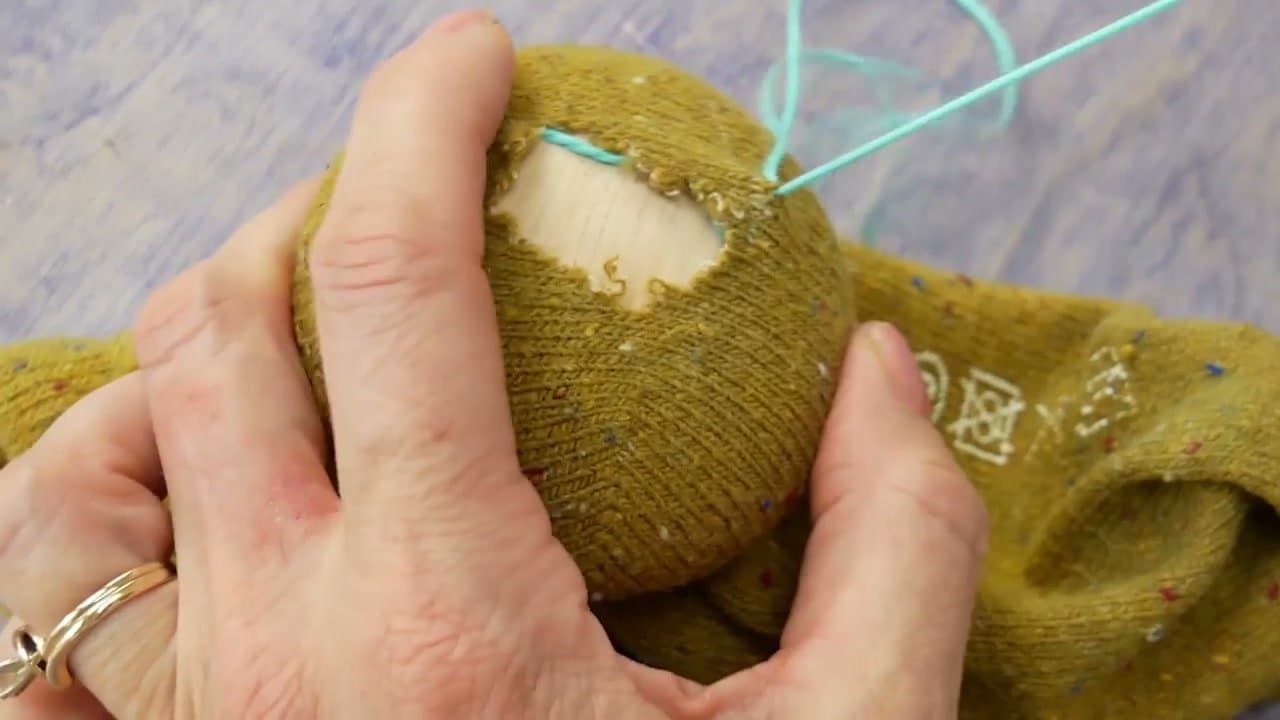
Look at the sock fabric closely. Thicker, chunkier socks need a heavier thread - Eleganza #3 weight pearl cotton matches well. Thin athletic socks or dress socks need a finer #8 weight. The middle weight #5 covers everything in between.

The patch only blends in if the thread roughly matches the sock's existing fiber thickness. A heavy thread on a thin sock leaves a stiff lump; a thin thread on a chunky sock looks ragged.

Tip

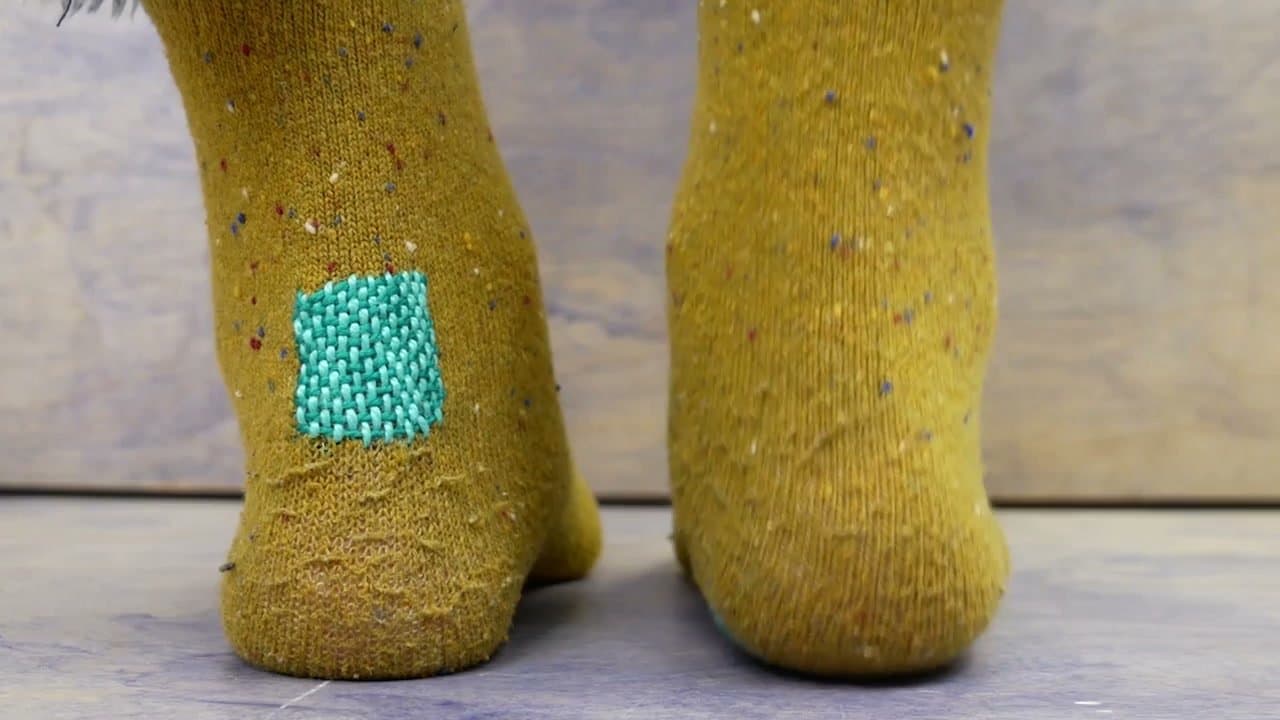
For visible-mending style (where you want the patch to show as decoration), pick a contrast color in the same weight. The thread thickness still needs to match the sock - the color is the only thing that's different.

2

Step 2: Set up the darning mushroom

2:05
Step 2: Step 2: Set up the darning mushroom

Slide the sock over the wooden darning mushroom (a curved-top tool that mimics a heel or toe shape) so the hole sits centered on the wide curved surface. The mushroom gives you a hard, smooth surface to stitch against.

Secure the sock with a hair tie or rubber band wrapped around the stem of the mushroom so the fabric stays flat and stretched out. Loose fabric makes for messy stitches.

Tip

No darning mushroom? A tennis ball or a small smooth rock works almost as well. Just slip the sock over it and hold the fabric taut with your free hand while you stitch.

Products used in this step

3

Step 3: Lay the foundation threads

2:30
Step 3: Step 3: Lay the foundation threads

Cut about 20 inches of darning thread (longer for bigger holes) and thread your darning needle. Starting at the top right corner of the hole, push the needle down through the sock fabric just past the edge of the hole. Pull the thread to the bottom edge and bring the needle back up.

Move slightly to the left and lay the next parallel thread. Continue across the entire width of the hole until you've covered slightly past both edges. These vertical foundation threads are what the next step weaves through.

4

Step 4: Weave perpendicular threads through the foundation

3:20
Step 4: Step 4: Weave perpendicular threads through the foundation

Switch to the same color or a contrast color thread (visible-mending style). Starting at the top of the patch, weave the needle perpendicular to the foundation - over the first thread, under the second, over the third, and so on across the whole row.

On the next row down, alternate the pattern: go under where you went over, and over where you went under. Continue until you've covered the entire foundation. This creates the classic woven darning patch.

Tip

Don't pull the weaving threads too tight - the patch should sit flat against the foundation, not pinch it together. Loose tension helps the finished darn flex with the sock when you wear it.

5

Step 5: Tie off and trim

4:00
Step 5: Step 5: Tie off and trim

Once you've woven across the whole hole and slightly past the edges, take the rubber band off the mushroom and slip the sock off. Push the needle through to the inside of the sock at the patch's edge.

Make a few small running stitches into the sock fabric (not through to the outside) to anchor the thread. Tie a small knot, then trim the tail short. Do the same for the foundation threads' tails on the other end of the patch.

Products used in this step

6

Step 6: Press to finish

6:20
Step 6: Step 6: Press to finish

Lay the sock flat on an ironing board, patch facing up. Run a warm iron (no steam) over the patch for a few seconds. Pressing settles the threads, smooths any waves in the patch, and helps the new fibers blend with the sock's existing knit.

The patch will look slightly bumpy when fresh; pressing flattens it so it sits comfortably under your foot. The sock should now last longer than it did before the hole.

Tip

If your sock is wool or a delicate blend, use a press cloth (a thin cotton towel) between the iron and the sock so the wool doesn't scorch.

Products Used

Your Guide

WonderFil Specialty Threads

As an Amazon Associate we earn from qualifying purchases. Links on this page may be affiliate links - clicking them and buying doesn't change your price, but helps support ShowMeStepByStep.

Tags

Related Tutorials