How to Sew in a Straight Line: 7 Beginner Sewing Tips

SewingEasy7:137 steps

By CraftingStepByStepPublished Updated

Based on a video by Pretty Simple Sara.

The difference between a clean seam and a wavy one isn't a special foot or a fancy machine - it's three habits. Look ahead, not at the needle. Light grip, not death grip. Stop with the needle down. Build those three reflexes and your seams come out straight without any gadgets.

This walkthrough from Christa at Christa Quilts breaks down seven simple tips that fix wavy seams forever. The washi-tape extension trick (step 3) is the cheapest and most useful sewing hack you'll learn this year.

Step-by-Step Guide

1

Step 1: Understand Why Straight Seams Matter

0:30
Step 1: Step 1: Understand Why Straight Seams Matter

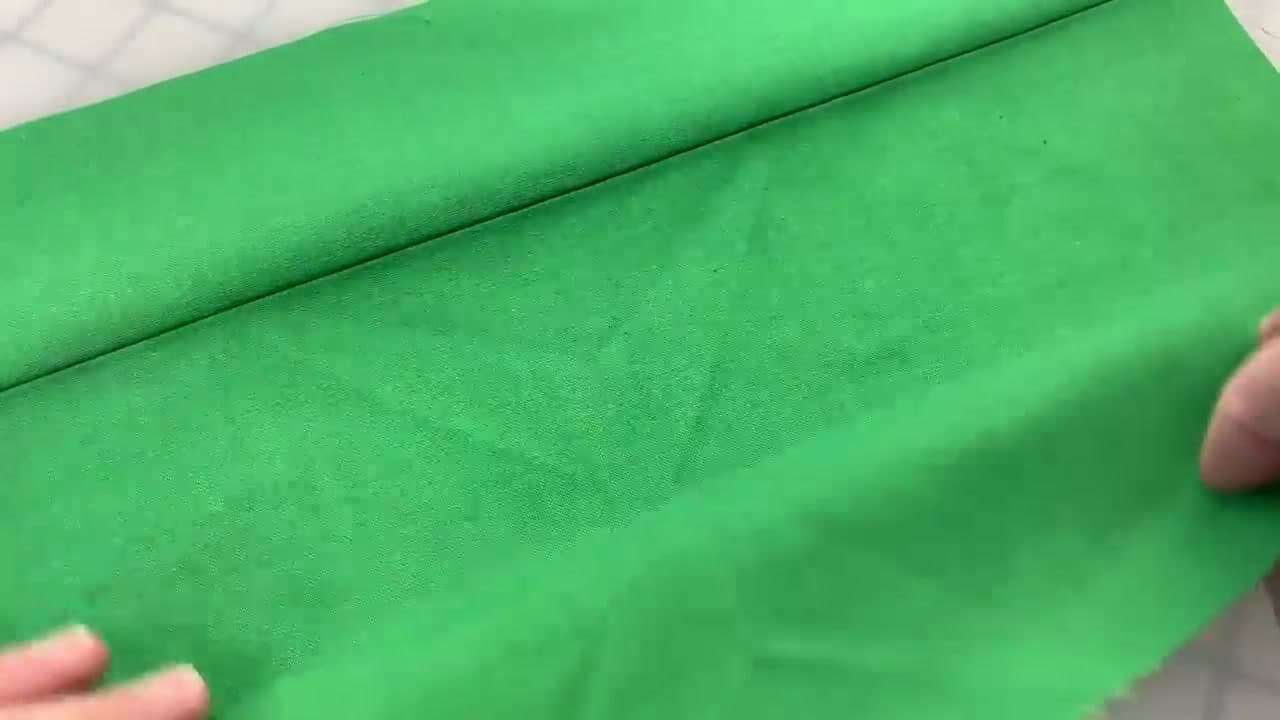
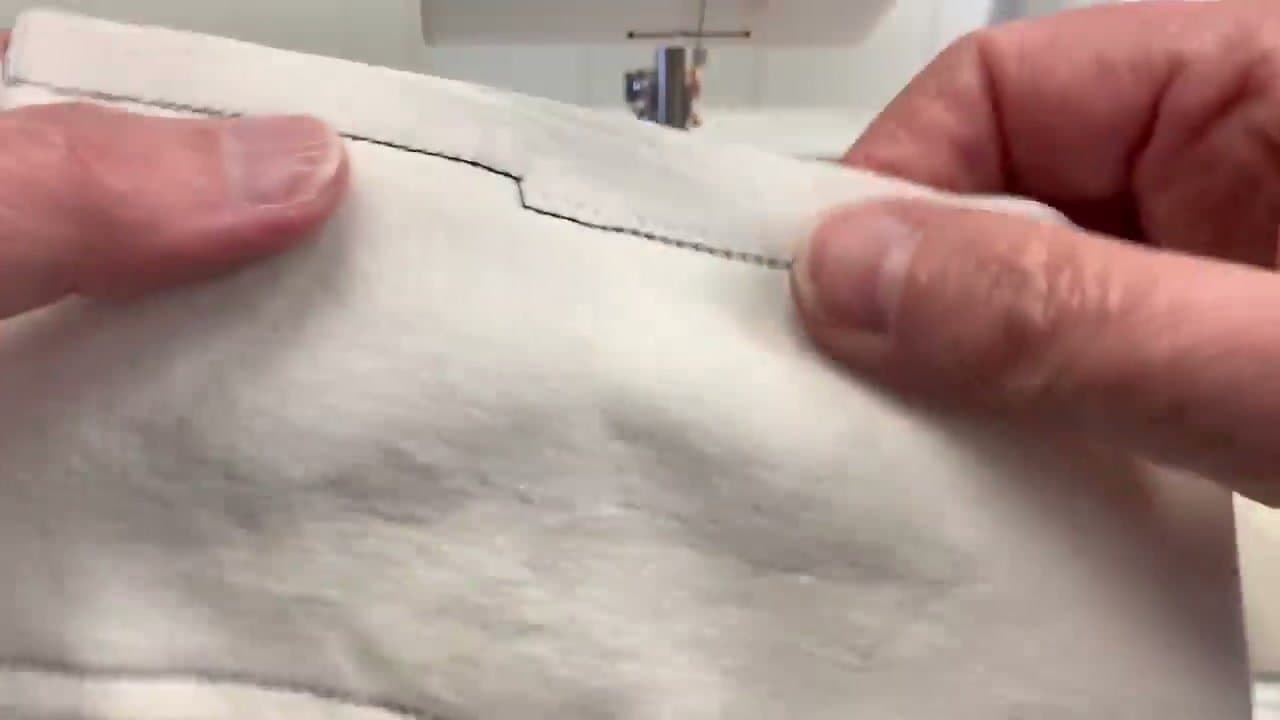
A wavy seam doesn't just look ugly on the back. It warps the front - fabric bunches and lays unevenly along the entire seam line. Garments hang crooked. Quilt blocks won't square up. Pillows pucker.

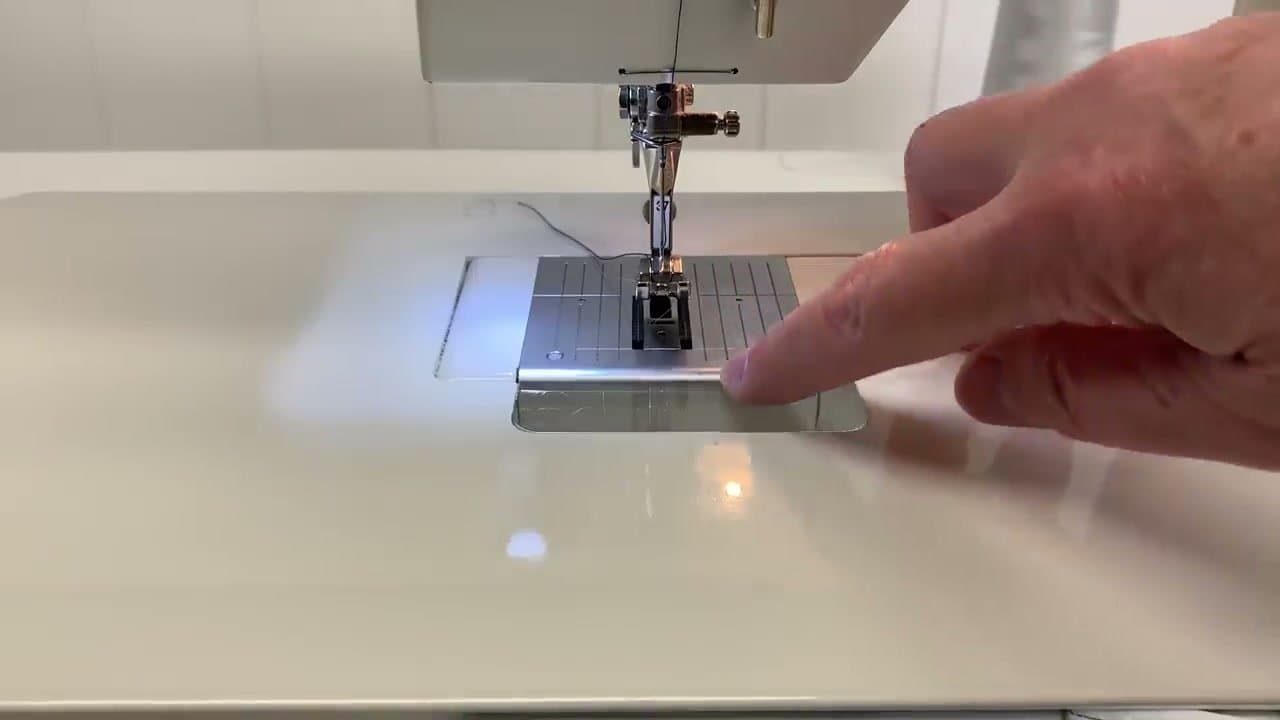
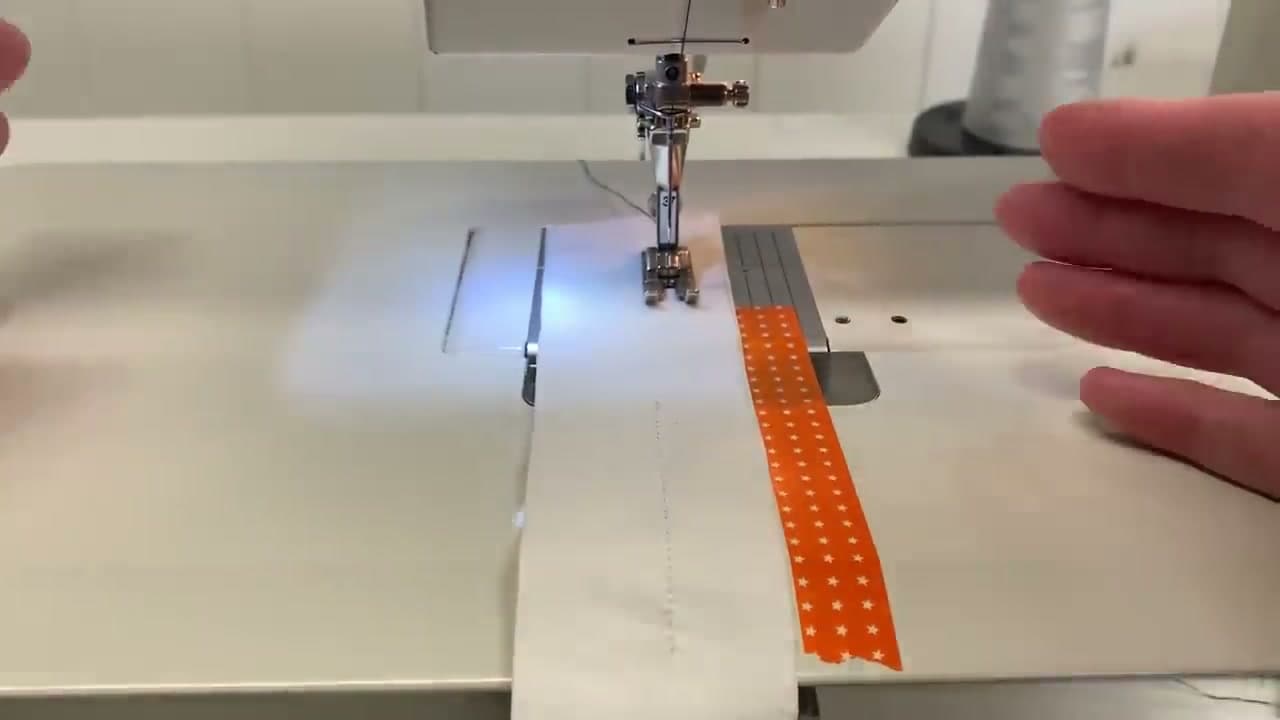
Tools like seam guides and special feet help you maintain straight seams - but only AFTER you can already sew straight. The skill comes first; the gadgets just make it consistent.

2

Step 2: Look Ahead, Not at the Needle

2:36
Step 2: Step 2: Look Ahead, Not at the Needle

Watching the needle while you sew is like watching the front bumper while driving - by the time fabric reaches it, the stitch is already made. You can't correct the line that way.

Focus 6+ inches in front of the presser foot. Look where the fabric is heading, not where the needle currently is. This gives you time to make small course corrections before the stitch goes in.

Products used in this step

3

Step 3: Extend the Seam Guide With Washi Tape

3:52
Step 3: Step 3: Extend the Seam Guide With Washi Tape

Most sewing machines have seam-allowance markings right next to the needle. Too late - by the time fabric reaches there it's already being stitched. Extend the guide outward with a strip of washi tape.

Lay a ruler from the seam-allowance mark on the throat plate down toward you (away from the needle). Run a strip of washi tape (or low-tack masking tape) along the ruler. Now you have a long visible line to align fabric edge to, far enough from the needle that you can react to it.

Products used in this step

4

Step 4: Light Grip, Not Death Grip

5:20
Step 4: Step 4: Light Grip, Not Death Grip

The sewing machine pulls fabric in a straight line on its own - that's what feed dogs do. Excessive steering causes wobbles, broken needles, and bunched fabric. Just lightly guide the fabric edge along your tape line.

Pretend you're directing the fabric, not driving it. Hands on either side of the foot, fingers loose. Let the machine pull; you steer.

5

Step 5: Cover Both Feed Dogs

6:20
Step 5: Step 5: Cover Both Feed Dogs

The feed dogs are the toothed bars under the needle that pull fabric through. Most machines have two side-by-side. If your fabric only sits on ONE feed dog, the machine pulls unevenly and your seam wanders.

Position fabric so it covers both feed dogs. If your fabric is narrower than that span, slide it slightly so both dogs grip equally. Lift dangling edges so they don't drag and pull the fabric off-line.

6

Step 6: Sew Slowly

6:31
Step 6: Step 6: Sew Slowly

The sped-up sewing reels online are misleading - real sewers don't actually go that fast. Slow gives you time to see ahead, react, and breathe. No one is honking at you to speed up.

Stop and adjust whenever you need to. Take a breath, smile, then start again. Slow seams come out straighter than rushed ones every single time.

Products used in this step

7

Step 7: Stop With the Needle DOWN

6:51
Step 7: Step 7: Stop With the Needle DOWN

When you pause mid-seam (to adjust fabric or rest), drop the needle into the fabric BEFORE you stop. Most machines have a needle-down setting; if yours doesn't, turn the handwheel by hand to lower the needle.

Needle-down anchors the fabric in place. Without it, lifting the foot loses your alignment - the fabric shifts and you can't pick up exactly where you left off. Always needle-down before you let go.

Tip

Some modern machines have a button labeled 'needle position' that toggles between needle-up and needle-down stops. Set it to needle-down once and forget about it - your seams will improve immediately.

Products used in this step

Products Used

☐ The Checklist

How to Sew in a Straight Line: 7 Beginner Sewing Tips

Tools
4
Materials
2
Steps
7
Video
7 min

Your Guide

Pretty Simple Sara

As an Amazon Associate we earn from qualifying purchases. Links on this page may be affiliate links - clicking them and buying doesn't change your price, but helps support ShowMeStepByStep.

Tags

Related Tutorials