How to Make a Log Cabin Quilt Block

QuiltingEasy12:1910 stepsPart of DIY Crafts for BeginnersBrowse more →
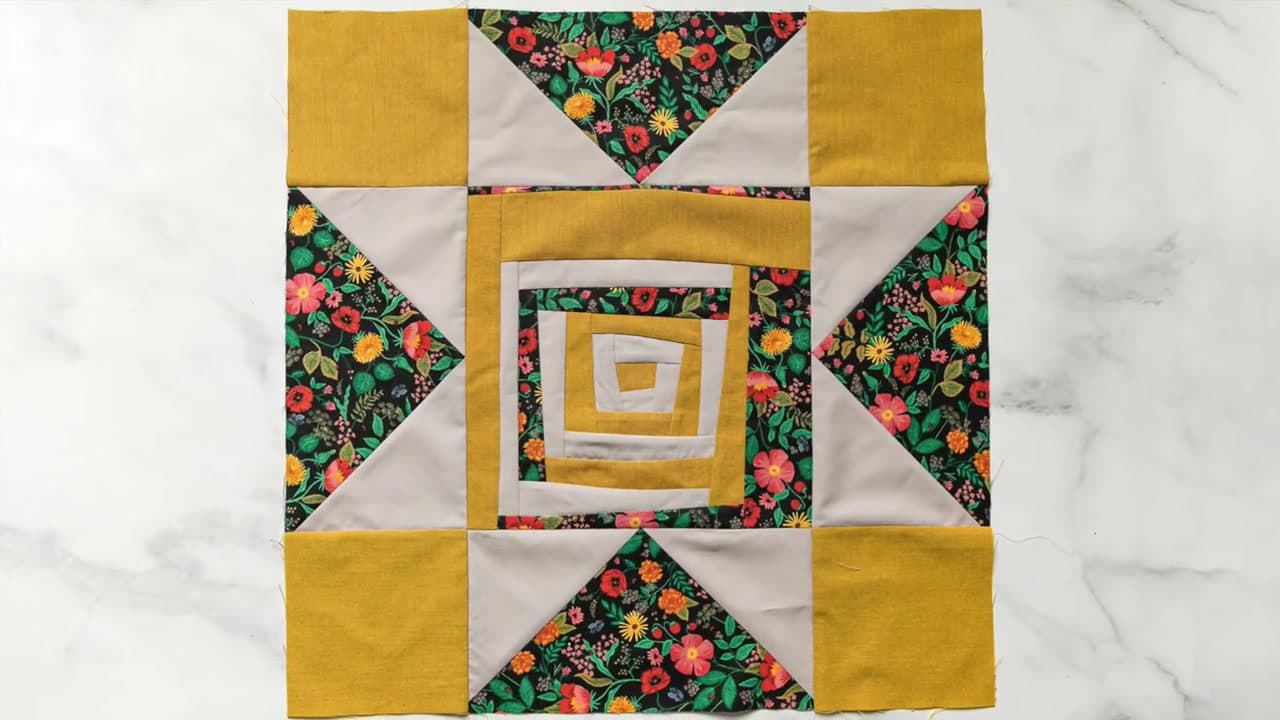
The finished result: How to Make a Log Cabin Quilt Block

By CraftingStepByStepPublished

Based on a video by Melanie Ham.

A log cabin block is a square of fabric with strips sewn around it, one after another, always turning the same way. That is the whole pattern. It has been in quilts since the 1800s and still turns up in modern ones, because changing the fabrics gives you a different quilt out of identical construction.

Melanie Ham builds hers from a jelly roll, and her version has one wrinkle worth copying. She never gets up from the machine during a round. Strip on, sew, snip, finger press, turn, next strip. Four logs go on before she walks to the iron.

Why it is called a log cabin

The strips are the logs and the center square is the hearth. Traditional blocks put a red square in the middle for the fire, and some quilters used yellow instead to mean a lamp lit in the window. Nobody needs that detail. Everybody remembers it, and it is a good reason to make the center square count.

The light half and the dark half

A classic log cabin splits down the diagonal: light fabrics on two adjoining sides, dark on the other two. On one block the split looks subtle. Sew nine together and rotate them and those halves line up into diamonds, zigzags, or the concentric rings quilters call Barn Raising. Same block, different turn.

Value matters more than color. Squint at your strips, and if two of them go the same shade of gray, they will not read as separate logs no matter how different the prints look up close. Choosing quilting fabric with contrast in mind makes or breaks this block.

Jelly roll strips or cut your own

A jelly roll is roughly 40 precut strips, 2.5 inches wide and the full width of the fabric, all from one line, so the colors already work together and the width is already right. Cutting your own gives you more control and a cleaner edge, and the usual rules for cutting quilt fabric apply. Precuts arrive with a pinked zigzag edge, and measuring from the wrong side of it is a quiet source of shrinkage.

Why the seam decides the whole block

Every log carries the error from the log before it. A 2.5-inch strip sewn at a true quarter inch finishes at 2 inches. Sew it at a generous five sixteenths and it finishes at 1.875, and twelve logs later the block is an inch and a half small. This only works if your quarter-inch seam really is a quarter inch, and if you are going to be off, be off by the same amount on every seam.

Where log cabin blocks go wrong

The block turns into a parallelogram. That is the iron. Sliding it around stretches pieced seams. Press instead of ironing, and send every seam allowance away from the center so it tucks under the log you just added.

The center stops being centered. You changed rotation direction part way round. Pick clockwise or counter-clockwise on the first log and stay there.

Corners are not square. Check after every round, not at the end. Trimming a sixteenth off a corner now costs nothing. Finding out three rounds later that the block is out by half an inch means unpicking. Squaring up belongs in the rhythm of the block.

Blocks come out different sizes. Consistent strip width beats accurate strip width. Measure from the outer points of a pinked edge every time.

What happens to the blocks

Nine of these makes a baby quilt, and one on its own makes a table topper. Once the top is pieced, borders take it up a size without piecing more blocks, then basting holds the layers still. For the quilting itself you get two roads: straight lines with a walking foot, or free motion if you want texture that wanders. Binding closes the edge.

What you'll need

Step-by-Step Guide

10 steps · about 12 minutes.Check off each step as you go and your progress saves automatically.

1

Cut a 6.5-Inch Center Square for the Log Cabin Block

1:36
Step 1: Cut a 6.5-Inch Center Square for the Log Cabin Block - How to Make a Log Cabin Quilt Block

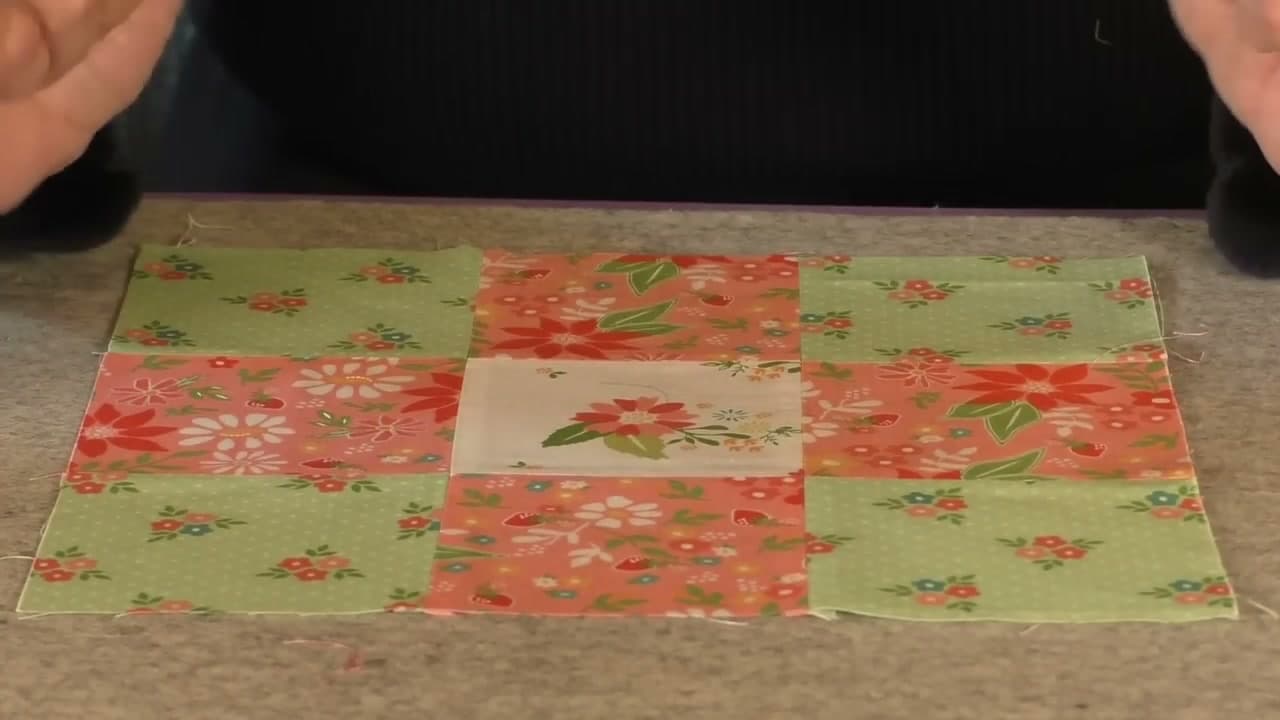
Cut one 6.5-inch square of quilting cotton. It becomes the middle of the block and everything else wraps around it.

If the print has a motif worth showing off, fussy cut it. Slide the ruler around until a single fox, flower or star sits dead center, then cut. That one square is what gives each block its own character once nine of them are together.

Six and a half inches is a choice, not a rule. A smaller center gives you more rounds of logs in the same finished size. Pick a number and use it for every block in the quilt.

Tip

Traditional log cabin blocks use a red center square for the hearth. If you want the nod to history without a red quilt, make that one square red and let the logs carry the rest of the color.

2

Pull Light and Dark 2.5-Inch Strips From a Jelly Roll

2:04
Step 2: Pull Light and Dark 2.5-Inch Strips From a Jelly Roll - How to Make a Log Cabin Quilt Block

Open a jelly roll and fan the strips out across the table. A jelly roll is around 40 precut 2.5-inch strips from one fabric line, which is why this block goes together so fast.

Sort what you pull into a light pile and a dark pile. You want obvious contrast between the two, not two mediums that blur into each other. Squinting at the pile is the fastest test there is.

No jelly roll? Cut 2.5-inch strips across the width of your yardage and you have the same thing with more control over the colors.

Tip

Watch for directional prints. Arrows, words and anything with a top and a bottom need to face the same way on every side of the block, or one log ends up sideways and it is the only thing you will see.

3

Lay the First Jelly Roll Strip Face Down on the Center Square

4:10
Step 3: Lay the First Jelly Roll Strip Face Down on the Center Square - How to Make a Log Cabin Quilt Block

Put the strip face down along one edge of the center square, right sides together, raw edges flush.

Do not cut the strip to length. Leave it joined to the rest of the roll and let the extra run off the end of the square. You trim it after it is sewn, which means you never measure a single log in this whole block.

Pick a strip that contrasts with the center so the first ring reads clearly. If the middle is dark and busy, go light here.

Tip

Let the strip hang a little past the top edge of the square rather than starting it exactly level. Trimming a quarter inch of overhang is easy. Adding fabric to a log that came up short is not.

4

Line the Edges Up on the Outer Point of the Pinked Edge

4:30
Step 4: Line the Edges Up on the Outer Point of the Pinked Edge - How to Make a Log Cabin Quilt Block

Precut strips come with a pinked edge, the zigzag running along both long sides. It sheds fewer threads than a straight cut, but it makes the edge ambiguous.

Line your fabric up on the outer points of the zigzag, never the inner valleys. The 2.5 inches is measured to the outer points. Using the inner ones takes about an eighth of an inch off every strip, and across three rounds that is a visibly smaller block.

If you already started a project working off the inner points, keep going that way. Consistent beats correct.

Tip

Yardage you cut yourself has no zigzag, so none of this applies to it. Mixing precut strips and self-cut strips inside one block is where the mismatch shows up.

5

Sew the Strip On With a Quarter-Inch Seam

5:20
Step 5: Sew the Strip On With a Quarter-Inch Seam - How to Make a Log Cabin Quilt Block

Find the quarter-inch mark on your needle plate, run the raw edges along it, and sew the full length of the square. Stop at the far edge and clip the threads.

Thread color barely matters. A mid gray disappears into almost any print, so a scrappy block needs one bobbin and no rethreading between logs.

An even seam matters more than an exact one. A seam that drifts a sixteenth from one end to the other puts a curve in the log, and that curve compounds every time you add another strip on top of it.

Tip

If your machine has no quarter-inch mark, a quarter-inch patchwork foot or a stick-on seam guide gives you a physical edge to run the fabric against. Far easier to follow than a line engraved on the plate.

6

Snip the Strip Free at the Machine and Finger Press It Open

5:54
Step 6: Snip the Strip Free at the Machine and Finger Press It Open - How to Make a Log Cabin Quilt Block

Keep sharp scissors on the sewing table, not across the room. Flip the piece so the strip lies on top, then snip it off flush with the edge of the square.

Keep the offcut. It is the right length to be a log on a smaller block, and it is the start of a scrap bin worth having.

Now open the strip out and run a fingernail hard along the seam so it lies flat away from the center. That finger press holds well enough to keep sewing. The iron comes out at the end of the round.

Tip

Finger pressing is a stopgap, not a substitute. The block only gets properly flat and properly square after a real press, so do not talk yourself out of the ironing board at the end of the round.

Used in this stepfabric scissors
7

Turn the Block a Quarter Turn and Add the Next Strip

6:36
Step 7: Turn the Block a Quarter Turn and Add the Next Strip - How to Make a Log Cabin Quilt Block

Rotate the block a quarter turn and lay the next strip along the newly exposed edge, right sides together again.

Turn the same direction every single time. Clockwise or counter-clockwise makes no difference, but switching part way round is how a log cabin ends up with its center shoved off to one side.

Sew, snip, finger press, turn. Four strips and round one is done without leaving your chair. The last log of each round is the longest, because it has to cover the two logs already attached to it.

Tip

The seam you just finger pressed should be lying toward the outside of the block when the next strip goes on. If it has folded back over the center, the new seam sews it down the wrong way and the block will not lie flat.

8

Press the Round Flat With the Seams Facing Away From the Center

9:24
Step 8: Press the Round Flat With the Seams Facing Away From the Center - How to Make a Log Cabin Quilt Block

Take the block to the ironing board once all four logs of a round are on. Press every seam allowance away from the center so it tucks under the strip you just added.

Set the iron down, hold, lift, move along. Sliding it drags the block out of square, and pieced seams stretch far more easily than a flat piece of fabric does.

The block should come off the board dead flat, with no ripple where the logs meet. If it does not, press it again before you sew another thing to it.

Tip

Pressing outward every round stops the seam allowances stacking into a lump in the middle of the block. It also makes the block easier to quilt later, because the needle never has to climb over four layers at once.

Used in this stepsteam iron
9

Square the Block With a Quilting Ruler and Rotary Cutter

10:12
Step 9: Square the Block With a Quilting Ruler and Rotary Cutter - How to Make a Log Cabin Quilt Block

Lay the pressed block on a cutting mat, set a square ruler over one corner, and line the ruler up against two edges at once. Check the corner really is 90 degrees, then run a rotary cutter along the ruler to shave off whatever sticks out.

Walk around all four corners. Do it at the end of every round rather than at the end of the block.

A sixteenth of an inch of wonk per round is nothing on its own. Three rounds of it is a block that will not sit flat next to its neighbors.

Tip

Check the corners that look fine too. The one that is off is usually the one you felt confident about, and putting the ruler down to prove it takes five seconds.

10

Add Rounds Two and Three to Finish the Log Cabin Block

12:00
Step 10: Add Rounds Two and Three to Finish the Log Cabin Block - How to Make a Log Cabin Quilt Block

Build round two and round three the same way, pressing and squaring after each one. Nothing about the method changes. The logs just get longer.

By round three the leftovers from round one are already too short to use, so one jelly roll strip gives you two or three logs and then goes in the scrap bin.

Three rounds around a 6.5-inch center gives you a block big enough to be a table topper on its own, and nine of them makes a baby quilt.

Tip

Make all your blocks before you settle on a layout. Log cabins change completely depending on how you rotate them, so it is worth pushing nine finished blocks around on the floor before you sew any of them together.

Keep going

How to Make Flying Geese 4 at a Time

Products Used

The Checklist

How to Make a Log Cabin Quilt Block

Tools
7
Materials
3
Steps
10
Video
12 min

Tools we recommend

Your Guide

Melanie Ham

As an Amazon Associate we earn from qualifying purchases. Links on this page may be affiliate links - clicking them and buying doesn't change your price, but helps support CraftingStepByStep.

Tags

Sunday How-To

New quilting tutorials, every Sunday

One short email with the week's best step-by-step guides. Free, no spam, unsubscribe anytime.

Did this work for you?

What's next

Related collections

Curated theme pages that include this tutorial.

Weekly Digest

Liked this quilting tutorial?

Pick the categories you want to hear about. Weekly digest of new step-by-step tutorials. No spam, easy unsubscribe.

Send me tutorials about

We only email about new tutorials. Easy unsubscribe anytime.