How to Cut Quilt Fabric Straight (Rotary Cutter Skills)

QuiltingEasy10:317 stepsBrowse more →
Also in:CraftsSewing

By CraftingStepByStepPublished Updated

Based on a video by Just Get it Done Quilts.

Wonky quilt blocks almost never come from bad sewing. They come from bad cutting. A strip that drifted an eighth of an inch wide on one end becomes a half-inch-too-big block by the time it's pieced into a row, and the whole quilt starts pulling itself out of square.

Karen Brown of Just Get It Done Quilts has been teaching this skill long enough to know exactly where new quilters go wrong, and the fix is almost always one of three things: the table isn't steady, the body isn't squared up to the ruler, or the blade is dull and the quilter is compensating by clenching. Get those three right and every cut after that one is straight.

This tutorial walks through her four-tool checklist (rotary cutter, ruler, cutting mat, sharp spare blade), the stability and brand-quality checks before you even touch fabric, and the body mechanics that let you cut a long strip in one clean pass without your arm wavering. The cut-away-from-your-body safety rule comes up more than once - rotary blades take fingertips, not just thread.

This is the foundation skill for every other quilting tutorial. Pair it with our guides on half-square triangle blocks, rag quilts, and machine quilting basics to build a complete beginner toolkit. Already comfortable with the cutter? Move on to applique next.

Step-by-Step Guide

1

Gather Your Four Cutting Tools

3:10
Step 1: Gather Your Four Cutting Tools

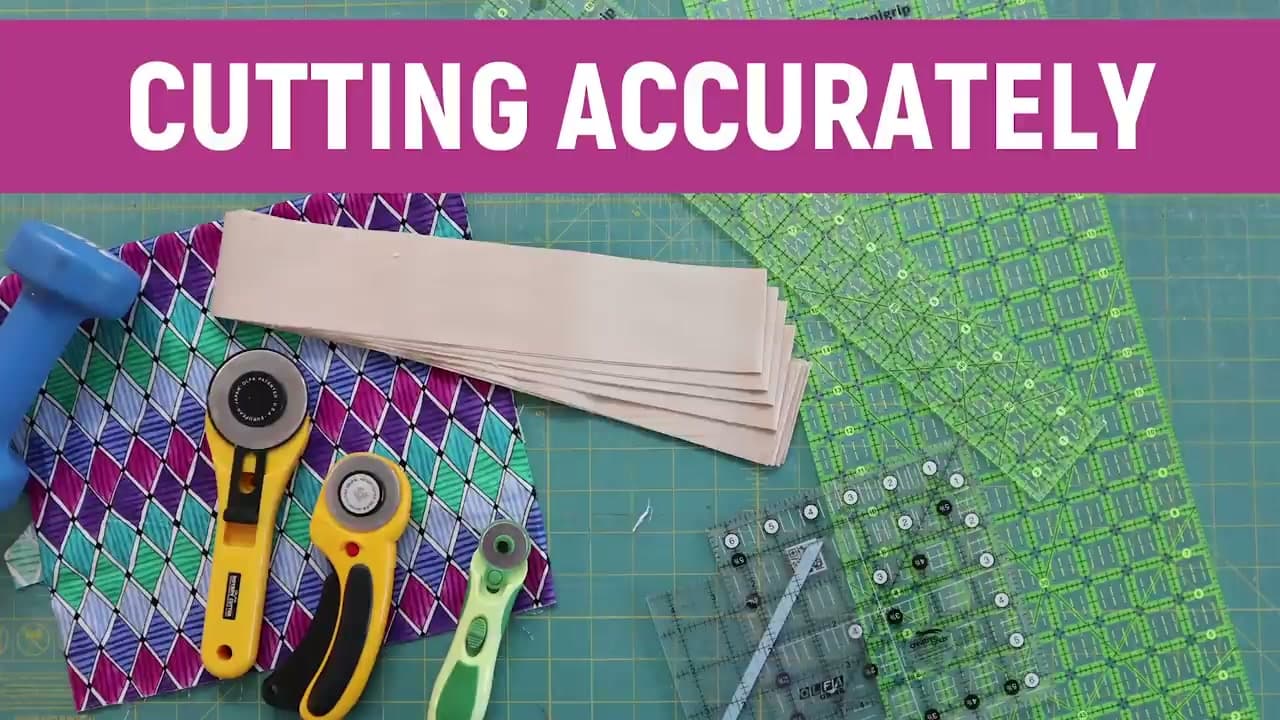
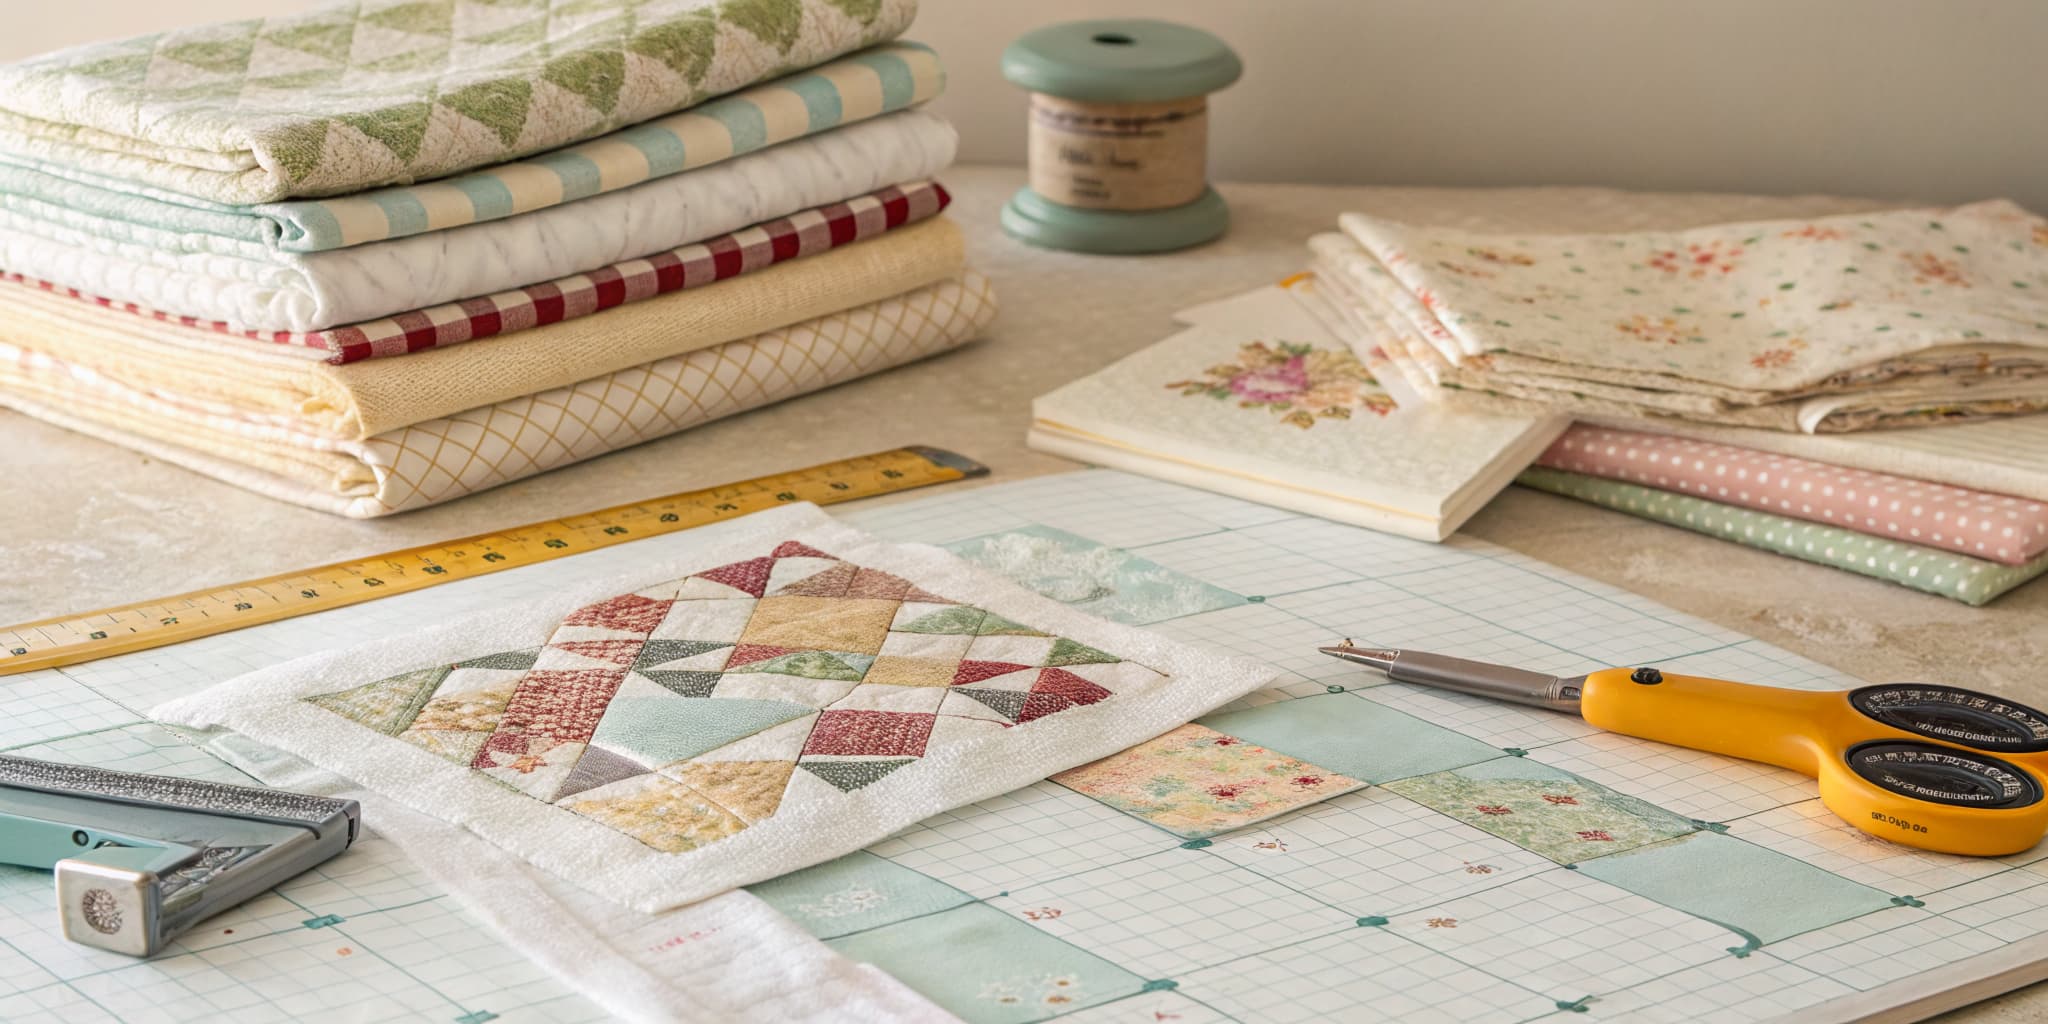
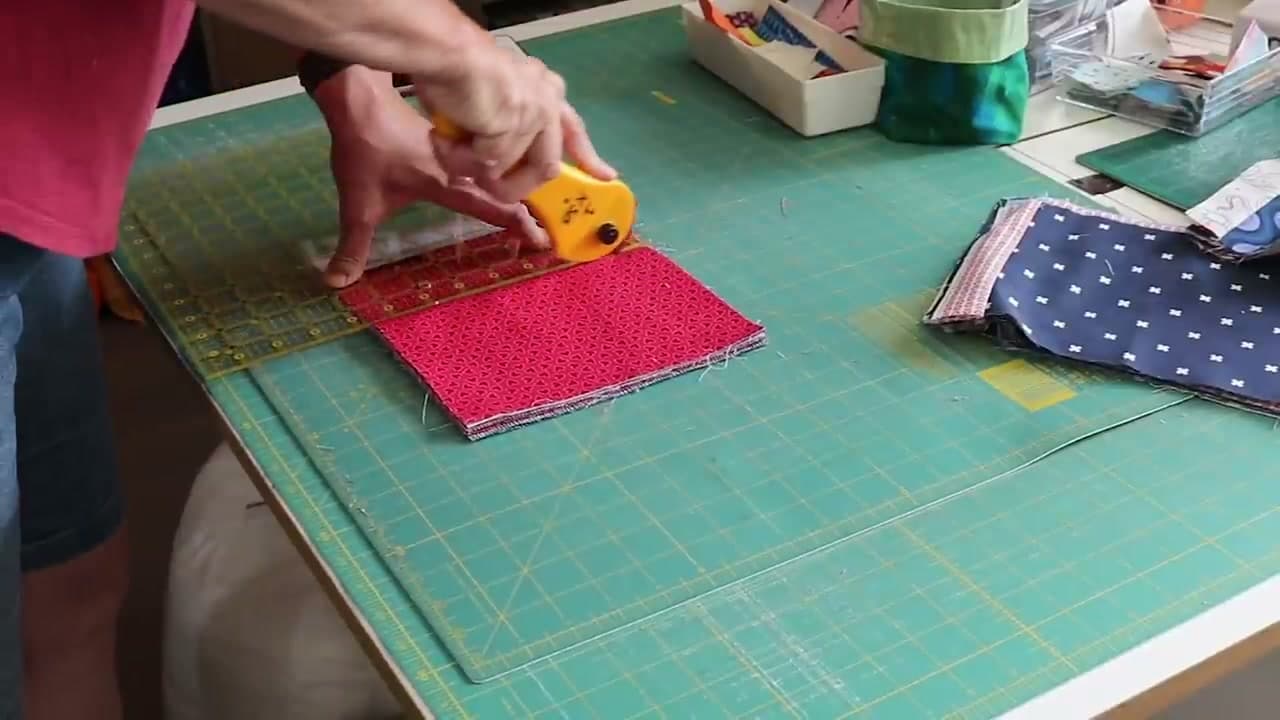
Karen is direct about the gear: you need exactly four things to cut quilt fabric accurately, and they all have to be quality. A sharp rotary cutter - the 45mm OLFA is the workhorse most quilters reach for. A self-healing cutting mat at least 24 inches on its longest side so you can cut a full width of fabric without repositioning. A clear acrylic quilting ruler with eighth-inch markings (6x24 is the standard). And a fresh spare blade in a drawer for when the current one starts to skip.

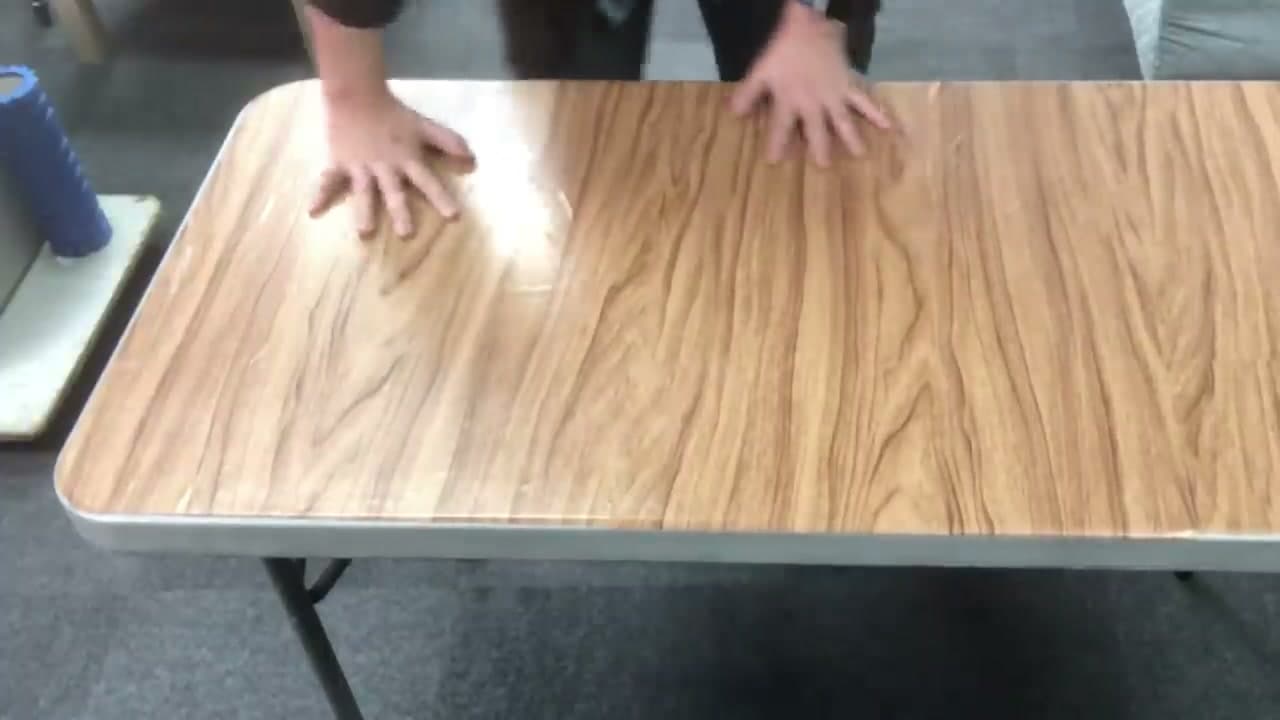
The fifth item that isn't on the list but matters just as much: a steady flat table at the right height. Karen tests her countertop by giving it a shake - if it moves, the cuts move with it. More on that in the next step.

Tip

Smaller 28mm cutters are for curves and notches. Larger 60mm cutters go through thick stacks of fabric. The 45mm covers 90% of quilting cuts, so start there if you're buying one cutter.
2

Build a Steady Cutting Station with Trusted Brands

2:10
Step 2: Build a Steady Cutting Station with Trusted Brands

Before any fabric touches the mat, test the table. Karen literally grabs hers and shakes it. If it moves, tighten the screws, add a leg support, or push it against a wall. A table that's steady front-to-back but wobbles side-to-side is just as bad - the wobble is what makes your blade drift.

Brand matters on the ruler and mat too. Karen sticks with OLFA, Fiskars, Creative Grids, or Omnigrid because they built their reputations on measurement accuracy. No-name rulers from Wish or Amazon are fine for paper crafts, but for quilting you need lines that actually match - a sixteenth-inch difference between brands compounds over a whole quilt.

Tip

Right cutting height is when your elbow sits a little wider than 90 degrees with the cutter pressed to the mat. If your table is too low, drop a stack of plywood or table risers under the legs. Cutting hunched over kills your back and your accuracy at the same time.

3

Press the Fabric Flat and Fold Selvage-to-Selvage

2:30
Step 3: Press the Fabric Flat and Fold Selvage-to-Selvage

Press your fabric flat with an iron first. Wrinkles and creases are the most common reason quilt strips end up curved or wavy after cutting. A wrinkle near the fold lifts the fabric a fraction of an inch off the mat, and that fraction becomes a visible curve when you cut a 22-inch strip.

Then fold the fabric selvage-to-selvage so the long printed edges line up. Take your time on this fold - if it's off by even a quarter inch, every strip you cut will have a V-shape in it the moment you unfold it. Smooth the fabric flat on the mat with both hands before the ruler comes near it.

Tip

If the fabric is still wrinkly after one press, hit it with a light mist of starch or sizing and press again. Crisp fabric cuts straighter and behaves better at the sewing machine afterward.

4

Straighten the First Edge Before You Measure Anything

3:20
Step 4: Straighten the First Edge Before You Measure Anything

The selvage end of a fresh cut of fabric is almost never square. If you start measuring strips from that ragged edge, every strip is off. So the first cut is always a throwaway square-up cut.

Lay the fold along a horizontal grid line on the mat. Set the ruler across the fabric so it crosses at a true 90 degrees from the fold. Trim off the ragged end with one clean pass of the rotary cutter. That fresh straight edge is now your reference - every strip width measures from there.

Tip

Keep the throwaway strip you just cut off until you're done with the project. It's the right color for any test cut or seam-allowance check you might need later. Karen tosses nothing.

5

Measure and Cut Strips with Your Body Squared to the Ruler

4:20
Step 5: Measure and Cut Strips with Your Body Squared to the Ruler

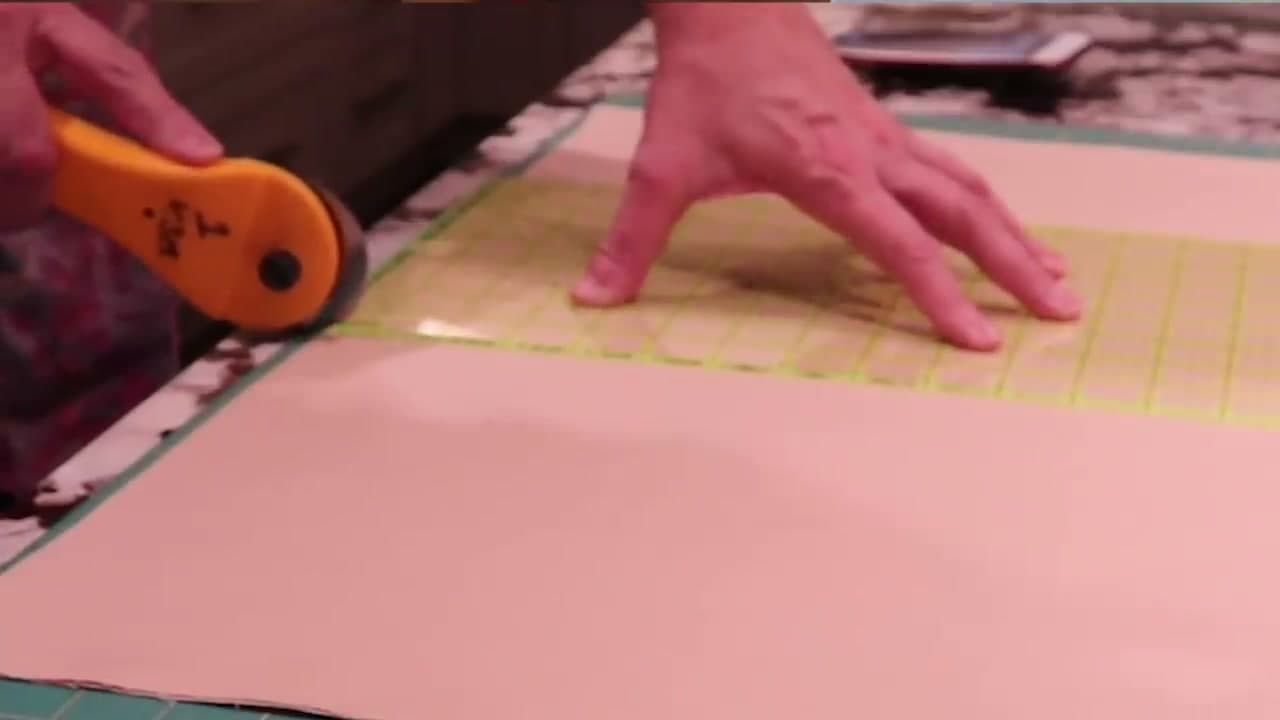
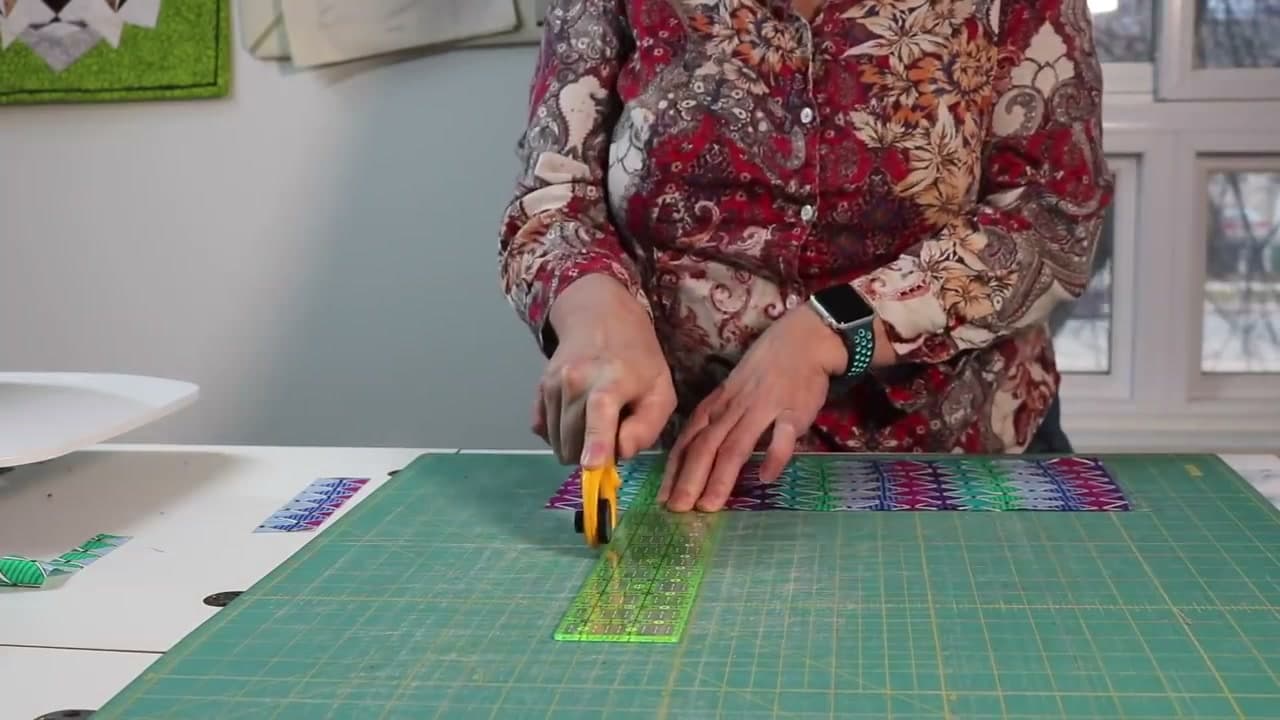
Measure strip width on the ruler, not on the mat. Place the ruler so the strip-width line sits exactly on the freshly-straightened edge. Anchor the ruler with your non-cutting hand - palm flat, pressing straight down from above, not from the side. Roll the blade away from your body in one continuous pass.

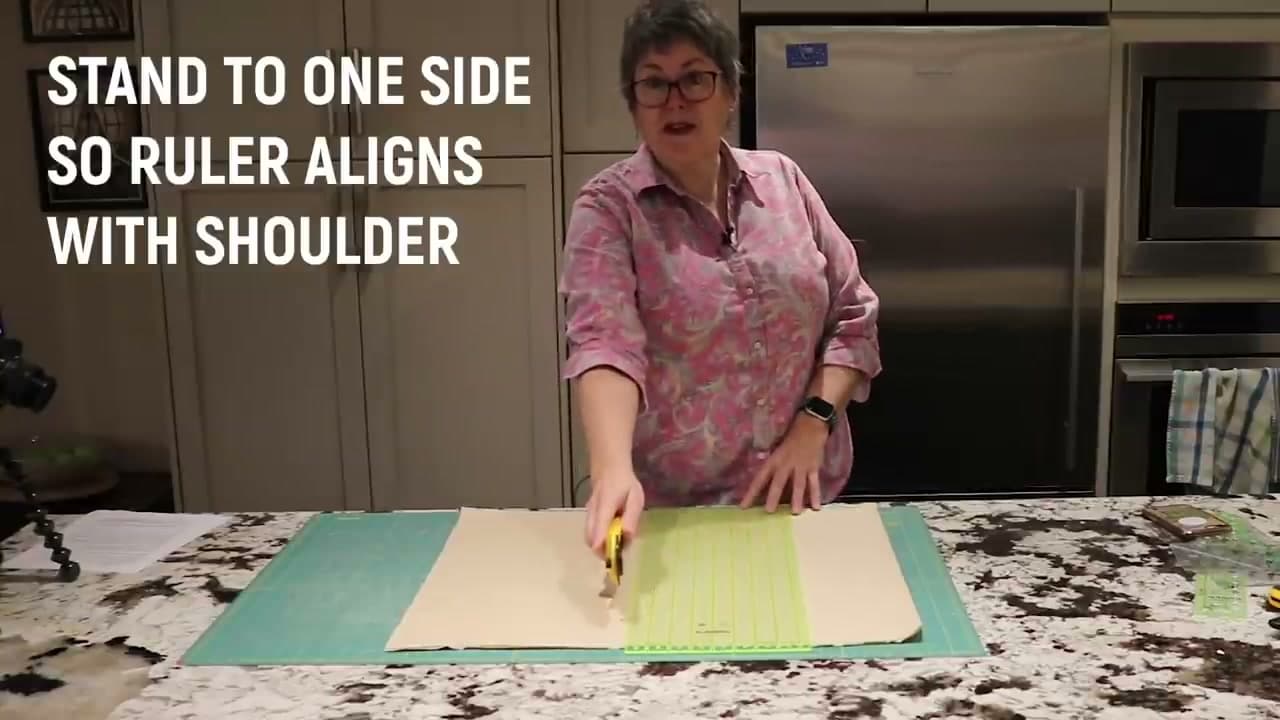
Karen is firm on the body mechanics: roll your shoulders back, engage your core, put one foot slightly in front of the other, and stand to one side so the ruler aligns with your shoulder. The power comes from your arm, not your wrist. Your hand on the cutter is just guiding the blade along the ruler edge.

Tip

Cut away from your body. Always. Rotary blades take fingertips. If a cut has to go toward you, turn the mat 180 degrees or move to the other side of the table. Don't rationalize an underhand cut to save time.

6

Manage Long Cuts with Walking Fingers or a Weight

5:20
Step 6: Manage Long Cuts with Walking Fingers or a Weight

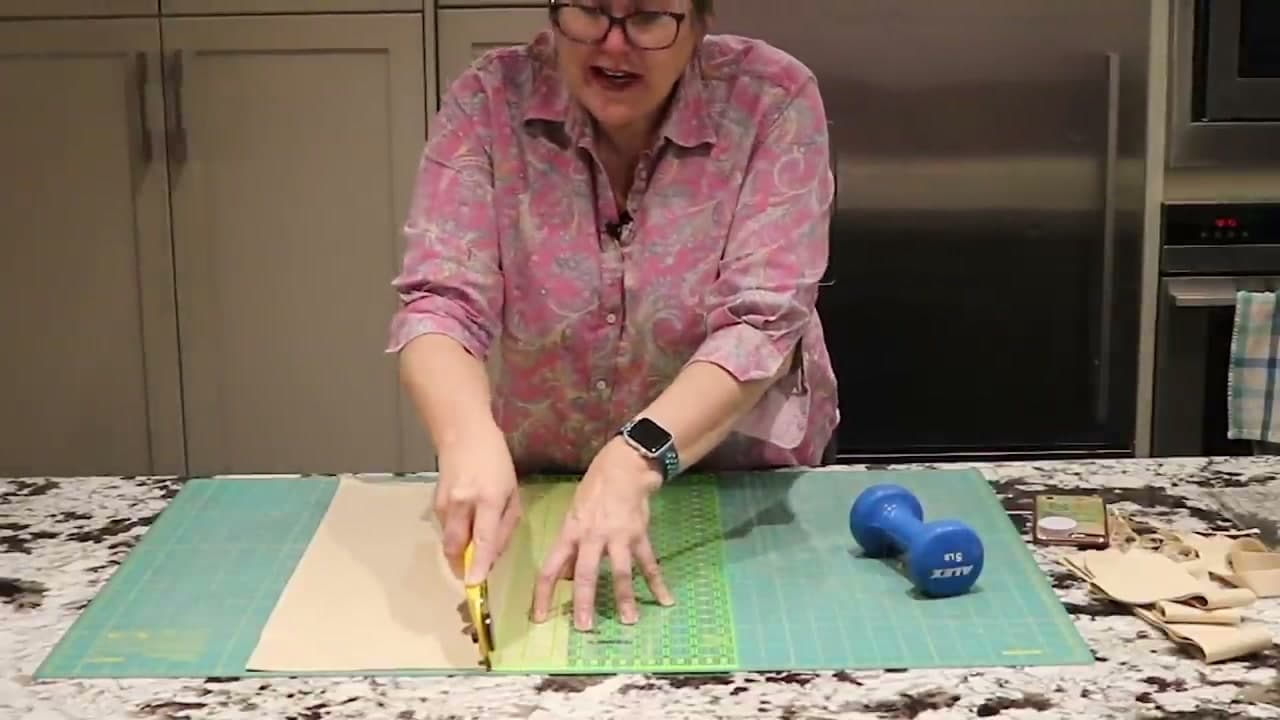
A 24-inch cut is longer than most hands can hold a ruler still for. Karen's trick is to walk her fingers up the ruler mid-cut. Stop the blade where your fingertips reach, keep pressure on the ruler so it doesn't shift, slide your hand higher on the ruler, press down again, then keep cutting from where you stopped.

The easier alternative is a small weight on the far end of the ruler - Karen uses a five-pound dumbbell. The ruler stays put on its own and you just cut. If your ruler isn't long enough for the full cut, line up a second ruler edge-to-edge with the first instead of repositioning the fabric.

Tip

First aid tape stuck to the underside of the ruler is a near-free grip upgrade. The slight tackiness keeps a smooth acrylic ruler from skating across pressed fabric. Karen called this out as the cheapest fix she knows.

7

Cross-Cut Strips and Keep the Blade Safe

8:15
Step 7: Cross-Cut Strips and Keep the Blade Safe

Once your strips are cut, cross-cut them into squares or rectangles using the same rules: ruler measurement on the strip's straight edge, blade rolling away from your body, fingers safe behind the ruler.

If the blade starts to skip or drag through fabric, replace it. A dull blade makes you push harder, which makes you clench, which messes up your form and pulls the fabric forward into a wave. Sharp blades cut straight on their own. And close the blade between cuts - an open rotary blade in the path of a sleeve is exactly how fingers and forearms get cut.

Tip

Cheap starch helps slippery fabrics behave on the cut. If a piece of fabric is giving you trouble - shifting, fraying at the cut edge, refusing to lie flat - mist it with starch and press before you cut. The crispness makes a real difference.

Products Used

☐ The Checklist

How to Cut Quilt Fabric Straight (Rotary Cutter Skills)

Tools
6
Materials
3
Steps
7
Video
11 min

Your Guide

Just Get it Done Quilts

As an Amazon Associate we earn from qualifying purchases. Links on this page may be affiliate links - clicking them and buying doesn't change your price, but helps support ShowMeStepByStep.

Tags

What's next

Related collections

Curated theme pages that include this tutorial.

Weekly Digest

Liked this quilting tutorial?

Pick the categories you want to hear about. Weekly digest of new step-by-step tutorials. No spam, easy unsubscribe.

Send me tutorials about

We only email about new tutorials. Easy unsubscribe anytime.