How to Add Borders to a Quilt Top So They Lie Flat

QuiltingEasy9:489 stepsPart of DIY Crafts for BeginnersBrowse more →
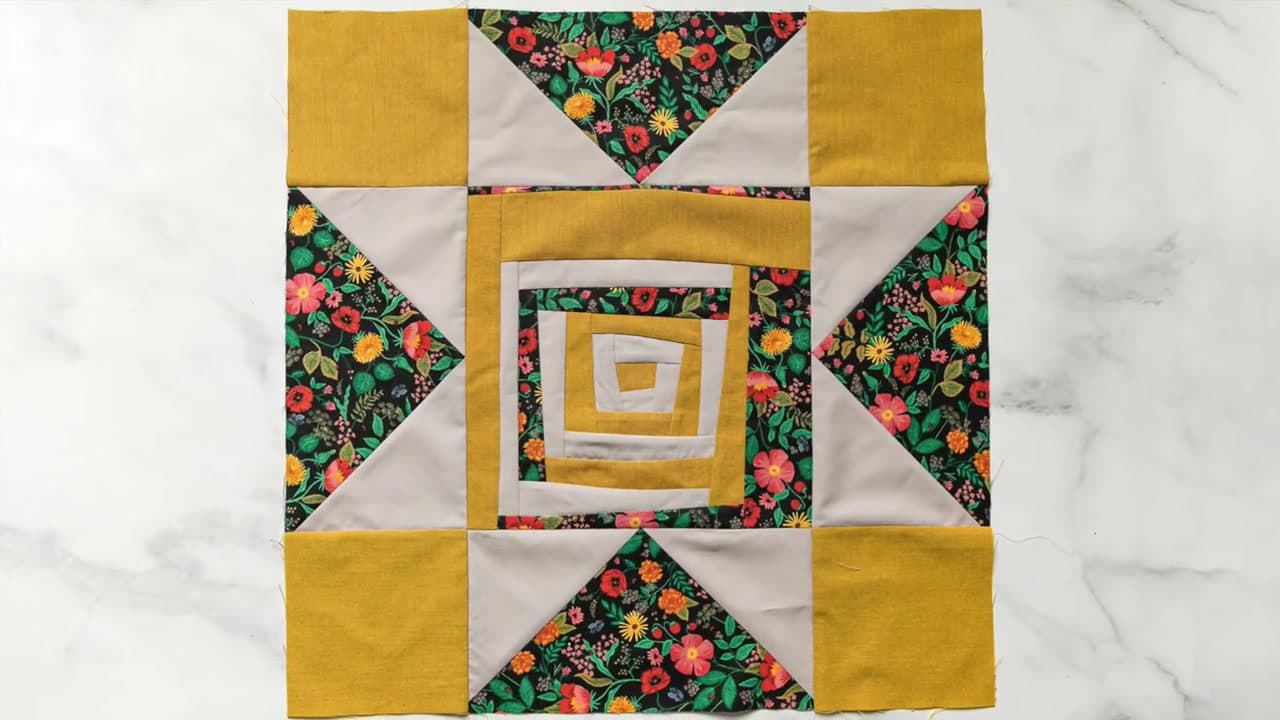
The finished result: How to Add Borders to a Quilt Top So They Lie Flat

By CraftingStepByStepPublished

Based on a video by Melanie Ham.

A border is the quickest way to make a quilt top bigger and the easiest place to wreck one. You have seen the result even if you have never sewn one on: the quilt sits flat through the middle and the outside edge waves like a skirt hem. That ripple is not a sewing fault. It gets built in before the machine is on, in the measuring.

Melanie Ham walks through the version longarm quilters ask for: three measurements across the top, averaged into one number, then centre and quarter marks matched, pinned, and the extra eased in. Do all of it on anything you send out to be quilted, and on any top that came out wonky, because a border cut this way pulls it back into line.

Why borders ripple, and why the centre measurement fixes it

The outside edges of a quilt top are loaded with bias. Every triangle point and every time you lifted the top by a corner stretched them, so a reading along that edge includes the stretch. Cut a border to it and the border holds that stretched edge open permanently. The extra length goes up, into a wave.

Measuring through the centre gives you the length the quilt should be. Cut the border shorter than the edge, ease the difference in, and the edge gets pulled back to true. The three-reading average is that idea with a safety net: the middle number anchors the cut, the two outside ones tell you how far out of square you are. None of it holds unless your piecing runs at a true quarter inch seam - a seam that drifts wide leaves every block a hair small.

Sashing is not a border

People ask for both in one breath, so pull them apart. Sashing is the strips that run between blocks, framing each one into a lattice. A border runs around the outside of the finished top. The quilt in this video has no sashing at all - Melanie says so in the first minute - so what you are watching is borders.

The measuring logic carries across: sashing gets cut to the block's unfinished measurement and the blocks get eased to it, because a row sewn to sashing cut too long grows a hump you can never ease out later. If your blocks are not all landing at the same size, sort that out with squaring up first.

Cutting width, and how much fabric to buy

Cut strips a half inch wider than the finished border you want, since a quarter inch vanishes into the seam on each side. A 4 inch finished border comes off a 4.5 inch strip. Quilting cotton gives about 42 usable inches across the width, so any quilt longer than 40 inches needs strips joined end to end first. A 45 degree diagonal join spreads the bulk so it does not read as a stripe; a straight seam is faster and hides in a busy print. Keep every strip on the grain and cut accurately.

When it goes wrong

  • The border waves after quilting. It was cut to a stretched edge, and nothing at the quilting stage fixes that. Unpick and recut.
  • The corners are not 90 degrees. The side borders came out different lengths, or the top and bottom got measured before the sides went on. Drop a square ruler into each corner and trim.
  • The strip came out short. You cut to the finished length and forgot the seam allowances. Half an inch onto every strip.
  • The border puckers along the seam. Too much extra crammed between two pins. Pin the quarter marks as well as the ends and centre.

Press the border seams as you go. Melanie presses hers open, which lies flatter under dense quilting; to the side is stronger and lets you nest, so how you press quilt seams is a decision, not a habit. With the last strip on, the top is done: baste it, quilt it - free motion for texture, straight lines with a walking foot for speed - then bind the edge.

What you'll need

Step-by-Step Guide

9 steps · about 10 minutes.Check off each step as you go and your progress saves automatically.

1

Run a Tape Measure Down the Centre of the Quilt Top

2:54
Step 1: Run a Tape Measure Down the Centre of the Quilt Top - How to Add Borders to a Quilt Top So They Lie Flat

Lay the top flat and smooth it with your palms. Run a tape measure from the top edge to the bottom edge straight through the middle and note the number. Take the same reading twice more, once near the left edge and once near the right.

The middle one is the reading that counts. The outside edges of a quilt top have been stretched by handling and by every bias seam in the piecing, so they measure longer than the quilt really is. Cut a border to a stretched edge and you have built the ripple in before you sew a stitch.

Tip

Measure with the top lying flat on a table, not hanging off the edge. Gravity adds a quarter inch to a quilt top the moment part of it drops over the side.

Used in this stepfabric measuring tape
2

Read the Three Numbers Off the Tape and Average Them

3:04
Step 2: Read the Three Numbers Off the Tape and Average Them - How to Add Borders to a Quilt Top So They Lie Flat

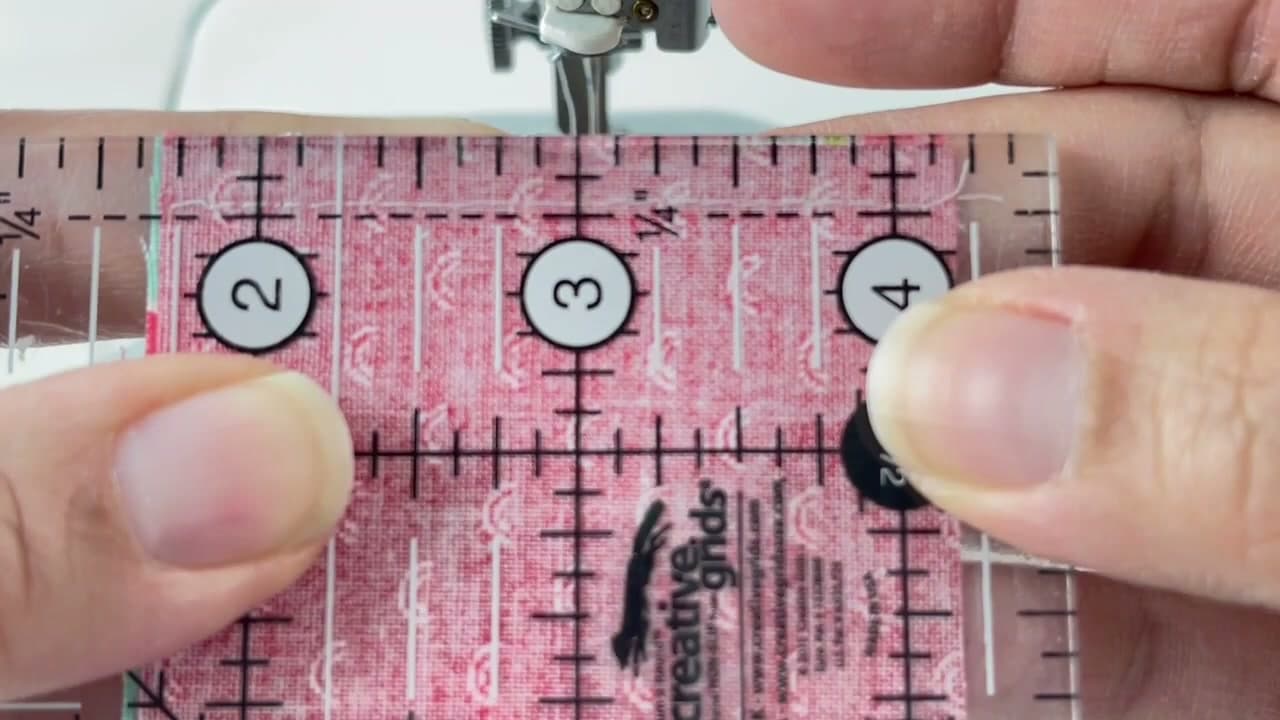
Melanie's three came out at 14 and 9/16, 14 and 7/16, and 14 and 9/16. She averaged them and rounded to 14 and a half, because that is a mark you can cut to without squinting.

Cut both side border strips to that one length. Not to whatever each edge happens to measure. One number, two identical strips. If your three readings are more than about a quarter inch apart, the top is further out of square than it looks, and the border is what is going to pull it back.

Tip

Round to the nearest eighth rather than chasing sixteenths. You will ease a sixteenth in without noticing, and a number you can actually find on the ruler gets cut more accurately.

3

Fold the Border Strip in Half and Crease the Centre

4:24
Step 3: Fold the Border Strip in Half and Crease the Centre - How to Add Borders to a Quilt Top So They Lie Flat

Bring the two short ends of the strip together and pinch a hard crease at the fold. Open it, fold each half back to that centre crease, and pinch again. Four creases: two ends, a centre, two quarters.

No pens and no pins for this. Finger pressing holds well enough on cotton for the few minutes it needs to, and it leaves nothing behind to pick out of a seam or wash off a light fabric later.

Tip

Press the crease with your thumbnail rather than your fingertip. A nail gives you a sharp line you can see; a fingertip gives you a soft bend you will lose.

4

Fold the Quilt Top in Half to Find Its Centre

4:54
Step 4: Fold the Quilt Top in Half to Find Its Centre - How to Add Borders to a Quilt Top So They Lie Flat

Do the same to the quilt top. Fold it edge to edge and the fold lands on the centre, then fold again for the quarters. Keep the raw edges stacked while you do it or the crease goes in crooked.

On a pieced top that centre fold should sit right on a seam. If it lands a quarter inch off one, something upstream is off by a fraction, and you want to find that out now instead of after the border is attached.

Tip

Fold the quilt top the same direction as the border strip. Matching a lengthways crease to a crossways one is how people end up sewing a side border onto the top edge.

5

Press the Centre Fold Flat With a Bone Folder

5:08
Step 5: Press the Centre Fold Flat With a Bone Folder - How to Add Borders to a Quilt Top So They Lie Flat

Run a bone folder down the fold to set a crease you can see from across the table. It takes one pass and costs nothing in fabric.

A thumbnail is fine on a small top like this one. Go bigger and the crease wanders while you shift all that fabric around to reach the far end, and a centre mark that has moved is worse than no mark at all, because you will trust it.

Tip

Keep the bone folder flat rather than on its edge. Worked on edge it can burnish a shiny line into cotton that shows up after pressing.

Used in this stepbone folder
6

Lay the Border Strip Along the Quilt Edge, Right Sides Together

5:32
Step 6: Lay the Border Strip Along the Quilt Edge, Right Sides Together - How to Add Borders to a Quilt Top So They Lie Flat

Turn the strip face down onto the quilt top so the right sides meet, then line up the raw edges. Match the centre crease on the strip to the centre crease on the quilt, then the two quarter creases, then the two ends.

The strip and the quilt edge will not be the same length. They are not supposed to be. The strip is the honest measurement and the edge is the stretched one, and the gap between them is what you are about to ease away.

Tip

Do the sides before the top and bottom. The top and bottom strips then run the full width of the quilt and the corner seams all read the same way round.

Used in this stepquilting cotton fabric
7

Pin the Border at the Centre, the Quarter Marks and Both Ends

5:38
Step 7: Pin the Border at the Centre, the Quarter Marks and Both Ends - How to Add Borders to a Quilt Top So They Lie Flat

Pin every crease you matched. Both ends first, then the centre, then the two quarters. That splits the difference into four short runs instead of one long one, so no single stretch has to swallow all of it.

Set the pins across the raw edge rather than along it. You can pull each one as the needle reaches it, and a pin lying across the seam holds the two layers in register instead of letting them creep.

Tip

If the quilt edge overhangs the end of the strip by an eighth of an inch, pin it flush with the strip end anyway. That eighth gets eased into the seam, not trimmed off.

Used in this stepglass head quilting pins
8

Ease the Extra Quilt Fabric In Between the Pins

6:20
Step 8: Ease the Extra Quilt Fabric In Between the Pins - How to Add Borders to a Quilt Top So They Lie Flat

Between the pins the quilt edge runs slightly longer than the strip. Spread that extra out with your fingertips as you go so it never gathers into a fold under the needle.

Sew with the quilt side down against the feed dogs. The dogs pull the bottom layer through a touch faster than the presser foot moves the top one, which eases the longer layer in for you. That is the whole reason quilters say to put the fuller piece underneath.

Tip

Slow down between pins rather than tugging. Pulling the fabric straight stretches the bias you were trying to control and puts the wave back.

9

Sew the Side Borders On, Then Measure the Full Width for the Top and Bottom

7:48
Step 9: Sew the Side Borders On, Then Measure the Full Width for the Top and Bottom - How to Add Borders to a Quilt Top So They Lie Flat

Sew both sides with a quarter inch seam and press. Now measure again for the top and bottom, and this time the tape has to cross the side borders you just added, so the number is bigger than the one you started with.

Three readings across the new full width, averaged the same way, then cut, crease, pin, ease and sew exactly as before. When the last strip is on, drop a square ruler into each corner and trim off any fraction that stops it sitting at 90 degrees.

Tip

Measure for the top and bottom after the side borders are sewn AND pressed. A seam that has not been pressed open or to the side reads short, and you will cut both strips undersized.

Keep going

How to Sew a Quarter Inch Seam That Measures Right Every Time

Products Used

The Checklist

How to Add Borders to a Quilt Top So They Lie Flat

Tools
10
Materials
3
Steps
9
Video
10 min

Tools we recommend

Your Guide

Melanie Ham

As an Amazon Associate we earn from qualifying purchases. Links on this page may be affiliate links - clicking them and buying doesn't change your price, but helps support CraftingStepByStep.

Tags

Sunday How-To

New quilting tutorials, every Sunday

One short email with the week's best step-by-step guides. Free, no spam, unsubscribe anytime.

Did this work for you?

What's next

Related collections

Curated theme pages that include this tutorial.

Weekly Digest

Liked this quilting tutorial?

Pick the categories you want to hear about. Weekly digest of new step-by-step tutorials. No spam, easy unsubscribe.

Send me tutorials about

We only email about new tutorials. Easy unsubscribe anytime.