How to Square Up a Quilt Block So Every Block Measures the Same

QuiltingEasy4:258 stepsPart of DIY Crafts for BeginnersBrowse more →
The finished result: How to Square Up a Quilt Block So Every Block Measures the Same

By CraftingStepByStepPublished

Based on a video by Power Tools with Thread.

A pieced block comes off the machine close to square and almost never exactly square. Seams pull a thread one way, the iron nudges things the other, and what should be a 4-inch square measures 3 7/8 across the top and 4 1/16 down the side. Squaring up is the trim that fixes it: lay a ruler over the block, line it up on the size you want, and cut the excess off all four sides. Blocks that all measure the same go together into rows without easing or unpicking. Blocks that are each a little different fight you at every seam.

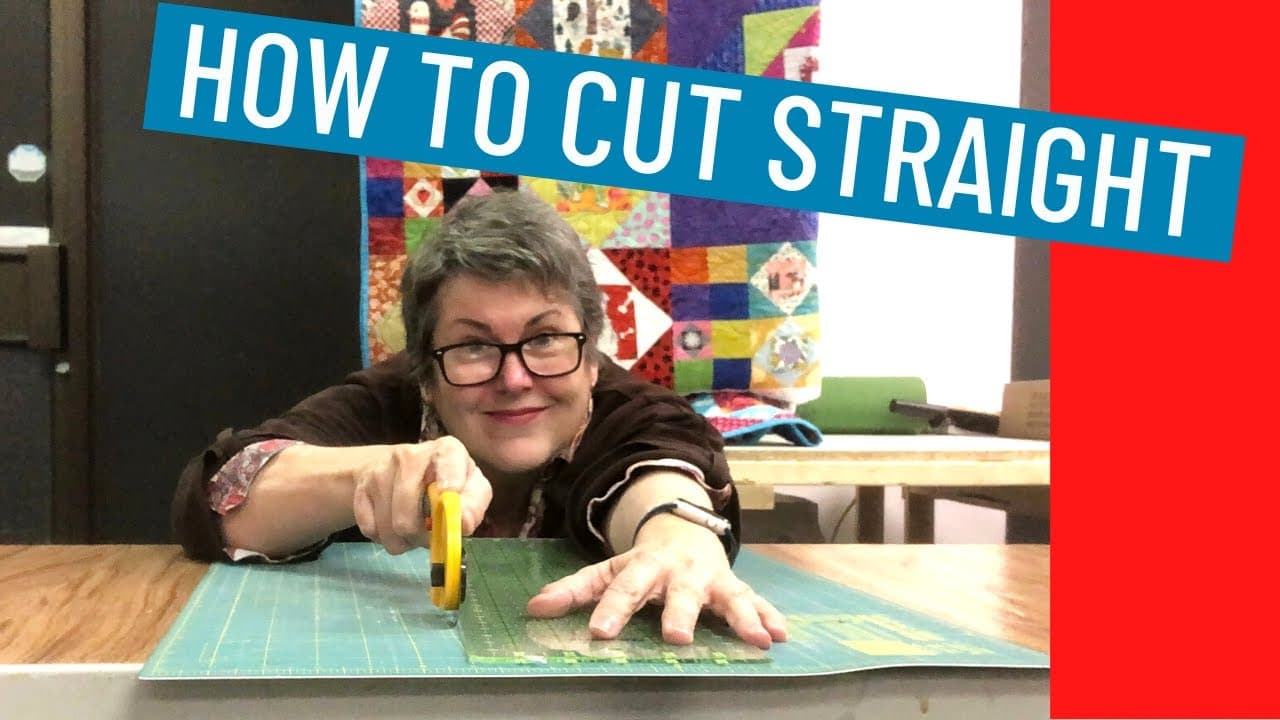
Power Tools with Thread trims a half-square triangle here, from an English trellis quilt, in four minutes. The bit worth staying for is the painter's tape: mask off the ruler lines you are not using and the one line you need stops vanishing into the grid.

Work out the unfinished size first

Every block has two sizes. The finished size is what it measures once it is sewn in, seam allowances buried. The unfinished size is what it measures right now, and that is the number you trim to. Unfinished is finished plus half an inch, because a quarter-inch seam allowance gets eaten off each of the four edges: a block meant to finish at 3 inches gets trimmed to 3.5. Most patterns hand you that number outright, so read it off the pattern before you pick up the cutter.

What the ruler has to have

A small square ruler beats a long rectangular one here. It covers the whole block and turns faster between cuts. An inch or so larger than your trim size is the sweet spot.

For half-square triangles, flying geese, and anything else built on a diagonal, it also has to carry a 45-degree line running corner to corner. That line is what you lay on the block's seam, and without it you are guessing. Plenty of cheap square rulers have edge markings and no diagonal, so check before you buy. Mat and cutter are the same ones you already use to cut quilt fabric.

Trim all four sides, not two

The tempting shortcut is to line the ruler up on two edges and cut the other two. It is how blocks end up lopsided. All the error goes to one corner, the diagonal drifts off centre, and on a half-square triangle the point stops landing where it should.

Centre the ruler instead. Put its 45-degree line on the block's diagonal seam, leave a whisker of fabric showing past two edges, cut those, then turn the block and take the same whisker off the remaining two.

What to do when the block comes out too small

You go to trim to 3.5 inches and the block measures 3 3/8. There is nothing there to cut. This is the one nobody answers.

Do not stretch it to fit. Press it again with a shot of starch - a block pressed while damp often gains an eighth once it dries flat. If it is still short, trim the whole batch down to the smallest. The real fix is upstream: your seam allowance is running wide, and a scant quarter-inch seam on the next batch gives that fabric back.

Common mistakes

The ruler slides mid-cut. A dull blade causes most of it - you press harder, the pressure shoves the ruler, the cut wanders. Change blades more often than feels reasonable.

Starting the blade on the fabric instead of behind it leaves a nick at the corner. And lifting the ruler to check a cut - move the fabric out from under the ruler instead, and leave the ruler where it sits.

Skipping the press. A seam allowance folded the wrong way reads as thicker than it is and measures wrong under the ruler. Press the seams and nest them at the intersections before anything touches a cutting mat.

Squared blocks are what the rest of the quilt stands on. Once your half-square triangles and flying geese units all measure the same, the rows go together fast, and adding the borders stops being the step where the top goes wavy.

What you'll need

Step-by-Step Guide

8 steps · about 4 minutes.Check off each step as you go and your progress saves automatically.

1

Lay the Pressed Quilt Block on the Cutting Mat and Work Out the Unfinished Size

0:40
Step 1: Lay the Pressed Quilt Block on the Cutting Mat and Work Out the Unfinished Size - How to Square Up a Quilt Block So Every Block Measures the Same

Press the block flat before it goes anywhere near a ruler. A seam allowance still standing up reads as bulk and throws the measurement out by more than you would think.

Then find the number you are trimming to. The pattern usually states it. If it does not, take the finished size and add half an inch. The block in the video started life as a 4-inch square and comes down to 3.5.

Tip

Measure a few blocks from the same batch before you cut any of them. If they are all running small, the problem is your seam allowance and trimming will not fix it.

Used in this stepspray starch
2

Run Painter's Tape Along the Ruler Lines You Are Not Trimming To

0:56
Step 2: Run Painter's Tape Along the Ruler Lines You Are Not Trimming To - How to Square Up a Quilt Block So Every Block Measures the Same

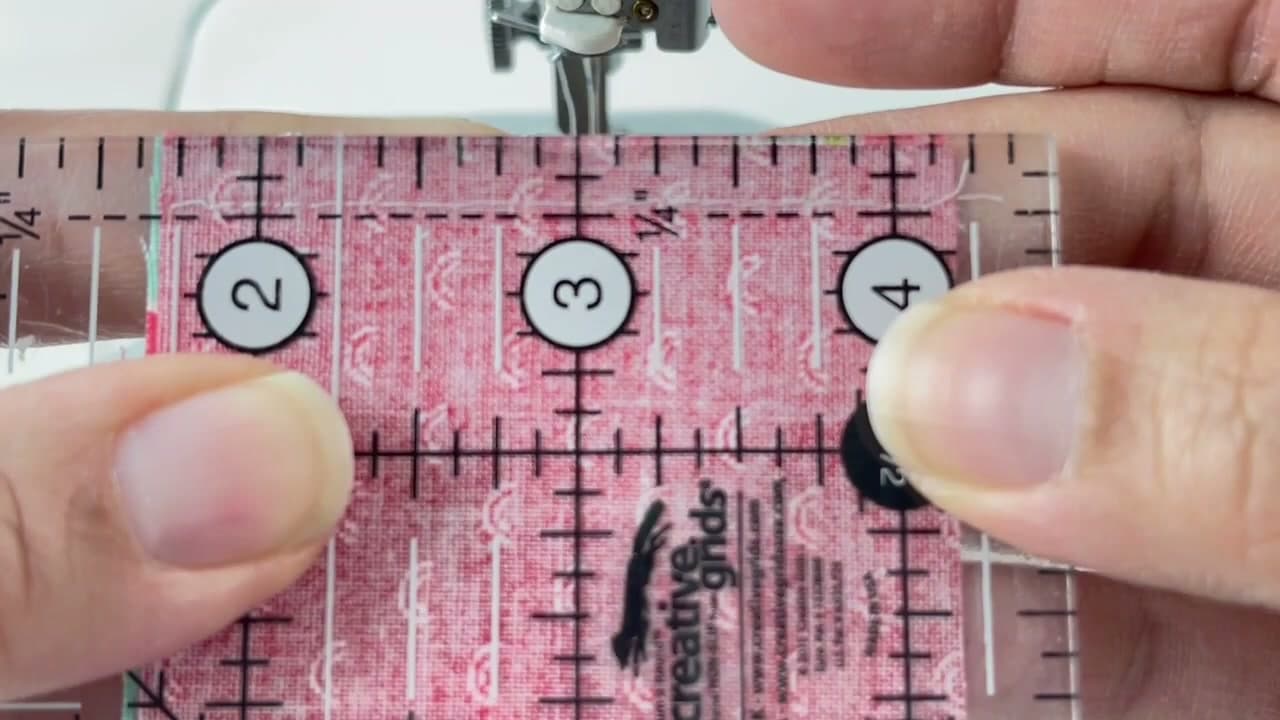
Square rulers are covered in lines, and on a small one they blur together the moment patterned fabric goes underneath. Tear two strips of painter's tape and lay them along the outside of the lines you are cutting to, hiding everything past your trim size.

What is left is one clean corner and two clean edges. Your eye goes straight to them instead of hunting for the 3.5 mark among the 3.25 and the 3.75.

Tip

The tape earns its keep twice. It gives the ruler some grip on the fabric too, so the whole thing skates around less while you cut.

Used in this steppainter's tape
3

Check the Square Quilting Ruler for a 45-Degree Line Running Corner to Corner

1:22
Step 3: Check the Square Quilting Ruler for a 45-Degree Line Running Corner to Corner - How to Square Up a Quilt Block So Every Block Measures the Same

Any ruler big enough to cover the block will cut a square. A block built on a diagonal needs more than that.

Look for the 45-degree line that runs from one corner of the ruler to the opposite corner. On a half-square triangle, that line goes over the seam, and it is the only thing keeping the diagonal true through the finished block. A small square ruler handles better here than a long one and turns faster between cuts.

Tip

A ruler an inch or so bigger than your trim size is about right. Much bigger and you lose sight of the edges you are lining up.

Used in this stepsquare quilting ruler
4

Put a Fresh Blade in the Rotary Cutter Before You Trim

2:04
Step 4: Put a Fresh Blade in the Rotary Cutter Before You Trim - How to Square Up a Quilt Block So Every Block Measures the Same

A dull blade does not fail cleanly. It skips threads, so you press harder to get through, and that extra pressure is what shoves the ruler off your line halfway down the cut. The cut wanders and you blame your hands.

Change the blade. Blades are cheap, and it is the difference between a cutter that follows the ruler and one that argues with it. Any blade you have been cutting batting or paper with is already finished.

Tip

Close the guard every time you set the cutter down. A live rotary blade rolling loose on a cutting mat is the most common injury in quilting.

5

Set the Ruler So Both Top Corners Sit a Thread Inside the Block's Raw Edge

2:56
Step 5: Set the Ruler So Both Top Corners Sit a Thread Inside the Block's Raw Edge - How to Square Up a Quilt Block So Every Block Measures the Same

Lower the ruler onto the block with your trim size sitting over the fabric, then look at the top two corners. You want the ruler's edge a thread inside the raw edge of the block at both of them, so there is a sliver to come off rather than a gap where the block has run short.

If one corner has fabric to spare and the other does not, the block is sitting crooked under the ruler. Slide it straight rather than accepting it.

Tip

A ruler weight or a few stick-on sandpaper dots stop the ruler creeping while you move your hand across to pick up the cutter.

Used in this stepquilting ruler weight
6

Run the Ruler's 45-Degree Line Straight Down the Block's Diagonal Seam

3:14
Step 6: Run the Ruler's 45-Degree Line Straight Down the Block's Diagonal Seam - How to Square Up a Quilt Block So Every Block Measures the Same

Three things have to be right before the blade comes out: the first corner, the second corner, and the 45-degree line sitting square on the seam. The corners give you the size. The diagonal gives you the shape.

Expect to wiggle it. Nudge the ruler a thread, check both corners again, check the diagonal again. This is the slow part of squaring up, and it is the part that decides whether the point lands where it should once the block is sewn in.

Tip

Work with the light coming across the block rather than straight down on it. A raking light shows the seam line through the acrylic far better than overhead light.

7

Cut Up the Ruler Edge With the Rotary Cutter, Starting Behind the Block

3:26
Step 7: Cut Up the Ruler Edge With the Rotary Cutter, Starting Behind the Block - How to Square Up a Quilt Block So Every Block Measures the Same

Press down on the ruler with your spare hand, fingertips spread across the middle of it rather than out on the edge. Set the blade on the mat behind the block, not on the fabric, and roll forward until you are past the far edge.

Go slowly. Speed is what lets the blade climb the ruler edge and shave into the block. Cut the second side the same way without lifting anything.

Tip

Starting and finishing off the fabric is what gives you a clean corner. Start on the block and you leave a nick at the edge that shows once it is sewn in.

Used in this stepself-healing cutting mat
8

Move the Block Out From Under the Ruler, Then Turn It and Trim the Last Two Sides

3:46
Step 8: Move the Block Out From Under the Ruler, Then Turn It and Trim the Last Two Sides - How to Square Up a Quilt Block So Every Block Measures the Same

Slide the block away and leave the ruler exactly where it is. If the blade skipped a thread anywhere, you can drop the block back into position instead of aligning the whole thing from scratch.

Give the block a quarter turn, set the ruler back down using the two sides you have already cut, and take the same sliver off the remaining two. The block is square when all four edges sit clean against the ruler and the diagonal still runs corner to corner.

Tip

A rotating cutting mat is the one luxury worth having here. You spin the mat instead of picking the block up and putting it down, which is where blocks get knocked out of true.

Keep going

How to Sew a Quarter Inch Seam That Measures Right Every Time

Products Used

The Checklist

How to Square Up a Quilt Block So Every Block Measures the Same

Tools
6
Materials
4
Steps
8
Video
4 min

Tools we recommend

Your Guide

Power Tools with Thread

As an Amazon Associate we earn from qualifying purchases. Links on this page may be affiliate links - clicking them and buying doesn't change your price, but helps support CraftingStepByStep.

Tags

Sunday How-To

New quilting tutorials, every Sunday

One short email with the week's best step-by-step guides. Free, no spam, unsubscribe anytime.

Did this work for you?

What's next

Related collections

Curated theme pages that include this tutorial.

Weekly Digest

Liked this quilting tutorial?

Pick the categories you want to hear about. Weekly digest of new step-by-step tutorials. No spam, easy unsubscribe.

Send me tutorials about

We only email about new tutorials. Easy unsubscribe anytime.