How to Baste a Quilt (Spray, Pin, and Thread Methods)

Also in:Sewing

By CraftingStepByStepPublished

Based on a video by Melanie Ham.

Basting is the unglamorous step that decides whether your finished quilt lies flat or puckers and pulls. You've pieced your quilt top, you have your batting and backing ready, and now those three layers need to be held together temporarily so they don't shift around while you run them through the sewing machine. That's basting.

Melanie Ham walks through her go-to method - pin basting with curved safety pins - in the second video of her Your First Quilt series. We've included the other two common methods (spray basting and thread basting) at the top so you can pick what works for your project, your space, and your tolerance for sticky stuff. Pin basting is the one most beginners reach for: nothing gets glued together, you can re-pin if something shifts, and a tin of curved safety pins lasts years.

The whole process takes about 30 to 45 minutes for a baby or lap quilt once you have your supplies out. The key is a hard, flat surface large enough to lay the whole quilt out at once - a dining table works great. If you can clear off a smooth wood floor, even better for larger quilts.

If you're brand new to the series, start with how to sew quilt squares together to build the quilt top first. Already basted and ready to keep going? After basting comes the actual quilting and then how to bind a quilt to finish the edges. The piecing technique we use in this video also relies on accurate half-square triangles if you want to add patterned blocks.

Step-by-Step Guide

1

Step 1: Get Your Three Layers Ready

2:10
Step 1: Step 1: Get Your Three Layers Ready

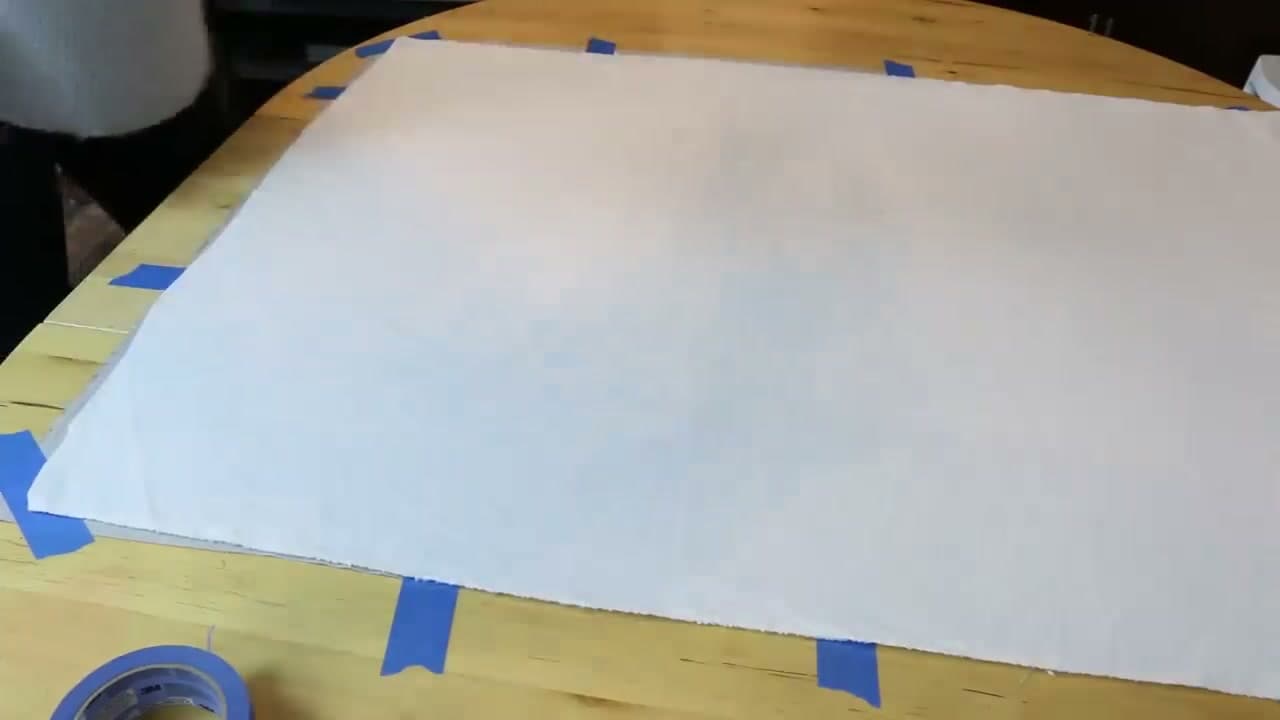
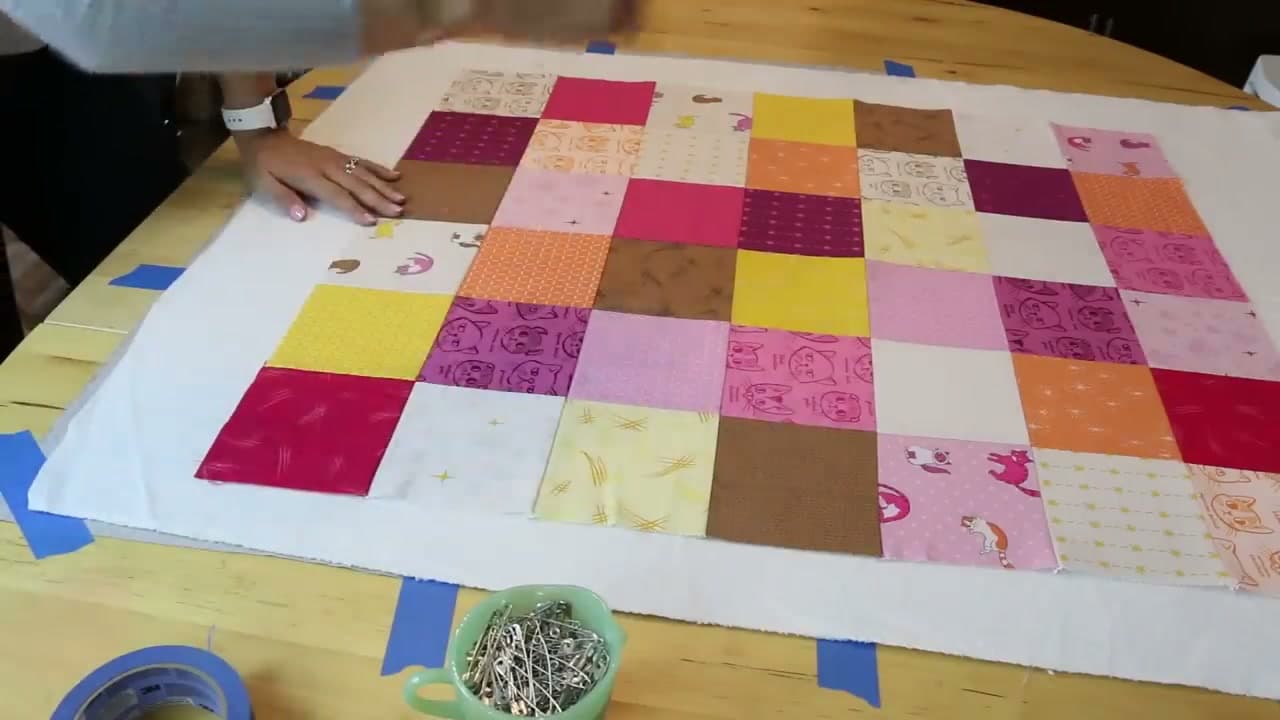
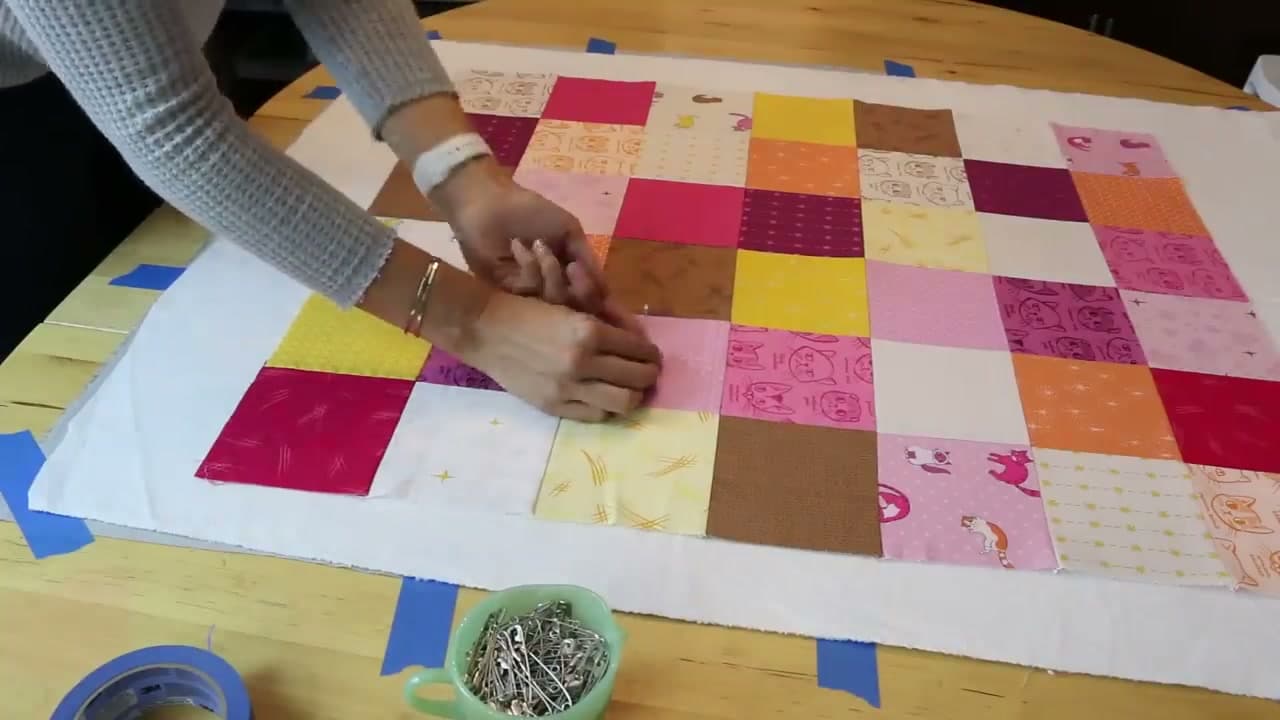
A quilt sandwich is three layers: the pieced quilt top on the front, batting in the middle, and a backing fabric on the bottom. The backing should be cut about 4 inches larger on each side than your quilt top, and the batting cut the same size as the backing.

Press all three layers with a hot iron before you start. Wrinkles in any layer will lock in once you baste, so the smoother you start, the smoother your finished quilt will be. Lay everything out so it's easy to grab when you need it.

Tip

If your backing fabric is narrower than your quilt top (most quilting cotton is 42 to 44 inches wide), you'll need to piece two lengths together with a center seam before basting. Press that seam open so it doesn't add bulk.

2

Step 2: Choose Your Basting Method

0:45
Step 2: Step 2: Choose Your Basting Method

Three common methods, each with trade-offs:

Spray basting with a product like 505 Spray and Fix is the fastest - you spray a fine mist of repositionable adhesive on each layer as you stack it, and the layers grip without pins. Works great but you need ventilation and a drop cloth, and some quilters skip it because they don't love the smell.

Pin basting with curved safety pins is the most popular for beginners. No adhesive, totally reversible if a layer shifts, and the only equipment is a tin of pins. This is what we walk through in this tutorial.

Thread basting uses long hand stitches in a grid pattern to hold the layers. Traditional, no equipment beyond a needle and thread, but it takes the longest and you remove every stitch after quilting.

3

Step 3: Tape the Backing Down

4:00
Step 3: Step 3: Tape the Backing Down

Lay the backing fabric wrong-side up on a clean, hard surface - a dining table or smooth floor works well. Pull the fabric taut, but don't stretch it. You want it smooth and flat, not under tension.

Tape the edges down with blue painters tape, placing a strip every 6 to 8 inches around all four sides. Painters tape grips well enough to hold the backing flat but peels up later without leaving residue on your fabric or your table. The backing has to stay perfectly flat the entire time you're basting - if it bunches underneath, your finished quilt will have puckers on the back.

Tip

Don't use masking tape or duct tape - they leave sticky residue on fabric. Blue painters tape is the only kind that's safe to peel off cotton.

Products used in this step

4

Step 4: Add the Batting on Top

5:00
Step 4: Step 4: Add the Batting on Top

Center the batting over the taped backing. Smooth it flat with your hands, working from the center outward to push any air bubbles or wrinkles toward the edges.

Don't pull or stretch the batting - it should sit naturally on the backing without tension. Cotton batting is forgiving and won't snap back, but polyester or wool battings can rebound if you stretch them, which causes problems later. The taped backing keeps everything aligned underneath while you smooth the batting.

5

Step 5: Center the Quilt Top

5:45
Step 5: Step 5: Center the Quilt Top

Place the pieced quilt top right-side up on top of the batting. Center it so you have an even border of batting and backing showing on all four sides - about 2 inches of margin minimum.

Smooth the quilt top flat from the center outward the same way you did with the batting. Take an extra minute here to check that the rows and columns of your piecing are running straight relative to the table edges. Now you have all three layers stacked: backing on the bottom, batting in the middle, quilt top on top. This is the quilt sandwich.

6

Step 6: Start Pinning from the Center

6:15
Step 6: Step 6: Start Pinning from the Center

Curved safety pins are the trick here. The bent shape lets you push the pin down through all three layers and back up without having to lift the fabric off the table. Regular straight safety pins will work but you'll fight them the entire time.

Start in the middle of the quilt and place your first pin. Work outward from there in a spiral or grid pattern. Pinning from the center out (instead of starting at the edges) lets you push any small wrinkles to the outside of the quilt where they can flatten out, rather than trapping them in the middle.

Tip

Slide a small ruler or quilter's plastic spoon under the fabric where you're pinning. It lifts the layers just enough that the pin tip comes back through without scratching the table or your fingers.

7

Step 7: Place a Pin Every 4 to 5 Inches

6:35
Step 7: Step 7: Place a Pin Every 4 to 5 Inches

Spread the pins across the entire quilt top in a rough grid pattern, about a fist's width between pins. That works out to roughly every 4 to 5 inches in both directions.

Try to avoid pinning through the seams between blocks - aim for the middle of each block instead. Pins through seams add bulk that you'll have to sew through, and they leave bigger holes. As you go, keep smoothing the quilt top with your free hand to catch any shifting before it gets pinned in place. A queen-size quilt might use 150 to 200 pins; a baby quilt closer to 40 or 50.

8

Step 8: Untape and Trim the Excess

7:15
Step 8: Step 8: Untape and Trim the Excess

Once the whole quilt top is pinned, peel up all the painters tape from the backing. The pins hold the sandwich together now, so the tape isn't doing any more work.

Trim any large overhangs of batting and backing, but leave at least 2 inches of extra fabric all around the quilt top. That extra gets trimmed off after you finish quilting and before you bind the edges. Your quilt sandwich is now basted and ready to load onto the sewing machine - you can move it, fold it, flip it over, and the layers will stay put. Next step in the series is the actual quilting; after that you'll want how to bind a quilt to finish the edges.

Products used in this step

Products Used

☐ The Checklist

How to Baste a Quilt (Spray, Pin, and Thread Methods)

Tools
4
Materials
4
Steps
8
Video
8 min

Your Guide

Melanie Ham

As an Amazon Associate we earn from qualifying purchases. Links on this page may be affiliate links - clicking them and buying doesn't change your price, but helps support ShowMeStepByStep.

Tags

What's next

Related collections

Curated theme pages that include this tutorial.

Weekly Digest

Liked this quilting tutorial?

Pick the categories you want to hear about. Weekly digest of new step-by-step tutorials. No spam, easy unsubscribe.

Send me tutorials about

We only email about new tutorials. Easy unsubscribe anytime.