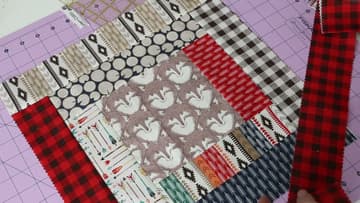
How to Make a Log Cabin Quilt Block
Source: Melanie Ham • Full tutorial: www.craftingstepbystep.com/quilting/how-to-make-a-log-cabin-quilt-block
- Difficulty
- Easy
- Hands-on time
- About 1 hour
- Cost
- About $15 to $40
- Makes
- 1 quilt block, about 18.5 inches square

Tools
- Sewing machine
- Rotary cutter
- Self-healing cutting mat
- Square quilting ruler
- Sharp scissors kept at the machine
- Iron and ironing board
- Seam ripper
Materials
- Jelly roll of 2.5-inch precut cotton strips
- 6.5-inch square of quilting cotton for the center
- 50 wt cotton thread in a mid gray
Steps
1. Cut a 6.5-Inch Center Square for the Log Cabin Block
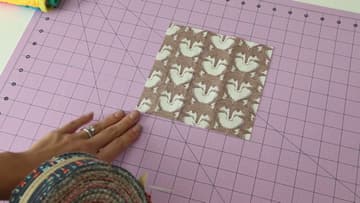
Cut one 6.5-inch square of quilting cotton. It becomes the middle of the block and everything else wraps around it.
Tip: Traditional log cabin blocks use a red center square for the hearth.
2. Pull Light and Dark 2.5-Inch Strips From a Jelly Roll
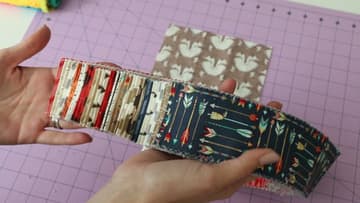
Open a jelly roll and fan the strips out across the table. A jelly roll is around 40 precut 2.5-inch strips from one fabric line, which is why this block goes together so fast.
Tip: Watch for directional prints.
3. Lay the First Jelly Roll Strip Face Down on the Center Square
Put the strip face down along one edge of the center square, right sides together, raw edges flush. Do not cut the strip to length.
Tip: Let the strip hang a little past the top edge of the square rather than starting it exactly level. Trimming a quarter inch of overhang is easy.
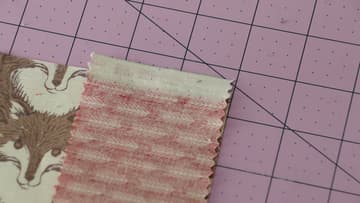
4. Line the Edges Up on the Outer Point of the Pinked Edge
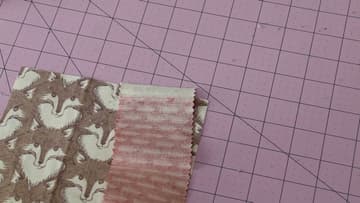
Precut strips come with a pinked edge, the zigzag running along both long sides. It sheds fewer threads than a straight cut, but it makes the edge ambiguous.
Tip: Yardage you cut yourself has no zigzag, so none of this applies to it. Mixing precut strips and self-cut strips inside one block is where the mismatch shows up.
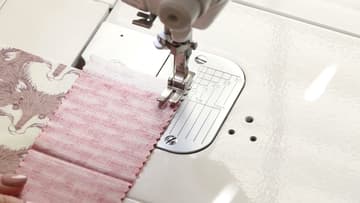
5. Sew the Strip On With a Quarter-Inch Seam
Find the quarter-inch mark on your needle plate, run the raw edges along it, and sew the full length of the square. Stop at the far edge and clip the threads.
Tip: If your machine has no quarter-inch mark, a quarter-inch patchwork foot or a stick-on seam guide gives you a physical edge to run the fabric against.
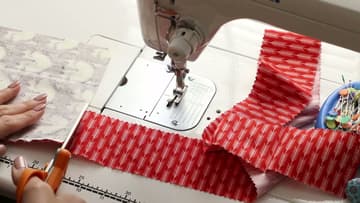
6. Snip the Strip Free at the Machine and Finger Press It Open
Keep sharp scissors on the sewing table, not across the room. Flip the piece so the strip lies on top, then snip it off flush with the edge of the square.
Tip: Finger pressing is a stopgap, not a substitute.
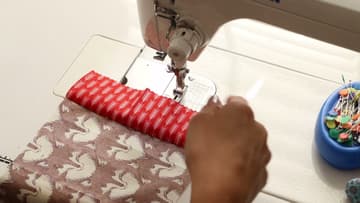
7. Turn the Block a Quarter Turn and Add the Next Strip
Rotate the block a quarter turn and lay the next strip along the newly exposed edge, right sides together again. Turn the same direction every single time.
Tip: The seam you just finger pressed should be lying toward the outside of the block when the next strip goes on.
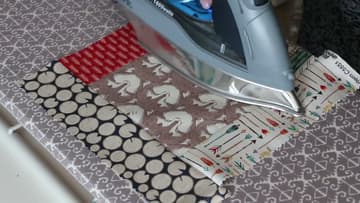
8. Press the Round Flat With the Seams Facing Away From the Center
Take the block to the ironing board once all four logs of a round are on. Press every seam allowance away from the center so it tucks under the strip you just added.
Tip: Pressing outward every round stops the seam allowances stacking into a lump in the middle of the block.
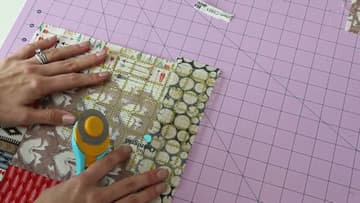
9. Square the Block With a Quilting Ruler and Rotary Cutter
Lay the pressed block on a cutting mat, set a square ruler over one corner, and line the ruler up against two edges at once. Check the corner really is 90 degrees, then run a rotary cutter along the ruler to shave off whatever sticks out.
Tip: Check the corners that look fine too. The one that is off is usually the one you felt confident about, and putting the ruler down to prove it takes five seconds.
10. Add Rounds Two and Three to Finish the Log Cabin Block
Build round two and round three the same way, pressing and squaring after each one. Nothing about the method changes.
Tip: Make all your blocks before you settle on a layout.