How to Make Origami: 5 Paper Animals for Beginners

Based on a video by TheDadLab

Opens their YouTube channel

Steps written out by CraftingStepByStep · Published · Updated

Watch the original video (opens YouTube)
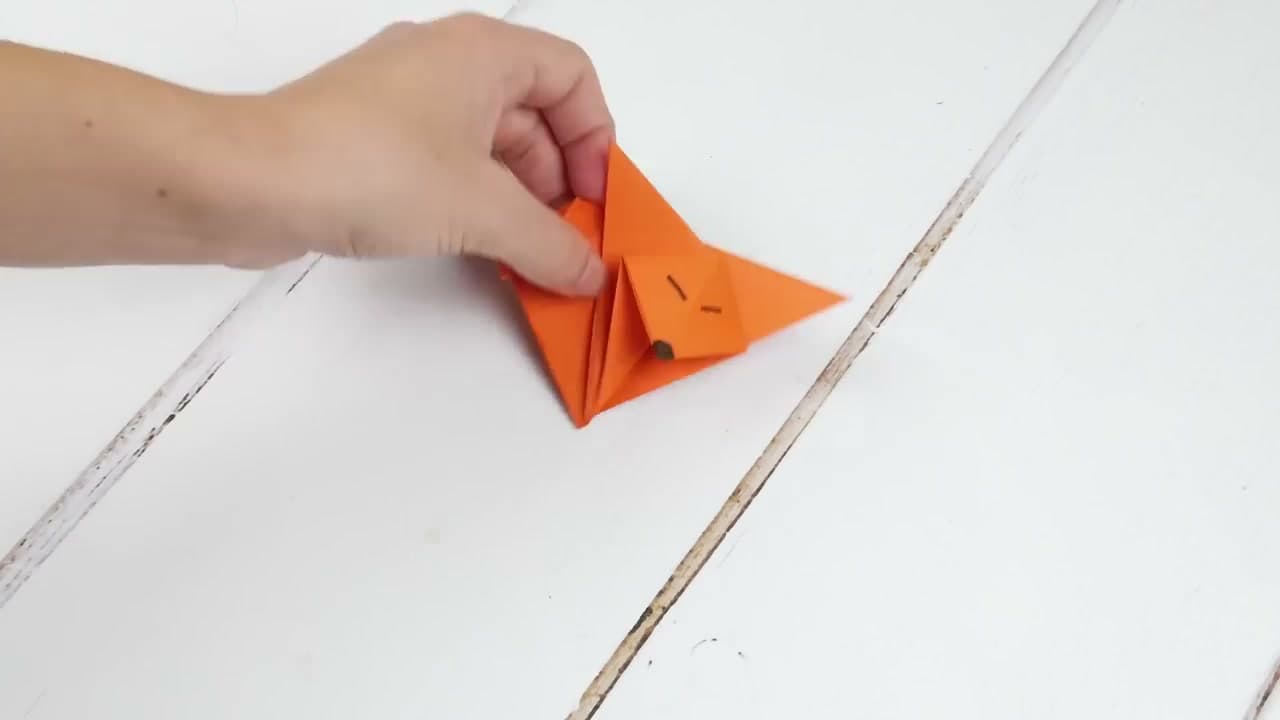
The finished result: How to Make Origami: 5 Paper Animals for Beginners
Also in:Crafts

Origami looks complicated from the outside. It is not. Nearly every beginner model is built from two folds, a valley and a mountain, repeated in different places on a single square of paper. Learn those two, get your creases sharp, and the five animals in this walkthrough take about ten minutes each.

The video is from TheDadLab, folding a whale, a fox, a fish, a dog and a butterfly. They are simple enough for a child to follow and satisfying enough that most adults fold a second set.

What you need

Square paper. That is the whole list. A pack of 6-inch (15cm) origami squares is easiest for adult hands and small enough for children; the paper is thinner than printer paper and holds a crease better. If you have none, cut any sheet square by folding one corner to the opposite edge and trimming the strip.

A bone folder gives crisper lines than a fingernail, and a fine marker draws the eyes at the end. Neither is essential.

The two folds everything is built on

Valley fold. Bring an edge or corner toward you so the paper dips into a V. Crease it flat.

Mountain fold. The same fold made away from you, so the crease stands up as a ridge. In practice you usually turn the paper over and make a valley fold; the result is the same.

Two more turn up constantly once you move past the first animals. A squash fold opens a flap and flattens it into a diamond. A reverse fold pushes a point back inside itself to make a head, a beak or a tail. Both are combinations of valleys and mountains, not new skills.

Origami for beginners: three habits that matter

Line the edges up before you crease. A crease a millimetre off at the first fold is a centimetre off by the fifth. Slide the edges together, hold them, then press the fold.

Crease hard, on a hard surface. A soft table lets the paper shift under your hand. Run a fingernail or a bone folder along every fold with real pressure. Soft creases are the difference between a sharp little fox and a floppy one.

Fold the first one slowly. Pause the video at every step for the first animal. The second one of the same model takes a third of the time, and by the third you are not looking at the screen.

Where to go next

Once the five animals feel easy, the traditional models are the next rung. The crane is the one everyone recognises and teaches the squash and reverse folds. A swan, a fish and a jumping frog are each a single sitting. The butterfly and the heart are the quick ones for cards.

Useful folds that are not animals: a masu box holds things, a corner bookmark takes two minutes, and lucky stars fill a jar. The lotus and the dragon are the ones to attempt when you want a challenge.

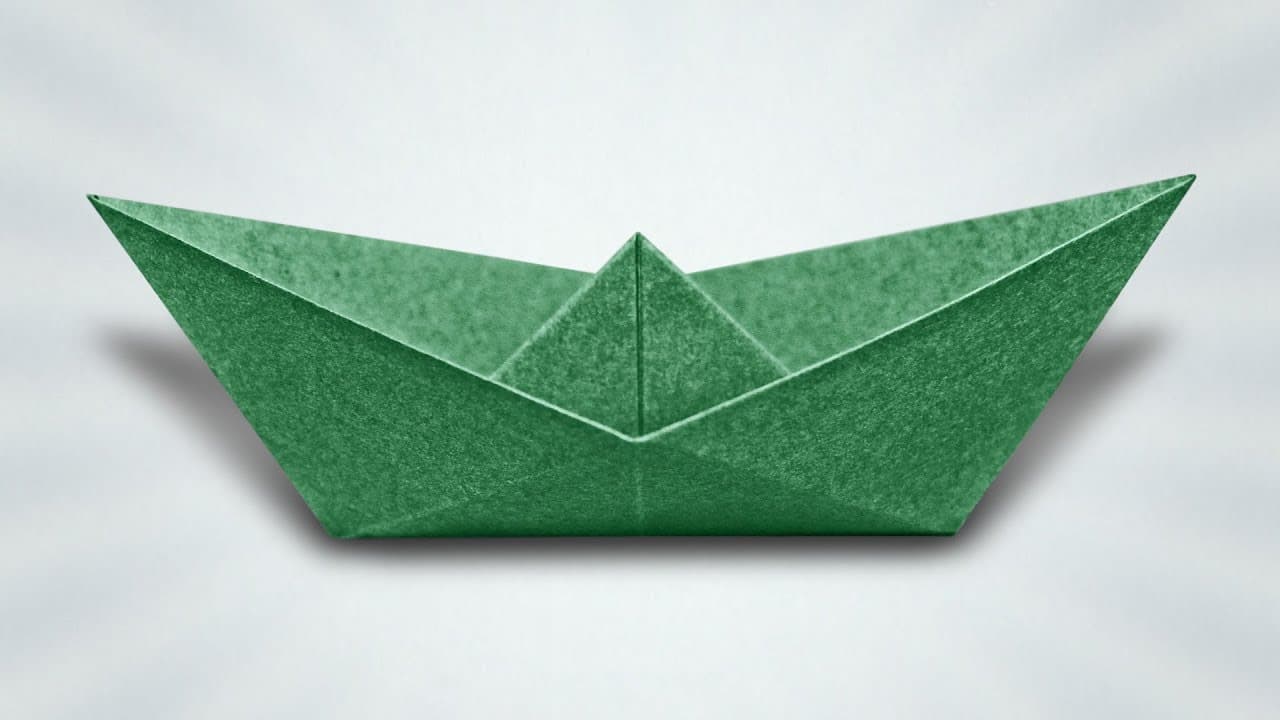
And the folds most of us learned in a classroom and half-forgot: the paper airplane, the paper boat, the fortune teller and the ninja star.

Once the basic folds feel natural, how to fold money into a heart puts them to work on a dollar bill.
What you'll need

Step-by-step guide

7 steps, about 5 minutes. Tap a picture to jump to that step. Your progress saves automatically.

Tick each step off as you go.

  1. Step 1: Set Up Your Paper and Master the Two Foundation Folds

    Watch this step · 0:22

    Grab a square sheet of origami paper, any color you like. Every animal in this tutorial uses the same two moves: a valley fold (paper bends toward you, forms a V) and a mountain fold (paper bends away, forms a peak). Practice both on a scrap square before you start so the creases feel natural.

    Sharp, crisp folds are the difference between a clean animal and a sloppy one. Run a fingernail or bone folder along each crease so it lies flat.

    Tip:

    If your paper is patterned on one side, decide upfront which side you want showing on the finished animal - the colored side usually ends up on the outside.

    Back to all steps

  2. Step 2: Fold the Whale

    Watch this step · 0:55

    Start with the paper as a diamond and fold it in half corner to corner, then unfold so you have a center crease. Bring the two side points in to meet at that crease line, then fold the whole shape in half along the crease.

    Lift the back point up to form the tail fluke. The rounded end becomes the whale's head. Draw a small eye with a marker once it holds its shape.

    Tip:

    Blue paper sells the whale, but kids will fold whales in pink and yellow too. Don't fight it.

    Back to all steps

  3. Step 3: Fold the Fox

    Watch this step · 1:48

    Take a square and fold it diagonally to make a triangle. Fold the triangle in half again, point to point, then open the last fold back up. Bring the two outer corners up to meet the top point, creating two ears.

    Flip the shape over so the ears stand up, and the bottom triangle becomes the snout. Add eyes and a nose dot with a marker.

    Tip:

    If the ears want to flop, run a hard mountain fold along their inside edge and they'll stand on their own.

    Back to all steps

  4. Step 4: Fold the Fish

    Watch this step · 2:42

    Fold the square in half diagonally to make a triangle, then fold it in half again side to side. Open it back to the triangle and use the crease as a guide to tuck one corner inward, forming a kite-like shape.

    Pinch the back end together so a tail fin pops out. The wider front becomes the fish's body. A small eye and a curved smile finish the look.

    Tip:

    Patterned paper looks great on the fish - the body is wide enough that the print actually shows.

    Back to all steps

  5. Step 5: Fold the Dog

    Watch this step · 3:35

    Begin with the paper as a diamond and fold it in half to make a triangle, with the long edge at the top. Fold the two top corners down on either side so they hang past the bottom edge, forming floppy ears.

    Then fold the bottom point up just a little to shape the chin. Flip it over and add a face: two eyes, a nose, and a tongue if you want.

    Tip:

    Brown or tan paper reads as dog the fastest. Black eyes on tan paper pop more than they will on red.

    Back to all steps

  6. Step 6: Fold the Butterfly

    Watch this step · 4:23

    Fold the square in half both directions, then diagonally both ways, so you have a star of creases on the paper. Push the side creases inward so the paper collapses into a smaller triangle shape, called a preliminary base.

    Fold the top two flaps up and outward to spread the wings, then pinch the center to give the body shape. Crease the wings hard so they stand open.

    Tip:

    The preliminary base is the only tricky move in the whole tutorial. If it fights you, unfold once and re-do the diagonal creases more sharply - the collapse needs those creases to be deep.

    Back to all steps

  7. Step 7: Line Up Your Paper Animals

    Watch this step · 4:45

    Set all five animals side by side on a flat surface. The whale, fox, fish, dog, and butterfly each come from the same square of paper but use different fold patterns.

    Try the project again with patterned or two-tone origami paper for a different look, or scale up with larger sheets so younger kids can handle the folds more easily.

    Tip:

    A small flat tray makes a perfect display - and keeps the butterflies from blowing off the table.

    Back to all steps

Keep going

How to Make Paper Snowmen

Products Used

The Checklist

How to Make Origami: 5 Paper Animals for Beginners

Tools
3
Materials
1
Steps
7
Video
5 min

Tools we recommend

As an Amazon Associate we earn from qualifying purchases. Links on this page may be affiliate links - clicking them and buying doesn't change your price, but helps support CraftingStepByStep.

Tags

The Crafter's Weekly

New paper crafts tutorials, every Sunday

One short email with the week's best step-by-step guides. Free, no spam, unsubscribe anytime.

Test your knowledge

Did the lesson stick? Start with this one.

5 questions covering what you just read. No signup, no score saved, and you can stop after this one.

Question 1 of 5

What are the two foundation folds used by every animal in this tutorial?

Quick reference

Key takeaways from How to Make Origami: 5 Paper Animals for Beginners

5 questions, answers, and one-line explanations. Tap to expand.

  1. 1.What are the two foundation folds used by every animal in this tutorial?

    Answer: VALLEY fold (paper bends toward you, forms a V) and MOUNTAIN fold (bends away, forms a peak)

    Valley + mountain = every origami pattern is built from these two.

  2. 2.What's the key difference between a clean origami animal and a sloppy one?

    Answer: SHARP, CRISP folds (run a fingernail or bone folder along each crease)

    Crisp creases hold shape; soft folds let the model flop open.

  3. 3.What origami base does the BUTTERFLY collapse into?

    Answer: Preliminary base (collapse the star of creases into a smaller triangle)

    Preliminary base is the four-flap diamond used as the butterfly's foundation.

  4. 4.For the WHALE, what becomes the tail fluke?

    Answer: The BACK POINT lifted upward after the side points meet at the center crease

    Lift the back point = tail fluke. The rounded end becomes the whale's head.

  5. 5.What shape paper do you start with for any of these animals?

    Answer: A SQUARE sheet of origami paper, any color you like

    Square is the standard origami starting shape; all five animals use it.

Did this work for you?

What's next

Related collections

Curated theme pages that include this tutorial.

Similar tutorials

Hand-picked next reads based on the one you just finished.

Liked this paper crafts tutorial?

Pick the crafts you want to hear about. One email every Sunday with new step-by-step tutorials. No spam, easy to unsubscribe.

Get more like this in your inbox

Weekly digest. Pick the categories you want. Unsubscribe anytime.

Send me tutorials about

We only email about new tutorials. Easy unsubscribe anytime.