1
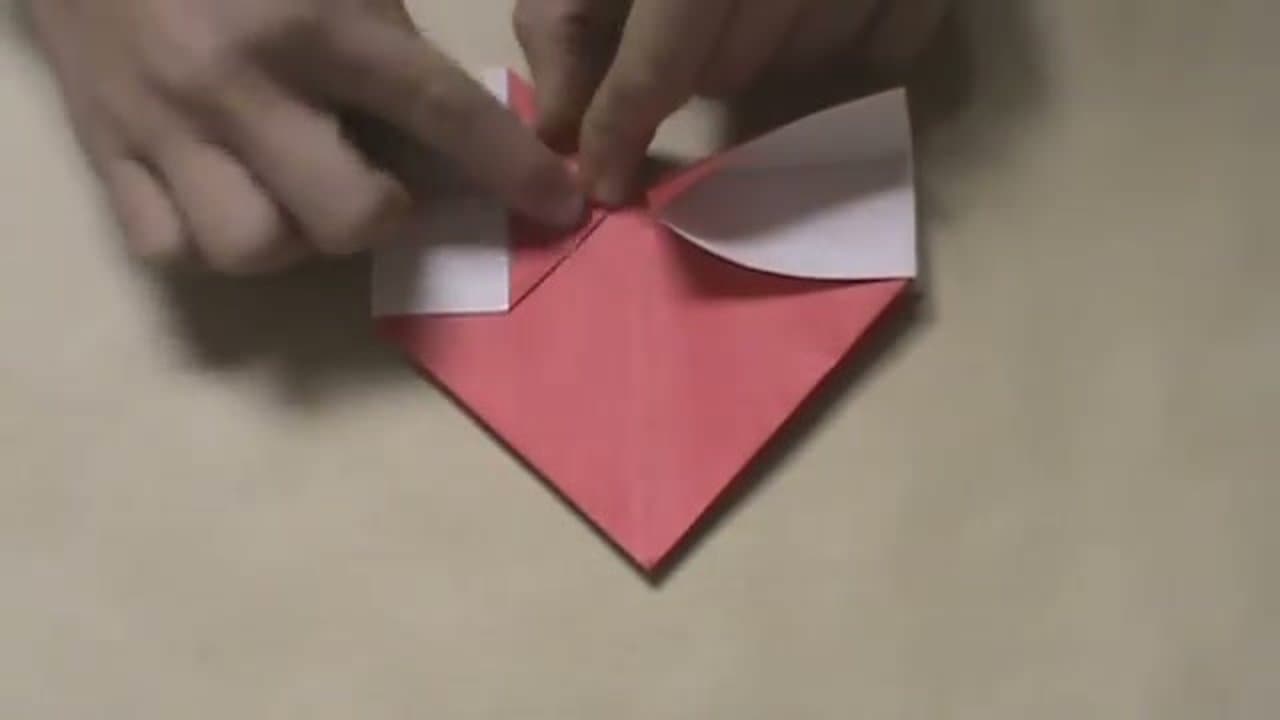
Step 1: Crease the Paper in a Plus Pattern
0:20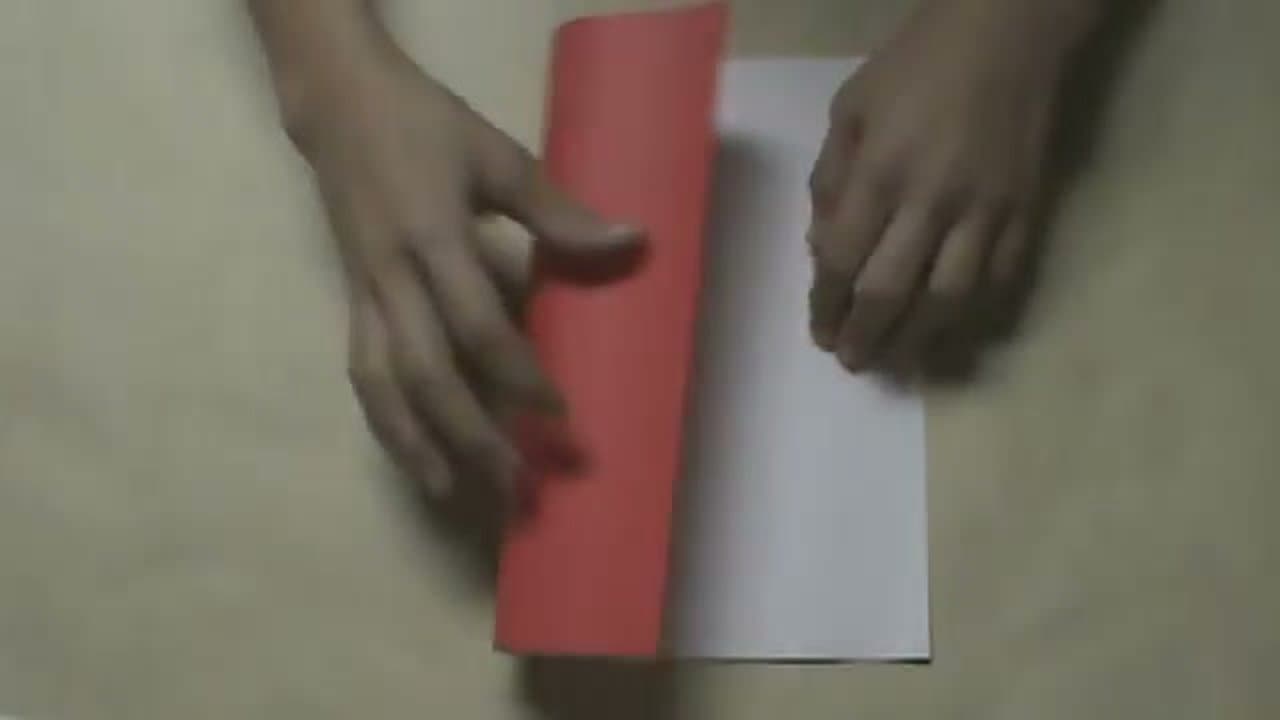
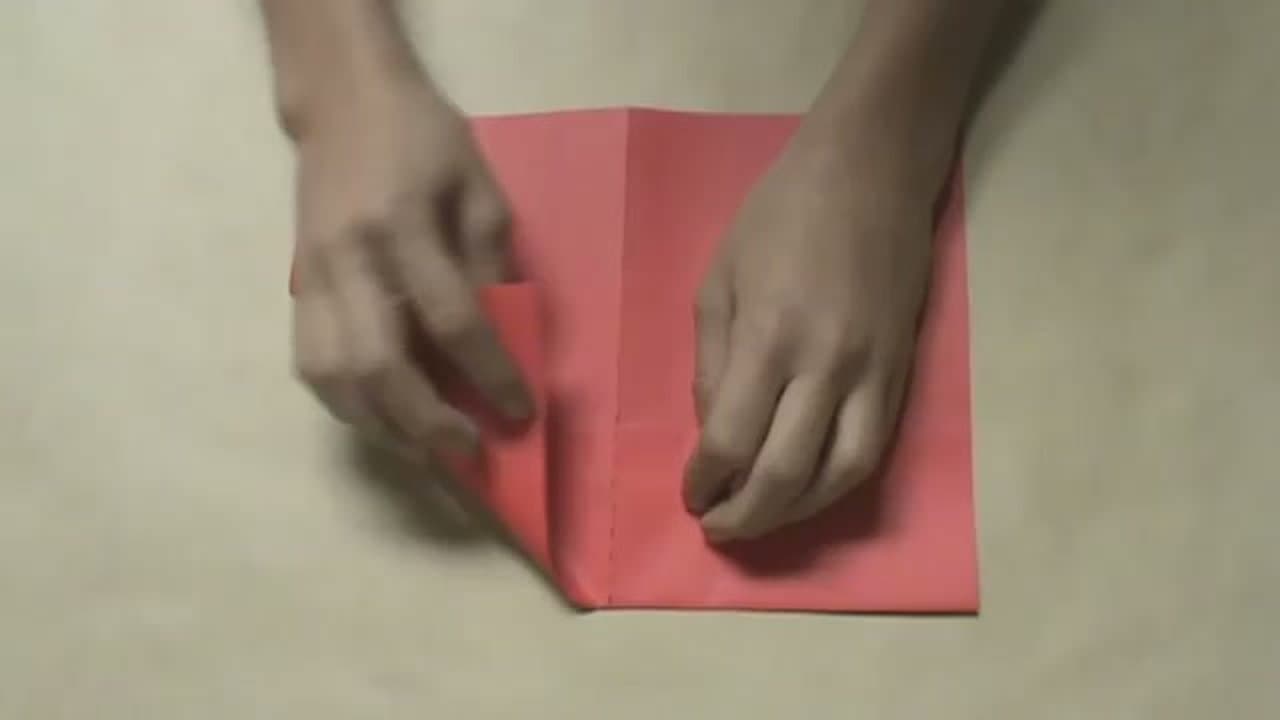
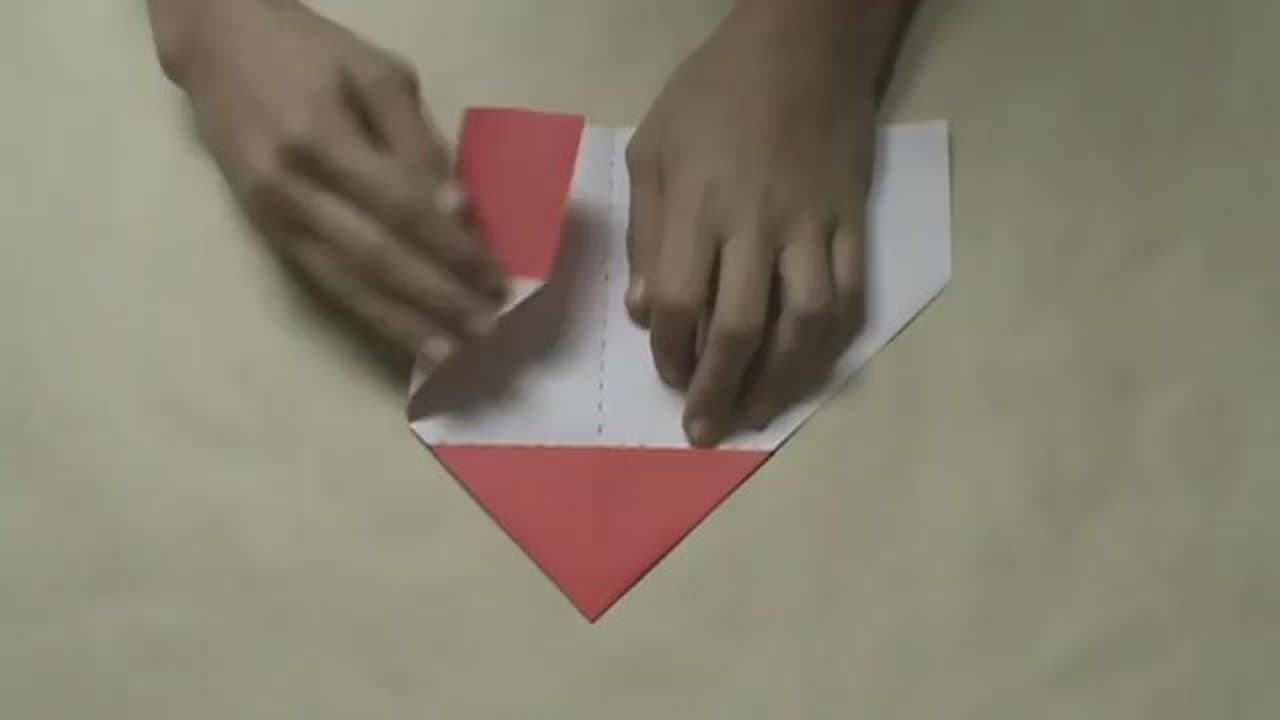
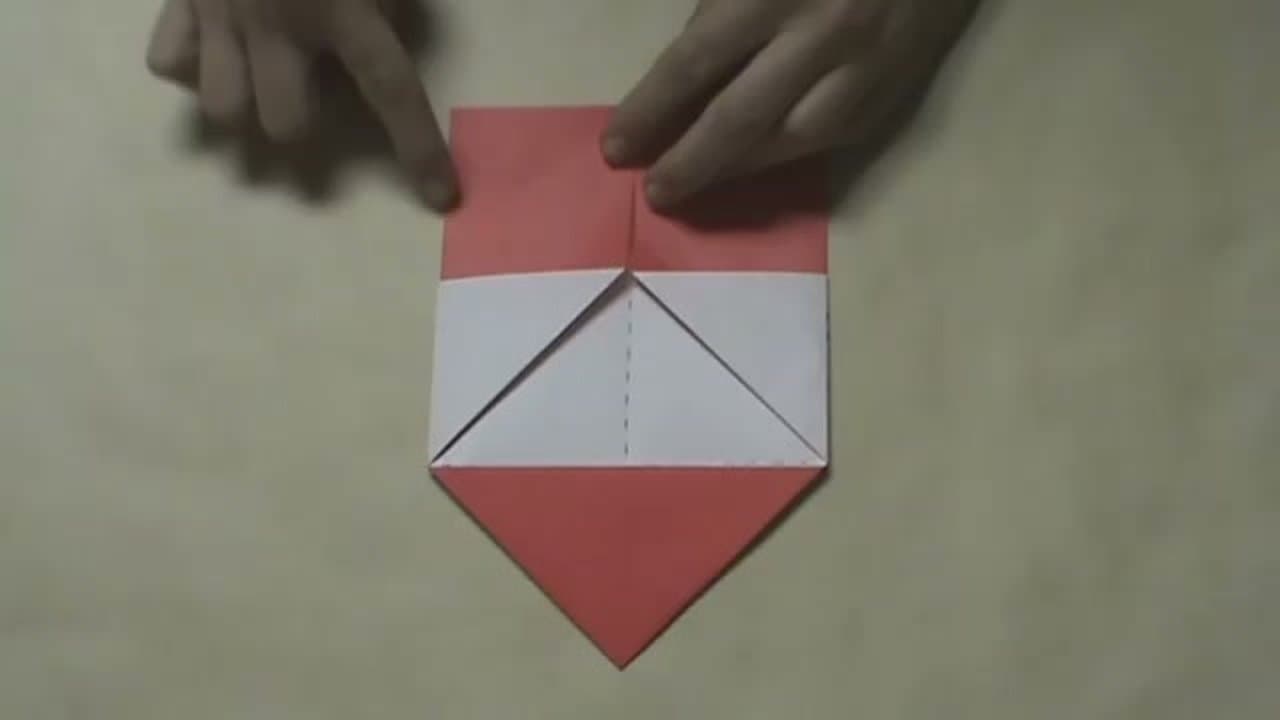
Start with a square sheet of paper, color side down. Fold it in half left to right, line up the edges, crease firmly, then unfold.
Now do the same the other way: fold in half top to bottom and unfold. You should have two creases meeting at the center, forming a plus sign. These reference creases guide every fold that follows.