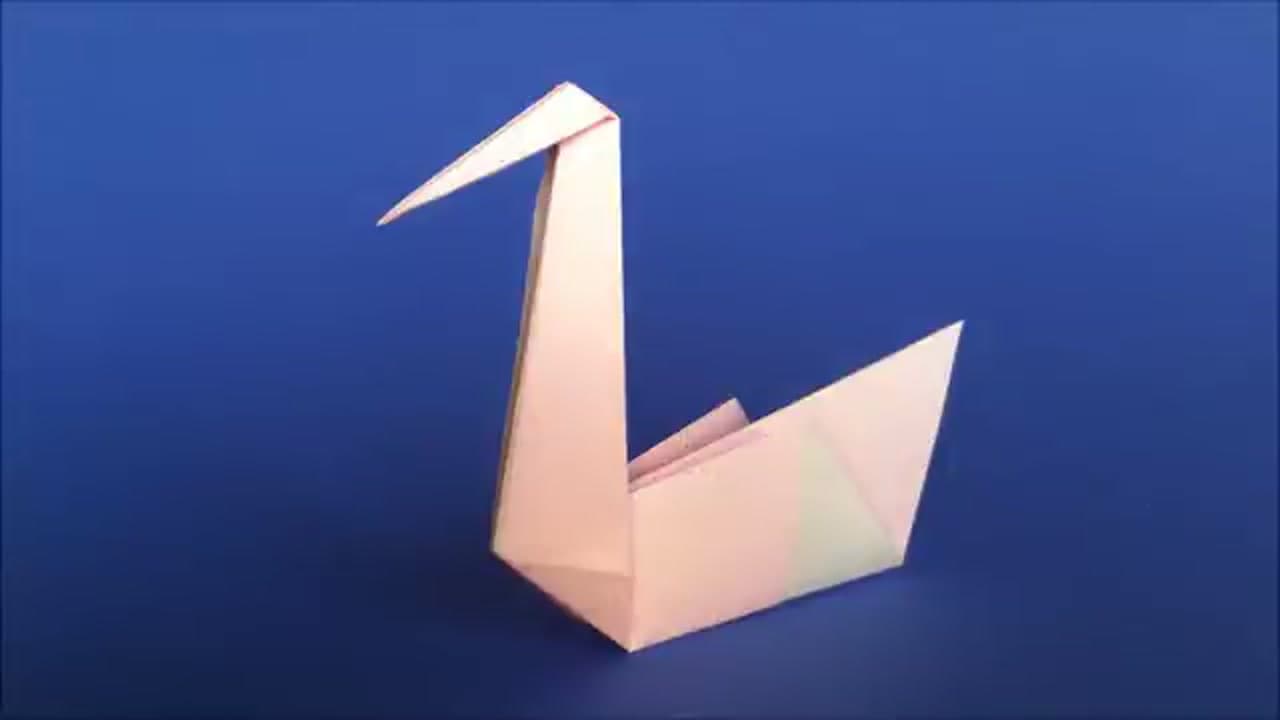
The origami swan is one of those models that looks fancy but comes down to a short run of plain folds. Start with a square and you finish with a swan that sits up on a shelf or floats across a table setting.
This walkthrough follows the traditional swan from Origami Plus. Each step has a screenshot of the exact fold so you can match your paper to the video. Work slowly and press every crease firm, because sharp folds are what give the swan its clean lines.
Any square origami paper works. Once you have the sequence down, a second swan takes only a couple of minutes, so it is an easy one to make in a set.
Why the swan is the classic first model
Ask anyone who folds how they started, and a lot of them say the swan. It uses no squash folds, no petal folds and no tricky collapses. Every fold lines up against one crease you can see. You get a recognizable animal in about eight moves, and it stands up on its own, which feels like a real reward for a first try.
It also teaches the habit every harder model depends on: folding an edge tight to a center line without drifting. Get that right here and the jumping origami frog comes easy. Later on, the origami dragon is a good goal to work up to.
The kite base
The whole swan grows out of the kite base. Crease a square along one diagonal, then fold two neighboring edges in to meet that crease. The result looks like a kite with a long point at one end.
The swan folds the kite a second time on the back, which slims it into the long dart that becomes the neck and body. Because everything depends on those edges meeting the center, a crooked first diagonal shows up as a crooked neck at the end.
What paper size to use
A 15 cm (6 inch) square is the standard and works well. Go smaller than 10 cm and the head fold gets fiddly. For table decorations, 20 cm paper makes a swan big enough to notice from across the room. Thin origami paper holds the neck sharp. Printer paper trimmed square is fine for practice, though the neck will be a little thicker.
Swans as table decorations and place cards
A row of paper swans down a table looks far more planned than it was. Some ideas:
- Place cards: write the guest name along the body before you fold the model in half, so it shows on the side.
- Wedding and shower tables: fold in white or metallic paper and set one at each plate.
- Napkin toppers: set a small swan on a folded napkin.
- A flock: fold ten in shades of one color for a centerpiece.
Can you make a floating swan?
Plain paper soaks through and sinks within minutes. For a swan that floats in a bowl or a shallow dish, fold it from wax paper, or rub a white candle over both sides of regular origami paper before you start. Wax paper is slippery and does not hold a crease as well, so press each fold hard and pinch the neck base firmly. A foil-backed paper works too.
Common mistakes
- Neck fold not sharp. A soft neck crease makes the swan droop. Press it with a fingernail on both sides.
- Uneven sides. If one edge overshoots the center line, the swan leans. Fold one side, then match the second to it.
- Head too long. Keep the tip fold short or it reads as a drooping beak.
- Swan will not stand. Spread the body wider at the base and flatten the bottom.
Want another quick one after this? Try a paper boat, which uses the same kind of center-line folding.