How to Make Paper Flowers (Origami Rose)

Paper CraftsMedium10:428 steps
Also in:Crafts

By CraftingStepByStepPublished Updated

Based on a video by Easy Origami and Crafts.

Origami roses look complicated and they kind of are - this isn't a five-minute beginner fold. But every step is just an extension of the basic crease patterns you'd use for a paper crane or a fortune teller. The hardest part is the crease pattern in step 4. Once those creases are in place, the model collapses into the rose shape almost on its own.

This walkthrough is from Easy Origami and Crafts on YouTube. Use a square sheet of paper around 20x20 cm (8x8 inch). Standard origami paper works perfectly, and a single-color or two-tone sheet gives the rose a nice depth.

Take your time on the crease pattern. Sloppy creases lead to a sloppy rose. Once you have the model collapsed and shaped, the petal curls in the final step are forgiving and easy to adjust.

Step-by-Step Guide

1

Start With a Square Sheet of Paper

0:30
Step 1: Start With a Square Sheet of Paper

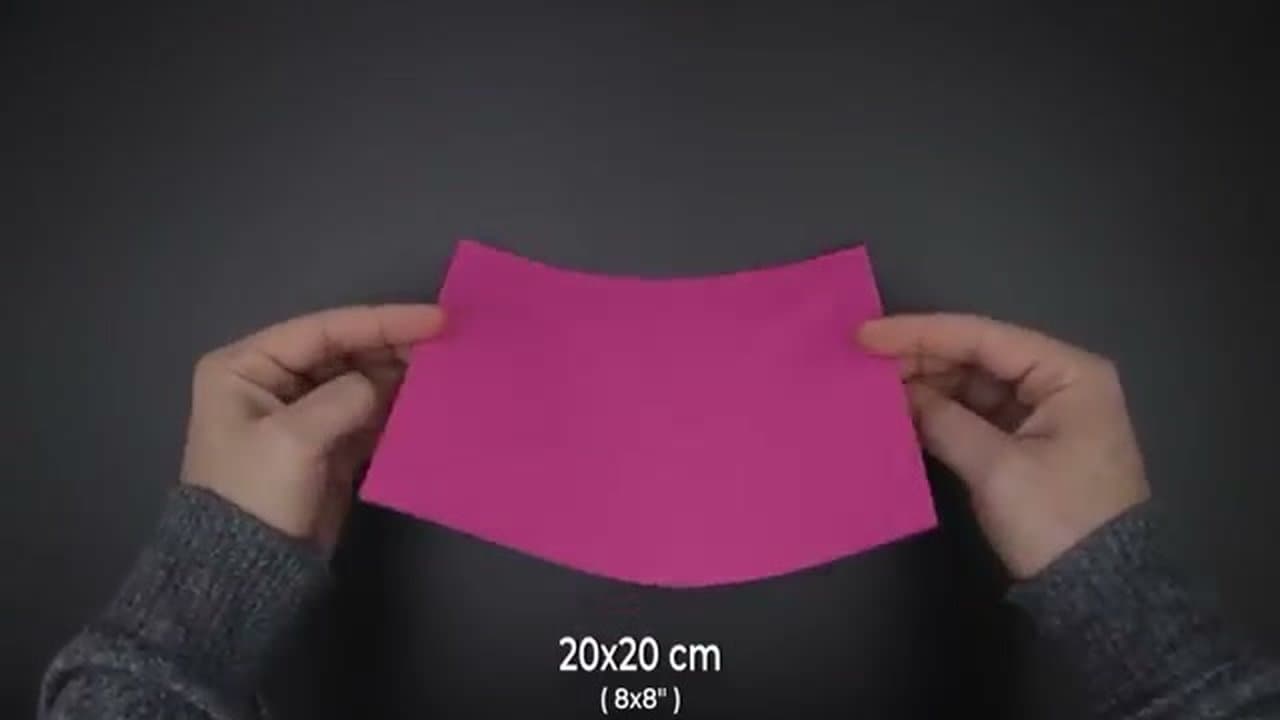
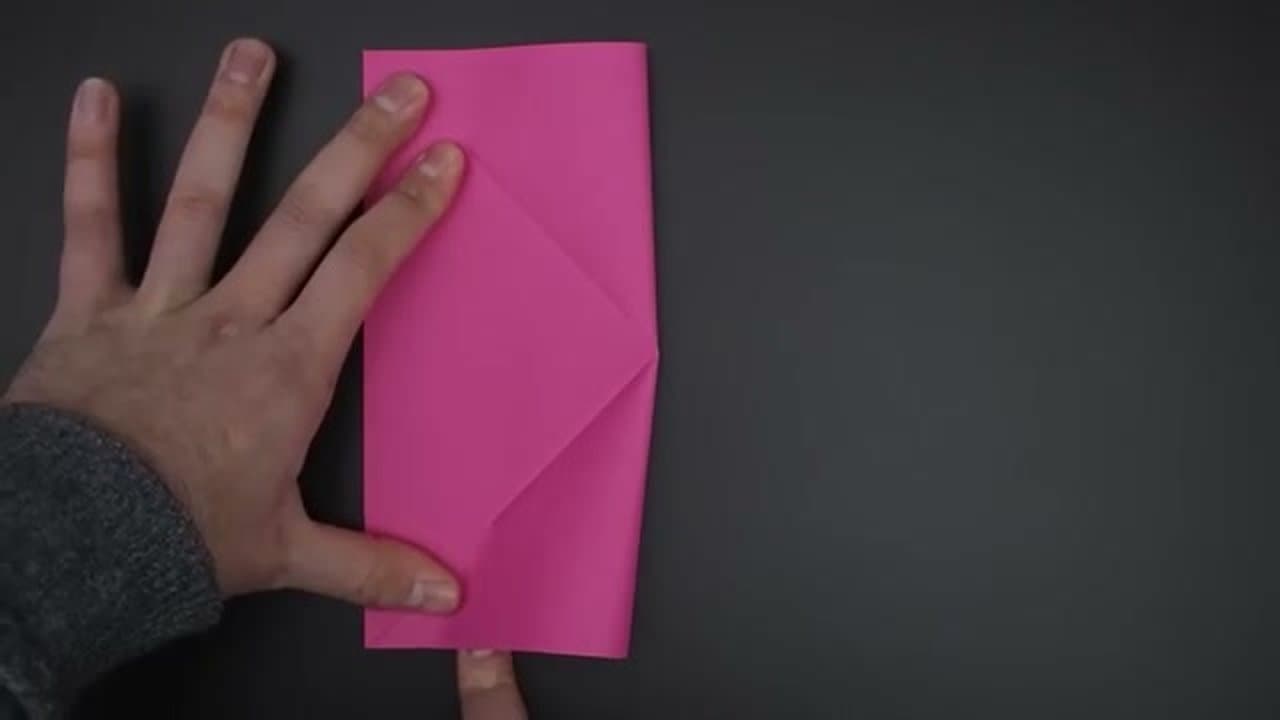
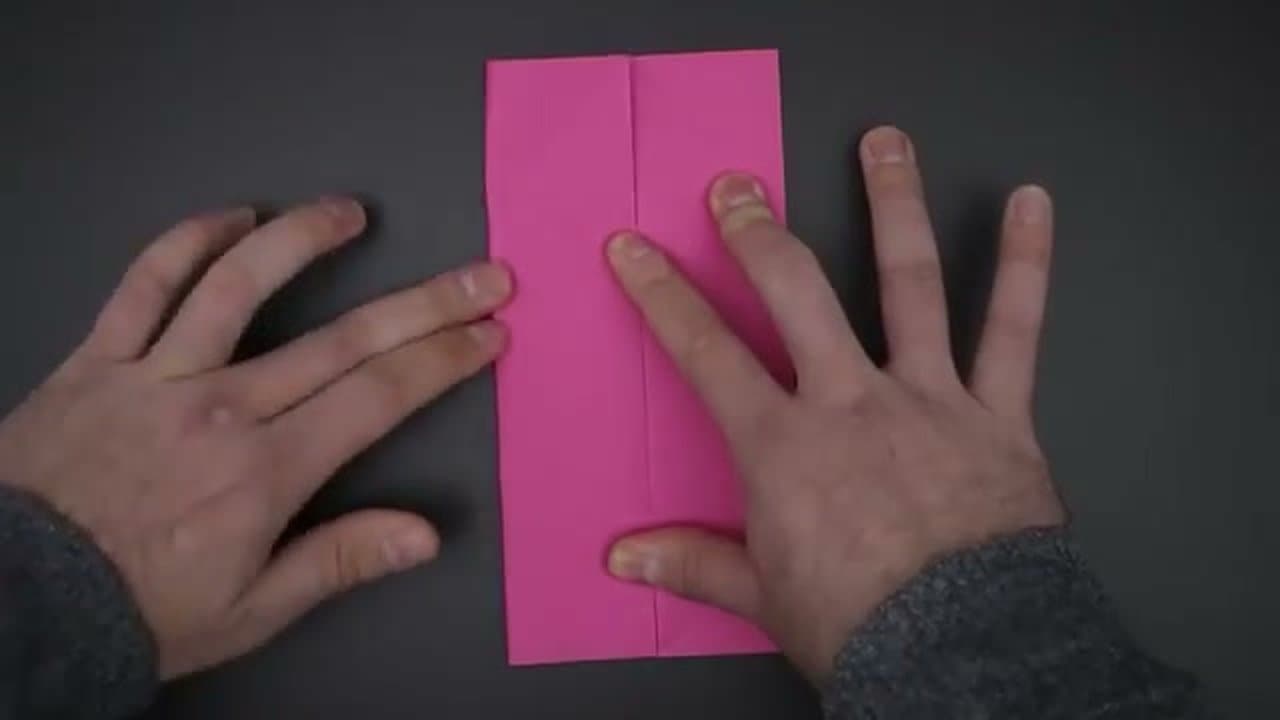
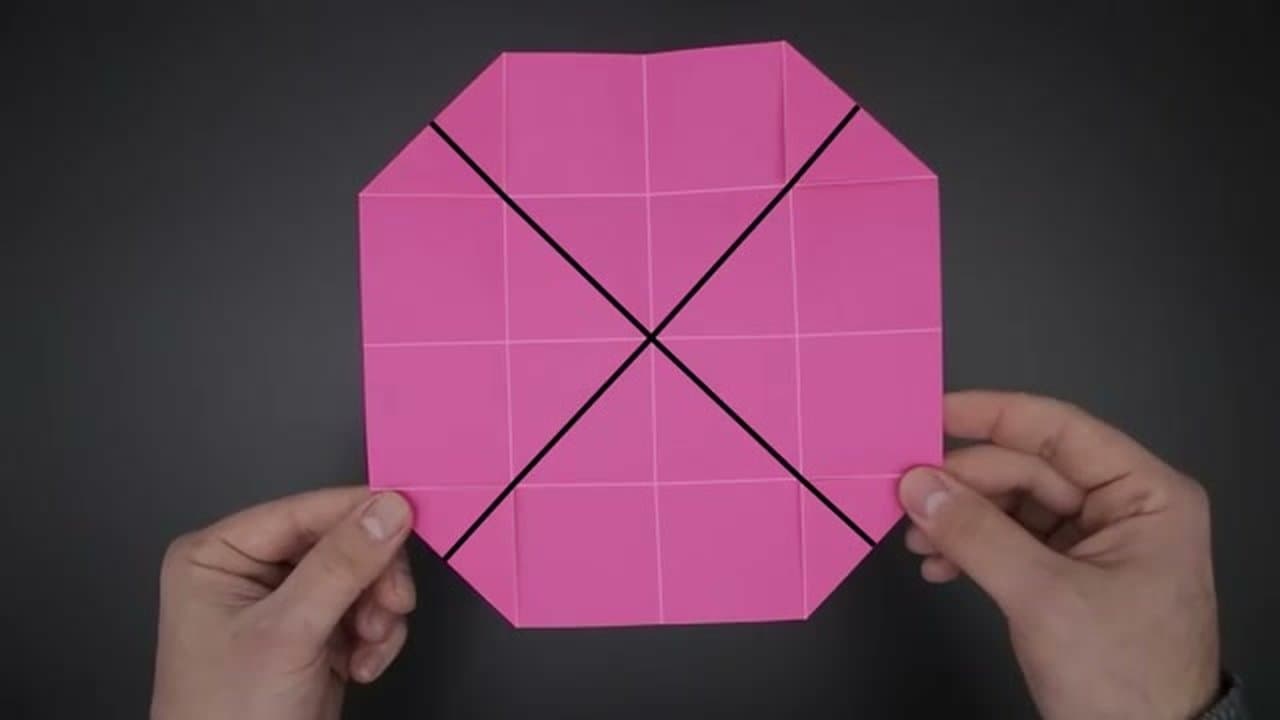
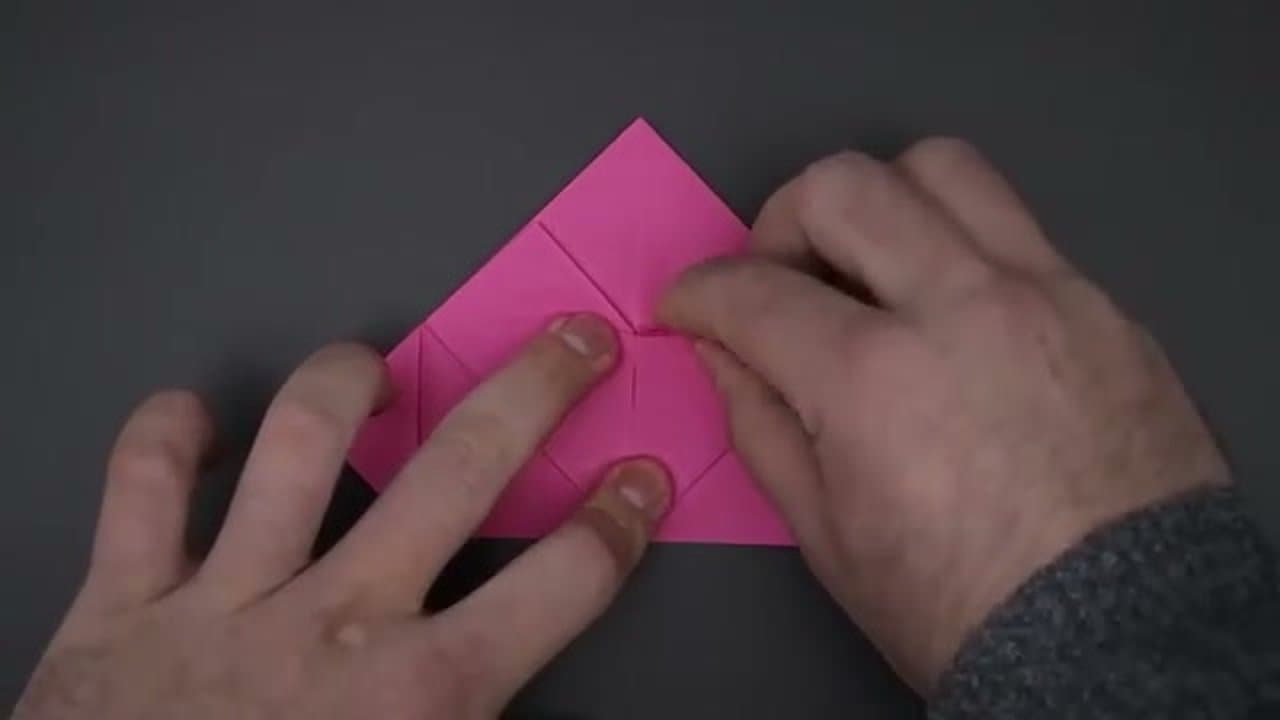
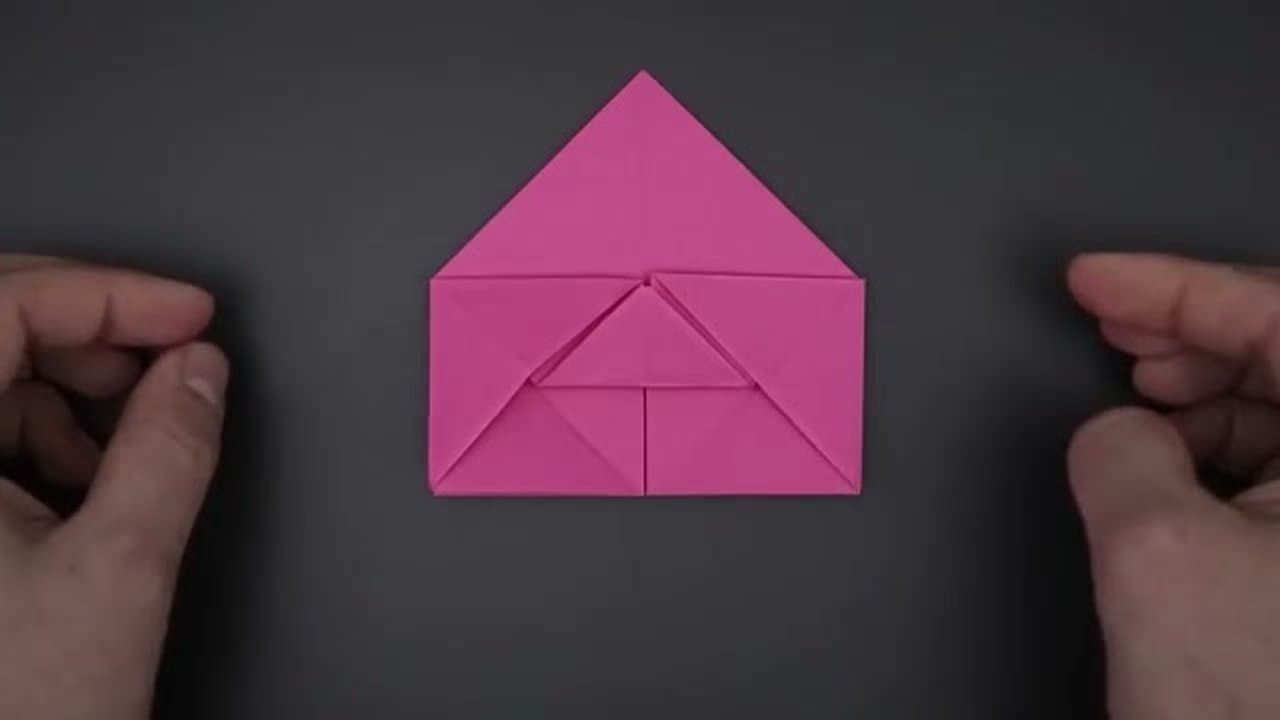
Start with a square sheet of paper, about 20x20 cm or 8x8 inch. Origami paper works great because it's already cut to a clean square, but any thin paper cut to a square works too.

Lay the paper flat with the side you want to show on the outside facing down. Most of the folding happens with that side hidden, then it gets revealed as the petals turn outward at the end.

Tip

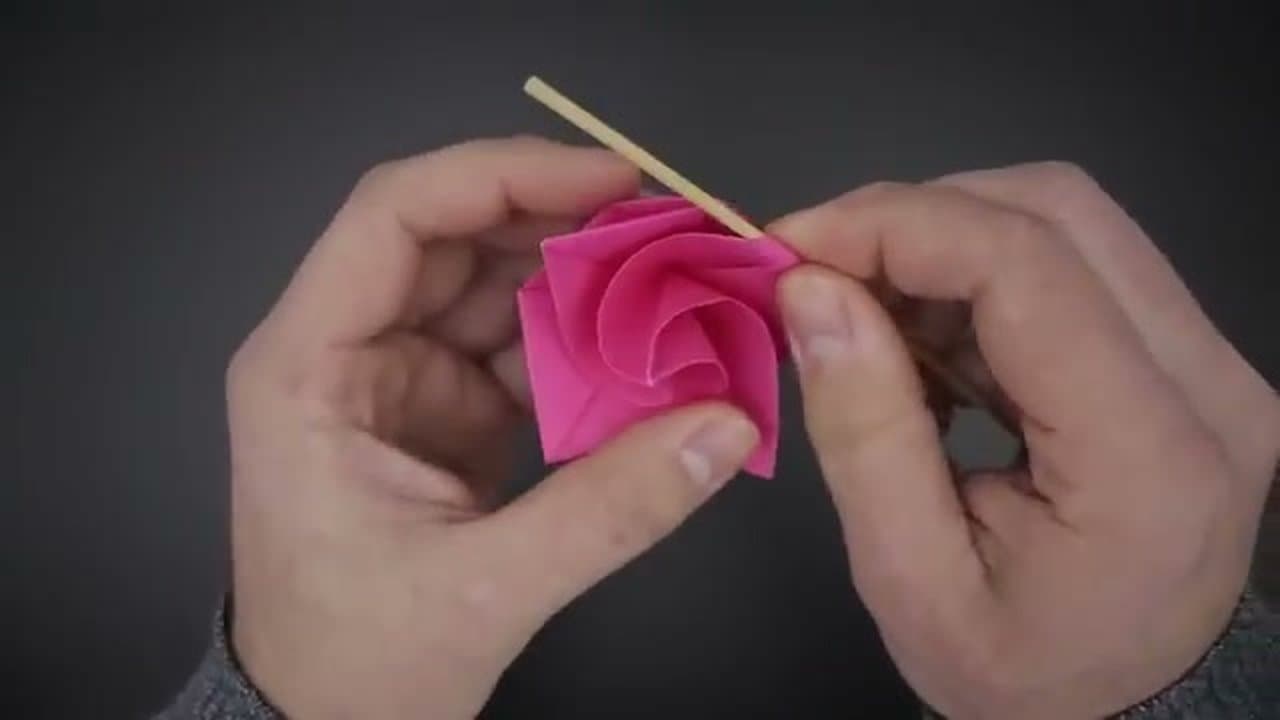
Two-tone origami paper (different colors front and back) makes the finished rose more dramatic - the lighter color peeks through where the petals curl back.

Products used in this step

2

Make Two Diagonal Creases

1:30
Step 2: Make Two Diagonal Creases

Fold the paper in half along one diagonal so it forms a triangle. Crease firmly along the fold and unfold. Then fold along the other diagonal, crease, and unfold.

The paper should now have two diagonal creases meeting in the center, forming an X. These creases are reference lines for the next folds.

Tip

Run a fingernail or a folder bone along each crease to make it sharp. Soft creases cause uneven folds later when layers start to stack.

3

Add Horizontal and Vertical Creases

3:00
Step 3: Add Horizontal and Vertical Creases

Fold the paper in half horizontally (top edge to bottom edge), crease, and unfold. Then fold in half vertically (right edge to left edge), crease, and unfold.

Combined with the X from step 2, you should now have an asterisk pattern - eight creases all meeting at the center of the paper.

Tip

The center point should fall exactly where all the creases intersect. If yours doesn't, gently re-fold to align the creases before moving on.

4

Build the Full Crease Pattern

3:50
Step 4: Build the Full Crease Pattern

Fold each of the four corners into the center to form a smaller square. Then fold the smaller square in half both directions and unfold to add a 4x4 grid of creases. Add diagonal creases through each of the four quadrants.

This dense crease pattern looks chaotic but every line has a purpose - the next step uses them to collapse the paper into the rose's base shape.

Tip

Mountain folds (away from you) and valley folds (toward you) need to alternate to get the collapse to work. If your model resists in the next step, check that adjacent creases run in opposite directions.

5

Collapse Into a Triangle Base

4:50
Step 5: Collapse Into a Triangle Base

Pinch along the diagonal creases and bring the side edges together so the paper folds in on itself. Press the layers down so the model collapses into a flat triangle base.

Crease firmly along all the new edges so the shape stays. The triangle should sit cleanly without springing open.

Tip

If the collapse fights you, your crease pattern from step 4 isn't quite right. Open it back up and re-do the diagonal quadrant creases - those are usually the ones that need correction.

6

Reshape Into a House Form

6:50
Step 6: Reshape Into a House Form

Now reshape the model so the bottom forms a square and the top forms a triangular peak - the silhouette looks like a small house from the front. The base of the rose lives in the square; the petals will spread out from the peak.

Press all the creases firmly. This shape locks in the rose's structure for the petal-forming steps that follow.

Tip

If the shape doesn't hold, run your fingernail along every crease one more time to set them. Origami needs sharp creases more than people expect.

7

Twist the Corners Into Petals

8:50
Step 7: Twist the Corners Into Petals

Lift each of the four corners and twist them gently around the center so they form petals. The four petals rotate around the heart of the rose like a pinwheel.

You should now see the rose taking shape - a tight square at the center surrounded by four overlapping petal flaps. Press lightly to keep the petals where they are.

Tip

The petals overlap on purpose. Don't try to make them all the same size or perfectly symmetrical - real roses are slightly asymmetric and the variation looks more natural.

8

Curl the Petal Edges

9:40
Step 8: Curl the Petal Edges

Take a chopstick, thin dowel, or even the back of a pen, and curl the outer edge of each petal outward. Roll the tip around the dowel and slide it out so the edge holds a gentle outward arc.

Curl all four petals the same way. The rose now has the soft, open look of a real flower instead of a stiff folded square.

Tip

Curl gently. Pressing too hard creates a sharp crease at the tip instead of a soft curl, and once that crease is in, the petal looks broken rather than blooming.

Products used in this step

Products Used

☐ The Checklist

How to Make Paper Flowers (Origami Rose)

Tools
1
Materials
1
Steps
8
Video
11 min

Your Guide

Easy Origami and Crafts

As an Amazon Associate we earn from qualifying purchases. Links on this page may be affiliate links - clicking them and buying doesn't change your price, but helps support ShowMeStepByStep.

Tags

Related Tutorials