How to Make a Paper Airplane (Concorde Style)

Paper CraftsEasy6:098 steps

By CraftingStepByStepPublished Updated

Based on a video by Foldable Flight.

Most paper airplanes are basic darts. The Concorde takes that classic dart shape and adds a few extra folds to give it a sleek jet body. The result flies fast, looks sharp, and only takes a few minutes to fold.

This walkthrough is based on the Concorde tutorial from Foldable Flight on YouTube. The folds are easy to follow and the design works with any standard sheet of paper - no scissors, no glue, just hands and a flat surface.

Each step builds on the last. Take your time on the first three folds because they set up everything that comes after. Once you reach the jet fold, the plane snaps into shape and you'll see the Concorde profile come alive.

Step-by-Step Guide

1

Make the Center Crease

0:48
Step 1: Make the Center Crease

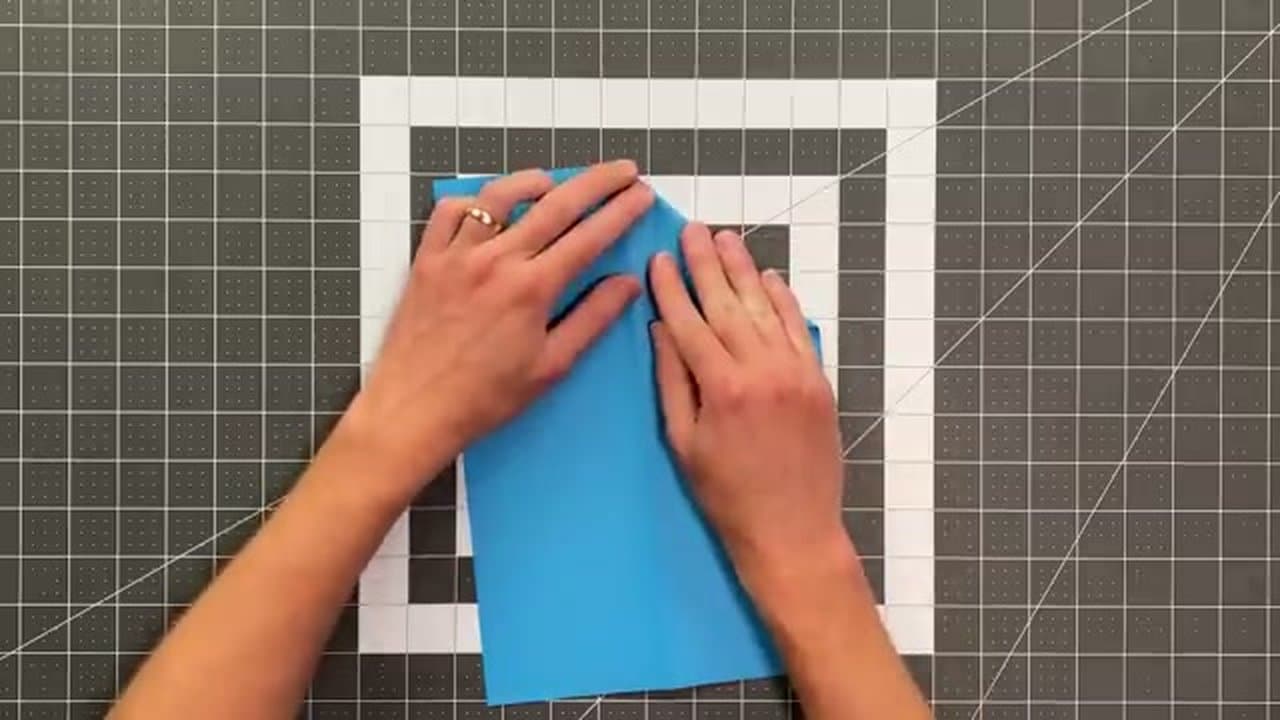
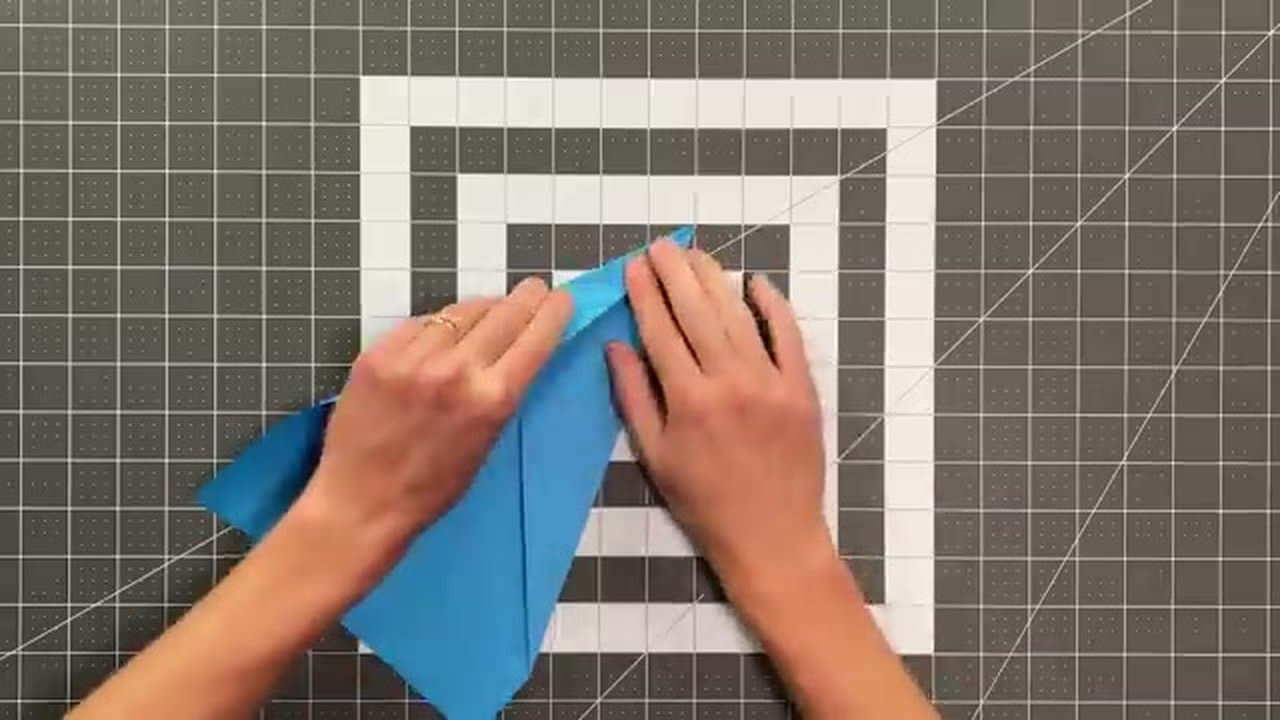
Lay your paper down with the long side running away from you. Fold the right edge over to meet the left edge so the paper folds in half lengthwise. Run your fingernail or thumb along the crease to make it sharp.

Then unfold the paper completely. You should see a single straight line running down the middle from top to bottom. This center crease is your alignment guide for every fold that comes after.

Tip

Crisp creases matter more than you'd think. A soft crease causes the paper to bow later when you stack layers. Press hard and slow.

Products used in this step

A4 printer paper
2

Fold the Long Sides Toward the Center

1:10
Step 2: Fold the Long Sides Toward the Center

Take the right edge of the paper and fold it inward toward the center crease, but stop just short - leave a small gap between the edge and the center line. Do the exact same thing on the left side.

The two folded edges should sit close to the center crease but not touch it. That tiny gap is intentional. It's what keeps the layers from stacking too thick when you make the nose folds in a few steps.

Tip

Aim for about a one-eighth inch gap. Not a precise measurement - just enough that you can see daylight between the two edges.

3

Fold the Edges Inward Again

1:50
Step 3: Fold the Edges Inward Again

Take the new outer edge on the right side and fold it inward toward the inner edge you just made. Don't reach the center - try to land this fold right on top of the layer behind it. Repeat on the left.

Now do the same inward fold one more time on each side. After all the folds, the paper should look long and narrow, with sharp points forming at the top. You're shaping the dart that becomes the Concorde body.

Tip

Each successive fold lands a little short of the layer behind it. If you're hitting the layer dead-on, you're folding too far - back up half a paper-thickness.

4

Form the Concorde Nose

3:15
Step 4: Form the Concorde Nose

Open the top layer slightly so you can see where the first fold flap intersects the center crease. Put your finger right on that intersection point.

Now fold from that point straight down to the corner of the paper, creating an angled crease. Tuck the layer directly behind it the same way. Repeat the whole thing on the opposite side. The nose should now have the distinctive narrow Concorde profile.

Tip

This is the trickiest fold in the whole sequence. If your nose looks lopsided, the intersection points on the two sides aren't matching - re-open and recheck before pressing the creases flat.

5

Roll the Back Layers Over

3:45
Step 5: Roll the Back Layers Over

Look at the back of the plane where the inner edges meet. Grab the back layer on the right side and roll it over the inner edge, making a small crease that runs along that edge and stops at the center.

Do the same thing on the left side. These two creases set up the jet fold in the next step. They tell the paper where to bend when you bring the body together.

6

Make the Jet Fold

4:00
Step 6: Make the Jet Fold

Hold the plane and gently bring both sides together so the paper naturally wants to stand up. You'll feel it click into a 3D shape with a body running down the center.

This is the jet fold. Press the body firmly together to lock the shape in. From the front, the plane should look like a real aircraft - a central body with wings spreading out on either side.

Tip

If the plane resists the jet fold, your back creases from the last step probably need to be sharper. Re-roll them and try again.

7

Fold the Wings Down

4:30
Step 7: Fold the Wings Down

Lay the plane on its side. Fold the top wing down along the body line so it lies flat parallel to the table. Flip the plane over and fold the other wing the same way.

Both wings should mirror each other. When you stand the plane back up, the wings spread out evenly on either side of the body. The plane is starting to look like the real Concorde.

Tip

The wing fold runs right along the top of the body, not down the side. If your wings hang at an angle, the body line wasn't your fold guide.

8

Stand the Fin and Add Elevator

5:40
Step 8: Stand the Fin and Add Elevator

Find the small back triangle in the middle of the body and fold it so it stands up vertically. Press the crease the opposite way to lock it upright. That's your tail fin.

Now bend the back edges of both wings up just a little. This is the elevator - it keeps the plane gliding instead of nose-diving. Hold the plane gently between your fingers, tilt your hand back slightly, and throw with a smooth forward motion.

Tip

If the plane noses straight down, bend the elevator up more. If it stalls and falls flat, bend the elevator down. Tune by feel.

Products Used

A4 printer paper
☐ The Checklist

How to Make a Paper Airplane (Concorde Style)

Materials
1
Steps
8
Video
6 min

Your Guide

Foldable Flight

As an Amazon Associate we earn from qualifying purchases. Links on this page may be affiliate links - clicking them and buying doesn't change your price, but helps support ShowMeStepByStep.

Tags

Related Tutorials