How to Make a Paper Fortune Teller (7 Easy Folds)

Paper CraftsEasy4:287 steps
Also in:Crafts

Based on a video by Aaron Honer.

The paper fortune teller (some people call it a cootie catcher or chatterbox) is one of those crafts that's been folded in classrooms for generations. Seven folds, one sheet of paper, no glue, no tape. By the end you've got a working game that opens four ways and answers questions.

This walkthrough from Aaron Honer keeps the steps tight. Once you've made one, you'll never forget how - it'll come back any time someone hands you a piece of notebook paper and looks bored.

Step-by-Step Guide

1

Step 1: Fold a Square from Any Paper

0:25
Step 1: Step 1: Fold a Square from Any Paper

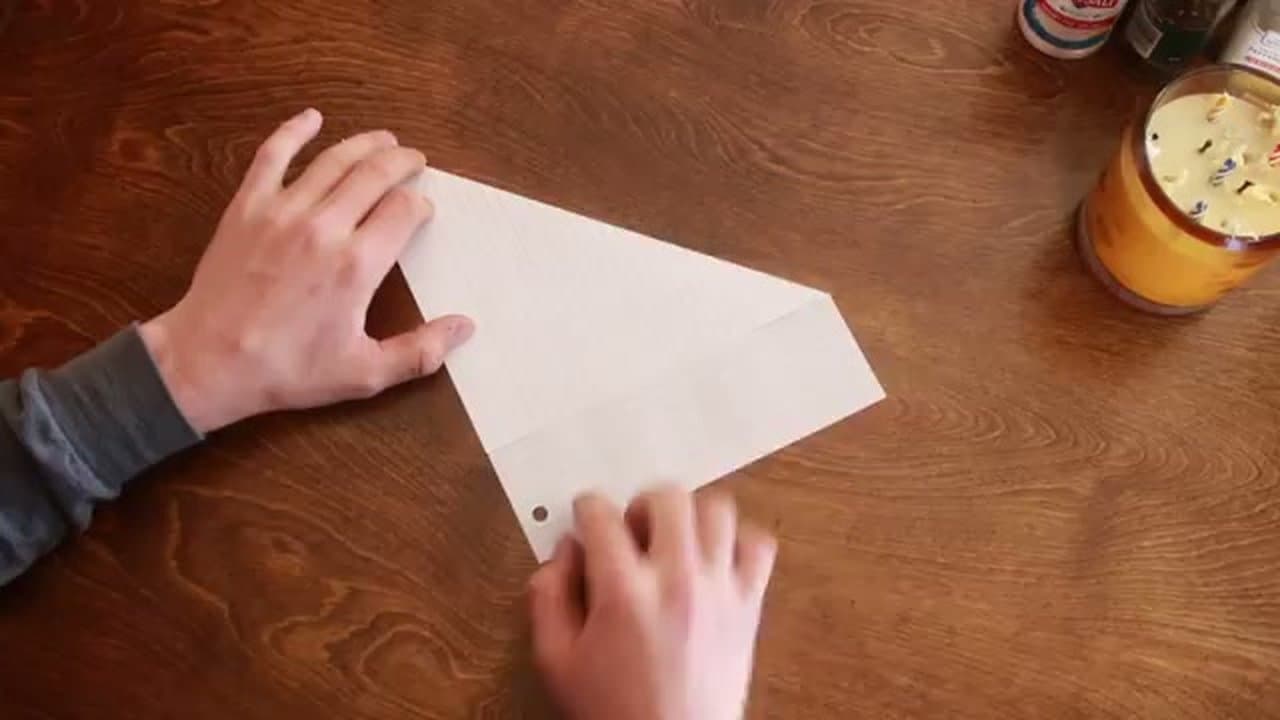
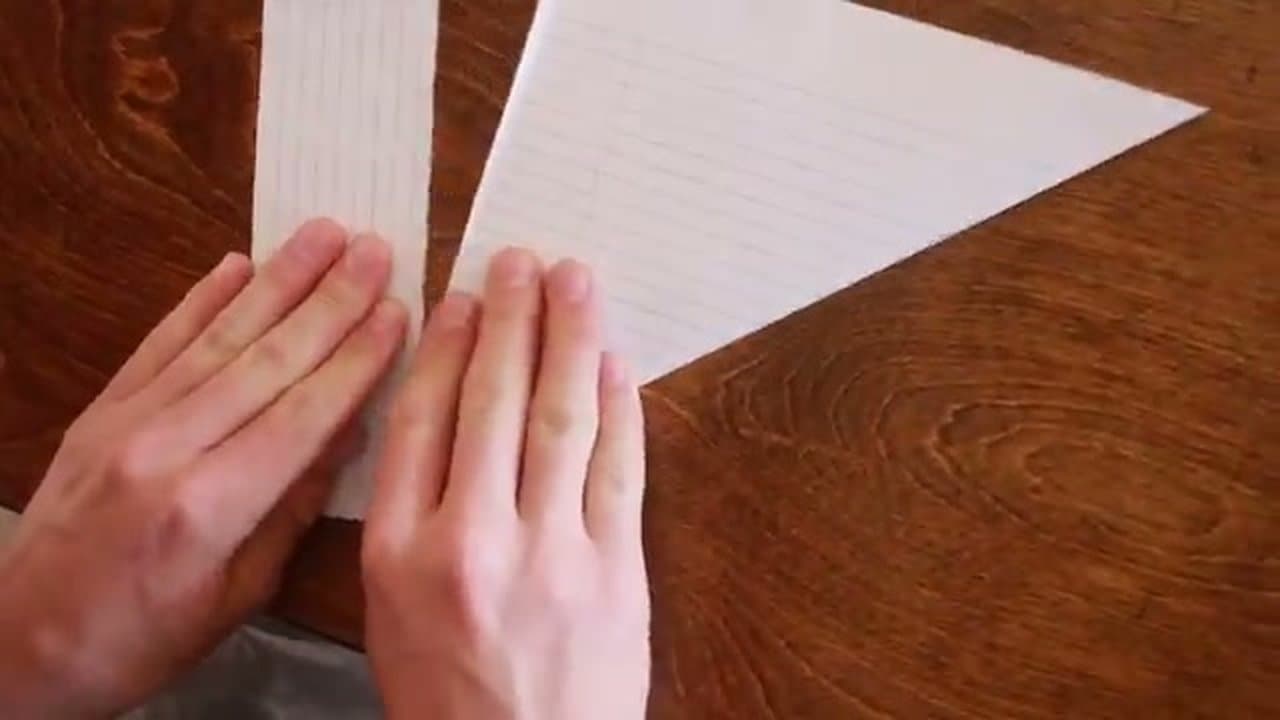
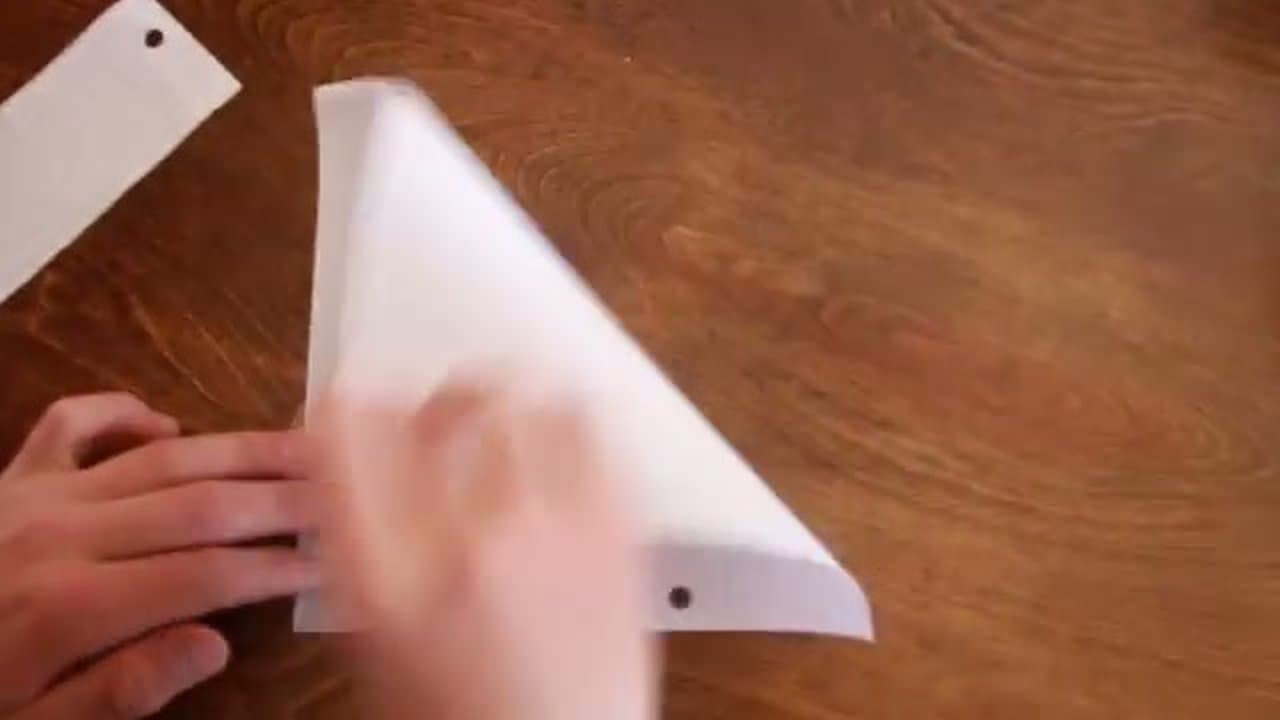
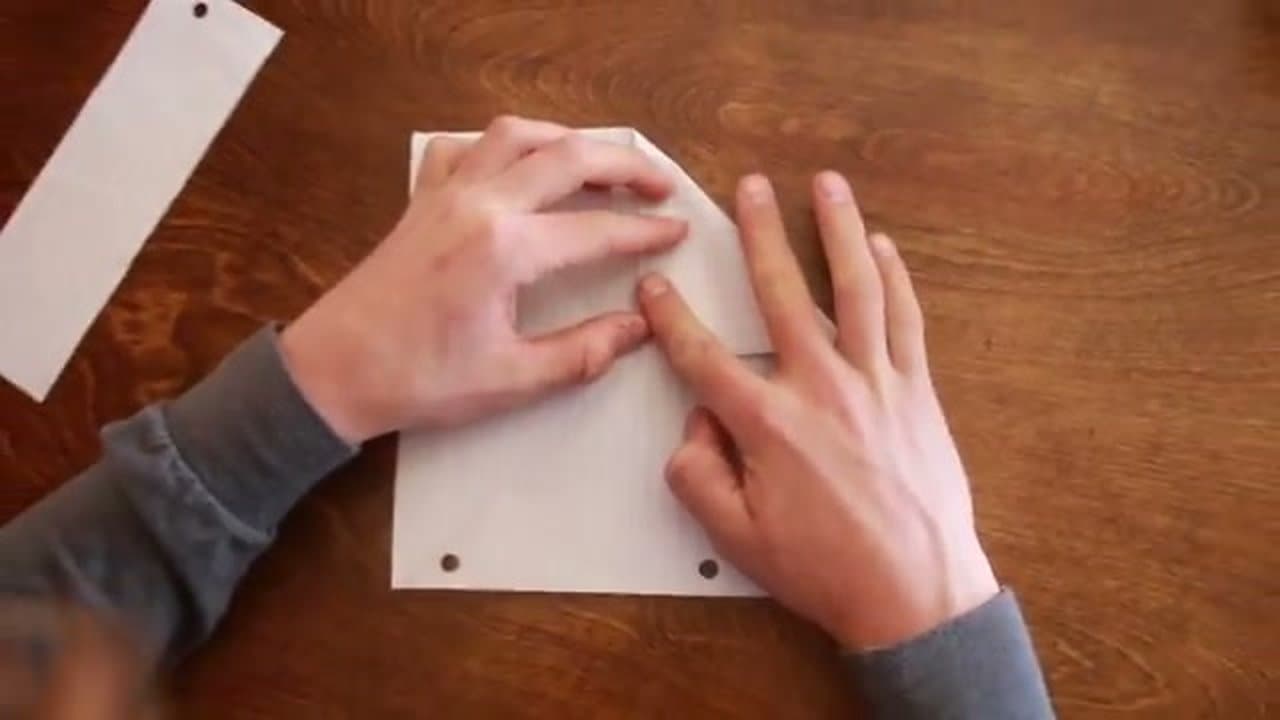
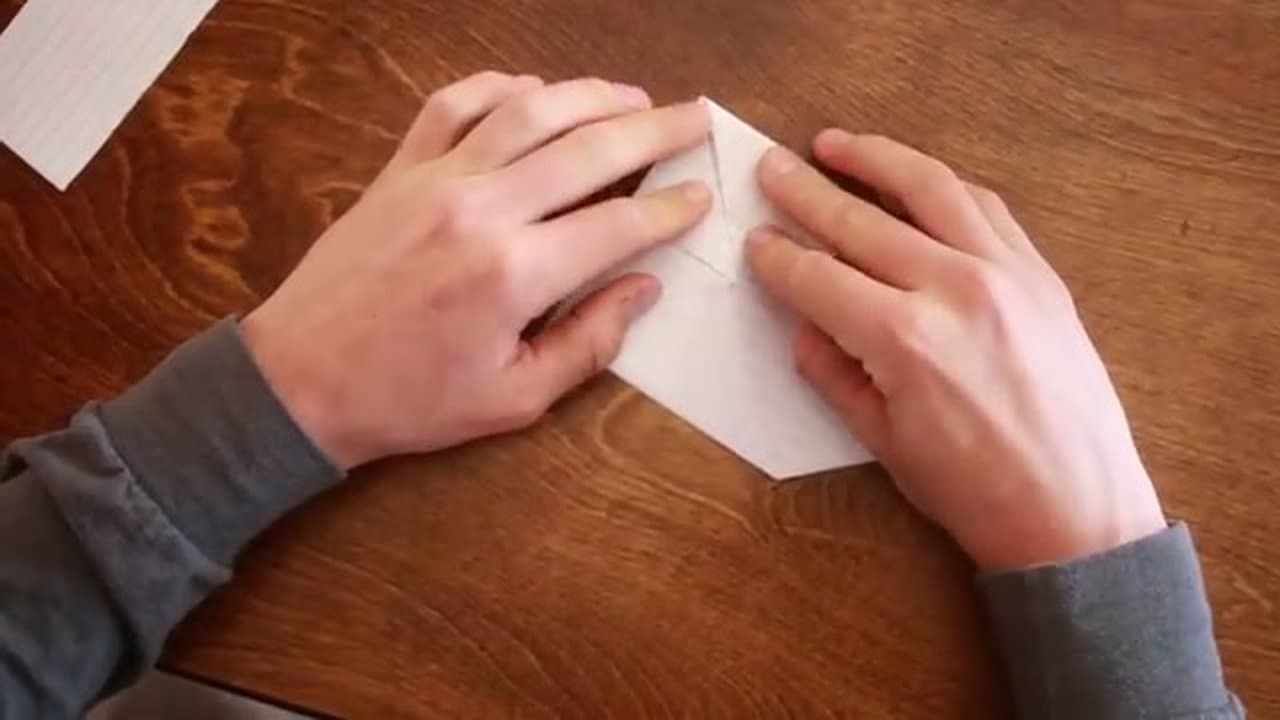
Grab any sheet of paper. Lined notebook paper works fine - it's what kids use at school. Take one corner and fold it diagonally so the short edge of the paper lines up with the long edge.

You'll have a triangle on top of the page with a strip of extra paper sticking out at the bottom. Crease the diagonal fold firmly.

2

Step 2: Cut or Tear Off the Strip

0:55
Step 2: Step 2: Cut or Tear Off the Strip

Cut off the leftover strip along the bottom edge of the triangle with scissors. No scissors? Crease the line firmly back and forth a few times until the paper is weak there, then tear cleanly along the crease.

Unfold the triangle. You should be holding a perfect square with one diagonal crease running corner to corner.

3

Step 3: Crease the Other Diagonal

1:05
Step 3: Step 3: Crease the Other Diagonal

Fold the square along the other diagonal so the unmarked corners meet. Crease firmly, then unfold.

Your paper should now have two diagonal creases that cross in the middle, forming an X. The center of the X marks the exact middle of the square - which is where the next fold lands.

4

Step 4: Fold All Four Corners to the Center

1:40
Step 4: Step 4: Fold All Four Corners to the Center

Take each of the four corners of the square one at a time and fold them inward so the points meet at the center of the X.

Press each fold down firmly. When all four are done, you'll have a smaller square - exactly half the size of the original - with the points all meeting in the middle. The square should sit flat with crisp edges.

5

Step 5: Flip and Fold Corners Again

2:55
Step 5: Step 5: Flip and Fold Corners Again

Flip the whole square over so the back side is now facing up. The flat side is on top - the side with the points hidden underneath.

Repeat the previous step: fold each of the four corners inward to meet at the center. You'll now have an even smaller square. The two layers of folded points create the four little pockets that the fortune teller plays with.

6

Step 6: Fold the Square in Half Both Ways

3:40
Step 6: Step 6: Fold the Square in Half Both Ways

Fold the small square in half horizontally and crease firmly, then unfold. Fold it in half vertically and crease, then unfold again.

These two extra creases give the fortune teller its hinge - they're what let the four flaps open and close cleanly when you operate it.

7

Step 7: Pop It Open and Play

4:05
Step 7: Step 7: Pop It Open and Play

Flip the square so the four pockets are facing down. Slide your thumbs and forefingers up into the four pockets - one finger per pocket - and pinch them inward toward the center.

The fortune teller pops open into its classic shape. Open and close it side-to-side and front-to-back as someone counts. Write numbers on the outside flaps, colors inside, and fortunes under the inner flaps to play the full game.

☐ The Checklist

How to Make a Paper Fortune Teller (7 Easy Folds)

Tools
1
Materials
1
Steps
7
Video
4 min

Tools

1 item

Materials

1 item

Your Guide

Aaron Honer

As an Amazon Associate we earn from qualifying purchases. Links on this page may be affiliate links - clicking them and buying doesn't change your price, but helps support ShowMeStepByStep.

Related Tutorials