How to Make a Paper Boat (Origami)

Paper CraftsEasy4:247 steps
Also in:Crafts

By CraftingStepByStepPublished Updated

Based on a video by EzOrigami.

The classic paper boat is one of those folds that everyone has seen and almost no one remembers how to do. Seven creases later, you have a small floating boat that holds its shape and actually sits on water - a piece of folded paper turning into a real-world object.

This walkthrough is from EzOrigami on YouTube. The design is the traditional paper boat, sometimes called a sailor's hat depending on which way up you hold it. It uses one rectangular sheet (US letter or A4) and no tools at all.

The trickiest steps are the squash fold (step 4) and the final pull-apart (step 7). Take both slowly the first time and the model snaps into shape on its own as you go.

Step-by-Step Guide

1

Make Two Center Creases

0:25
Step 1: Make Two Center Creases

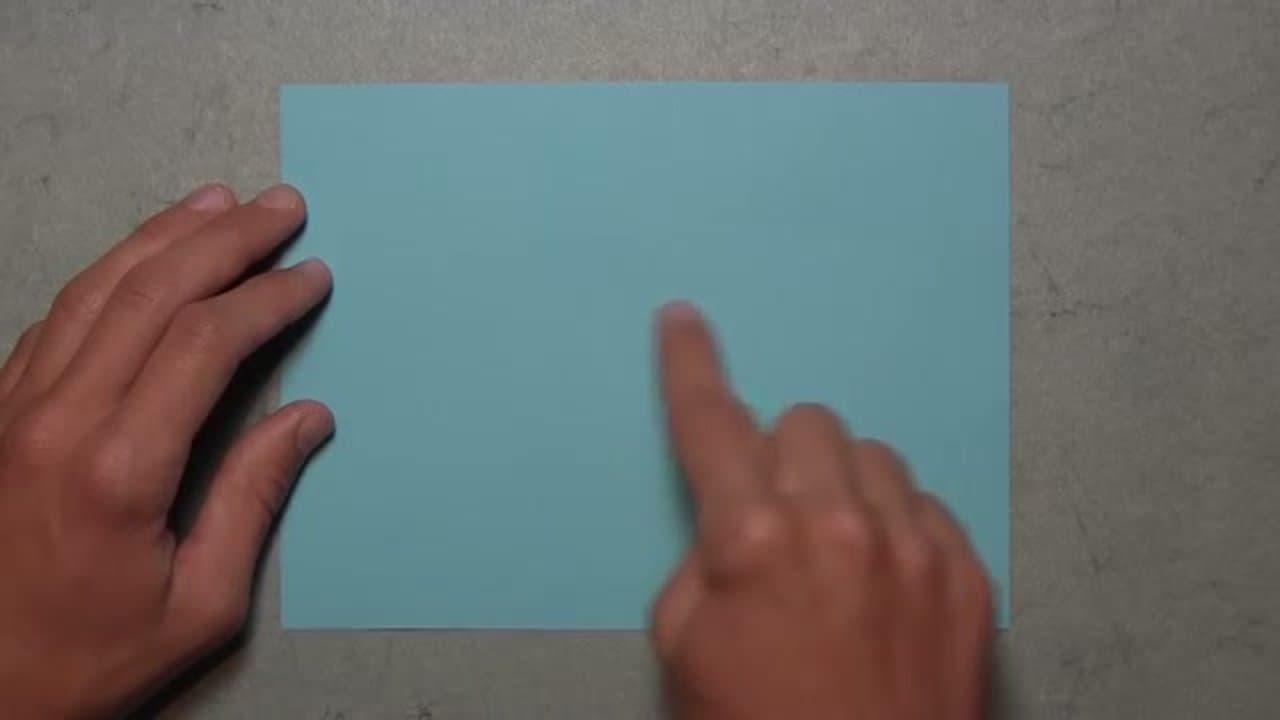
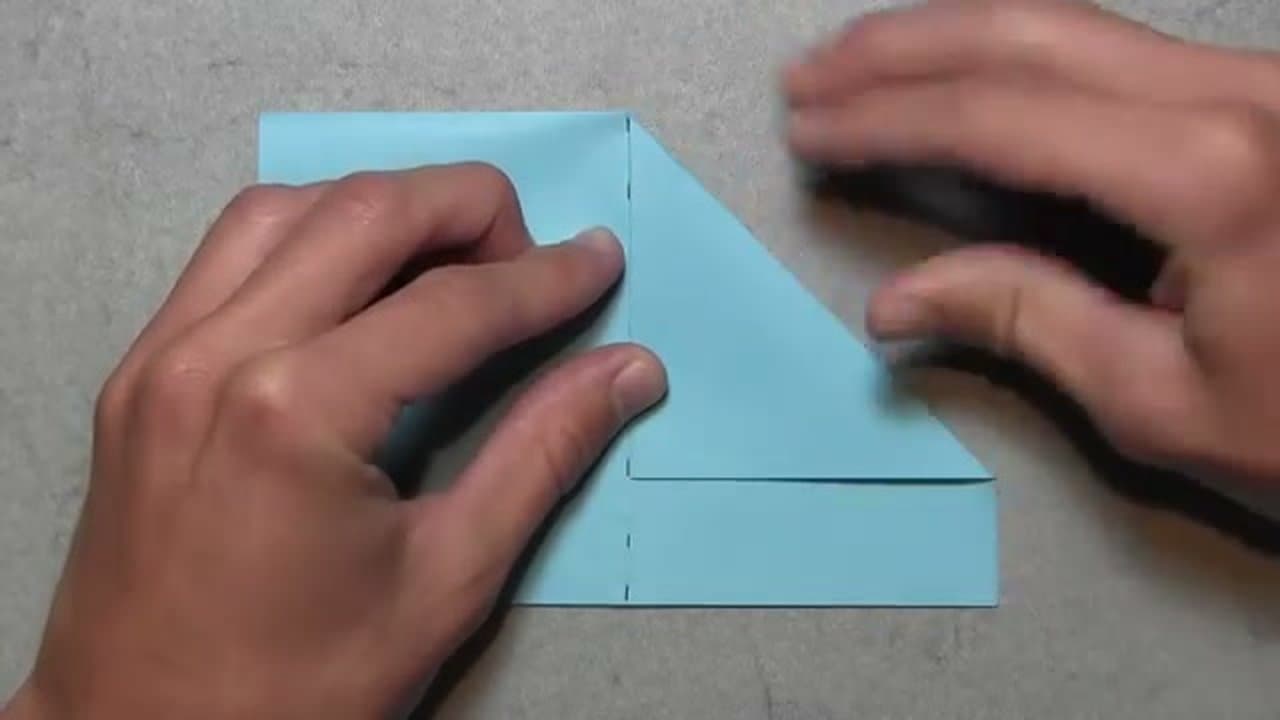
Lay the paper horizontally with the long side facing you. Fold the bottom edge up to the top edge to make a horizontal crease, then unfold. Now fold the right edge over to the left edge to make a vertical crease, then unfold.

You should see two perpendicular crease lines dividing the rectangle into four equal sections. These are reference creases - everything else folds toward them.

Tip

Press creases sharp with your fingernail. Soft creases lead to sloppy folds later when layers start to stack up.

2

Fold the Top Corners In

1:10
Step 2: Fold the Top Corners In

Rotate the paper so the long side now runs vertically. Fold the top-right corner down and over so it aligns with the center vertical crease, just like the start of a paper airplane. Then fold the top-left corner the same way.

The top of the paper now forms a triangular point with a rectangular flap left at the bottom.

Tip

Start the alignment at the very top of the vertical crease and work the edge down. Getting that tip aligned first keeps the rest of the fold straight.

3

Fold the Bottom Rectangle Up - Both Sides

1:50
Step 3: Fold the Bottom Rectangle Up - Both Sides

Lift the top layer of the bottom rectangle and fold it up against the base of the triangle as far as it will go. Crease firmly along the bottom edge.

Flip the entire model over and do the exact same thing on the back side. You should now have a triangle with a small flap folded up at the bottom on both faces.

Tip

Both bottom flaps should land at the same height. If one side is taller than the other, push it down further until they match.

4

Squash Open Into a Diamond

2:15
Step 4: Squash Open Into a Diamond

Pick up the model and look at it from underneath. Slightly separate the two layers in the middle so the inside is visible. Push the left and right corners toward each other until they meet at the bottom.

As the corners come together, the model collapses into a diamond shape with two layers. Flatten it out gently against the table.

Tip

If the squash feels stuck, your bottom flaps from step 3 might not have been folded high enough. Open the model back up and re-do those folds.

5

Tuck the Side Flaps Under

2:40
Step 5: Tuck the Side Flaps Under

Look at the new diamond from the side. The two thin flaps along the bottom edge will not lie completely flat - they overlap each other. Tuck the right flap underneath the left flap so they lock together.

Flip the model over and tuck the same way on the back. The diamond now lies completely flat with no loose edges.

Tip

This step is the lock that keeps the boat from coming apart later. If your tuck is loose, run a fingernail along the locked edge to seat it.

6

Fold Bottom Corner Up to Top

3:15
Step 6: Fold Bottom Corner Up to Top

Take the bottom corner of the diamond and fold it up to meet the top corner on the front side. Crease all the way across so the front layer becomes a smaller triangle.

Flip the model over and do the same fold on the back side. The result is a smaller, tighter diamond with crisp creases.

Tip

Both bottom corners should align exactly with the top corner. If they don't match, gently re-crease until they do.

7

Pull Apart Into a Boat

3:30
Step 7: Pull Apart Into a Boat

Lift the model and slightly separate the two layers along the open top. Grab one of the triangular flaps in each hand and gently pull them apart in opposite directions, opening the diamond into a boat shape.

Press a clean crease along the new bottom edge so the boat sits flat. Tilt it up slightly with your fingers to round out the hull, and you're done. Float it on water to check the seal.

Tip

Pull slowly. If you tug too hard at the start, the locked tucks from step 5 can pop loose. Once both halves are open, the rest of the shape settles on its own.

Products Used

☐ The Checklist

How to Make a Paper Boat (Origami)

Materials
1
Steps
7
Video
4 min

Your Guide

EzOrigami

As an Amazon Associate we earn from qualifying purchases. Links on this page may be affiliate links - clicking them and buying doesn't change your price, but helps support ShowMeStepByStep.

Tags

Related Tutorials