How to Make Origami Lucky Stars

Paper CraftsEasy6:446 stepsBrowse more →

By CraftingStepByStepPublished

Based on a video by Easy Origami and Crafts.

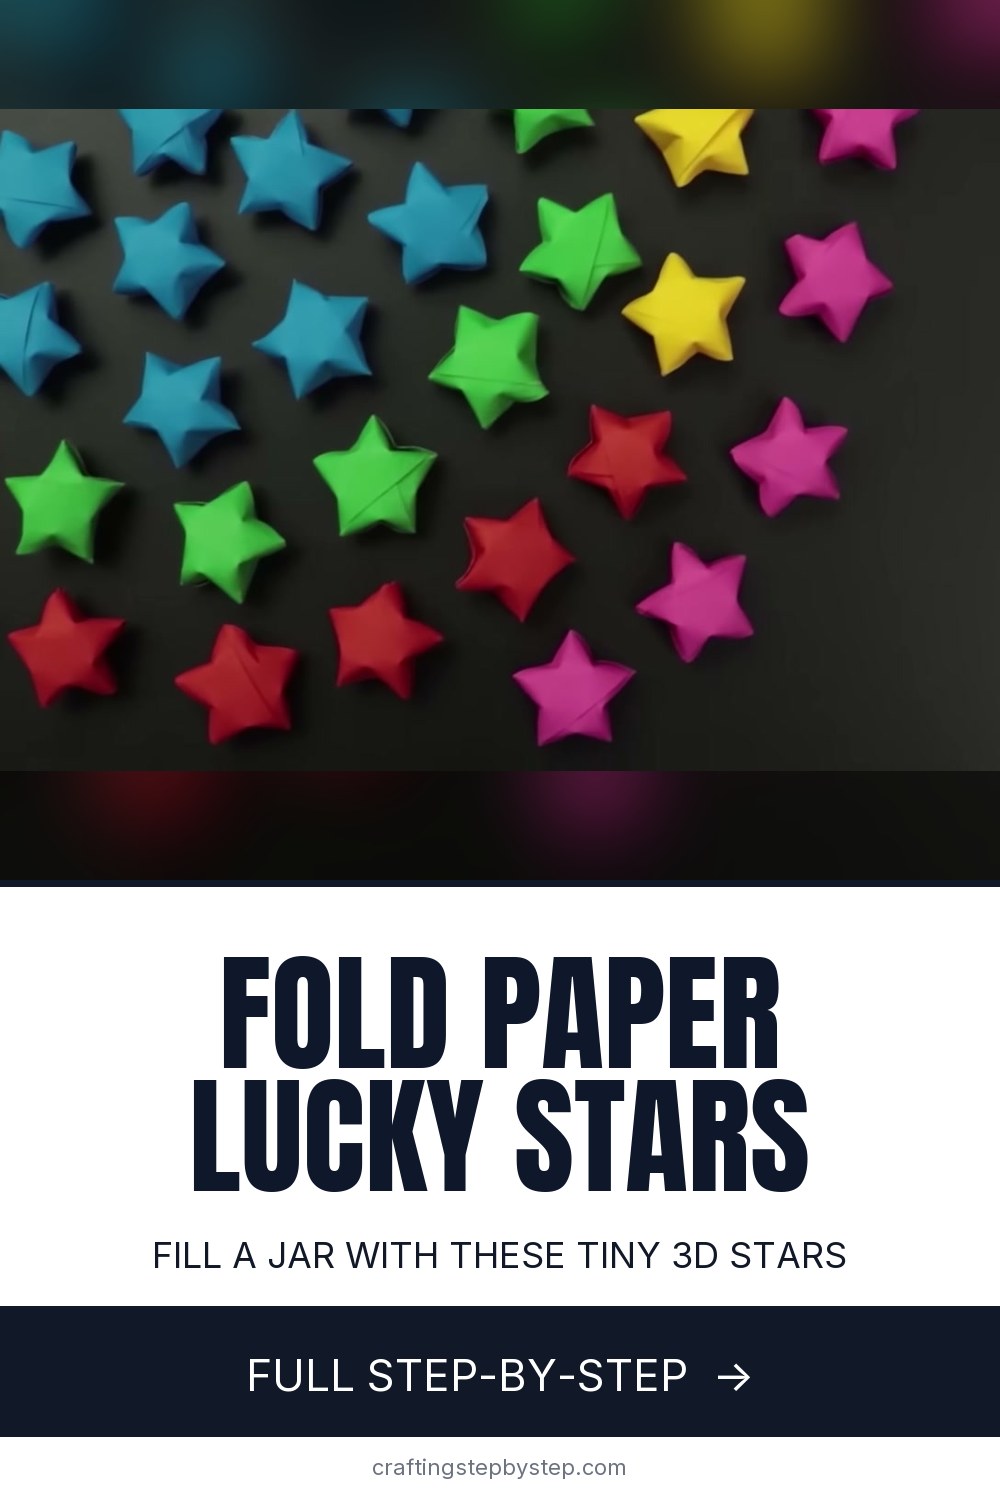
Origami lucky stars are those little 3D puffy stars people fold by the hundreds and pour into a glass jar. Each one starts as a single thin strip of paper, and once you get the rhythm, you can make one in under a minute. This tutorial follows Easy Origami and Crafts, who folds a whole rainbow of them in a calm, no-rush video that is easy to follow along with.

The whole thing comes down to three moves. You tie the strip into a little pentagon knot, wrap the long tail around that pentagon until it runs out, then pinch the five sides so the flat shape puffs up into a plump star. It sounds fiddly written out, but your hands pick it up fast. The first star takes a few tries. By your fifth, you will be folding them without looking.

These are a different beast from the flat kind. If you want a single flat five-point star to hang or glue onto a card, see our guide on how to make a paper star instead. Once you have the folding bug, try your hand at an origami heart or step up to an origami crane. Fill a jar with a couple hundred lucky stars and you have a gift that took patience but almost no money.

Step-by-Step Guide

6 steps · about 7 minutes.Check off each step as you go and your progress saves automatically.

1

Step 1: Cut a Thin Paper Strip

0:46
Step 1: Step 1: Cut a Thin Paper Strip

Every lucky star comes from one long, thin strip. Easy Origami and Crafts uses a strip roughly 0.6 inches wide and 12 inches long, which is a good ratio to start with. Pre-cut lucky star paper comes in fun colors, but a strip sliced off a sheet of printer paper works just as well while you learn.

Hold the strip taut between both hands and give it a look. You want it flat and even, with no curl or bend along its length. A clean, straight strip folds into a rounder, tidier star.

Tip

Watch this step Wider strips give you bigger, chunkier stars, while narrow ones stay tiny and delicate. Cut a few widths and see which size you like best before you commit to a whole batch.

2

Step 2: Tie the Starter Knot

0:58
Step 2: Step 2: Tie the Starter Knot

Near one end of the strip, make a loop and leave a short tail poking out past it. Pass that short tail through the loop, the same way you start tying a simple knot in string or a shoelace.

Ease the knot closed slowly rather than yanking it tight. Paper wants to fold along clean lines, and pulling too hard too fast can crush it into a random crease. A slow, gentle pull lets the strip find its own neat shape as the knot forms.

Tip

Watch this step Leave the short tail long enough to grip. If it is too stubby it slips back out of the loop, and you end up chasing it with your fingernail.

3

Step 3: Tighten Into a Pentagon

1:10
Step 3: Step 3: Tighten Into a Pentagon

Now pull both ends of the strip and watch what happens. As the knot draws in, the paper folds itself into a small, flat, five-sided pentagon. Stop pulling once the shape looks even, then press it flat with your thumbnail so the five edges are sharp.

This little pentagon is the heart of the whole star, so it pays to get it clean. Take a second to check that all five sides look about the same length. A lopsided pentagon here turns into a lopsided star later.

Tip

Watch this step If the pentagon comes out uneven, gently loosen the knot and re-tighten before you press it flat. It is far easier to fix now than after you start wrapping.

4

Step 4: Wrap the Tail Around the Pentagon

2:40
Step 4: Step 4: Wrap the Tail Around the Pentagon

Hold the pentagon steady in one hand and pick up the long tail with the other. Wrap that tail around the pentagon, following its five sides so each new wrap lies flat over the one underneath. At each corner the paper folds naturally, keeping the pentagon shape as you go.

Keep wrapping around and around. The pentagon gets a little thicker with every pass, and the tail gets shorter. Stop when there is just a short stub of paper left, too short to wrap another full lap.

Tip

Watch this step Wrap snug but not so tight that you tear the paper at the corners. Each lap should hug the pentagon without wrinkling the layer beneath it.

5

Step 5: Tuck the End In

5:00
Step 5: Step 5: Tuck the End In

You now have a small, chunky pentagon with a stub of paper sticking out of one edge. Look right beside that stub and you will find an open slot, a little pocket between the wrapped layers.

Slide the leftover stub down into that pocket until it vanishes from view. This tucks the loose end away and locks all your wrapping in place. Once it is tucked, the pentagon holds its shape on its own and will not spring loose in your hand.

Tip

Watch this step If the stub is too long to tuck cleanly, trim it with scissors so it sits flush. A neat tuck keeps the finished star from having a loose flap poking out.

6

Step 6: Pinch It Into a 3D Star

5:12
Step 6: Step 6: Pinch It Into a 3D Star

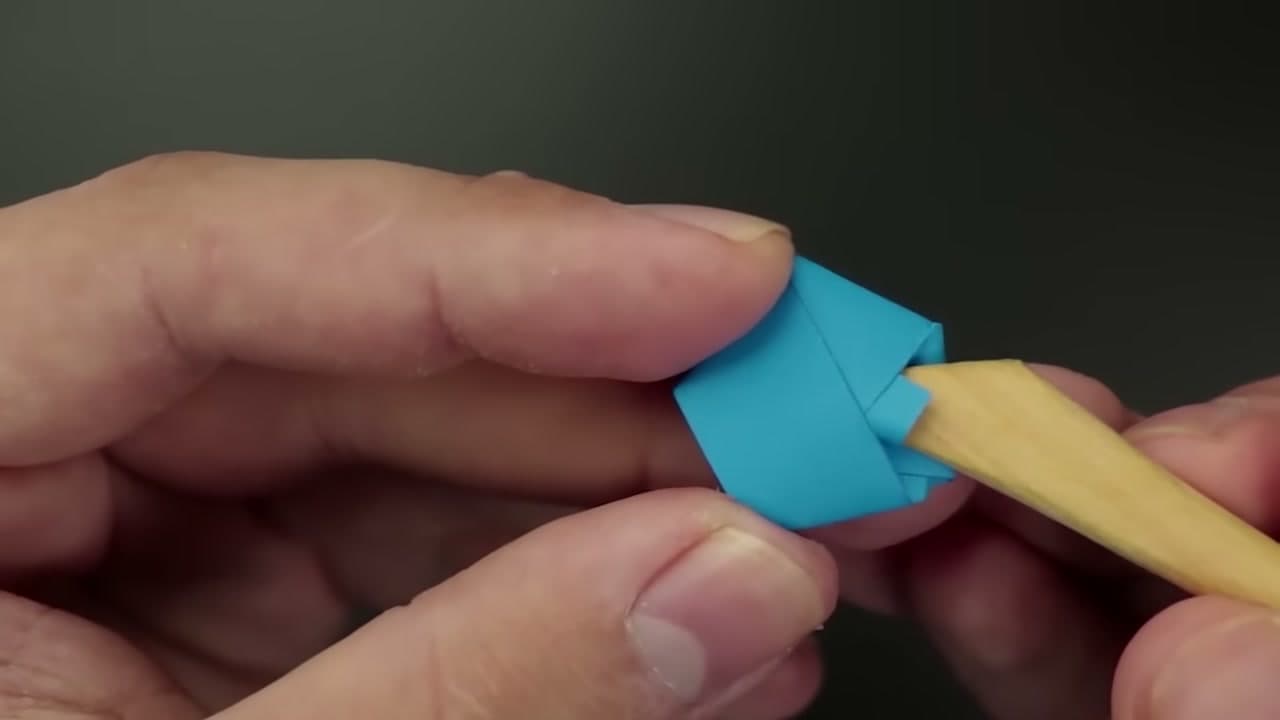
Here comes the fun part where the flat pentagon turns into a plump star. Pinch each of the five edges between your thumbnail and finger, pressing gently inward toward the center. A toothpick or the tip of your nail helps push each side in and dent it up.

Work your way around all five sides. As you pinch each one, the pentagon rounds out and the points rise up, until the flat shape pops into a puffy three-dimensional lucky star. Drop it in a jar and start the next one.

Tip

Watch this step Pinch each of the five edges the same amount so the star stays symmetrical. Fold a few hundred in a rainbow of colors and pour them into a clear glass jar for a display or a gift.

Products Used

☐ The Checklist

How to Make Origami Lucky Stars

Materials
3
Steps
6
Video
7 min

Tools we recommend

Your Guide

Easy Origami and Crafts

As an Amazon Associate we earn from qualifying purchases. Links on this page may be affiliate links - clicking them and buying doesn't change your price, but helps support ShowMeStepByStep.

Tags

Sunday How-To

New paper crafts tutorials, every Sunday

One short email with the week's best step-by-step guides. Free, no spam, unsubscribe anytime.

Did this work for you?

What's next

Related collections

Curated theme pages that include this tutorial.

Weekly Digest

Liked this paper crafts tutorial?

Pick the categories you want to hear about. Weekly digest of new step-by-step tutorials. No spam, easy unsubscribe.

Send me tutorials about

We only email about new tutorials. Easy unsubscribe anytime.