How to Fold an Origami Jumping Frog

Paper CraftsEasy4:108 steps5-question quiz at endBrowse more →
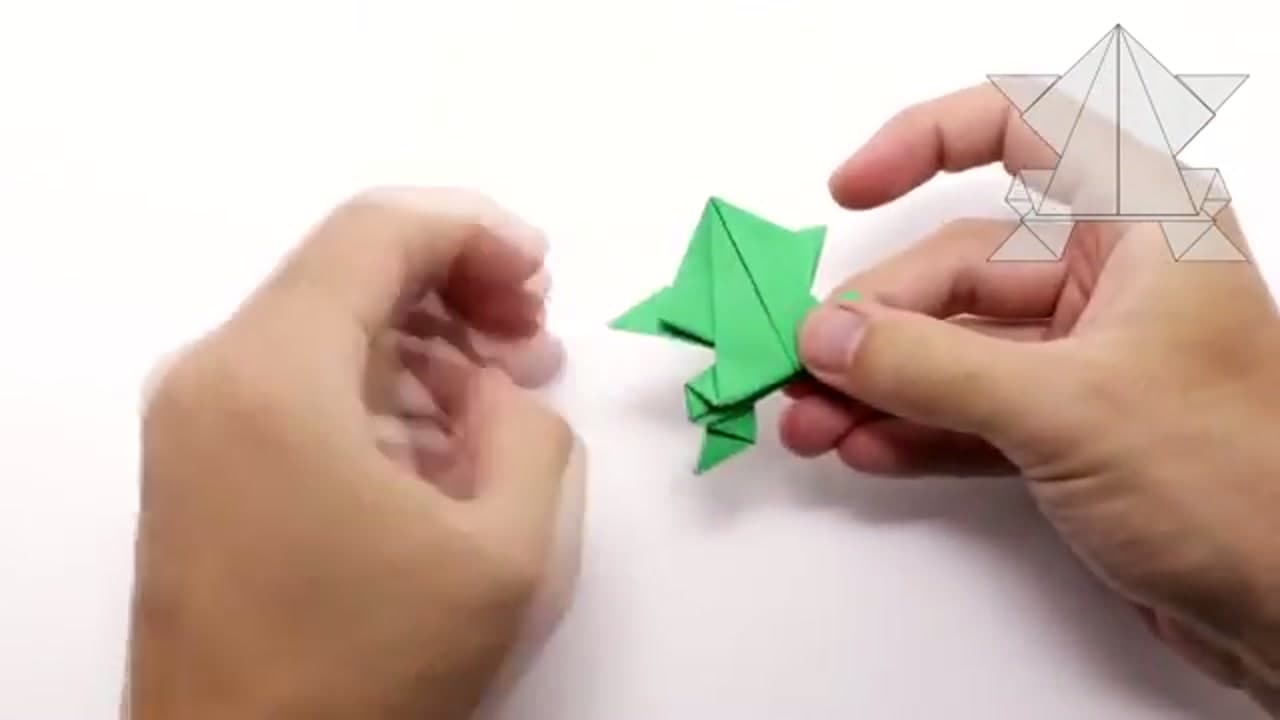
The finished result: How to Fold an Origami Jumping Frog
Also in:Crafts

By CraftingStepByStepPublished Updated

Based on a video by Origami with Jo Nakashima.

This little green frog is a classic. Press a finger on its back, let go, and it leaps across the table. Kids love it, and it takes about five minutes once you know the folds.

The steps come from Jo Nakashima, whose origami channel is a great place to start if you have never folded before. This is the traditional jumping frog model, and it is friendly for beginners.

Grab a square sheet of paper. Green looks the part, but any color works. Sharp creases are the whole game here, so take your time on each fold.

Step-by-Step Guide

8 steps · about 4 minutes.Check off each step as you go and your progress saves automatically.

1

Step 1: Crease the Paper in Half

0:49
Step 1: Crease the Paper in Half - How to Fold an Origami Jumping Frog

Start with your square sheet, color side down. Fold it in half to make one straight crease down the middle, then open it back up. You are only marking the paper here, not building anything yet. Line the edges up carefully so the crease sits dead center. A clean first fold makes every fold after it easier.

Tip

Run your thumbnail or a bone folder along the crease to set it sharp. Loose creases are the number one reason a frog comes out sloppy.

Products used in this step

2

Step 2: Add the Diagonal Creases

1:06
Step 2: Add the Diagonal Creases - How to Fold an Origami Jumping Frog

Now fold the corners across to make diagonal creases, then unfold each one. You want an X of creases meeting the straight line you already made. Repeat the same set of folds on the bottom half of the paper. When you finish, both ends of the sheet should have a matching star of creases ready to collapse.

Products used in this step

3

Step 3: Collapse Into a Waterbomb Base

1:45
Step 3: Collapse Into a Waterbomb Base - How to Fold an Origami Jumping Frog

Here is where it turns 3D. Push the two side creases inward and let the top edge drop down. The paper folds in on itself and flattens into a triangle, which origami folks call a waterbomb base. Do the same move on the bottom. You end up with a diamond made of two stacked triangles.

Tip

If it fights you, the diagonal creases might be facing the wrong way. Reverse the fold direction and it should pop into shape.

4

Step 4: Fold Up the Front Legs

2:20
Step 4: Fold Up the Front Legs - How to Fold an Origami Jumping Frog

Look at the top triangle. Take the loose flaps and valley-fold them up toward the point, one on each side. These little raised flaps are going to be the frog's front legs. Keep them even so the frog sits square later. You should start to see the shape looking less like a diamond and more like a body with arms.

Products used in this step

5

Step 5: Form the Back Legs

2:40
Step 5: Form the Back Legs - How to Fold an Origami Jumping Frog

Fold the side corners in toward the center, then lift the lower flaps out to make the back legs. Now the model has four points sticking out, two up top and two below. This is the moment it starts reading as a frog. Splay the legs a little so they look like they are ready to spring.

6

Step 6: Turn Over and Shape the Body

3:10
Step 6: Turn Over and Shape the Body - How to Fold an Origami Jumping Frog

Flip the whole thing over. Valley-fold the bottom corner up, then fold the left and right sides in toward the middle. This narrows the body and tucks in the loose paper underneath. Take it slow here, since these folds set how the frog balances. When you turn it back, the body should look tidy and compact.

7

Step 7: Add the Jumping Spring

3:33
Step 7: Add the Jumping Spring - How to Fold an Origami Jumping Frog

This fold is what makes it jump. Make a mountain-fold across the lower back, then a valley-fold just below it. Together they form a small accordion pleat, like a tiny spring. Press it flat to lock the creases in. That pleat stores the energy when you push down, and releases it to send the frog hopping.

Tip

Keep the two folds close together and parallel. A tight, even pleat jumps way better than a loose one.

8

Step 8: Make It Jump

3:44
Step 8: Make It Jump - How to Fold an Origami Jumping Frog

Your frog is done. To launch it, set it on a flat surface, press down firmly on the back near the pleat, then slide your finger off the edge and let go. The spring snaps and the frog leaps forward. It takes a couple of tries to find the sweet spot. Race a few of them and see whose frog jumps farthest.

Keep going

How to Make an Origami Swan

8 steps · about 6 minutes

Products Used

☐ The Checklist

How to Fold an Origami Jumping Frog

Tools
1
Materials
2
Steps
8
Video
4 min

Tools we recommend

Your Guide

Origami with Jo Nakashima

As an Amazon Associate we earn from qualifying purchases. Links on this page may be affiliate links - clicking them and buying doesn't change your price, but helps support ShowMeStepByStep.

Tags

Sunday How-To

New paper crafts tutorials, every Sunday

One short email with the week's best step-by-step guides. Free, no spam, unsubscribe anytime.

Test your knowledge

Did the lesson stick? Find out in 2 minutes.

5 quick questions covering what you just read. No signup, no score saved — just a gut check.

Quick reference

Key takeaways from How to Fold an Origami Jumping Frog

5 questions, answers, and one-line explanations. Tap to expand.

  1. 1.What shape of paper do you start with?

    Answer: A square sheet

    Like most origami, the jumping frog starts from a square.

  2. 2.What foundational fold does the frog build on?

    Answer: A waterbomb base

    Collapsing the creases into a waterbomb base sets up the legs.

  3. 3.What matters most for a frog that jumps well?

    Answer: Sharp, crisp creases

    Sharp creases are the whole game; sloppy folds will not spring.

  4. 4.What actually makes the frog leap?

    Answer: A folded spring in the body

    A pleated fold near the back acts like a spring when you press and release.

  5. 5.How do you launch the frog?

    Answer: Press its back and let go

    Press down on its back, slide your finger off, and the spring pops it forward.

Did this work for you?

What's next

Related collections

Curated theme pages that include this tutorial.

Weekly Digest

Liked this paper crafts tutorial?

Pick the categories you want to hear about. Weekly digest of new step-by-step tutorials. No spam, easy unsubscribe.

Send me tutorials about

We only email about new tutorials. Easy unsubscribe anytime.