How to Paint: Acrylic Painting for Beginners (6 Essential Techniques)

The finished result: How to Paint: Acrylic Painting for Beginners (6 Essential Techniques)
Also in:Crafts

By CraftingStepByStepPublished Updated

Based on a video by Jennifer Funnell.

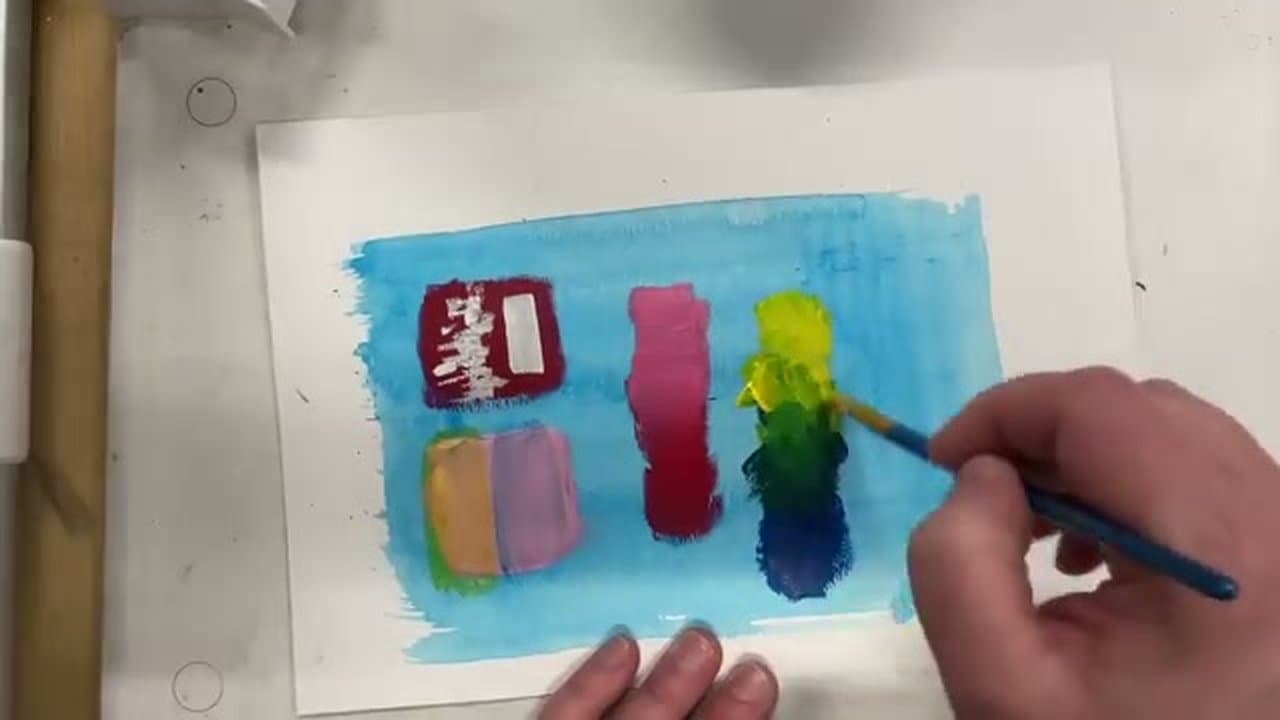
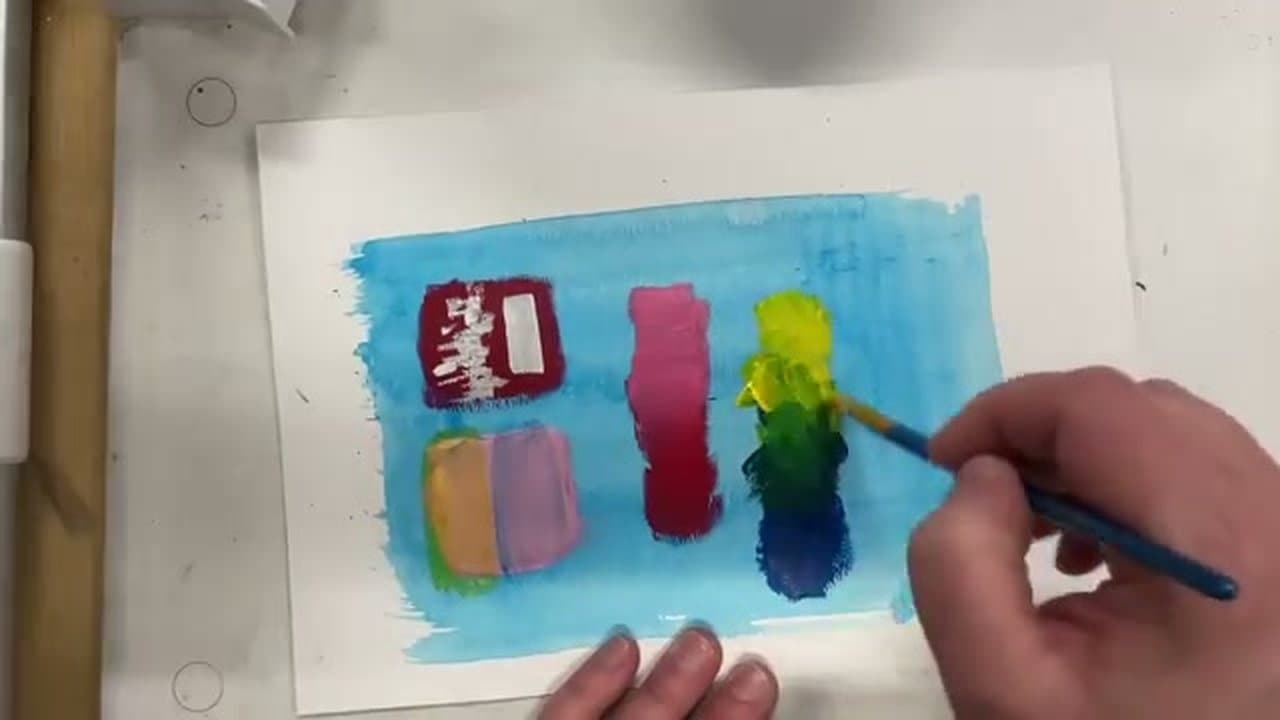
Acrylic is the right paint to start with. It dries in minutes, it cleans up with water, a mistake gets painted over rather than scraped off, and a starter set costs less than a takeaway. Almost everything you will ever paint in acrylic comes down to six moves, and this walkthrough puts all six on one sheet of paper.

The video is from Jennifer Funnell. Work through it once on a practice sheet and you have a reference card you can lay beside every painting you start from here on.

What to buy

A set of eight to twelve student-grade tubes covers everything. You need a warm and a cool of each primary, plus white and a dark. Skip black at first: mixing your darks from blue and burnt umber gives richer shadows than black straight from the tube.

Three brushes: a wide flat for washes, a smaller flat for edges, and a round for detail. Synthetic bristles, not natural. Paper is fine for practice, and cold-press watercolour paper takes acrylic well, but for anything you want to keep, a pre-primed canvas board is cheap and does not buckle.

The one thing beginners skip and regret: a stay-wet palette, or at least a mister bottle. Acrylic skins over in minutes on a dry palette and you spend half your paint scraping crusts.

The six techniques

Wash. Thin the paint with water until it flows like tea and lay it across the whole surface. This kills the white of the paper and sets a mood before you paint a single object. Skies, water and backgrounds all start here.

Layering. Acrylic dries opaque, so you build a painting light over dark or dark over light in stacked layers. Each one dries in a few minutes and the next goes straight on top. This is the property that makes acrylic forgiving.

Crisp edges, wet on dry. Paint onto a layer that has fully dried and the edge stays sharp. Horizons, rooflines, the far side of a lake.

Glazing. Thin a colour with glazing medium rather than water and float it over a dry layer. The colour underneath shows through, shifted. One glaze warms a whole sky; three make a shadow look deep instead of flat.

Blending, wet on wet. Lay two colours side by side while both are wet and work the seam with a clean brush. This is how gradients happen, and it is the one move that has a clock on it: you have a couple of minutes before the paint sets.

Texture. Thick paint, a dry brush, a stiff bristle, the edge of a palette knife. Texture is what stops an acrylic painting looking like a print.

How to paint your first picture

Pick something with three or four big shapes and one light source. A sunset over water, a single tree against a plain sky, a row of hills. Wash the background first, block in the big shapes as flat colour, let it dry, then add the shadows and the highlights last.

Decide where the light comes from before the first stroke and keep it there. Most beginner paintings that look off are lit from two directions at once. If that idea is new, the light-source lesson in how to draw covers it with a pencil, and it transfers straight across.

Where it goes wrong

The colours go muddy. Too many colours in one mix, or a brush that was not rinsed. Three tubes maximum per mix, and rinse between every colour. Mixing acrylic colours covers the combinations that stay clean.

The blend dries with a hard line. The paint set before you worked the seam. Mist the surface, work faster, or use a little retarder medium. Blending acrylics goes through the timing.

The paint is chalky and dull. It was thinned with too much water, which breaks the binder. Past about one part water to one part paint, switch to a medium. Thinning acrylic paint explains where the line is.

The canvas soaks the paint up. It was not primed. Priming a canvas takes ten minutes and one coat of gesso.

Then paint something

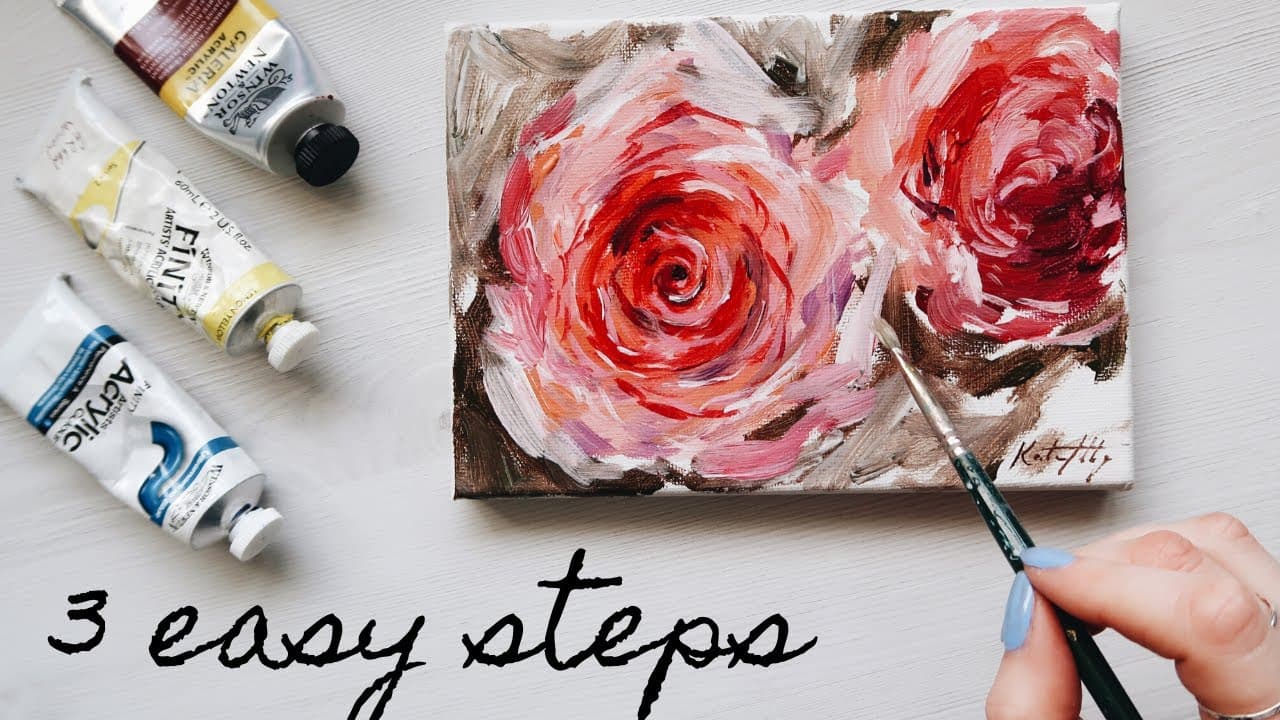
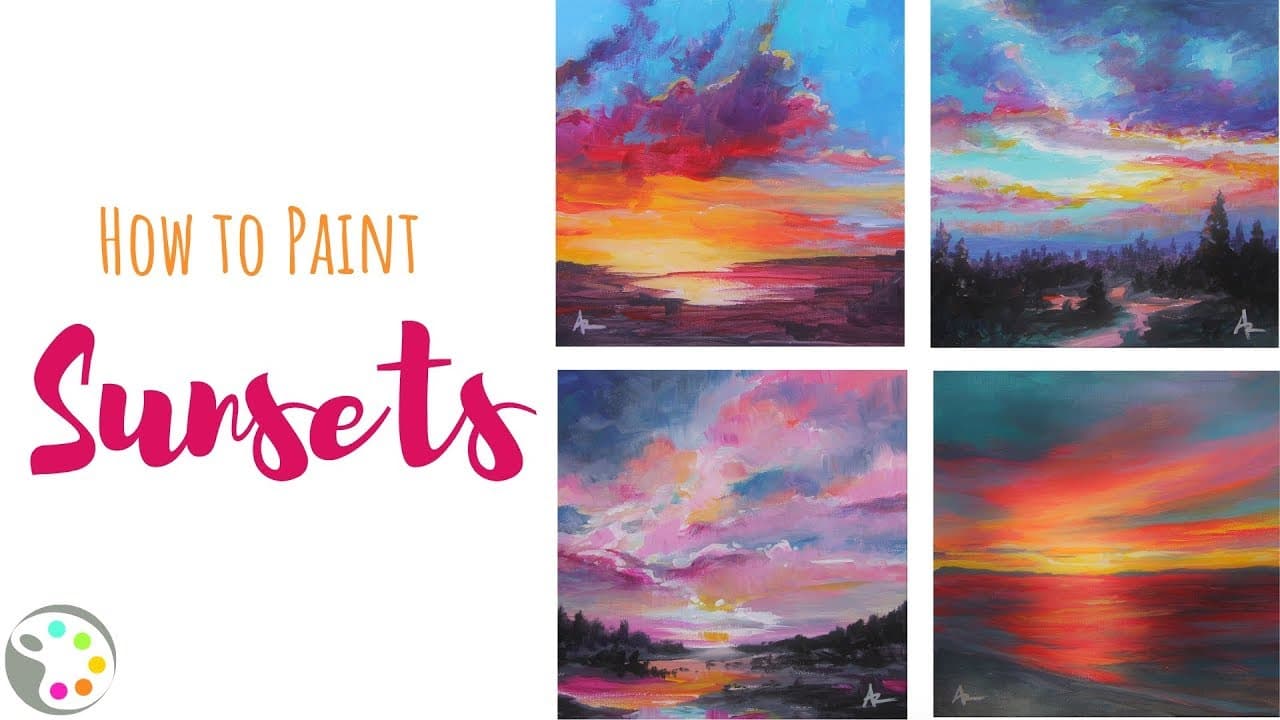
Every one of these projects uses only the six techniques above. A sunset is a wash and a wet-on-wet blend. Clouds and a tree are layering and texture. Ocean waves and a galaxy are the two most-saved projects on the site, and both are glazing over a dark wash. When you want a tool that does texture on its own, a palette knife or a fan brush each earn a page.
What you'll need

Step-by-Step Guide

6 steps · about 5 minutes.Check off each step as you go and your progress saves automatically.

1

Lay a Wash for Your Background

0:25
Step 1: Lay a Wash for Your Background - How to Paint: Acrylic Painting for Beginners (6 Essential Techniques)

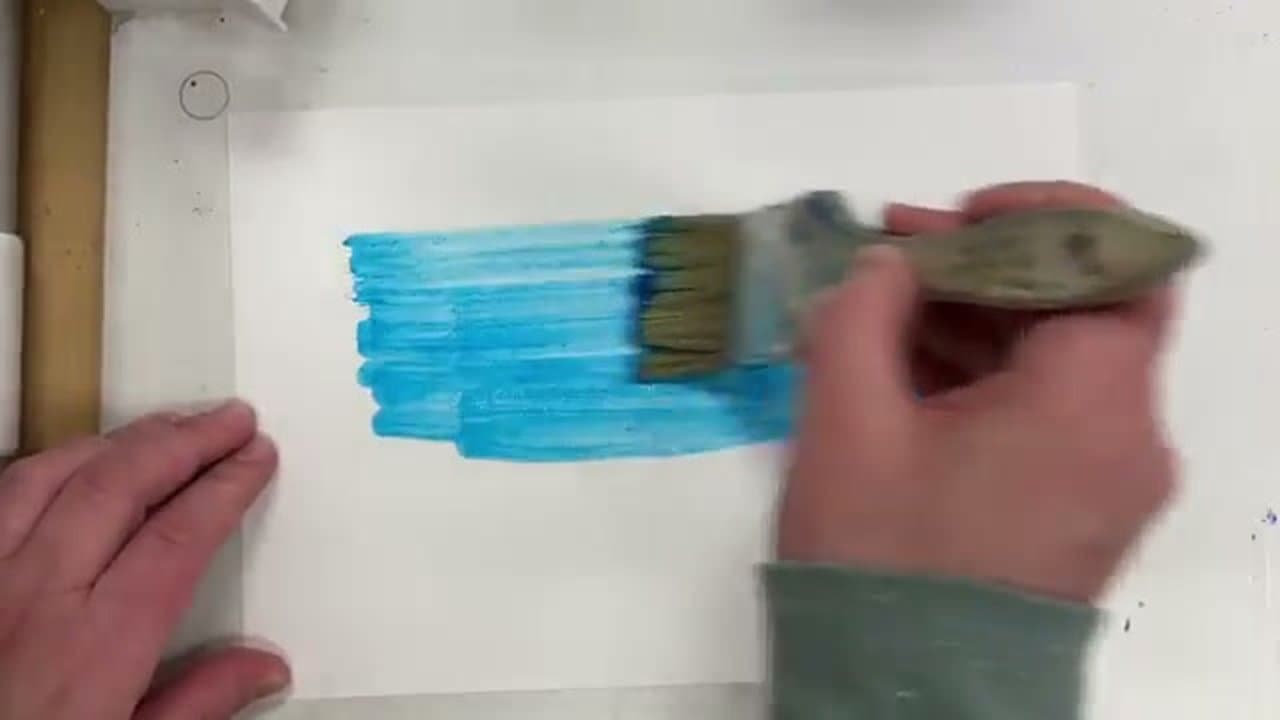
Start with a wash to set a middle-value background. Take a big flat utility brush, dip just the tips into your acrylic paint, then dip the brush in water to dilute it.

Sweep it across cold press watercolor paper in long horizontal strokes. A little variation in color is fine - it adds character. Let the wash dry fully before painting anything on top, or the next layer will lift the wash right off.

Tip

Cold press paper has more tooth (texture) than hot press, which holds the wash better and gives the paint something to grip onto.

2

Build Up Opacity with Layers

1:10
Step 2: Build Up Opacity with Layers - How to Paint: Acrylic Painting for Beginners (6 Essential Techniques)

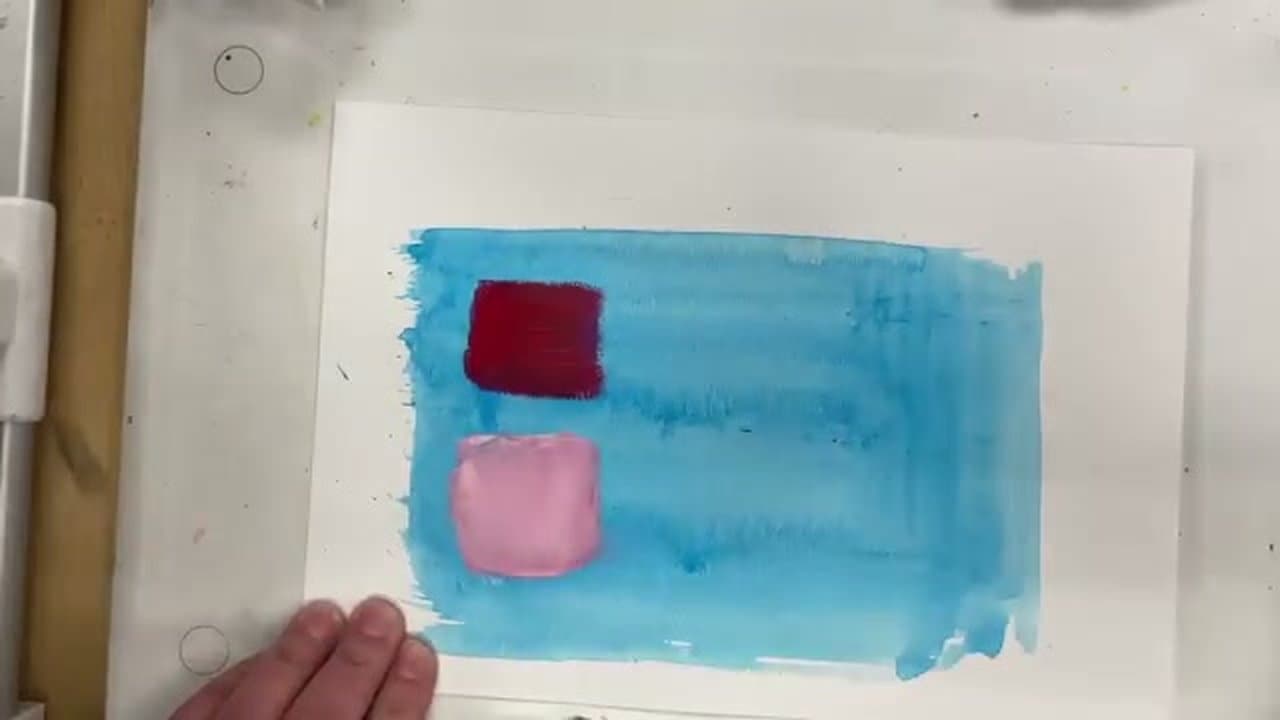
Once the wash is dry, you can build up rich color by layering. Lay down a swatch of paint, let it dry, then add another layer on top to deepen the saturation.

The key is drying between layers. If you keep painting wet on wet, you'll just smear what's underneath. A few thin layers reads as much richer than one thick one, and it gives the surface a more interesting depth.

Used in this stepAcrylic Paint Starter Set
3

Get a Crisp Edge with Wet on Dry

1:38
Step 3: Get a Crisp Edge with Wet on Dry - How to Paint: Acrylic Painting for Beginners (6 Essential Techniques)

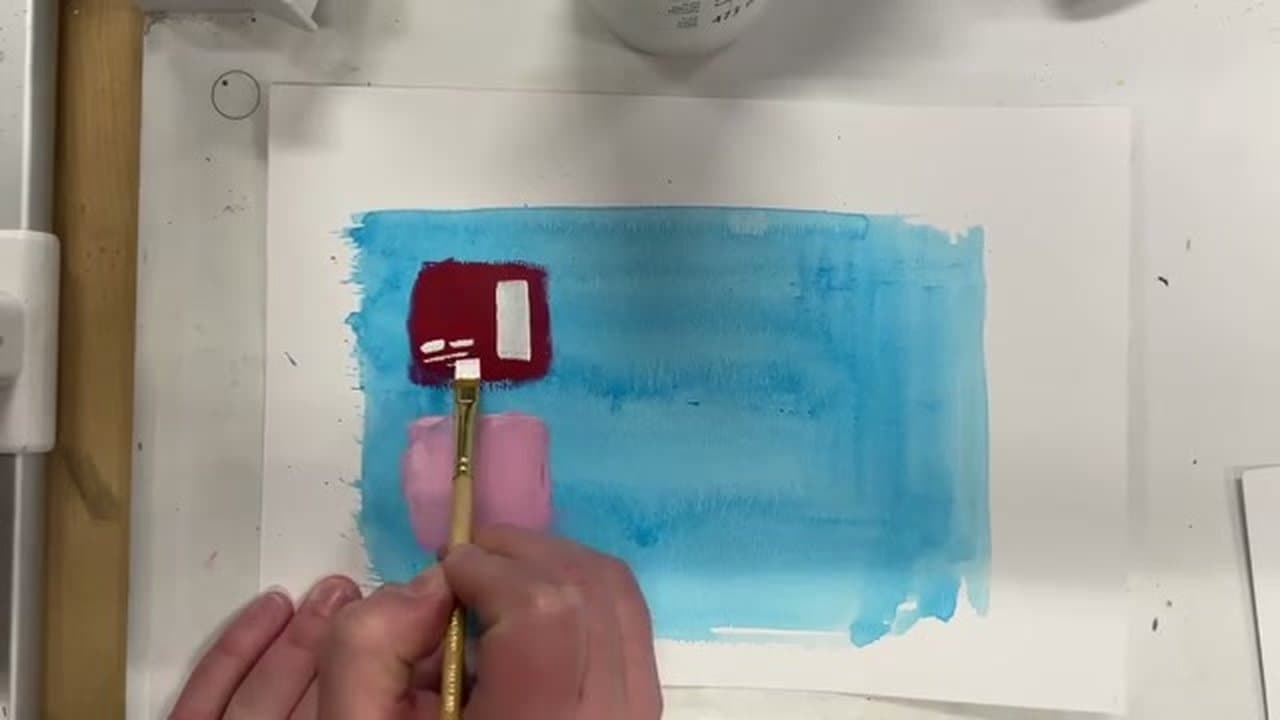
For a sharp, defined edge in your painting, wait until the bottom layer is fully dry, then paint the new color over it with a flat brush.

The dry surface gives the new paint somewhere to stop instead of bleeding into wet color underneath. This is the only way to get a clean, hard edge in acrylic. It's easy to forget when you're impatient, but the difference between a crisp edge and a fuzzy one is one of the biggest reasons paintings look professional.

4

Glaze a Transparent Layer

2:06
Step 4: Glaze a Transparent Layer - How to Paint: Acrylic Painting for Beginners (6 Essential Techniques)

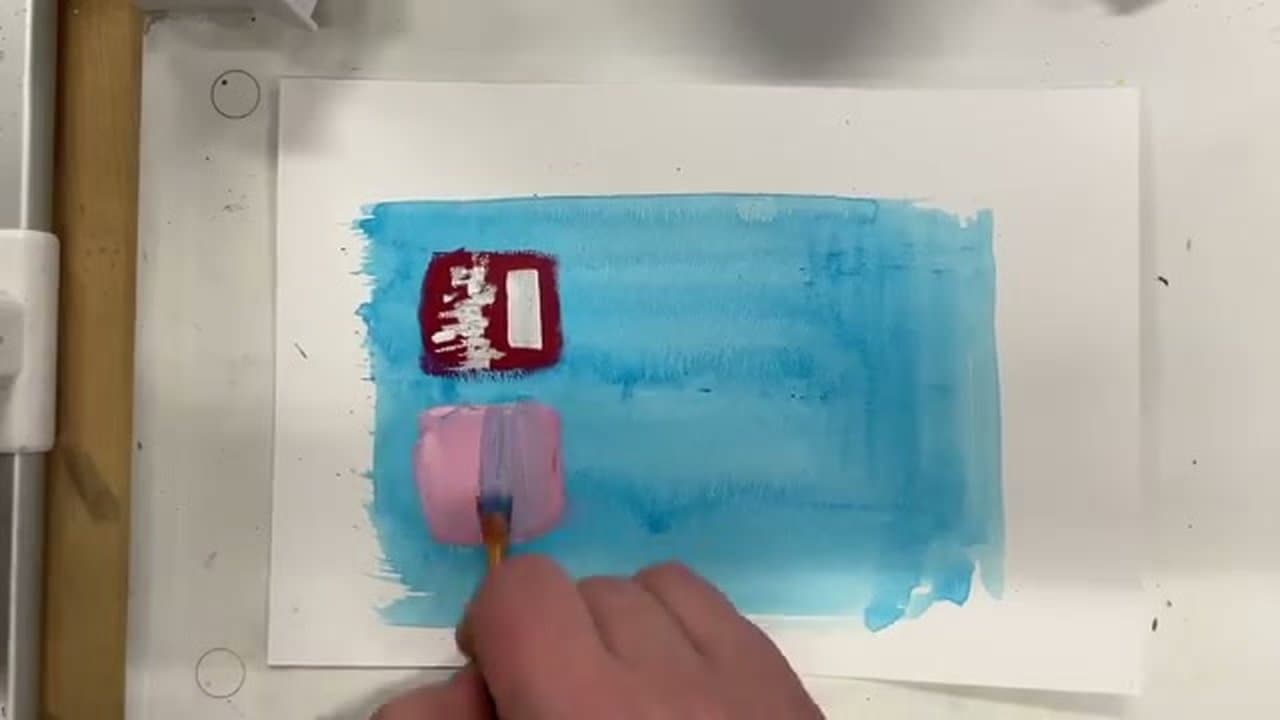
Glazing means painting a thin transparent layer of color over a dried opaque one. Mix a little glazing medium (or water in a pinch) into your paint until it goes see-through, then brush it lightly over the dry section.

Think of it like sunglasses for your painting. Everything underneath still shows, just filtered through whatever color you chose. It's a quick way to shift mood, deepen shadows, or warm up a cool color without having to repaint anything.

Tip

Glazing medium dries clearer than water and won't dilute the paint binder, so it's worth the few extra dollars if you plan to paint regularly.

Used in this stepAcrylic Glazing Medium
5

Blend Wet on Wet for Smooth Gradients

2:55
Step 5: Blend Wet on Wet for Smooth Gradients - How to Paint: Acrylic Painting for Beginners (6 Essential Techniques)

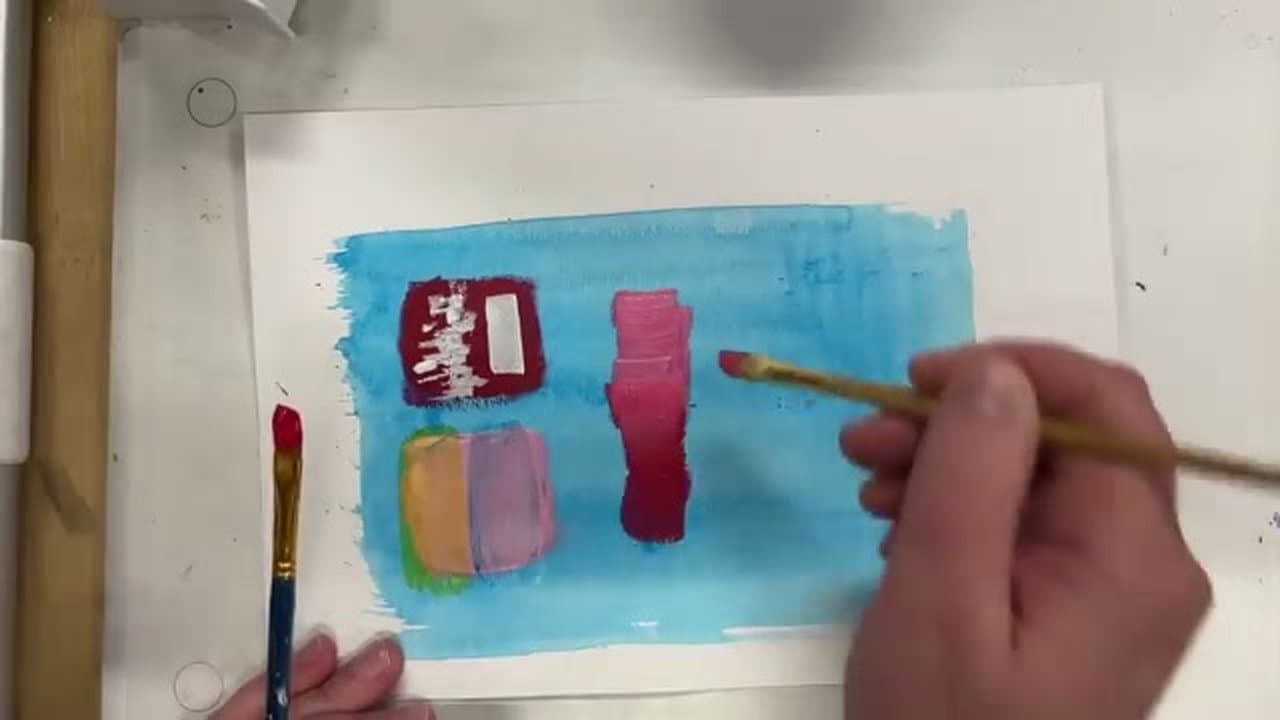
For soft transitions and smooth gradients, blend wet on wet. Lay two colors next to each other while both are still wet, then work your brush back and forth across the seam between them.

Wipe the brush on a paper towel between strokes so you're not just dragging muddy paint around. The more you work the seam, the smoother the gradient gets. Acrylic dries fast though, so move quickly. If the blend doesn't go right the first time, let it dry and try again on top.

6

Add Texture with Varied Strokes

3:45
Step 6: Add Texture with Varied Strokes - How to Paint: Acrylic Painting for Beginners (6 Essential Techniques)

For a more expressive, painterly look, blend wet on wet but switch up your brush direction. Cross-hatch in one spot, tap with the bristle tips in another, stipple a third area. Layer thin strokes over thick ones.

The colors still blend together, but the individual brush marks stay visible, which gives the painting movement and energy. It's the opposite of the smooth gradient from the last step, and just as useful, depending on what you're trying to capture.

Used in this stepAcrylic Paint Brush Set

Keep going

How to Oil Paint a Landscape With Bob Ross

10 steps · about 25 minutes

Products Used

The Checklist

How to Paint: Acrylic Painting for Beginners (6 Essential Techniques)

Tools
5
Materials
4
Steps
6
Video
5 min

Tools we recommend

Your Guide

Jennifer Funnell

As an Amazon Associate we earn from qualifying purchases. Links on this page may be affiliate links - clicking them and buying doesn't change your price, but helps support CraftingStepByStep.

Tags

Sunday How-To

New painting tutorials, every Sunday

One short email with the week's best step-by-step guides. Free, no spam, unsubscribe anytime.

Test your knowledge

Did the lesson stick? Start with this one.

5 questions covering what you just read. No signup, no score saved, and you can stop after this one.

Question 1 of 5

What is a 'wash' in acrylic painting?

Quick reference

Key takeaways from How to Paint: Acrylic Painting for Beginners (6 Essential Techniques)

5 questions, answers, and one-line explanations. Tap to expand.

  1. 1.What is a 'wash' in acrylic painting?

    Answer: Thinned background tint

    Big flat brush, paint diluted with water, swept in long horizontal strokes to set a middle-value background.

  2. 2.Why layer thin coats vs one thick coat?

    Answer: Richer color depth

    A few thin layers reads as much richer than one thick one. Surface has more interesting depth.

  3. 3.How to get a CRISP edge between colors?

    Answer: Wait until dry first

    Dry surface gives the new paint somewhere to stop instead of bleeding. Only way to get a clean hard edge.

  4. 4.What does glazing do?

    Answer: Transparent color filter

    Thin transparent layer over dry opaque. Like sunglasses for your painting - shifts mood without repainting.

  5. 5.For smooth gradients between colors?

    Answer: Blend wet on wet

    Two colors next to each other while wet, work the brush back and forth across the seam. Acrylic dries fast - move fast.

Did this work for you?

What's next

Related collections

Curated theme pages that include this tutorial.

Weekly Digest

Liked this painting tutorial?

Pick the categories you want to hear about. Weekly digest of new step-by-step tutorials. No spam, easy unsubscribe.

Send me tutorials about

We only email about new tutorials. Easy unsubscribe anytime.