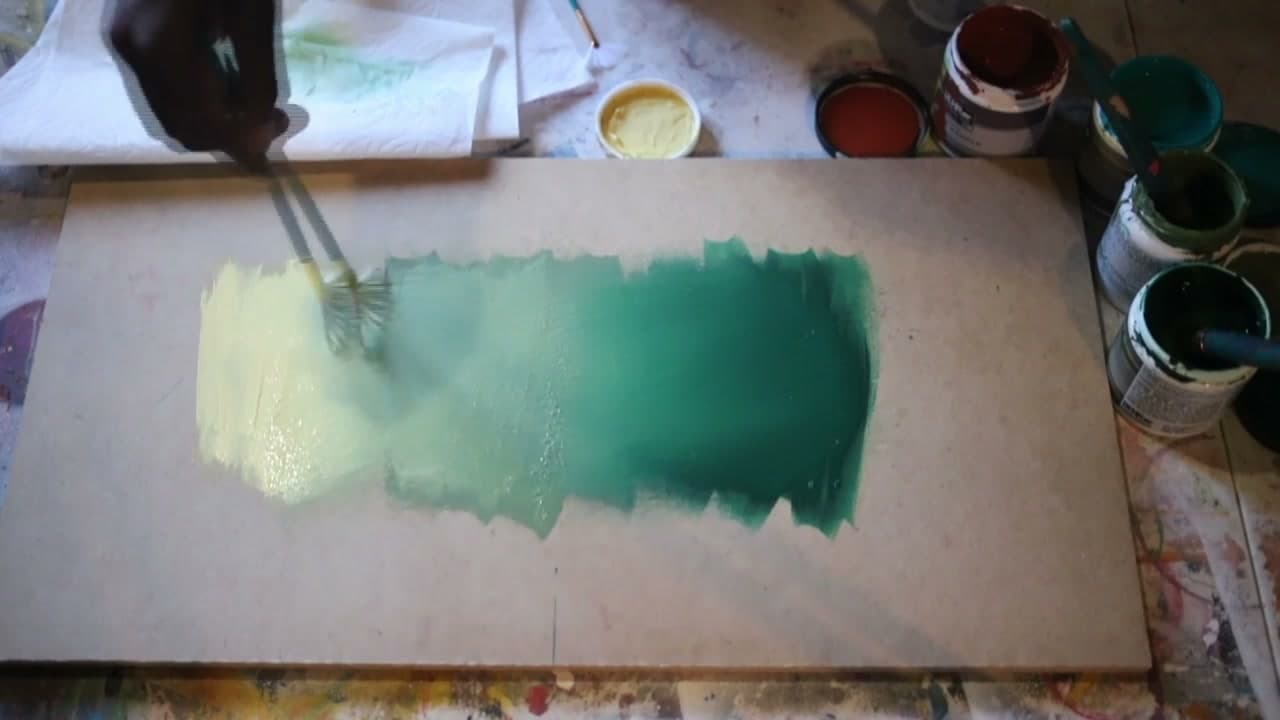
How to Use a Fan Brush to Blend Two Colours

PaintingEasy4:396 stepsBrowse more →
The finished result: How to Use a Fan Brush to Blend Two Colours
Also in:Crafts

By CraftingStepByStepPublished

Based on a video by I am Detour.

A fan brush looks like a novelty until you use it for the thing it is genuinely best at, which is making two colours meet without a line between them. The splayed bristles hold barely any paint and spread the little they hold over a wide, feathery area. That is exactly wrong for laying colour down and exactly right for softening an edge that is already there.

This is a narrow demonstration and worth saying so up front: it covers one application, cross-hatch blending of two values of the same colour, with a third colour brought in at the end. It is not a survey of everything a fan brush can do. What it does give you is the grip, the angle and the pressure, and those three things transfer to every other fan brush job you will ever attempt.

If you want the wider picture on softening edges, blending acrylics covers the other approaches, and acrylic painting for beginners starts further back. The fan is also the standard tool for painting foliage and soft cloud edges, both of which lean on the same light touch.

Step-by-Step Guide

6 steps · about 5 minutes.Check off each step as you go and your progress saves automatically.

1

Step 1: Lay Two Values Side by Side

0:25
Step 1: Step 1: Lay Two Values Side by Side

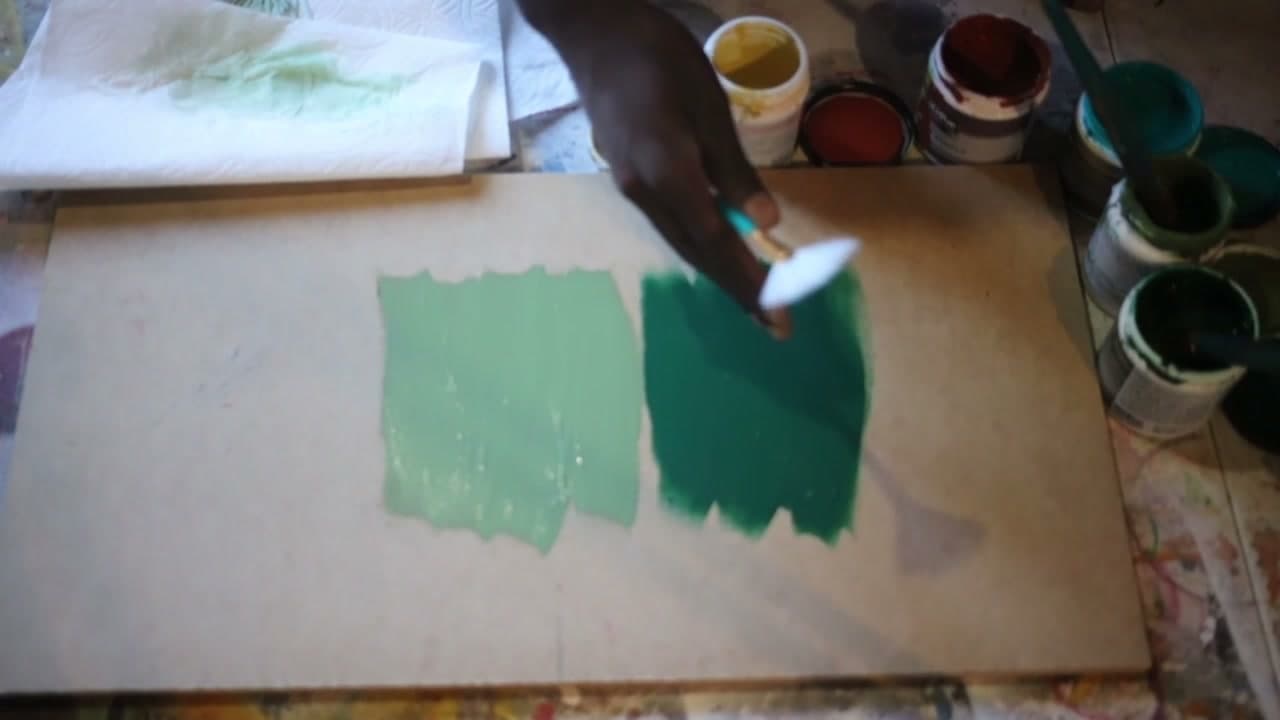
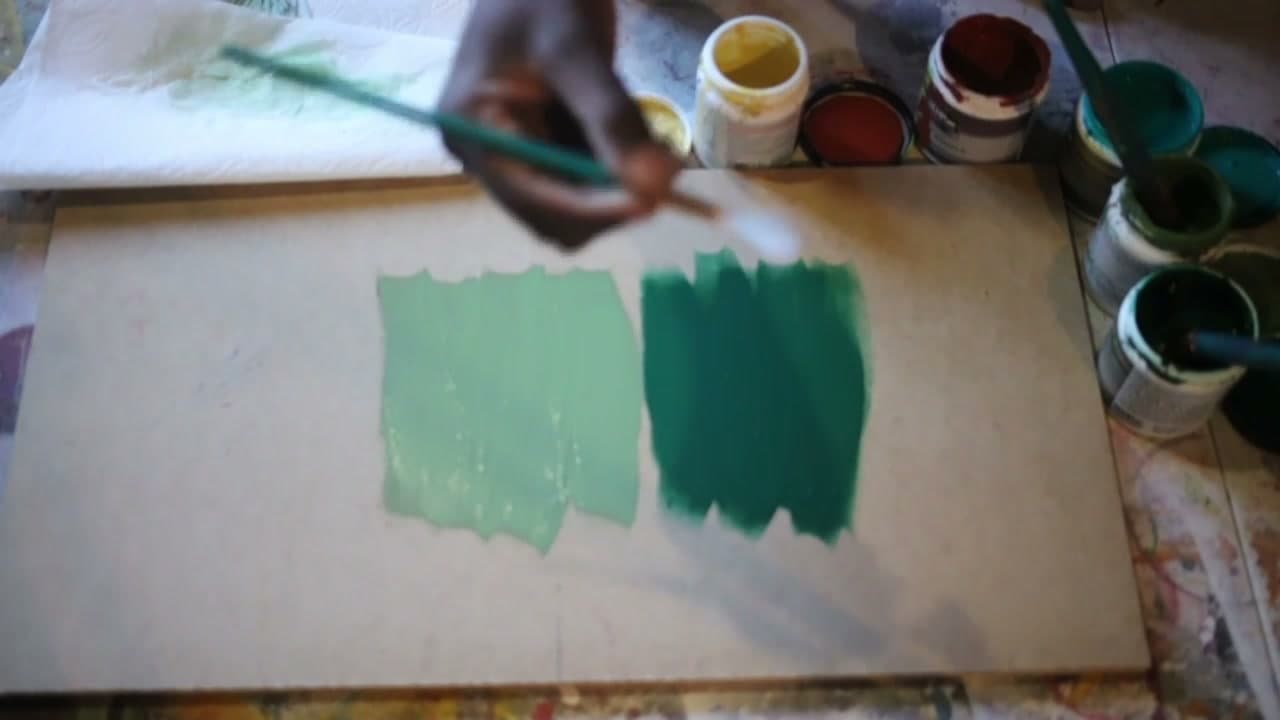
Start with two values of the same colour butted up against each other, a light green and a dark green here. Do not try to blend them as you lay them down. You want a hard, obvious seam, because that seam is the thing you are about to learn to remove.

Work slightly wet. Acrylic that has skinned over will not move under a fan brush, and a fan brush pushed at dry paint just scratches at it. Oils give you far longer, which is why the fan brush has an older history in oil painting.

Tip

Two values of one colour is the easiest place to start. Two different hues fight each other and go muddy in the middle while you are still learning the stroke. Watch this step
2

Step 2: Cross the Seam at Forty Five Degrees

0:50
Step 2: Step 2: Cross the Seam at Forty Five Degrees

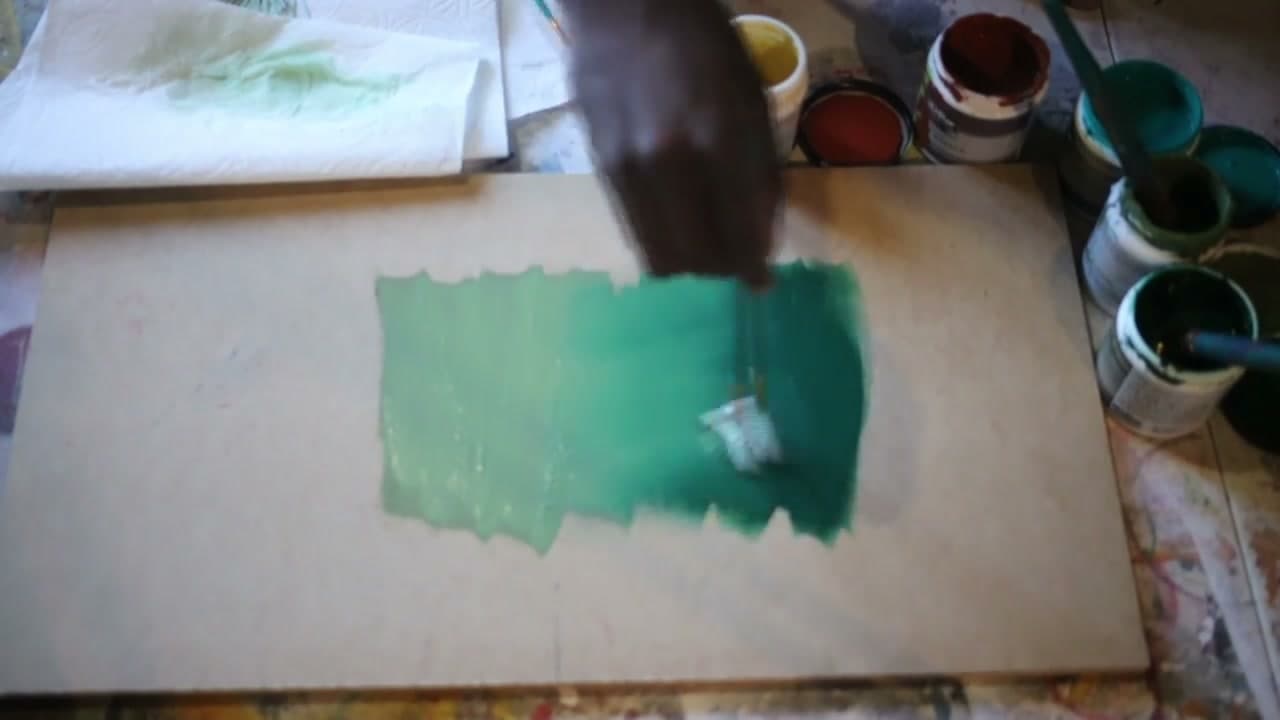
Take the clean fan brush and strike across the join at roughly 45 degrees. One direction, then back the other way, so the strokes cross each other over the boundary. That criss-cross is what pulls a little of each value into the other.

Do not stroke along the seam. Running parallel to the line just moves the line around. It has to be crossed, repeatedly, from both sides.

Tip

Wipe the brush on a rag every few passes. A fan loaded with mixed paint stops blending and starts painting a third colour. Watch this step

3

Step 3: Hold the Brush at the End of the Handle

1:30
Step 3: Step 3: Hold the Brush at the End of the Handle

Choke right back to the end of the handle. Holding a fan brush up near the ferrule like a pencil gives you far too much control and far too much pressure, and heavy pressure is the one thing that ruins the effect.

The bristles should barely bend. You are dusting the surface, letting the tips do the work. If you can see the ferrule pushing the bristles out sideways, back off.

Tip

A light grip also stops you digging tramlines into wet paint with the outer bristles. Watch this step

4

Step 4: Keep Going Until the Seam Disappears

2:19
Step 4: Step 4: Keep Going Until the Seam Disappears

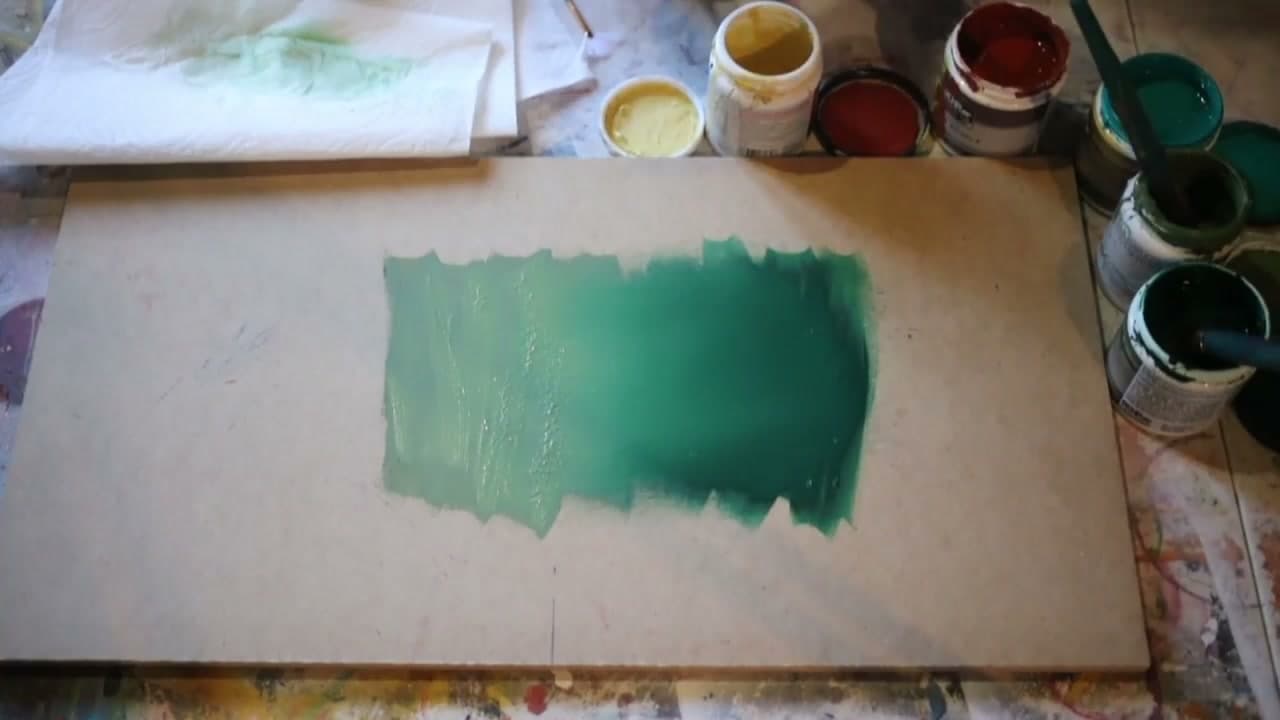
Work back and forth over the join, moving the brush a little further into each value as you go, until you cannot find the line any more. What was two blocks of colour is now one continuous run from light to dark.

Stand back every few passes. Blending is one of those jobs where six inches from the surface tells you nothing and six feet tells you everything.

Tip

Stop a little sooner than feels right. Over-blended paint goes flat and loses the variation that made it interesting. Watch this step

5

Step 5: Add a Third Colour Along One Edge

2:43
Step 5: Step 5: Add a Third Colour Along One Edge

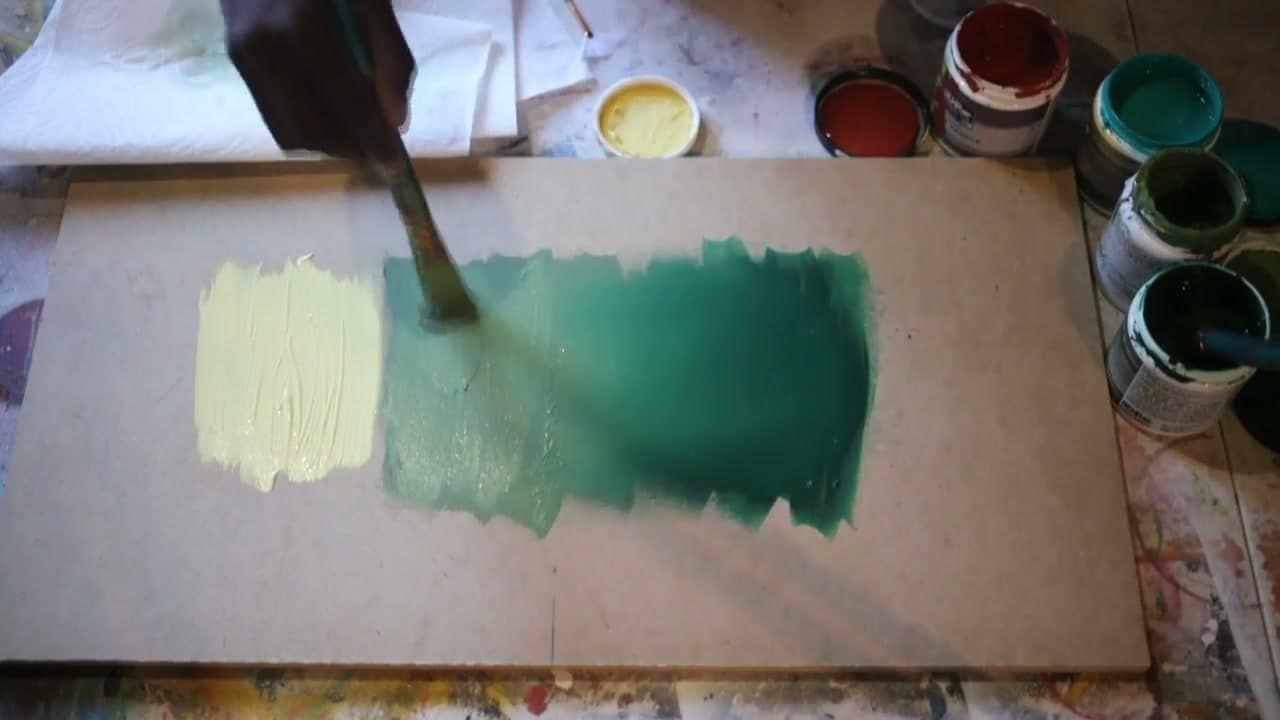
Once the two-value gradient is working, bring in a third colour along one edge, a pale cream here. Lay it down as its own block again, hard edge and all. The blend comes after.

A much lighter value against a dark one is a harder blend than two neighbouring values. Expect it to take more passes, and expect the middle to want to go chalky if you overwork it.

Tip

Load the new colour with a different brush. Putting fresh paint on with the fan itself contaminates the bristles and you lose the soft blend. Watch this step

6

Step 6: Blend It In With the Same Light Strokes

3:19
Step 6: Step 6: Blend It In With the Same Light Strokes

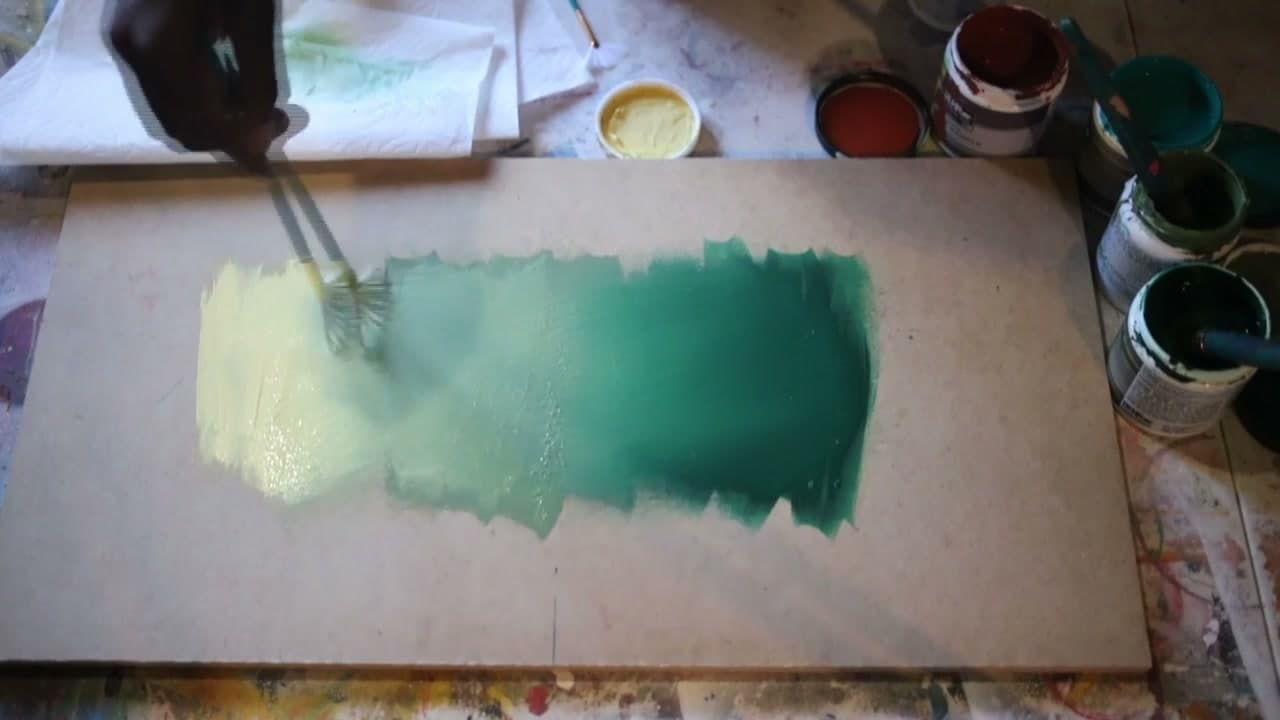
Same technique, no changes. Cross the new seam at 45 degrees, both directions, light pressure, held at the end of the handle. The cream pulls into the light green and the whole panel runs cream through light green into dark green with no visible steps.

That is the fan brush doing the one job nothing else does as easily. From here the same stroke gives you soft cloud edges, distant treelines and reflections on water.

Tip

Wash a fan brush by dabbing it flat in water and blotting, never by squeezing the bristles. Squeezing splays them permanently and the fan stops fanning. Watch this step

Keep going

How to Blend Acrylic Paint

Products Used

☐ The Checklist

How to Use a Fan Brush to Blend Two Colours

Tools
3
Materials
3
Steps
6
Video
5 min

Tools we recommend

Your Guide

I am Detour

As an Amazon Associate we earn from qualifying purchases. Links on this page may be affiliate links - clicking them and buying doesn't change your price, but helps support ShowMeStepByStep.

Tags

Sunday How-To

New painting tutorials, every Sunday

One short email with the week's best step-by-step guides. Free, no spam, unsubscribe anytime.

Did this work for you?

What's next

Related collections

Curated theme pages that include this tutorial.

Weekly Digest

Liked this painting tutorial?

Pick the categories you want to hear about. Weekly digest of new step-by-step tutorials. No spam, easy unsubscribe.

Send me tutorials about

We only email about new tutorials. Easy unsubscribe anytime.