How to Paint with a Palette Knife

The finished result: How to Paint with a Palette Knife
Also in:Crafts

By CraftingStepByStepPublished Updated

Based on a video by Jesse Robertson.

A palette knife leaves paint standing on the canvas. A brush drags it flat and softens every edge. The knife lays paint down in a ridge, keeps a stroke crisp, and lets the layer underneath show through wherever the blade skips. That is the reason to own one.

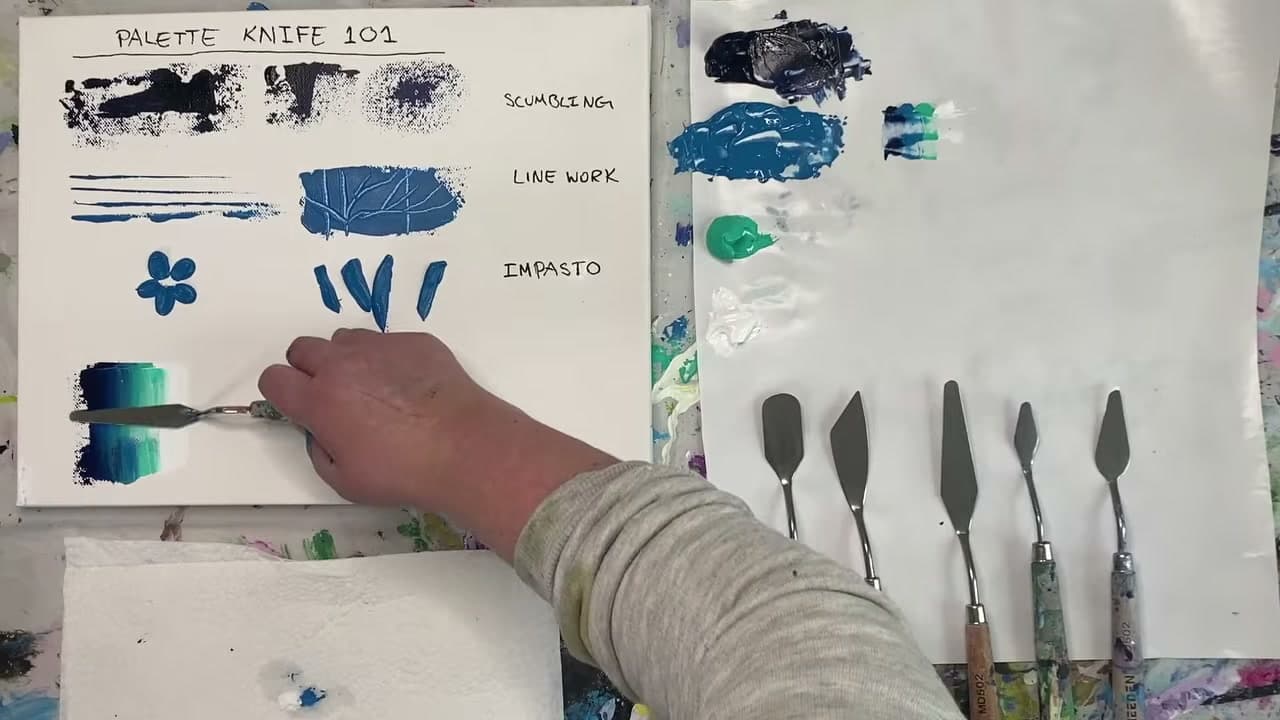
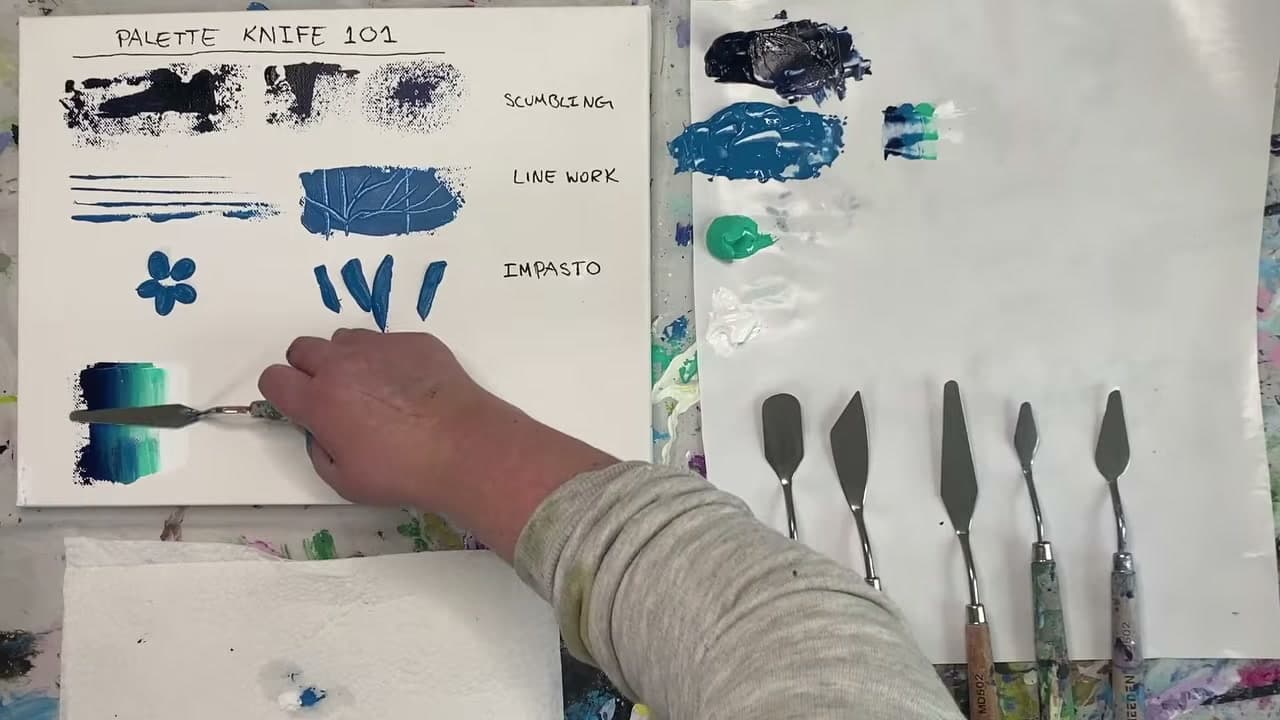
Jesse Robertson demonstrates the core marks side by side on one canvas board, so you finish with a reference sheet rather than a painting you feel obliged to keep. The steps below cover each mark. This page covers what they leave out: which blade to reach for, why the paint matters more than the knife, and where each technique belongs in a real painting.

Which knife shape does what

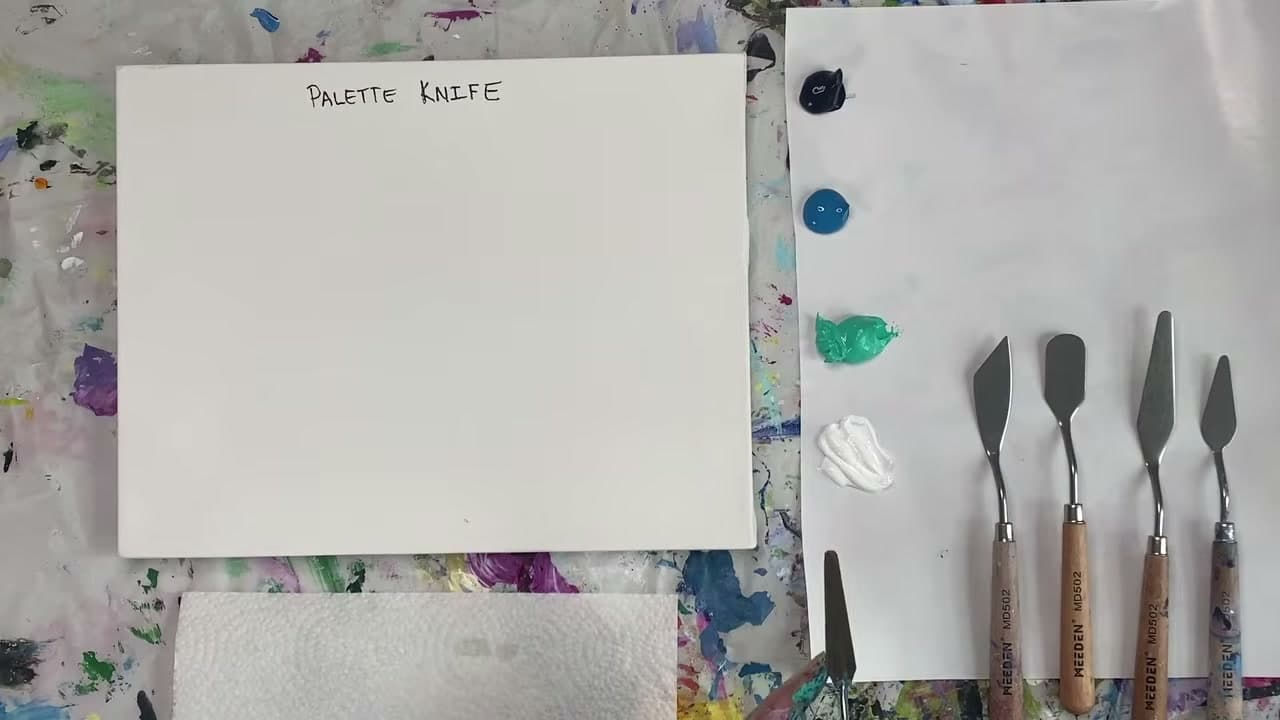
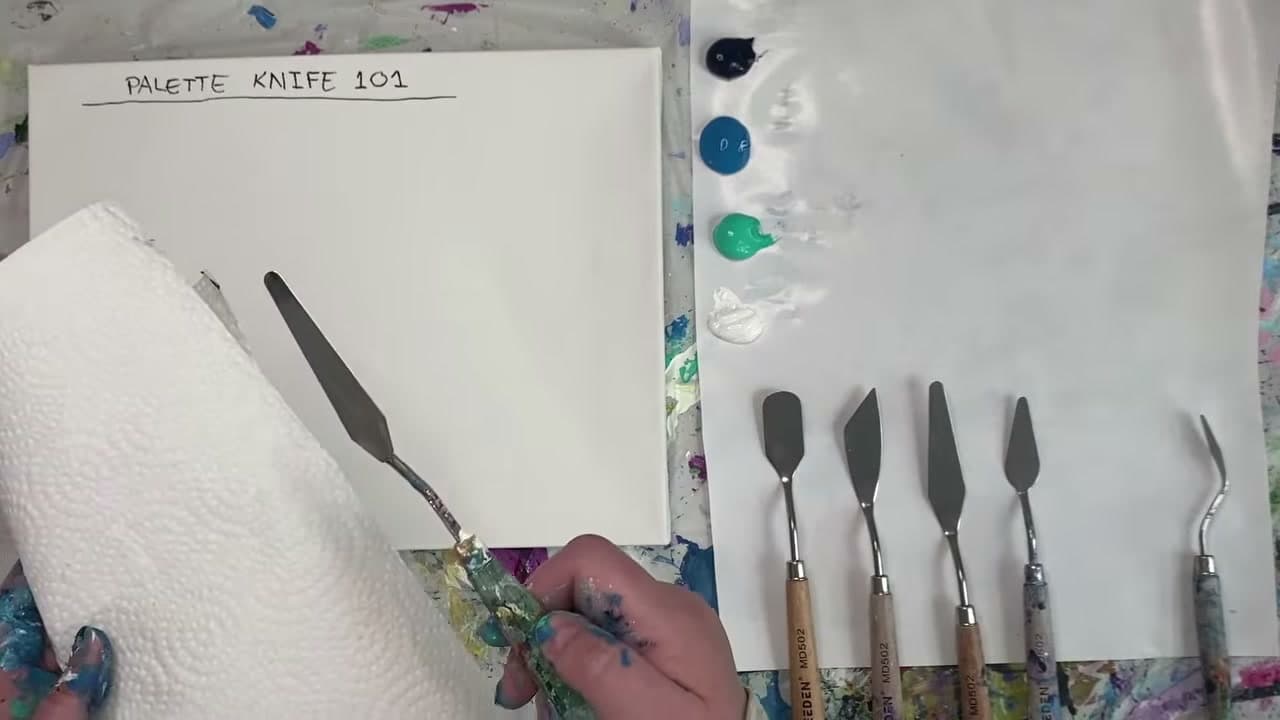
Most sets come with five or six blades and it is not obvious what the odd ones are for. The diamond trowel with a cranked (bent) shank is the workhorse: its long edge loads a roll of paint, its flat face scumbles, its point carves. If you only buy one, buy that one.

  • Long, narrow blade - the longest clean lines and wide gradients in one pass. Good for horizons and wave crests.
  • Small teardrop - the tip picks up a dab of paint for impasto petals and highlights, anything you press rather than drag.
  • Straight-edge scraper - for mixing on the palette and scraping back a passage you want to redo. Awkward on canvas.

Why heavy body paint and not fluid

Heavy body acrylic is stiff enough to hold a peak when you lift the knife away. That peak is the texture. Soft body and fluid acrylics are made to level out, right for glazing and pouring, wrong here: the ridge slumps, the scumble fills in, and it ends up looking like brushwork. Craft-store bottle paint is worse, because its water content shrinks as it dries and the impasto goes flat overnight.

If you own thinner paint and want to try knife work before buying tubes, stir in some modelling paste or heavy gel medium. Our guide to using texture paste covers how much to add and how it dries. And brush a thin, contrasting base layer under anything you plan to carve, so the carved line has a colour to reveal.

The one thing that goes wrong: mud

Nearly every dull, greyish knife painting got that way for one of three reasons: the blade was not wiped between colours, the scumble was pressed so hard it smeared into the layer beneath, or a gradient was swept back and forth until both colours merged into one flat tone.

The paper-towel habit fixes the first. Keep a folded sheet in your free hand and wipe both faces of the blade before every new colour. Water is not the answer - a wet blade thins the next load and the texture goes with it. The other two come down to restraint. Make the mark, look at it, leave it alone. Acrylic starts to skin over within minutes, and a mark you keep worrying at loses its crisp edge.

Where knife work fits in a painting

Thick paint reads as close. Thin, flat paint reads as far away. That one rule tells you where each mark belongs. Skies and distant hills want the gradient pull and little else, left smooth so the eye slides past. If it looks too streaky, soften it with a dry brush while it is wet, the way how to blend acrylic paint shows.

Middle ground is scumble territory: rock faces, bark, weathered walls, dry grass. Pulled lines handle hard edges like a fence or a mast. Save impasto for the foreground and the focal point, where one thick highlight on the nearest rock will pull the whole picture forward.

Two tutorials here put these marks to work. Painting mountains with acrylics leans on scumbled rock and a pulled ridgeline, and painting ocean waves uses the same edge-loaded line for foam. If acrylic itself is still new, start with acrylic painting for beginners and come back to the knife once brush control feels settled.
What you'll need

Step-by-Step Guide

9 steps · about 16 minutes.Check off each step as you go and your progress saves automatically.

1

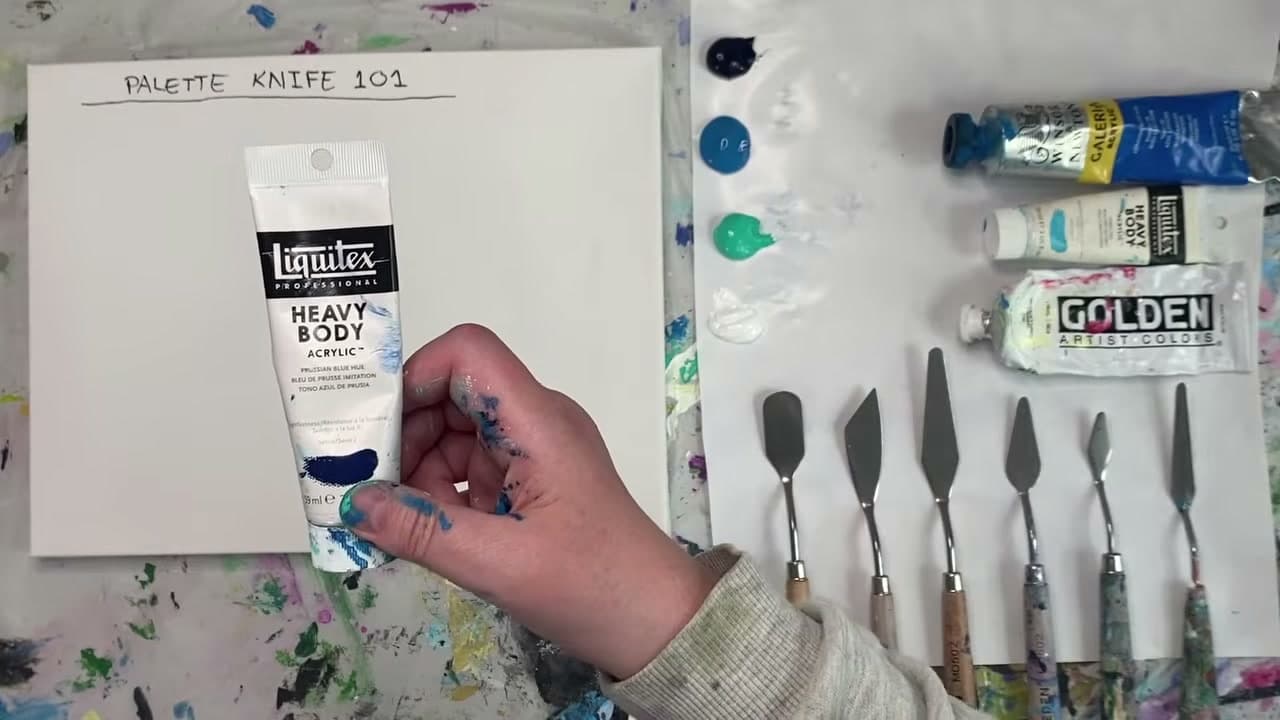
Use Heavy Body Paint

1:10
Step 1: Use Heavy Body Paint - How to Paint with a Palette Knife

Reach for a heavy body acrylic rather than a fluid one. It holds its shape on the blade, which is the whole point of knife work.

Liquitex Heavy Body and Golden both do the job. Fluid paint just slides off and you lose every bit of texture you were trying to build.

Tip

Heavy body colours also settle into each other nicely, which matters for scumbling.

2

Pick Your Knife

2:30
Step 2: Pick Your Knife - How to Paint with a Palette Knife

Knives come with a bent shank or straight out from the handle. The bend keeps your hand up out of the wet paint and gives more dexterity.

Metal heads on a solid wood handle are worth the small extra cost - a little weight in the hand makes the strokes more controlled.

Tip

Buy a set rather than a single knife. Different sizes suit different marks and sets are inexpensive.

Used in this stepPalette knife set
3

Keep Paper Towel Beside You

4:12
Step 3: Keep Paper Towel Beside You - How to Paint with a Palette Knife

Unlike a brush, a palette knife gets cleaned straight away and between every colour.

Wipe the blade down on paper towel or an old rag as you go. Skip this and the colours turn muddy within a few strokes.

Used in this stepPaper towels
4

Load a Roll on the Edge

5:10
Step 4: Load a Roll on the Edge - How to Paint with a Palette Knife

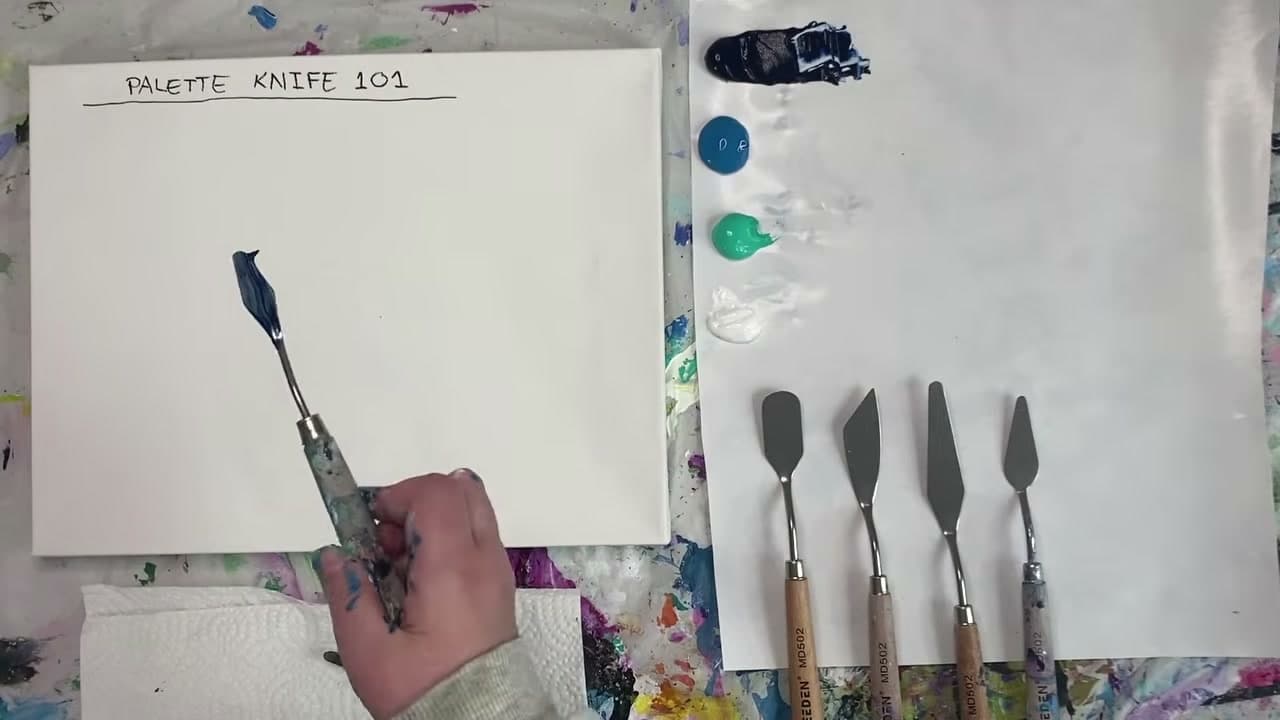
Cut a small roll of paint off the edge of the pile so it sits along the blade.

Almost every technique that follows starts from this loaded edge, so it is worth getting a feel for how much paint to pick up.

Used in this stepPalette knife set
5

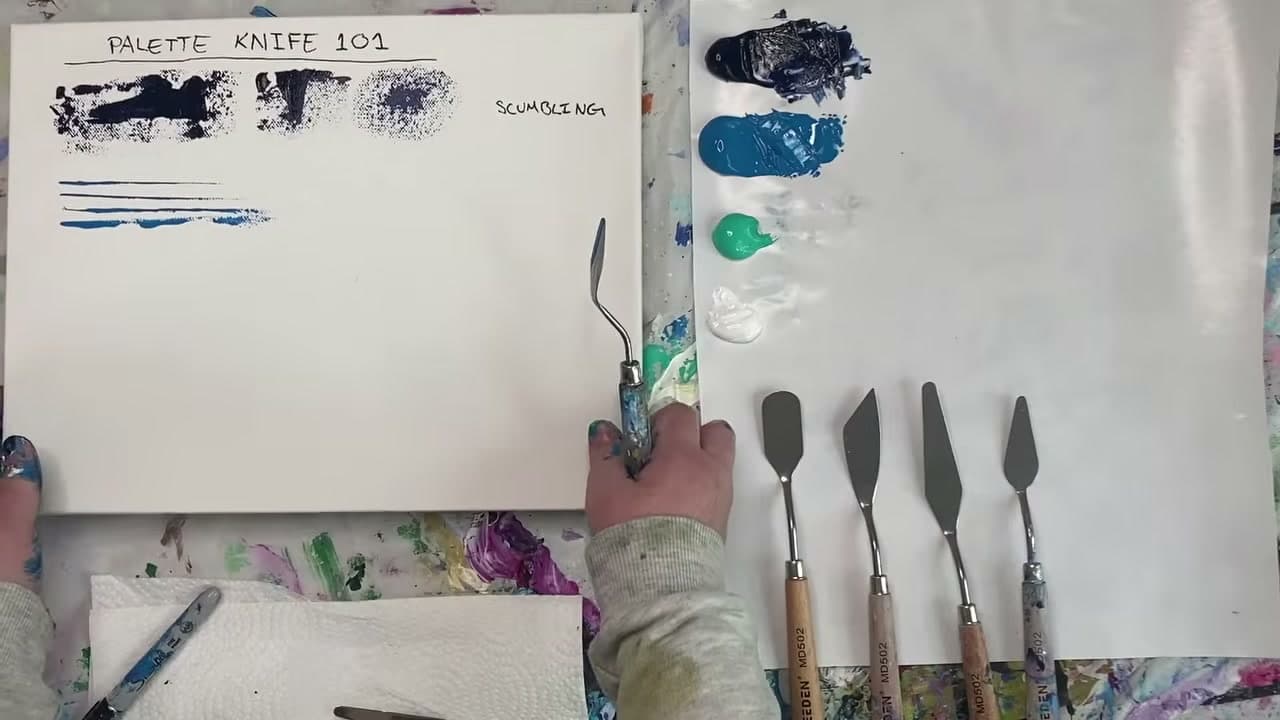
Scumble for Broken Texture

6:10
Step 5: Scumble for Broken Texture - How to Paint with a Palette Knife

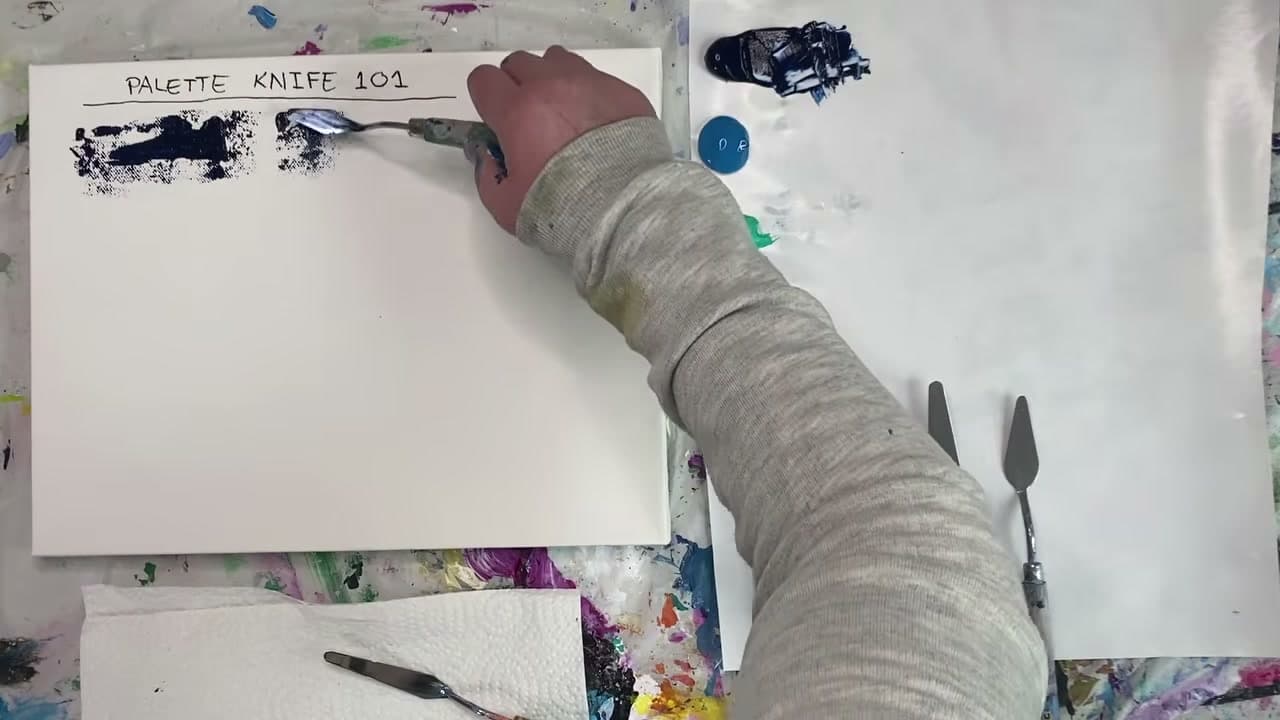
Drag the loaded knife gently across the surface, letting the paint break rather than pressing it flat.

You get a thick, rustic, patchy texture with whatever is underneath showing through. Drag both vertically and horizontally and see which you prefer.

Tip

The trick is not pushing too hard. Pressure flattens the mark and you lose the broken quality entirely.

Used in this stepHeavy body acrylic paint
6

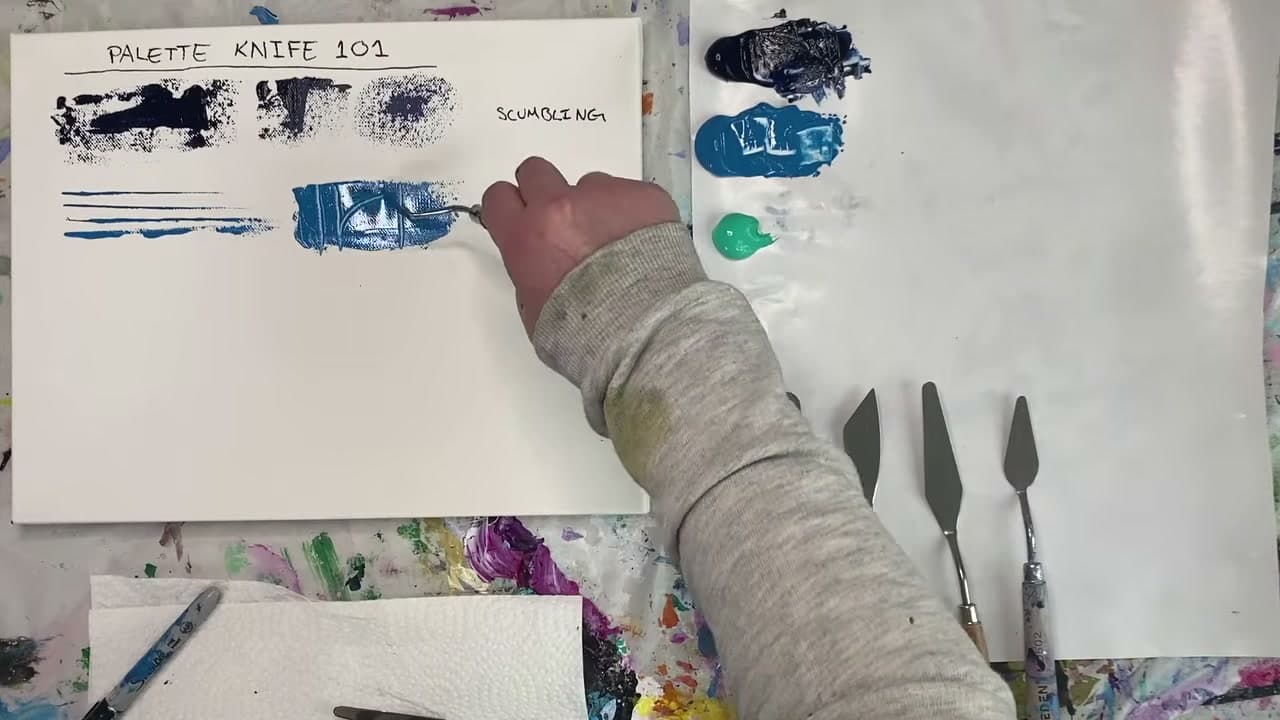
Pull Straight Lines

9:05
Step 6: Pull Straight Lines - How to Paint with a Palette Knife

Load paint right along the edge, hold the knife perpendicular to the surface and pull.

You get a crisp straight line that is hard to achieve with a brush. Good for fence posts, door frames and the crests of distant waves.

Tip

Expect to reload the edge for almost every line. One pull uses most of what is on the blade.

7

Carve Into Wet Paint

10:00
Step 7: Carve Into Wet Paint - How to Paint with a Palette Knife

You can also work in reverse and carve lines out of paint that is already down.

Use the tip to draw organic shapes like tree branches. Whatever colour sits underneath shows through the carved line, which is why a contrasting base layer pays off.

8

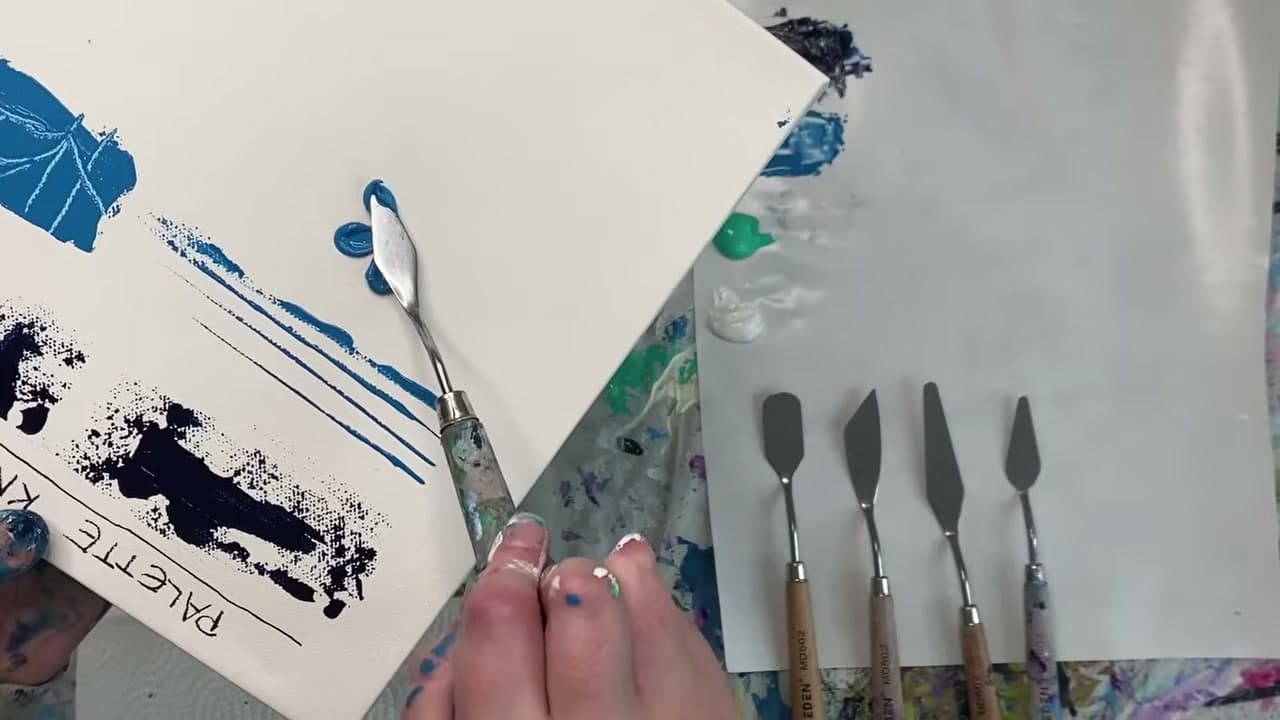
Build Impasto

11:40
Step 8: Build Impasto - How to Paint with a Palette Knife

Switch to a smaller knife for tight work, load the very tip and press the paint down rather than dragging it.

Petals built this way stand right off the surface. It works for far more than flowers - thick bold strokes anywhere benefit from it.

Tip

Some artists paint an entire canvas this way. It uses a lot of paint, so buy the big tubes.

9

Blend a Colour Gradient

14:20
Step 9: Blend a Colour Gradient - How to Paint with a Palette Knife

Load two or more colours along the blade at once, then hold it at an angle and pull across the canvas.

Swoop back over the join to blend it. This is the fastest way to cover a whole canvas in a graded colour, which makes it ideal for skies.

Tip

Clean the knife before you start the gradient or the previous colour muddies the blend.

Keep going

How to Paint a Lighthouse in Acrylics

Products Used

The Checklist

How to Paint with a Palette Knife

Tools
3
Materials
3
Steps
9
Video
16 min

Tools we recommend

Your Guide

Jesse Robertson

As an Amazon Associate we earn from qualifying purchases. Links on this page may be affiliate links - clicking them and buying doesn't change your price, but helps support CraftingStepByStep.

Tags

Sunday How-To

New painting tutorials, every Sunday

One short email with the week's best step-by-step guides. Free, no spam, unsubscribe anytime.

Test your knowledge

Did the lesson stick? Start with this one.

5 questions covering what you just read. No signup, no score saved, and you can stop after this one.

Question 1 of 5

Which paint suits palette knife work?

Quick reference

Key takeaways from How to Paint with a Palette Knife

5 questions, answers, and one-line explanations. Tap to expand.

  1. 1.Which paint suits palette knife work?

    Answer: Heavy body acrylic

    Heavy body holds its shape on the blade instead of sliding off it.

  2. 2.What is the advantage of a bent-shank knife?

    Answer: It keeps your hand out of wet paint

    The bend also gives more dexterity through the stroke.

  3. 3.When should you wipe the blade?

    Answer: Straight away, between every colour

    Skip it and your colours go muddy within a few strokes.

  4. 4.What does scumbling with a knife produce?

    Answer: A broken, patchy texture

    Dragging gently lets the layer underneath show through.

  5. 5.Why does carving lines need a contrasting base layer?

    Answer: The colour underneath shows through

    You are removing paint, so whatever sits below becomes the line.

Did this work for you?

What's next

Related collections

Curated theme pages that include this tutorial.

Weekly Digest

Liked this painting tutorial?

Pick the categories you want to hear about. Weekly digest of new step-by-step tutorials. No spam, easy unsubscribe.

Send me tutorials about

We only email about new tutorials. Easy unsubscribe anytime.