How to Thin Acrylic Paint for Miniatures: 7 Step Guide

Also in:Crafts

By CraftingStepByStepPublished Updated

Based on a video by Brushstroke Painting Guides.

Ask any beginner miniature painter what their biggest frustration is and you'll hear the same answer: paint that clogs the details, leaves brush marks, and looks bumpy when it dries. The fix is one word - thin. But nobody tells you how thin, with what, or how to know when it's right.

This walkthrough from Bobby at Brushstroke Painting Guides breaks paint thinning into seven repeatable steps. The target consistency is skim milk - the paint should flow when you move the brush but settle back without holding strokes. Once you can hit that mark on a palette, you can build up coverage with two or three thin coats and get a finish that follows the contours of the model instead of burying them.

Step-by-Step Guide

1

Step 1: Understand Why Unthinned Paint Looks Bad

1:20
Step 1: Step 1: Understand Why Unthinned Paint Looks Bad

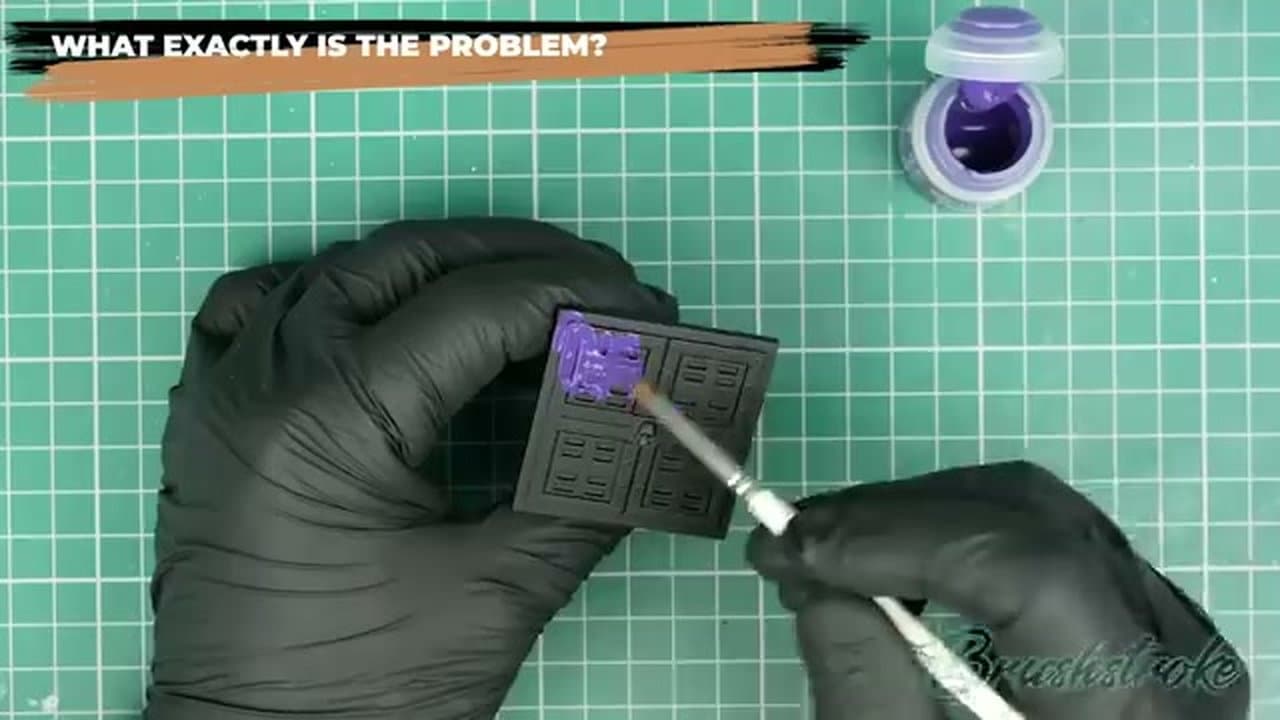
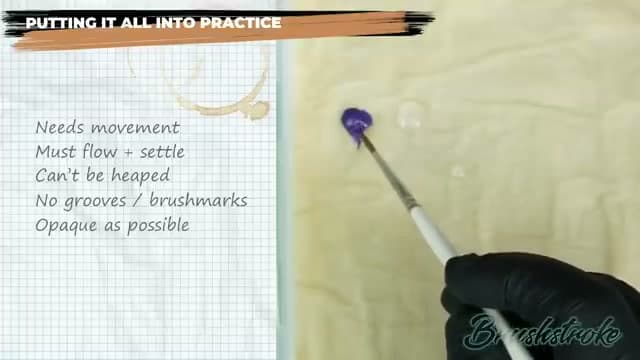
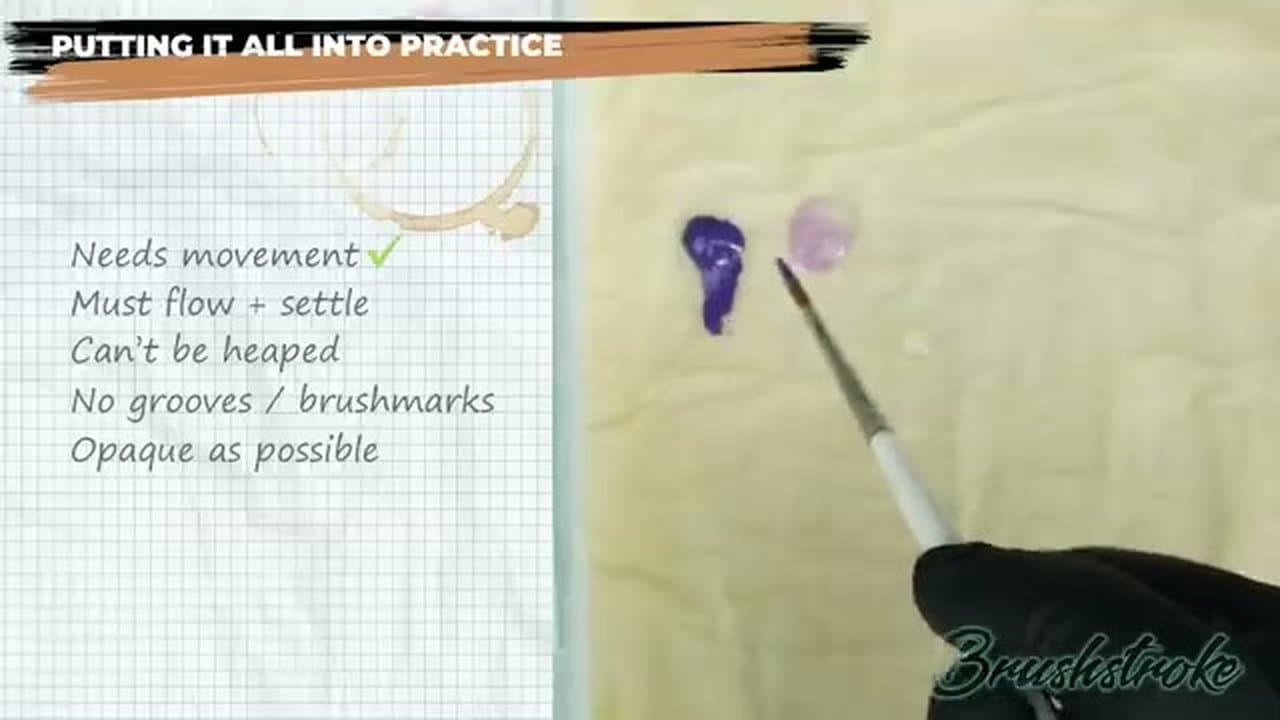
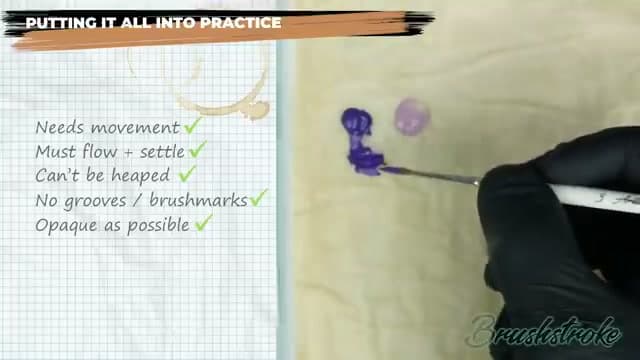
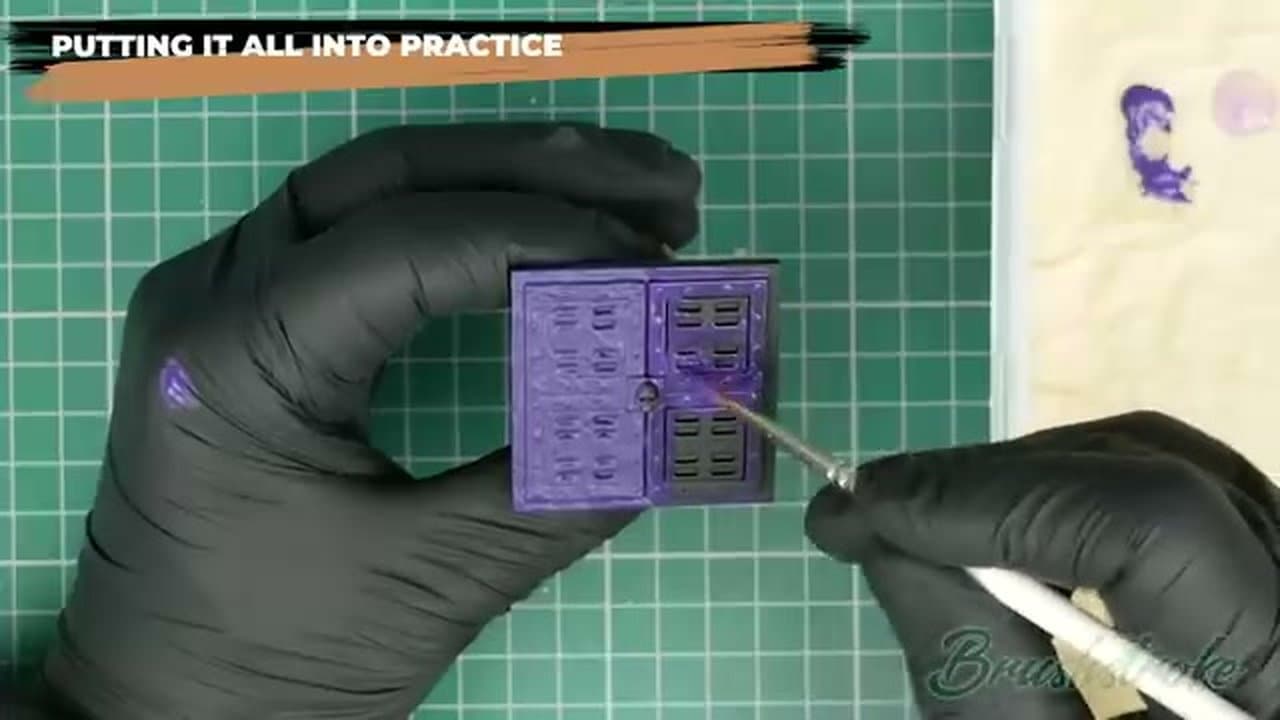
Paint straight from the pot is too thick. When you brush it onto a primed model, it clogs the recessed details, leaves visible brush strokes, and dries in lumpy uneven layers. None of that fixes itself with a second coat - it just buries the model further.

Thinning solves all three problems at once. The added water evaporates as the paint dries, which lets the pigment shrink down and follow the contours of the model instead of sitting on top of them. Smoother finish, sharper details, no brush marks.

2

Step 2: Squeeze Paint Onto a Palette

11:00
Step 2: Step 2: Squeeze Paint Onto a Palette

Get a small dot of paint onto a flat palette - a wet palette is even better, but any non-absorbent surface works. Don't try to thin paint inside the pot itself.

The palette is where you have control. You can mix in water, drag the paint around, and check consistency before any of it touches your brush. Painting straight from the pot gives you no room to adjust.

3

Step 3: Place a Separate Water Dot Next to the Paint

11:40
Step 3: Step 3: Place a Separate Water Dot Next to the Paint

Drop a separate dot of clean water on the palette, an inch or two away from your paint. Don't pour water into the paint - keep them as two distinct pools so you can mix in small amounts at a time.

Use a fresh water dot for each color. If you mix from the same water pool, you'll cross-contaminate colors and end up with muddy mixes the next time you load your brush.

4

Step 4: Drag Water Into the Paint and Mix

11:45
Step 4: Step 4: Drag Water Into the Paint and Mix

Pick up a brush of water and drag it into the edge of the paint dot. Pull a small amount of paint down with the brush and mix the two together against the palette.

Work in small batches. The mistake is dumping all the water in at once - you'll overshoot and have to add more paint to get back. A little water at a time means you can stop the moment the consistency is right.

5

Step 5: Aim for Skim-Milk Consistency

12:00
Step 5: Step 5: Aim for Skim-Milk Consistency

You're looking for paint that flows when the brush moves through it but settles back into a flat surface without holding brush marks. Skim milk is a good visual reference - thin enough to flow, thick enough to still have body.

Two warning signs: if the paint heaps up or holds the grooves your brush leaves, it's still too thick. If it runs and sheets across the palette, it's gone too far. Adjust with a touch more water or a touch more paint.

6

Step 6: Test On a Scrap Surface First

12:15
Step 6: Step 6: Test On a Scrap Surface First

Before the brush goes anywhere near your model, test the mix. The back of your hand, an off-cut of primed sprue, or a scrap of card all work. You're checking that it flows cleanly off the brush without dragging, beading, or running.

This is your safety net. If the test stroke looks wrong, mix in a touch more water or pull a bit more paint into the mix. Saves you from peeling a botched coat off a half-painted model.

7

Step 7: Apply With a Light Touch in Thin Coats

13:35
Step 7: Step 7: Apply With a Light Touch in Thin Coats

Load the brush, then let the bristles just kiss the surface. The thinned paint should flow off the brush almost like ink - you don't need to press it into the model. Pressing hard fights the consistency you just spent five minutes getting right.

Expect the first coat to look patchy with the primer showing through. That's the trade-off for thinning. Two or three thin coats build up to a solid finish that's still smooth and follows every detail. Let each coat dry fully before adding the next.

Tip

If your wet palette starts pulling extra moisture into the paint between coats, do a quick consistency check on the back of your hand before reloading the brush. Topping up with a tiny bit of paint takes ten seconds and saves a too-thin coat.

Products Used

☐ The Checklist

How to Thin Acrylic Paint for Miniatures: 7 Step Guide

Tools
3
Materials
3
Steps
7
Video
20 min

Your Guide

Brushstroke Painting Guides

As an Amazon Associate we earn from qualifying purchases. Links on this page may be affiliate links - clicking them and buying doesn't change your price, but helps support ShowMeStepByStep.

Tags

Test your knowledge

Did the lesson stick? Find out in 2 minutes.

5 quick questions covering what you just read. No signup, no score saved — just a gut check.

Quick reference

Key takeaways from How to Thin Acrylic Paint for Miniatures: 7 Step Guide

5 questions, answers, and one-line explanations. Tap to expand.

  1. 1.Why is unthinned paint a problem for miniatures?

    Answer: It clogs recessed details and leaves visible brush strokes

    Thick paint buries detail; thinning lets pigment shrink down and follow the model's contours.

  2. 2.Where should you mix water into the paint?

    Answer: On the palette (a wet palette is even better)

    The palette is where you have control to adjust consistency before painting.

  3. 3.Why keep a separate water dot next to the paint instead of pouring water in directly?

    Answer: So you can add water in small amounts and not overshoot the consistency

    A little water at a time lets you stop the moment the consistency is right.

  4. 4.What's the target consistency for thinned paint?

    Answer: Like skim milk

    Thin enough to flow, thick enough to still have body - that's skim milk.

  5. 5.When applying thinned paint, what should the brush do?

    Answer: Let the bristles just kiss the surface - paint flows off almost like ink

    Pressing hard fights the thin consistency you spent five minutes getting right.

What's next

Related collections

Curated theme pages that include this tutorial.

Weekly Digest

Liked this painting tutorial?

Pick the categories you want to hear about. Weekly digest of new step-by-step tutorials. No spam, easy unsubscribe.

Send me tutorials about

We only email about new tutorials. Easy unsubscribe anytime.