How to Prime a Canvas with Gesso

PaintingEasy9:488 stepsBrowse more →
Also in:Crafts

By CraftingStepByStepPublished

Based on a video by Boz Art Tutorials.

Every painting tutorial starts with a canvas that is already primed, and almost none of them explain how it got that way. Priming is what gives you a surface that takes paint evenly instead of drinking it into the weave. Boz Art Tutorials walks through the method that produces a genuinely smooth ground - knife-applied gesso, leveled with a ruler, sanded between coats.

The store-bought canvas in this video was sold pre-primed. It still gets two coats, because factory priming is thin and the weave texture comes straight through it. If you want detail work to sit crisply instead of skipping across canvas bumps, this is the step that buys you that.

Why a Knife Instead of a Brush

A brush drags bristle marks through gesso and those marks dry hard. A putty knife pushes the gesso down into the weave and leaves ridges instead, and ridges flatten under one pass of a metal ruler. That is the whole trick behind a smooth ground.

How Many Coats You Actually Need

Two is the working minimum and what this tutorial covers. Three if you are painting fine detail. Each coat needs a full dry before sanding - roughly two hours here, overnight before you paint.

Once the canvas is ready, start with acrylic basics or read up on thinning acrylic paint.

Step-by-Step Guide

8 steps · about 10 minutes.Check off each step as you go and your progress saves automatically.

2

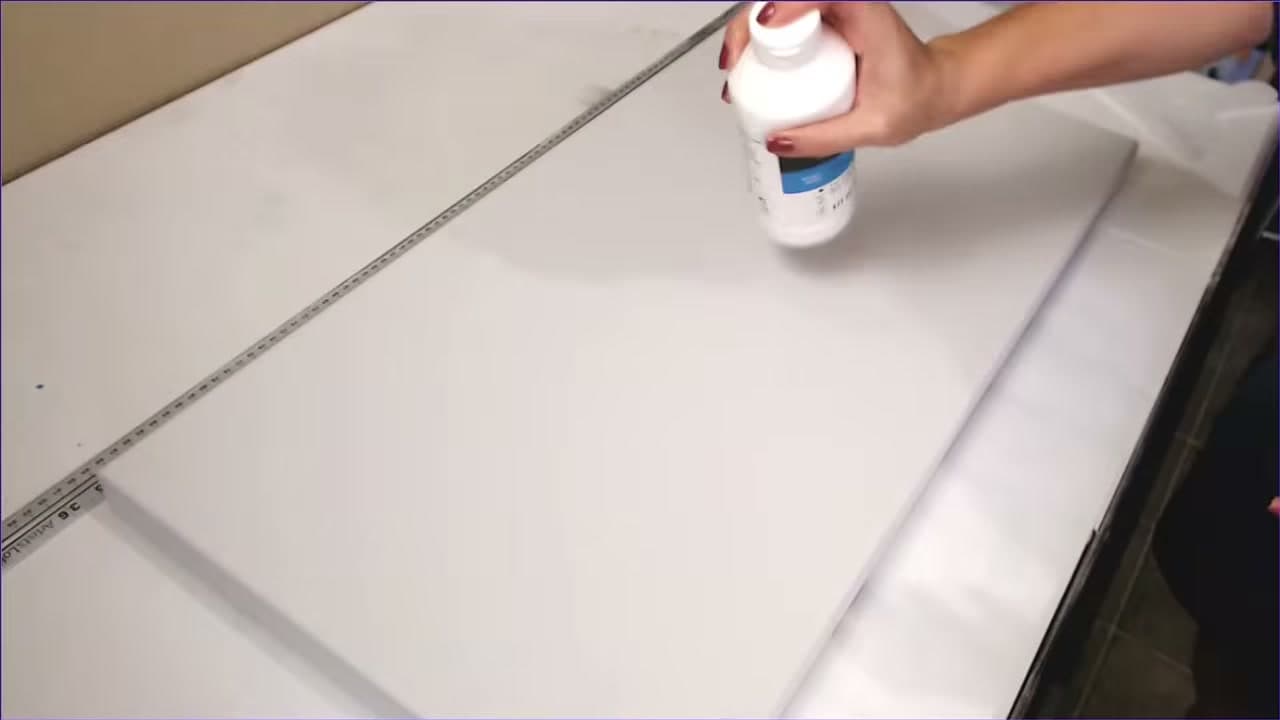
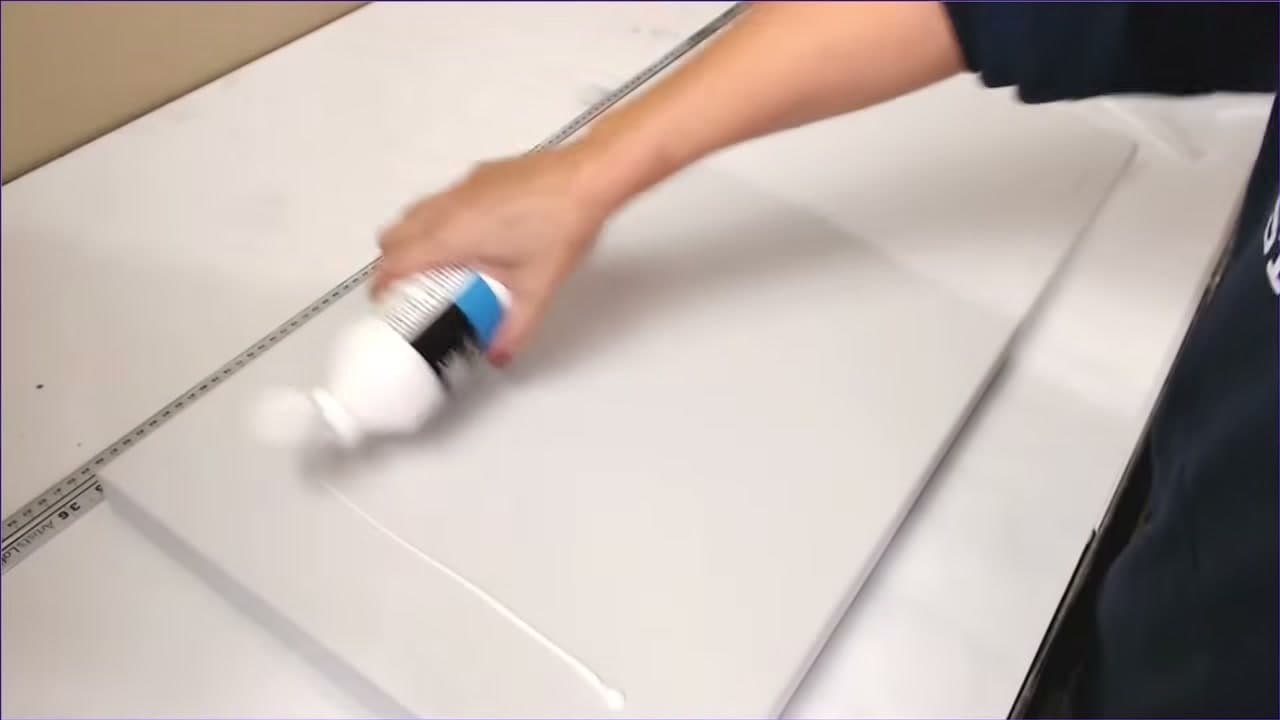
Step 2: Pour the Gesso Across the Canvas

0:37
Step 2: Step 2: Pour the Gesso Across the Canvas

Squeeze the gesso out in lines across the surface. You want enough sitting there to cover the whole canvas in one spreading pass, because going back for more mid-coat leaves a visible seam where the first pour started to set.

Tip

Watch this step Zig-zag lines spread more evenly than one big puddle in the middle.

Products used in this step

3

Step 3: Spread It with a Putty Knife

0:48
Step 3: Step 3: Spread It with a Putty Knife

Drag the gesso out with a putty or palette knife, pressing hard enough to work it down into the weave. Go over it several times, changing direction as you go. Ridges from the blade are fine at this stage - the ruler pass handles those.

Tip

Watch this step A knife beats a brush here. Brushes leave bristle marks that dry into the surface.

Products used in this step

4

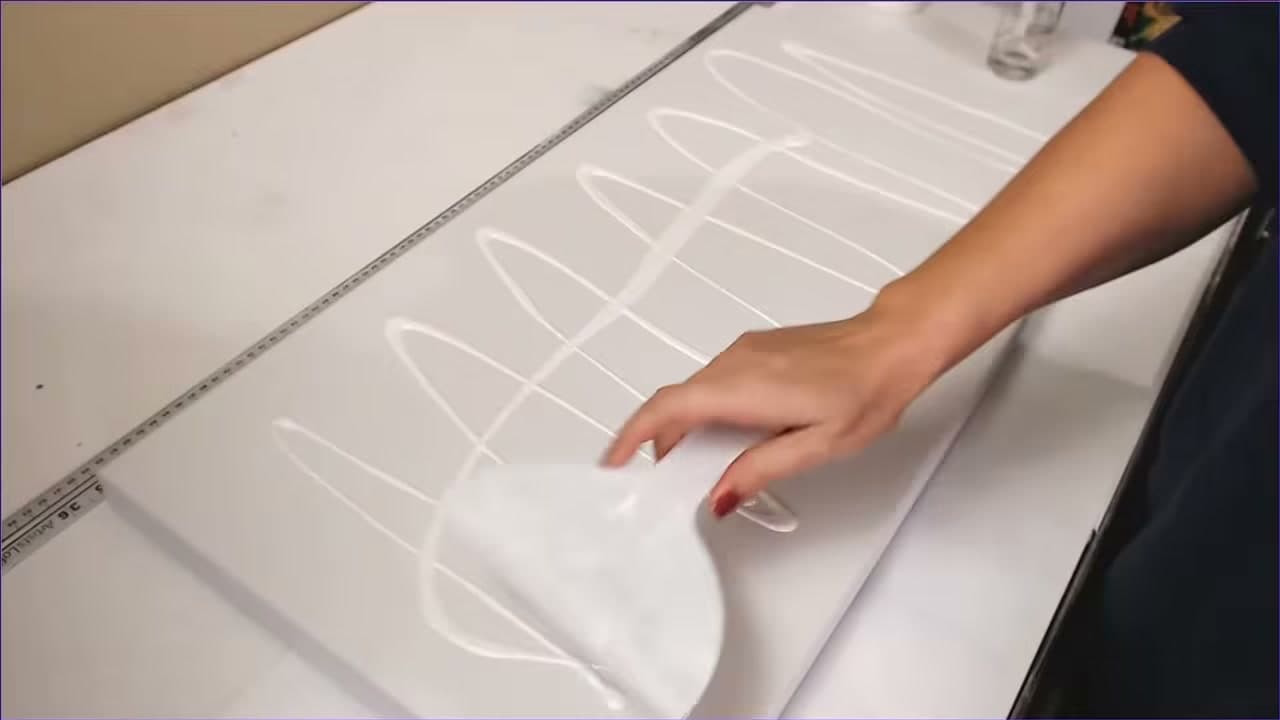
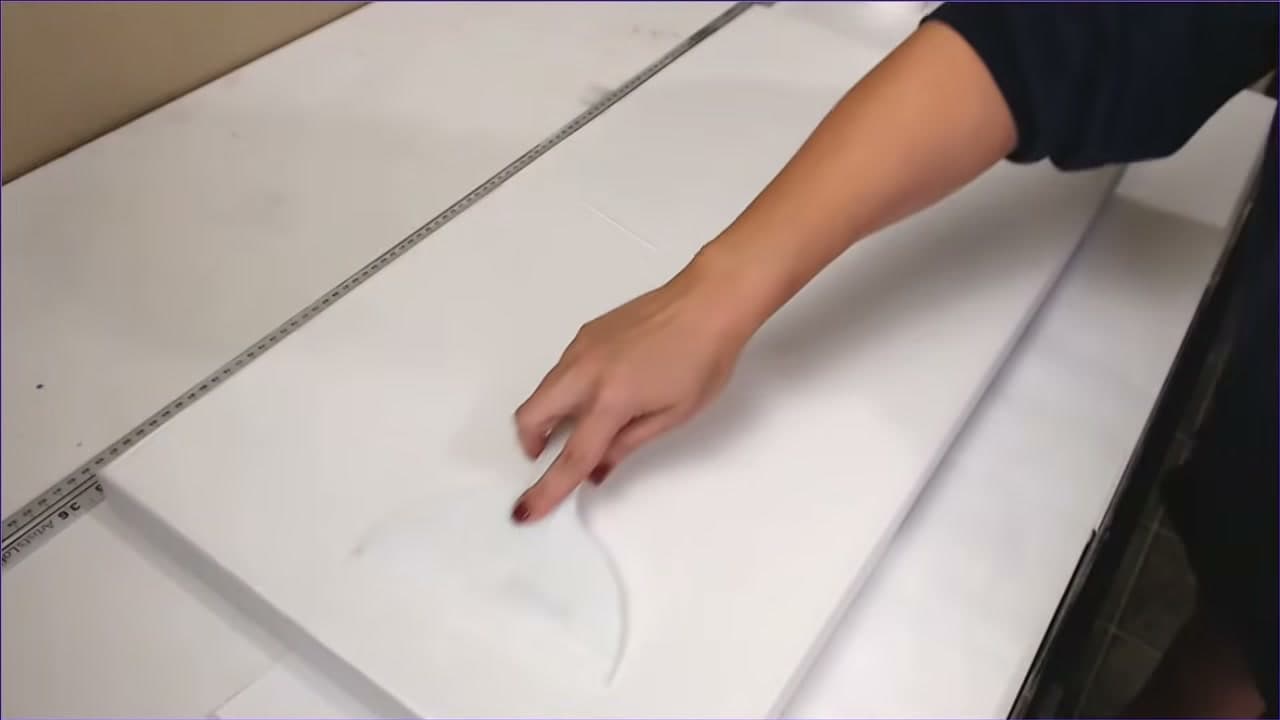
Step 4: Scoop Off the Excess

2:28
Step 4: Step 4: Scoop Off the Excess

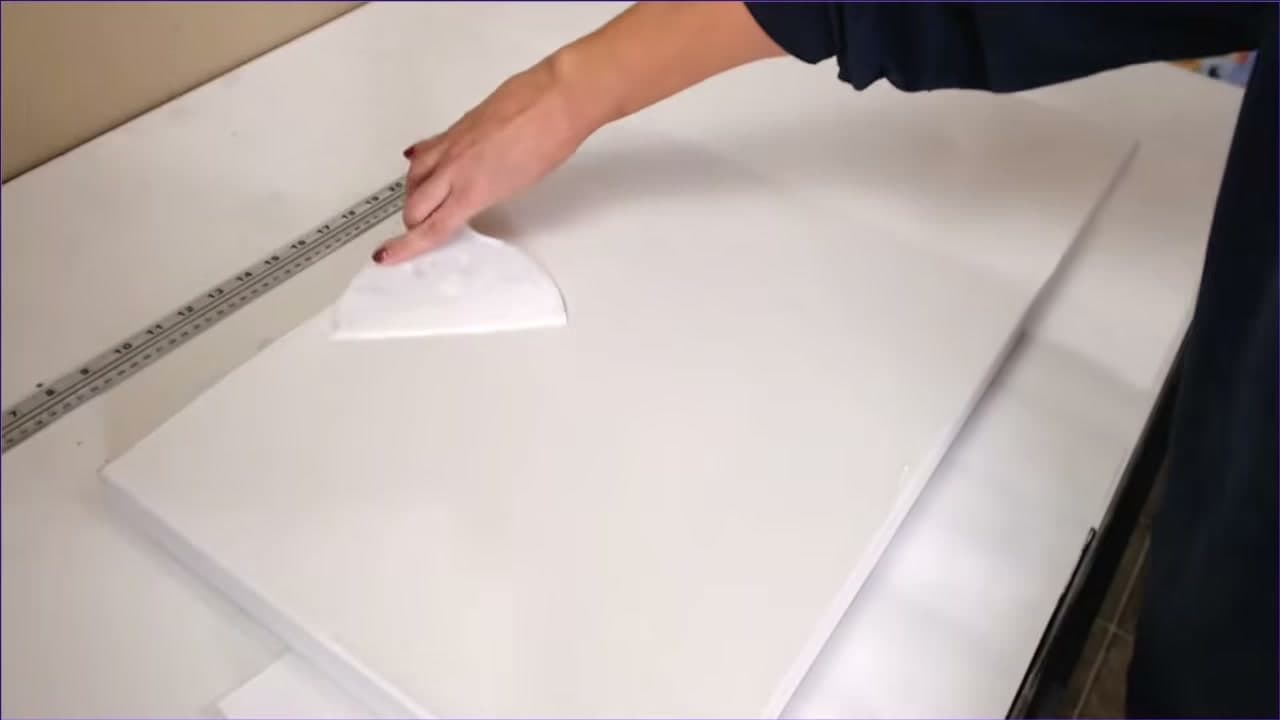
Take a paper towel and lift off the gesso pooling on the surface. This keeps the leveling pass manageable and stops thick spots from taking hours longer to dry than the rest of the canvas.

Tip

Watch this step Have plenty of towels out before you start. This stage gets everywhere.

Products used in this step

5

Step 5: Level the Surface with a Ruler

2:52
Step 5: Step 5: Level the Surface with a Ruler

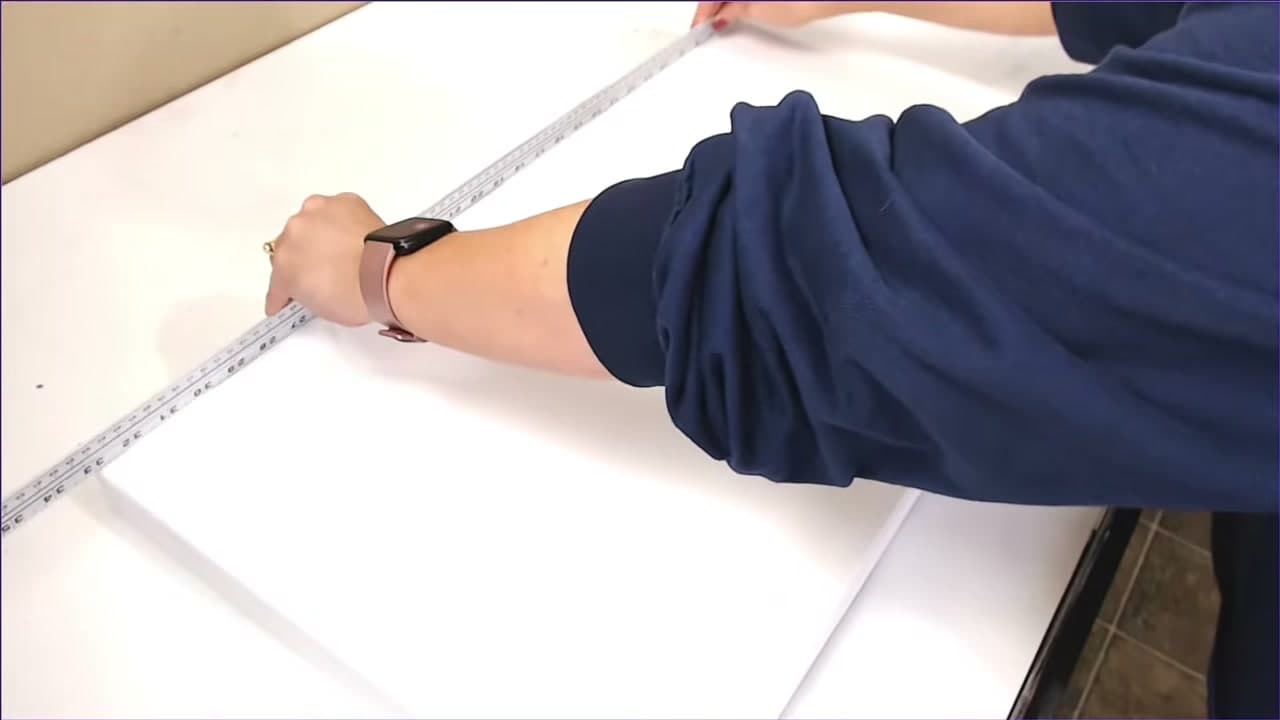
Take a metal ruler at least as wide as your canvas and pull it down in one smooth stroke. One continuous pass, no starting and stopping - that is what flattens the knife marks into a clean even surface.

Tip

Watch this step Flip to the clean edge of the ruler for a second pass rather than wiping the same edge.

Products used in this step

6

Step 6: Dry, Then Sand with 320 Grit

3:42
Step 6: Step 6: Dry, Then Sand with 320 Grit

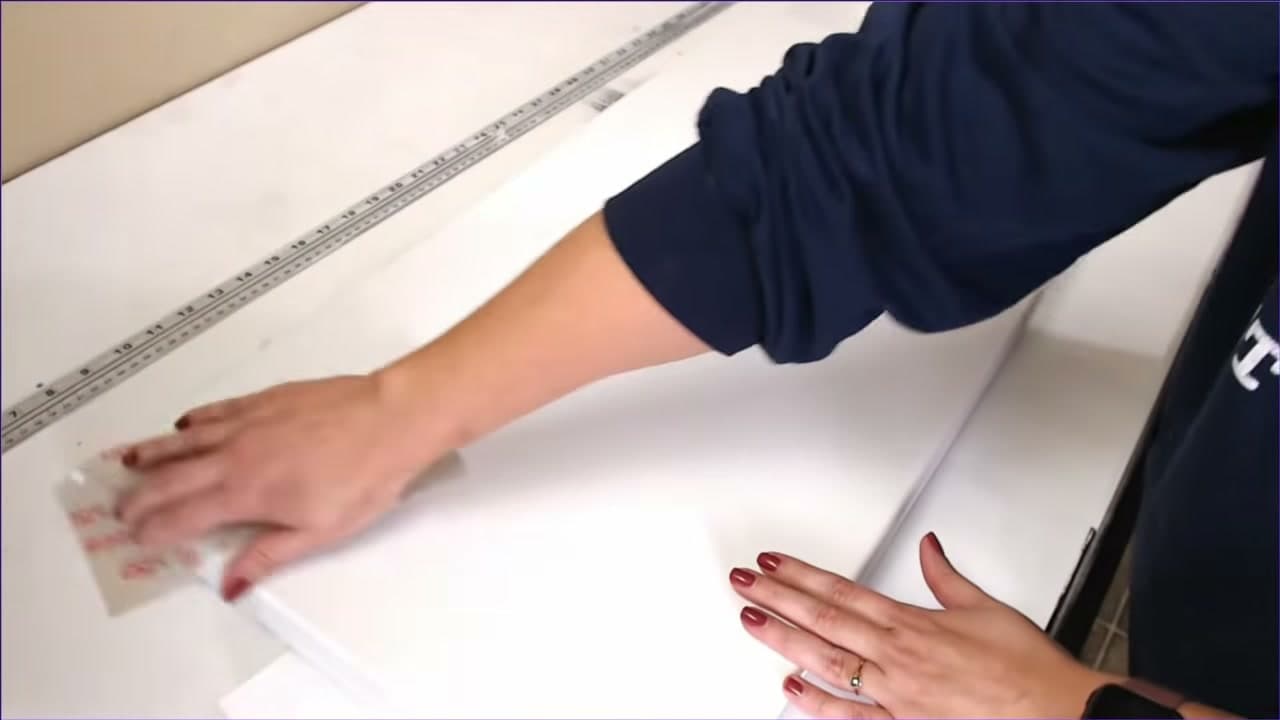
Give it about two hours to dry completely. Then go over it very gently with 320 grit sandpaper. The first layer barely needs anything - light pressure, just knocking down the high spots.

Tip

Watch this step Sanding gesso that is not fully cured will gum up the paper and tear the surface.

Products used in this step

7

Step 7: Apply the Second Coat

4:54
Step 7: Step 7: Apply the Second Coat

Repeat the whole process for coat two: pour, spread with the knife, level with the ruler. Have everything laid out and ready, because gesso starts tacking up fast and a half-finished coat means sanding the entire canvas back down.

Tip

Watch this step Work the gesso right out over the edge if you plan to paint the sides.

8

Step 8: Sand Smooth and Let It Cure

7:34
Step 8: Step 8: Sand Smooth and Let It Cure

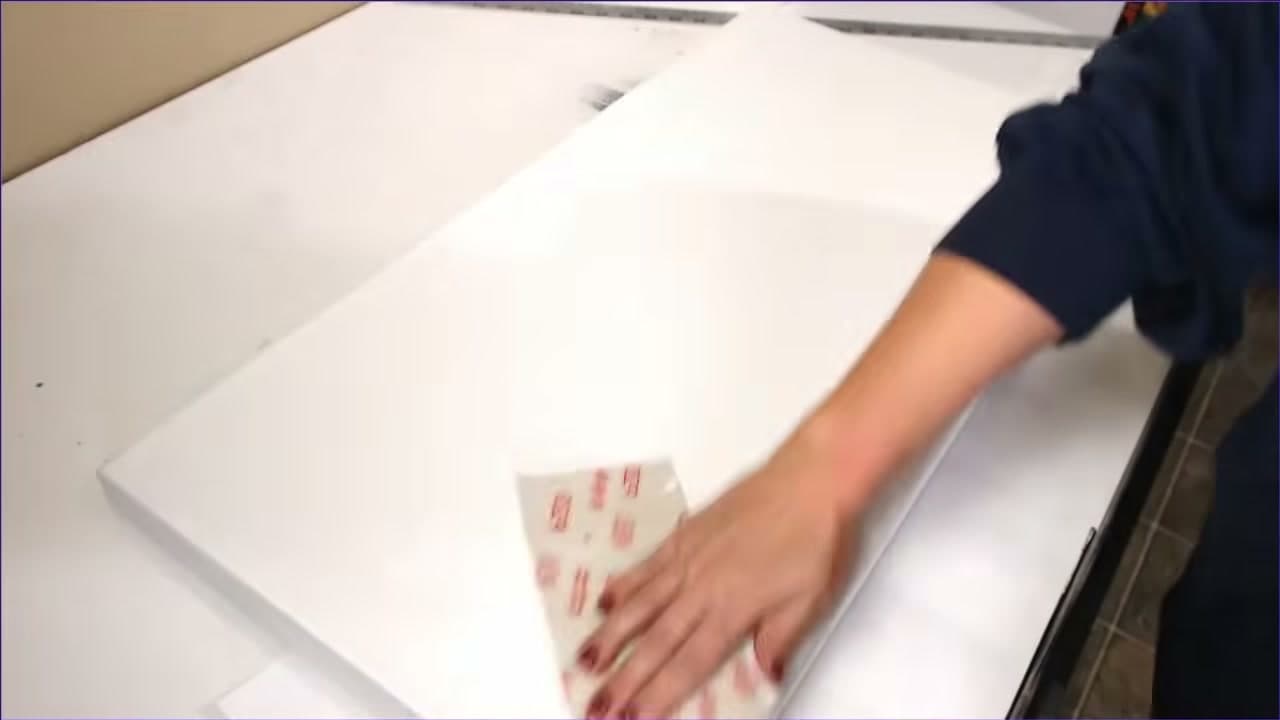
The second sanding is the serious one. Still 320 grit, still light pressure, but now you are chasing every ridge - especially along the seam where the canvas turns the edge. Let it cure overnight before any paint touches it.

Tip

Watch this step Two coats is the minimum for a smooth surface. Three if you want detail work to sit crisply.

Products Used

☐ The Checklist

How to Prime a Canvas with Gesso

Tools
4
Materials
5
Steps
8
Video
10 min

Tools we recommend

Your Guide

Boz Art Tutorials

As an Amazon Associate we earn from qualifying purchases. Links on this page may be affiliate links - clicking them and buying doesn't change your price, but helps support ShowMeStepByStep.

Tags

Sunday How-To

New painting tutorials, every Sunday

One short email with the week's best step-by-step guides. Free, no spam, unsubscribe anytime.

Did this work for you?

What's next

Related collections

Curated theme pages that include this tutorial.

Weekly Digest

Liked this painting tutorial?

Pick the categories you want to hear about. Weekly digest of new step-by-step tutorials. No spam, easy unsubscribe.

Send me tutorials about

We only email about new tutorials. Easy unsubscribe anytime.