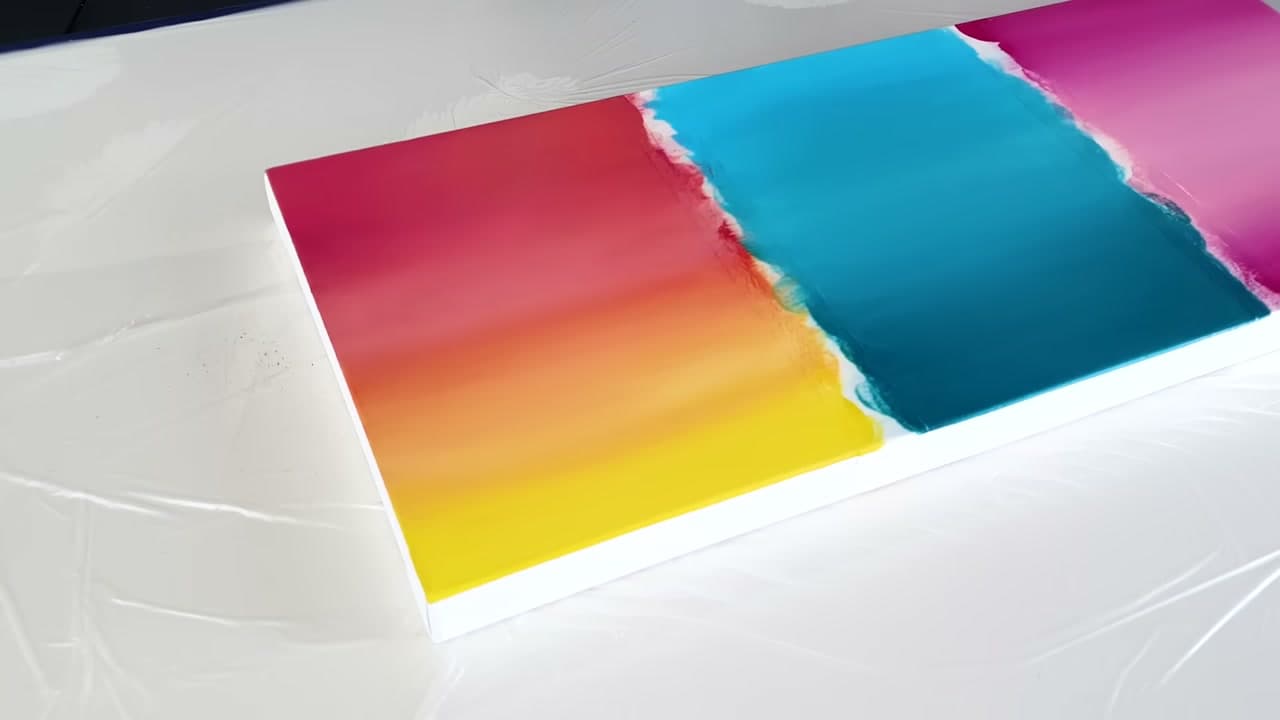
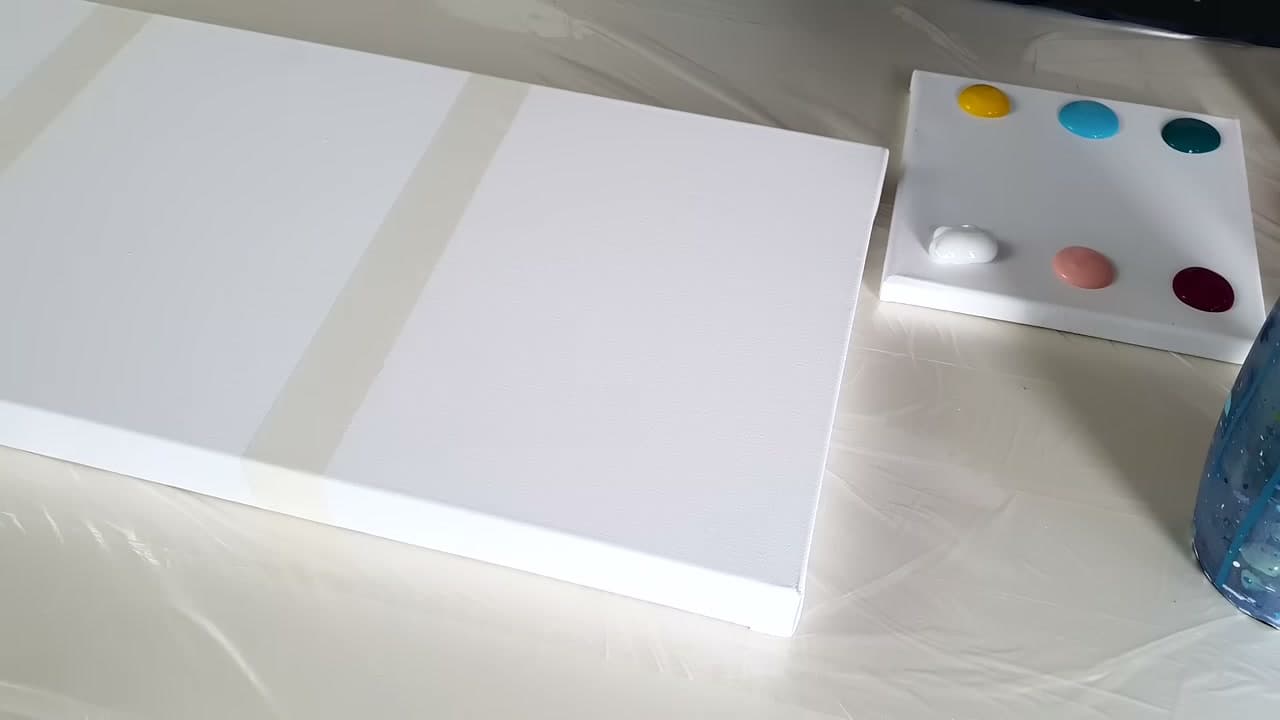
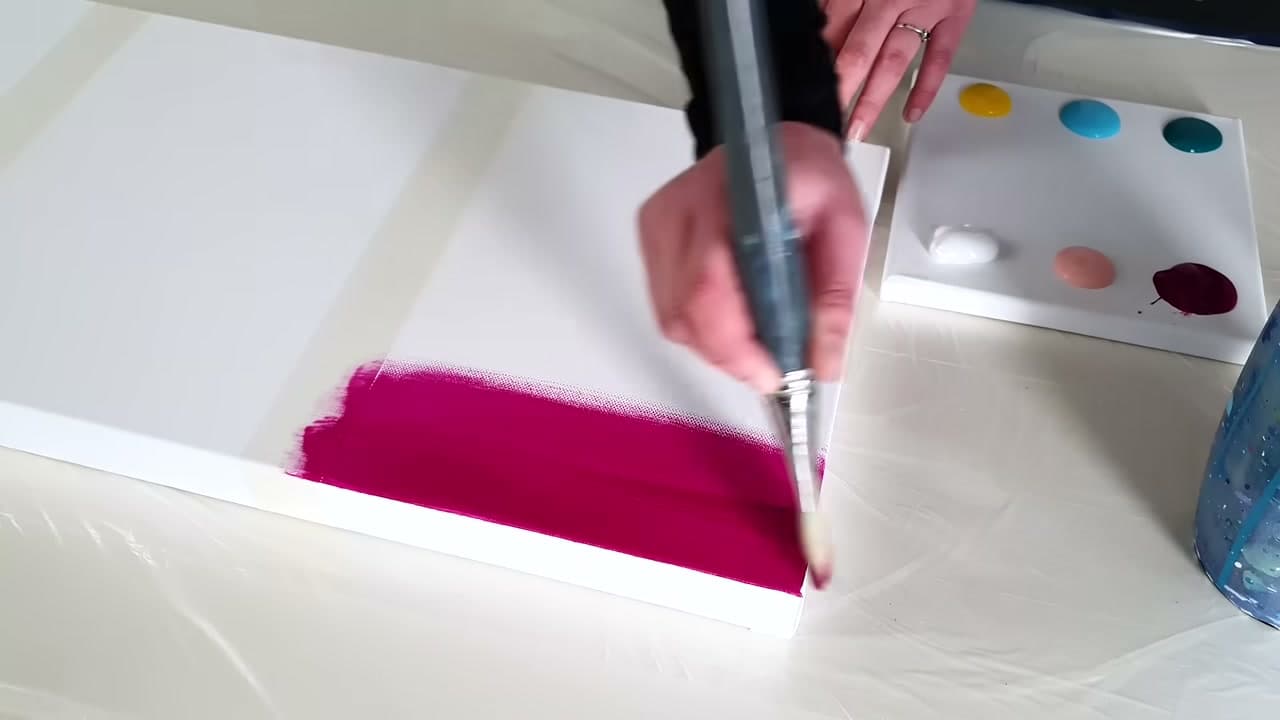
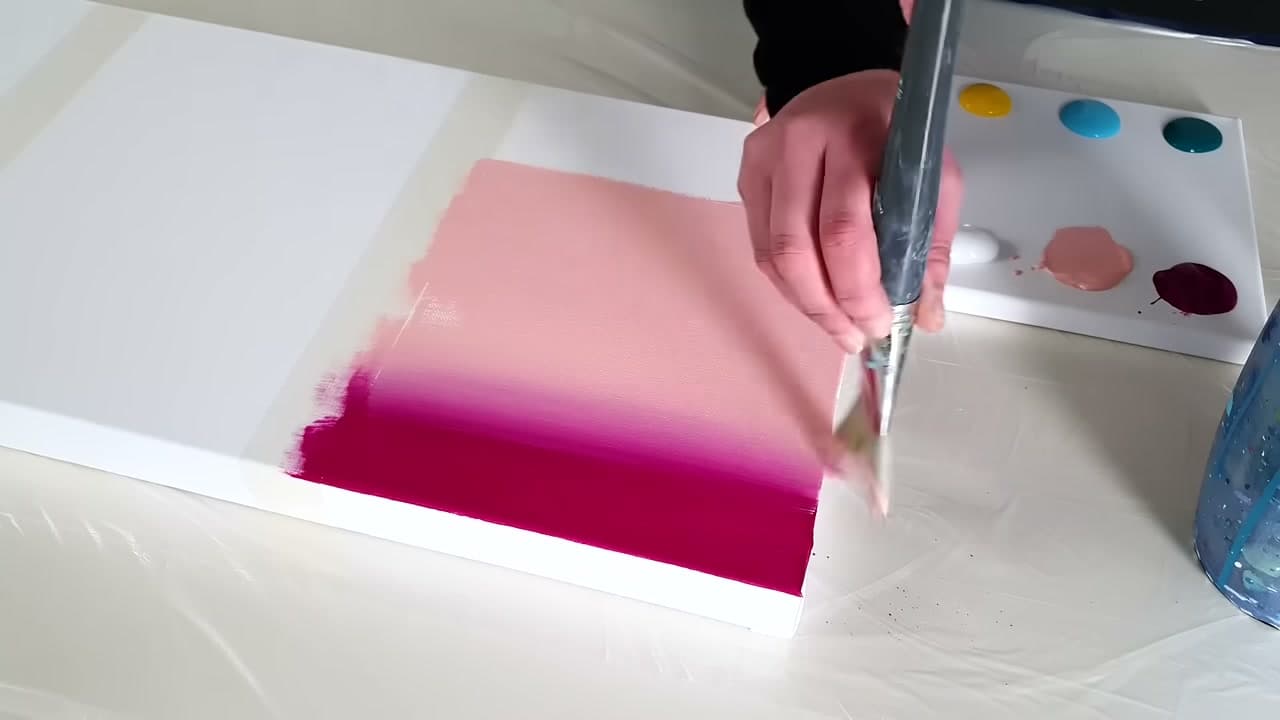
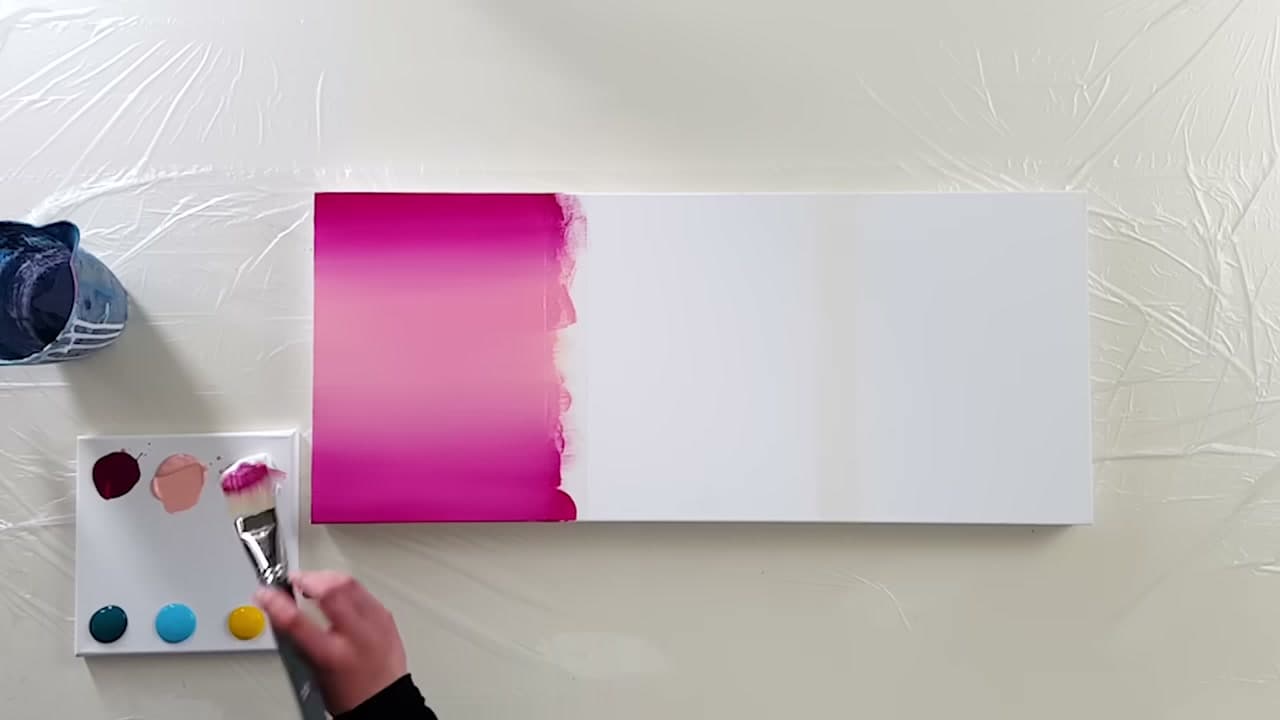
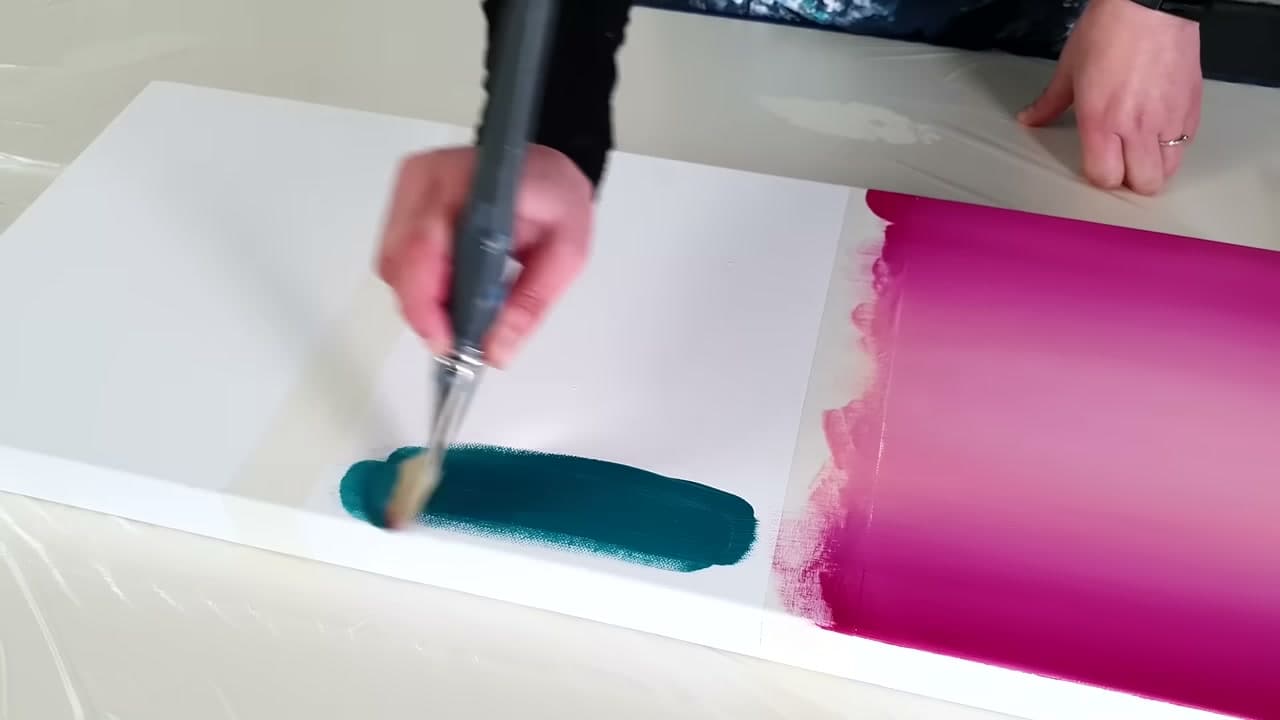
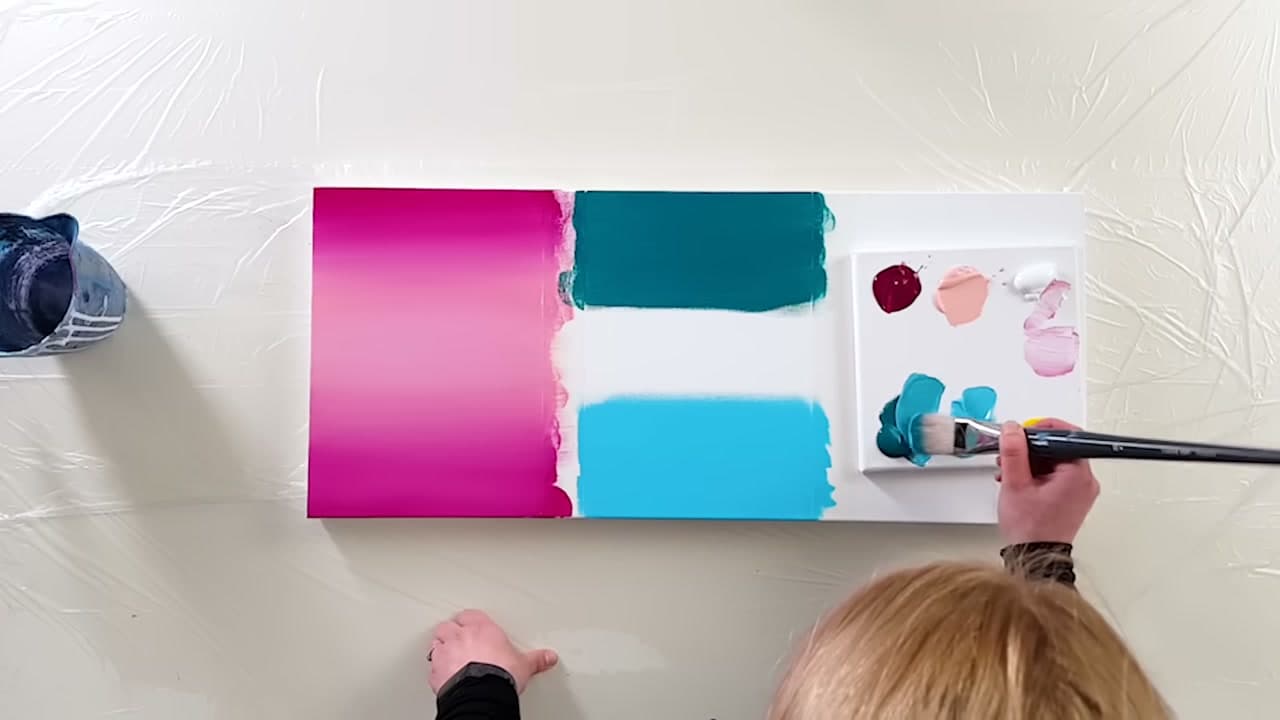
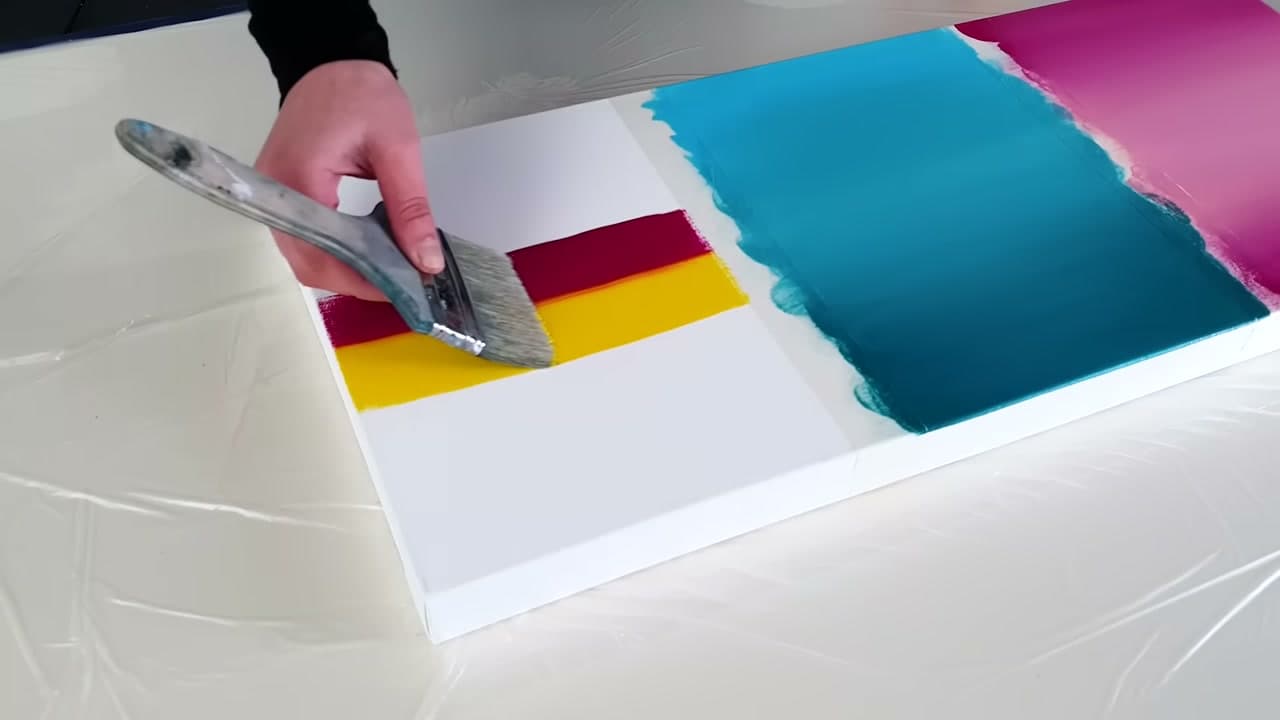
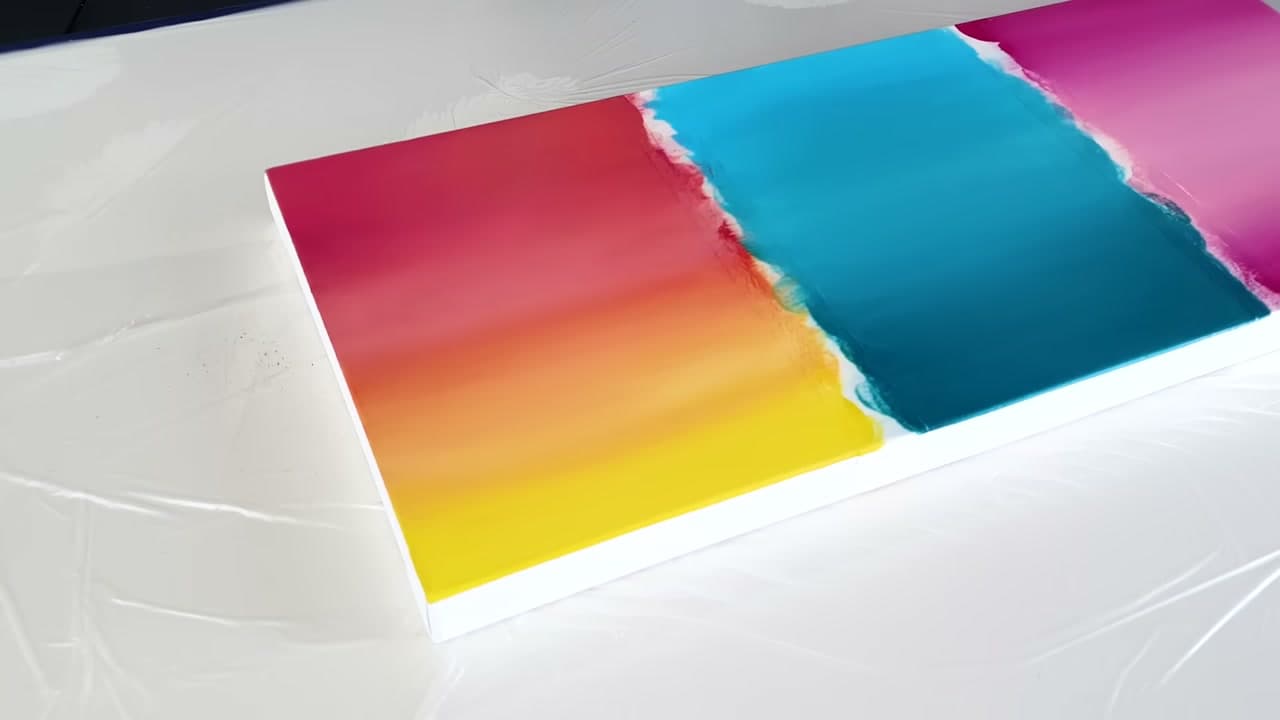
Blending is the thing that separates a flat wall of colour from a painting with air in it. Acrylics make it harder than oils because they skin over in a couple of minutes, so most people give up thinking they lack the touch. It is nearly always the paint, not the hand.
Rinske Douna runs through three ways to do it, and they cover almost every situation you will hit. Bring two colours together on the canvas. Mix the middle tone first and lay it in. Or load both colours onto one brush and let them marry as you work.
The Two Rules That Fix Most Blends
Use opaque or semi-opaque paint, and keep the brush slightly damp. Transparent colours let the canvas weave read through and go patchy the moment you add water. A dry brush drags. A soaking one floods the colour and lifts it back off. Damp is the window you are aiming for.
Working Against the Drying Time
You have about a minute of open time on a small area. Do not fight a section that has started to set. Wet the brush, lift the colour back into range, and keep moving. Fighting half-dry acrylic is how you end up with ridges.
Where to Use It Next
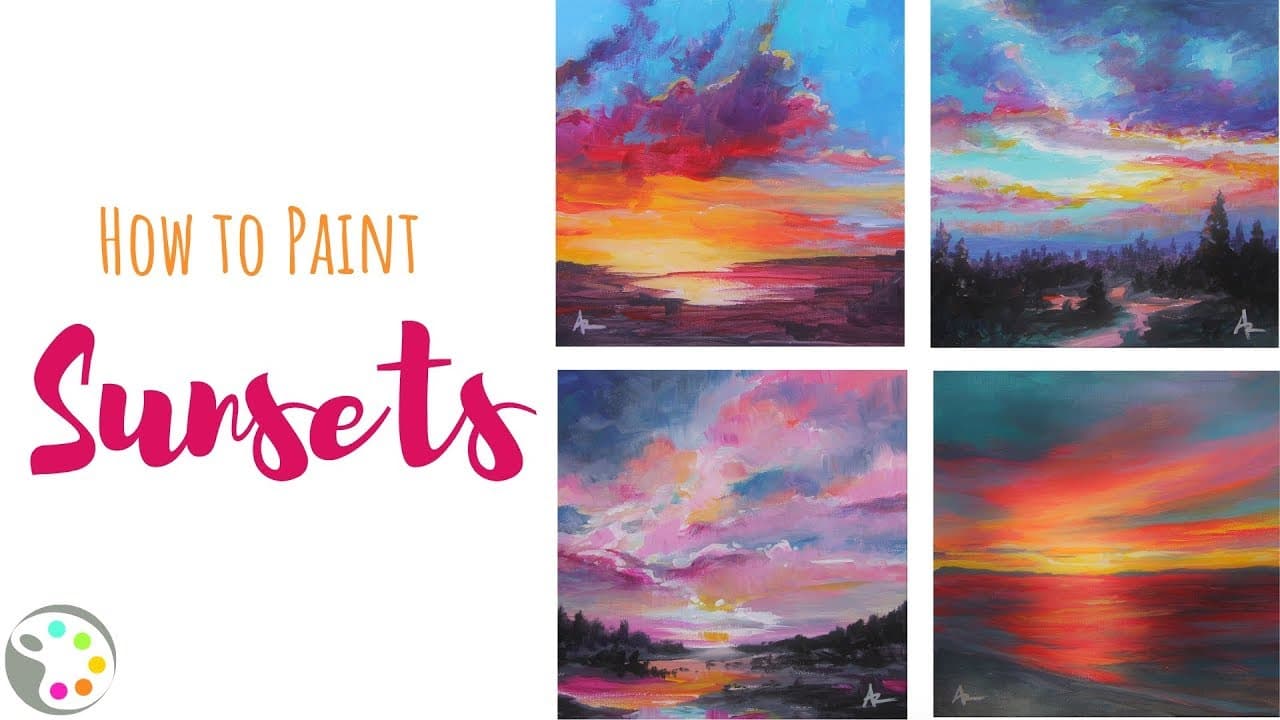
Every sky, sunset and water surface leans on this. See how to paint a sunset and how to paint water for the same blend applied to a subject.
How to stop a blend turning to mud
Mud is what happens when two colours sitting opposite each other on the colour wheel meet in
the middle. Red into green, orange into blue, yellow into purple: the midpoint is always a dull
grey-brown, and no amount of brushwork rescues it.
Blend between neighbours instead. Yellow into orange, blue into green, red into orange all give
you a clean gradient. When a piece genuinely needs opposite colours next to each other, keep a
band of a lighter neutral between them rather than running one into the other.
Buying yourself more open time
Acrylic retarder, sold as blending or drying retarder, slows the skin-over from a couple of
minutes to fifteen or twenty. Add it to the paint on the palette at roughly one part retarder to
five or six parts paint. More than that and the film stays tacky for days.
Open acrylics are a paint formulated to do the same thing without an additive, and they behave
much closer to oils. A stay-wet palette, which is a shallow tray with damp paper under the paint,
solves the palette half of the problem even when the canvas is still racing you.
Working wet on wet against wet on dry
Wet on wet is the soft blend: both colours go down within the open time and merge on the
canvas. It is the technique for skies, skin and anything that needs no visible edge.
Wet on dry is the layered blend: let the first colour dry, then work a thinned second colour
over it so the layer beneath reads through. It takes longer and gives far more control, and it is
how you build a gradient across a large canvas where wet on wet is not physically possible.
Which brush to reach for
A soft synthetic filbert is the blending brush. The rounded corners leave no hard edge, and the
soft filaments move paint without dragging it off. Flat brushes leave a visible stripe at each
edge, and stiff hog bristles carve grooves in the paint that show once it dries.
Keep a second brush, dry and clean, purely for softening. Whisking a dry soft brush lightly
over the join between two colours breaks up the boundary without adding paint or water, and it is
the fastest fix for a blend that has gone a little hard.
A note on water
Water is the obvious way to keep the paint moving and the worst one past a certain point. Past
roughly a quarter water by volume, the binder is too dilute to hold the pigment to the canvas, and
the dried paint chalks off under a fingernail. Use a glazing medium instead when you want the
paint thinner but still sound.