How to Paint a Flower

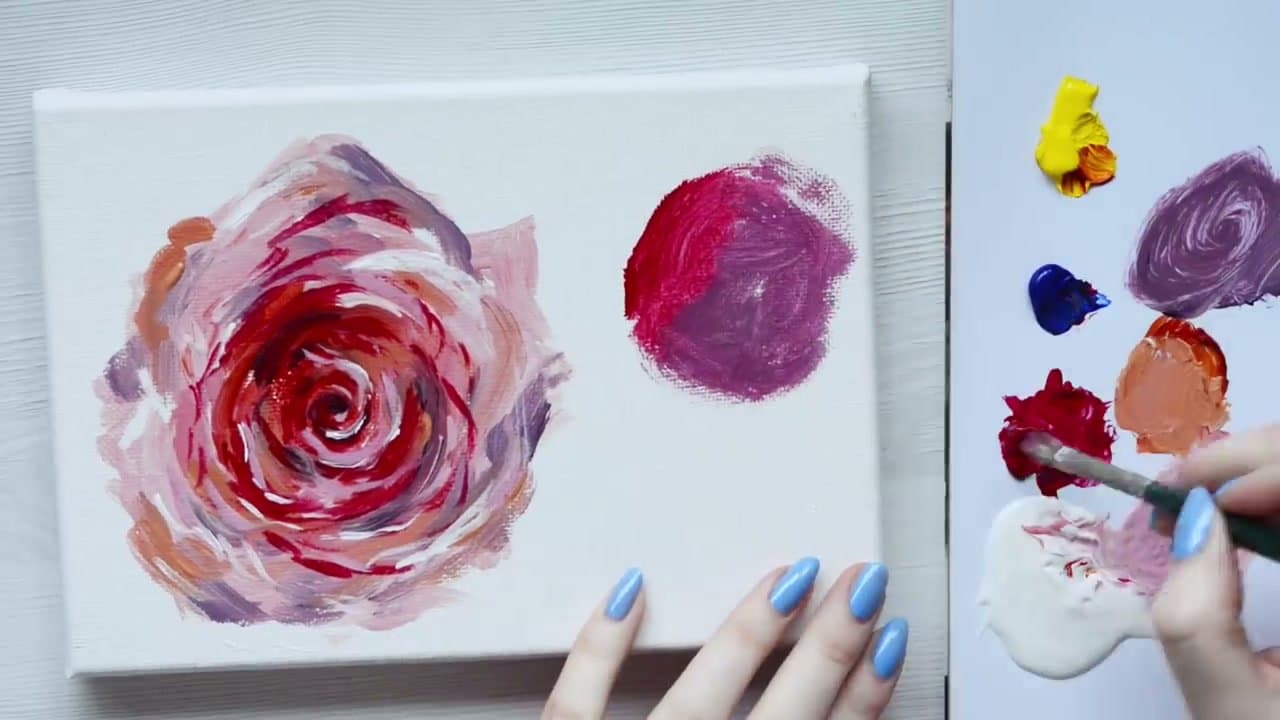
The finished result: How to Paint a Flower
  • Difficulty: Easy
  • About 1 hour
  • 6 steps

You tapped Save

Save this project for later

We'll email you a link, no password.

How to Paint a Flower

  • Your saved projects in one list
  • Your ticked steps on any device

Check your inbox for an email from us. Not there? Look in your spam folder.

Print

Steps written out by Crafting Step by Step from Katie Jobling Art's video (opens YouTube) (10:39). Published .

Also in:Crafts

Painting a flower looks impossible until someone shows you the trick: it's the brushstroke itself that shapes the petals, not careful drawing. Katie Jobling builds her acrylic roses in three layers - a warm base, cool shadows for depth, and bright detail work to bring it to life.

The tutorial runs on three main paint colors: red, yellow, and white, plus a touch of blue for the shadows. Mix them on the palette to get every shade - warm red, light pink, dark red, even cool purple shadows. No need for fancy brushes either; one medium round brush handles 90% of the work, with a smaller detail brush for the final highlights.

Plan on about an hour from start to finish. Acrylics dry fast, but each layer needs five to ten minutes between coats. The result fits comfortably on a small canvas (8x10 inches works) and looks much harder than it is.

What you need

  • Acrylic paint in red, yellow, white and a blue. Student-grade tubes are fine.
  • A medium round brush, around size 6 to 8
  • A small round or liner brush, size 0 to 2
  • An 8x10 canvas or canvas panel
  • A palette or paper plate, a water jar and paper towels

Why the layers go in this order

The rose is built from middle values toward the extremes. The warm base sets the overall color. The lighter outer petals add the first sense of form. Shadows push the gaps back, the deep red lines define edges, and white goes on last because it is the brightest thing in the painting. Put highlights in early and every later layer either covers them or gets dragged into them.

Mixing shadows without mud

Shadow colors go grey and muddy when too many paints end up in one mix. Keep it to two: red and a small amount of blue. Add the blue to the red, never the other way round, a little at a time. Wipe the brush before you go back into a clean color. If a mix looks brown, start a fresh pile instead of trying to fix it. More on this in how to mix acrylic paint colors.

Blending before acrylic dries

You get a few minutes of working time, less in a warm room. Work one petal group at a time and blend that seam while both colors are wet. A damp brush, not a wet one, softens an edge without lifting paint. A few drops of slow-dry medium (retarder) in the pink mix buys extra time. Misting the palette keeps your piles from skinning over. The full technique is in how to blend acrylic paint.

Use the same three stages on other flowers

  • Daisy: a pale grey-white base, white petals pulled out from the center, a yellow center shaded with orange. See how to paint daisies.
  • Tulip: a cup-shaped base in the main color, a darker shadow down the middle petal, a white line along each rim.
  • Sunflower: yellow petals over a brown disc, orange shadows at the petal roots, dots of light on the seeds.

When you are ready for a fuller bouquet, how to paint roses builds on this same rose.

Common mistakes

  • Outlining the rose first. Hard outlines fight the brushstroke petals. Let the strokes make the shape.
  • Shadows everywhere. They belong in the gaps only. Too much and the rose turns purple.
  • White on wet red. It goes pink and muddy. Wait for the layer to dry.
  • Overworking. Stop when it reads as a rose from across the room.

Free printable

Print the steps and supply list for this project

One page you can take to the table. Free with a free account, no password.

Get the free printable

Quick answer

Paint an acrylic rose in three simple layers. An easy project: about 1 hour. Materials cost about $10 to $20. The 6 steps: gather your materials, paint the warm base gradient, build the outer petals with lighter shades, add cool shadows for depth, add deep red details to define the petals and add bright white highlights.

Step-by-step guide

6 steps, about 11 minutes. Tap a picture to jump to that step. Your progress saves automatically.

Tick each step off as you go.

  1. Step 1: Gather your materials

    Watch this step · 0:15

    Pull out three acrylic paint colors - red, yellow, and white - plus a small canvas (8x10 or larger), one medium round brush, and one small detail brush. Squeeze a small dab of each color onto a paper plate or palette.

    If you have a reference photo of a rose, set it next to your canvas. Looking at a real rose helps you keep the petal shapes natural even if you're going to paint loosely.

    Tip:

    Cheap acrylics work fine for this - you're not blending across a huge area, so paint quality matters less than usual. Save the expensive tubes for color-mixing-heavy projects.

    Back to all steps

  2. Step 2: Paint the warm base gradient

    Watch this step · 1:00

    Mix red with a small touch of yellow on your palette to get a warm red. Load the round brush and start at the center of where the rose will sit. Use short curved strokes to build outward in a spiral pattern.

    The strokes themselves suggest the curl of petals coming out from the middle. Don't outline anything; just let the brush make the petals as you go. Cover about the inner half of the rose shape.

    Back to all steps

  3. Step 3: Build the outer petals with lighter shades

    Watch this step · 2:10

    Mix the same warm red with white to lighten it into a soft pink. Paint over the outer half of the rose, overlapping the warm-red base by about an inch so the colors blend along the seam.

    As you reach the very edge, add even more white to your mix to make it almost cream-pink. Real rose petals lighten dramatically where they curl outward, so exaggerate this fade for a more lifelike look.

    Tip:

    Don't worry about a perfect circle outline. Real roses have jagged edges where petals curl. Let some pink streaks extend past where you'd expect for a more natural shape.

    Back to all steps

  4. Step 4: Add cool shadows for depth

    Watch this step · 4:40

    Mix red with a tiny bit of blue (or use a touch of any blue you have) to make a cool purple-red. Load the round brush and paint this color into the gaps between petals where shadows would naturally fall - never over the whole rose, just in the negative spaces.

    Stop before the rose looks purple. The cool tones are there to suggest depth, not to dominate. Aim for hints of shadow rather than a full layer.

    Tip:

    If you don't have blue paint, a tiny bit of black mixed with red also gives you a cool dark shadow tone. Just be even more sparing with it - black overpowers fast.

    Back to all steps

  5. Step 5: Add deep red details to define the petals

    Watch this step · 7:40

    Take pure red straight from the tube onto a very small brush - no white, no mixing. Working from the center of the rose outward in a spiral, paint sharp curved lines where one petal would curl over another.

    This is the step that makes the rose look three-dimensional instead of like a flat color blob. Don't rush; place each line where you can already see a soft transition in the layers below.

    Back to all steps

  6. Step 6: Add bright white highlights

    Watch this step · 8:15

    Use white paint straight from the tube on the small detail brush. Place tiny dabs along the upper edges of the petals where light would catch - not on every petal, just the ones at the top and front of the rose.

    Don't be subtle. Exaggerated bright-white highlights are what pop against the deep red shadows and make the whole flower come alive. Stop the moment the rose looks finished, even if it's tempting to keep tweaking.

    Tip:

    If you overshoot a highlight, wait for it to dry, then scumble a bit of pink over it. Wet white on wet red turns into a muddy puddle.

    Back to all steps

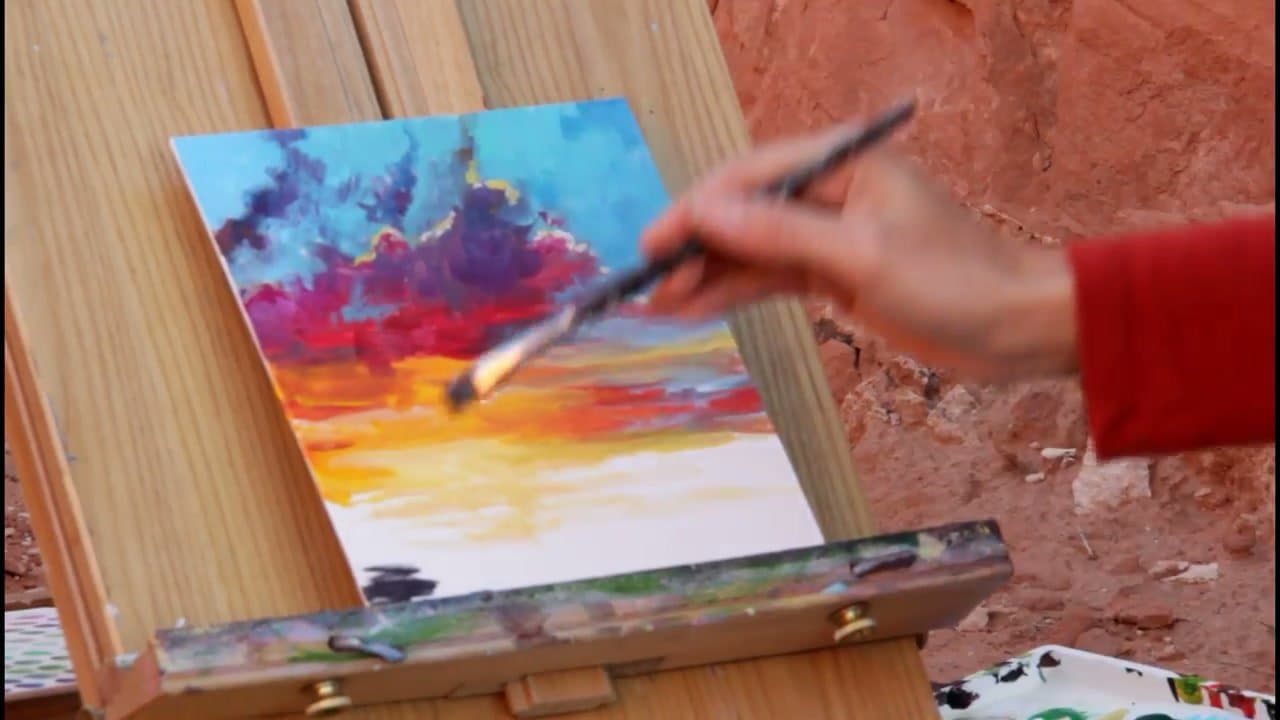
How to Paint a Sunset: 5-Step Acrylic Tutorial

Keep going

How to Paint a Sunset: 5-Step Acrylic Tutorial

5 steps · about 9 minutes

Keep going with painting

More on this topic, picked for this flower.

You reached the last step

Save this project to come back to it

Your ticked steps, the free printable and your other saved makes, together in My Projects. Free, no password.

You tapped Save

Save this project for later

We'll email you a link, no password.

How to Paint a Flower

  • Your saved projects in one list
  • Your ticked steps on any device

Check your inbox for an email from us. Not there? Look in your spam folder.

Free printable

Printable sheet for this project

The bonus is hidden until you sign up.

Free with a free account, no password. Every step above stays open to everyone.

Products Used

Tools we recommend

As an Amazon Associate we earn from qualifying purchases. Links on this page may be affiliate links - clicking them and buying doesn't change your price, but helps support Crafting Step by Step.

Tags

The Crafter's Weekly

New painting tutorials, every Sunday

One short email with the week's best step-by-step guides. Free, no spam, unsubscribe anytime.

Test your knowledge

Did the lesson stick? Start with this one.

5 questions covering what you just read. No signup, no score saved, and you can stop after this one.

Question 1 of 5

Which three acrylic colors does this rose tutorial actually use?

Quick reference

Key takeaways from How to Paint a Flower

5 questions, answers, and one-line explanations. Tap to expand.

  1. 1.Which three acrylic colors does this rose tutorial actually use?

    Answer: Red, yellow, and white

    The whole rose comes from red, yellow, and white. Mixing them gives the warm base, the soft pink edges, and the highlights.

  2. 2.What brush motion suggests the curl of rose petals as you paint the base?

    Answer: Short curved strokes in a spiral from the center outward

    Short curved strokes spiraling out from the center make the brush itself shape the petals, so you never have to outline anything.

  3. 3.Why is a tiny touch of blue mixed into the red for the shadow layer?

    Answer: To cool the red so it reads as shadow in petal gaps

    Cool tones in the negative spaces between petals read as shadow, which gives the flat color shape a feeling of depth.

  4. 4.Where do the bright white highlights belong on the finished rose?

    Answer: Along the upper edges of the top and front petals

    Highlights go where light would actually catch, on the upper edges of the front-facing petals. Spreading them everywhere flattens the flower.

  5. 5.If you overshoot a white highlight, what fixes it without making mud?

    Answer: Wait for it to dry, then scumble pink over it

    Wet white on wet red makes a muddy puddle. Let it dry, then dry-brush pink over the spot to bring it back into the rose.

Did this work for you?

What's next

Related collections

Curated theme pages that include this tutorial.

Similar tutorials

Hand-picked next reads based on the one you just finished.

Liked this painting tutorial?

Pick the crafts you want to hear about. One email every Sunday with new step-by-step tutorials. No spam, easy to unsubscribe.

Get more like this in your inbox

Weekly digest. Pick the categories you want. Unsubscribe anytime.

Send me tutorials about

We only email about new tutorials. Easy unsubscribe anytime.