How to Paint a Galaxy Nebula in Acrylic

Based on a video by Wild Creates

Opens their YouTube channel

Steps written out by CraftingStepByStep · Published · Updated

Watch the original video (opens YouTube)
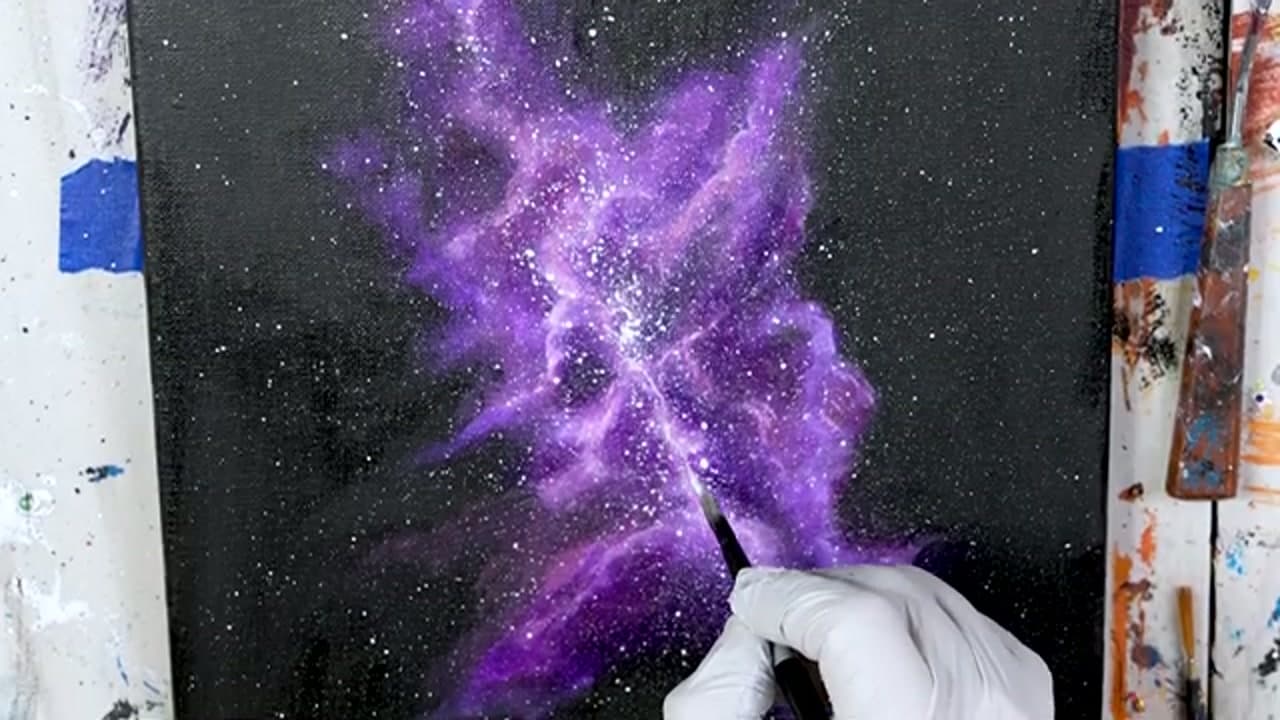
The finished result: How to Paint a Galaxy Nebula in Acrylic

Galaxies look hard to paint. They really are not. In this tutorial from Wild Creates, guest artist Tally of TallyWho Art shows you how to build a glowing nebula on a plain black canvas using nothing but a few colors and some easy brushwork.

You work in layers. Dab on your colors, blend them soft, highlight the center with white, then flick on a whole field of stars. No two nebulas ever come out the same, so there is no wrong way to do it.

Grab your acrylics and a canvas. By the end you will have your own galaxy hanging on the wall.

What you'll need

Step-by-step guide

7 steps, about 6 minutes. Tap a picture to jump to that step. Your progress saves automatically.

Tick each step off as you go.

  1. Step 1: Base Coat the Canvas Black

    Watch this step · 0:52
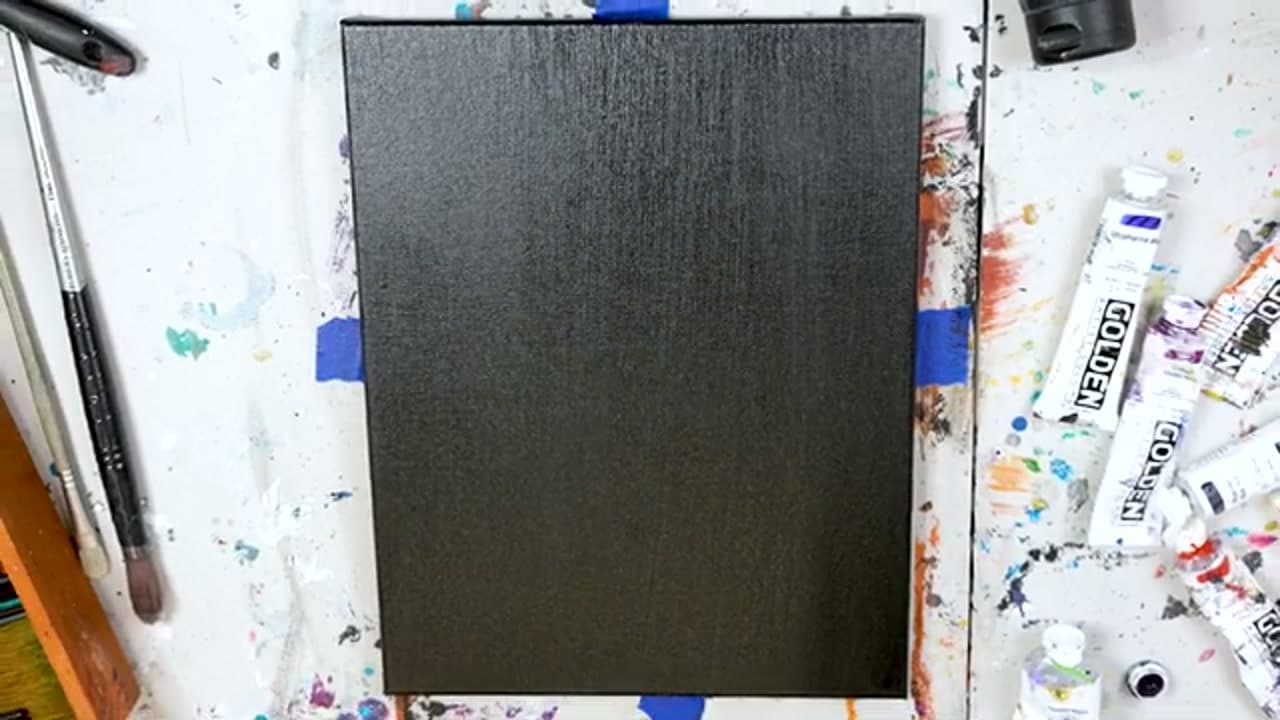
    Start with a solid black canvas. Cover the whole front and the sides with black acrylic or black gesso so no white shows through. This dark base is what makes the colors glow later. Let it dry all the way before you touch it again. If you rush this part, the wet black will mix into your first colors and mud them up.

    Tip:

    Two thin coats dry faster and cover better than one thick one.
    Back to all steps

  2. Step 2: Dab On Your Colors

    Watch this step · 1:28

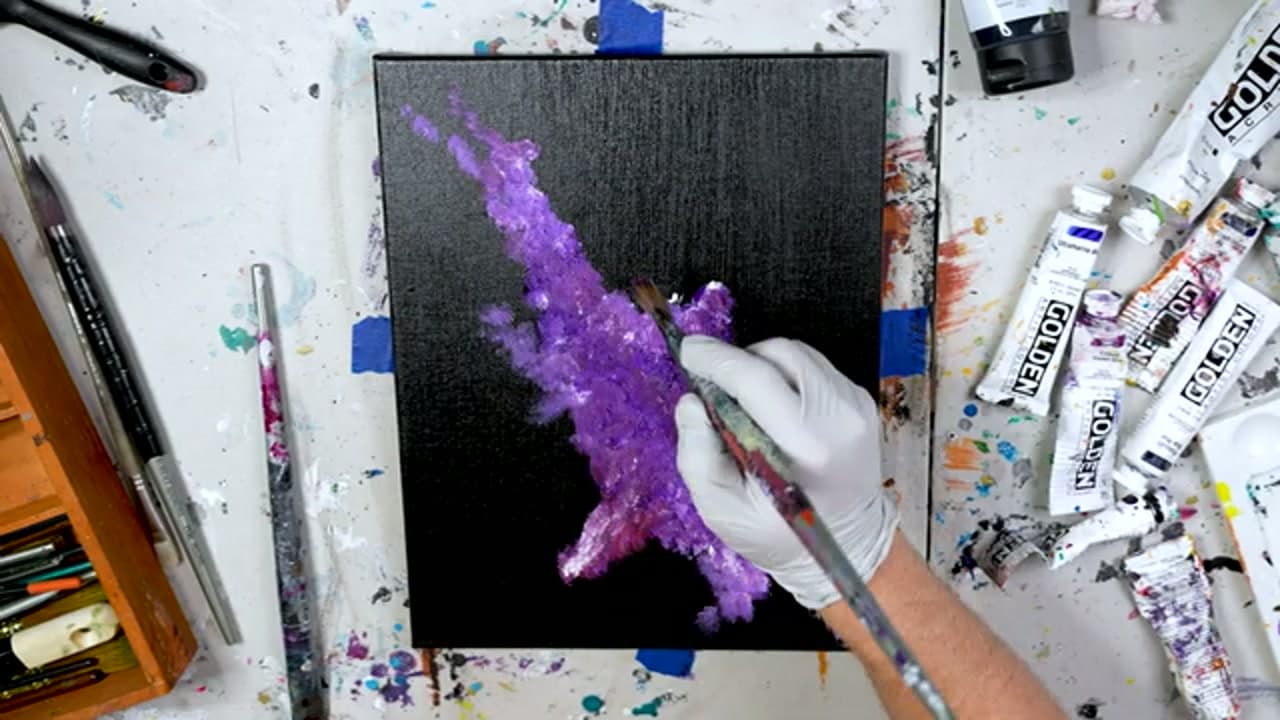
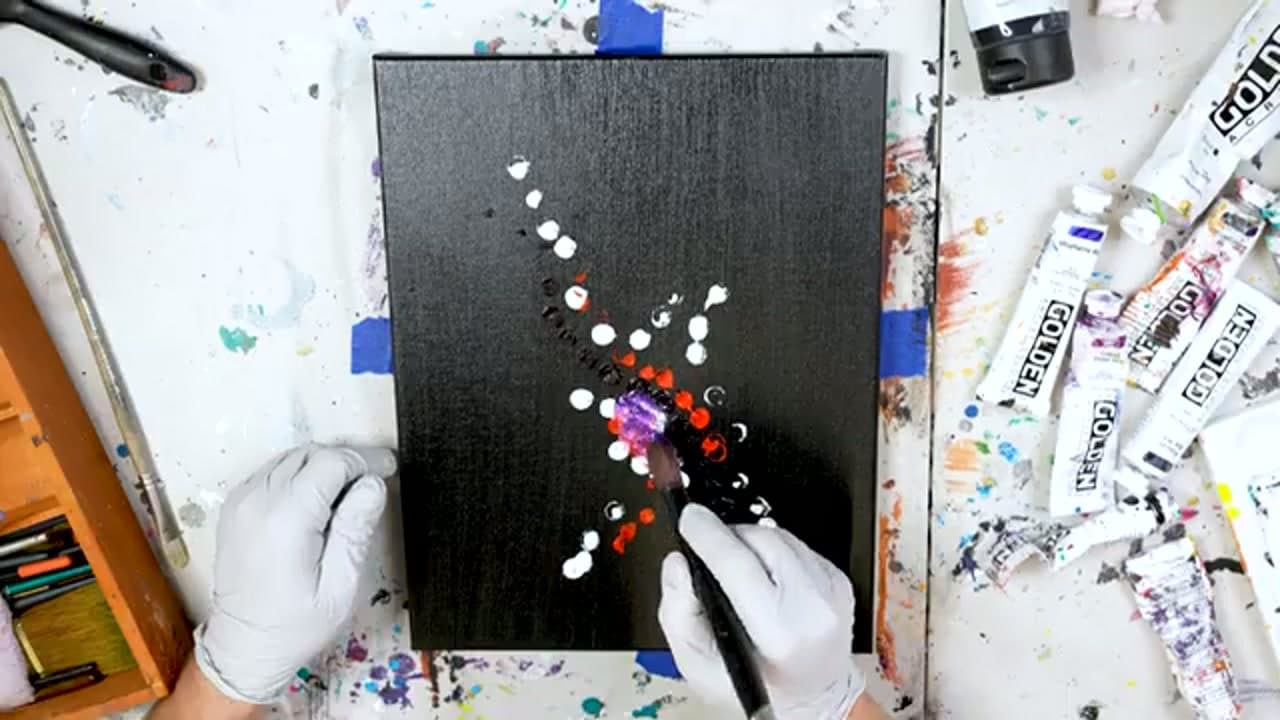
    Now the fun starts. Dab dots of purple, red, and white across the black in a rough diagonal. Put them down in any order you like. There is no plan here. When you get to the white, keep most of it around the outer edges of the other colors. That white on the outside is what shapes your nebula and helps it stand out once you start blending.

    Back to all steps

  3. Step 3: Blend the Colors Together

    Watch this step · 1:52

    Switch to a smaller brush so you have more control. Blend the dabs with tiny circular stipple strokes and little X strokes. Push and pull the color from one corner of the canvas toward the opposite corner. Do not over-blend. You want soft edges and a bit of texture, not a flat smear. This loose blending is already starting to form the body of your nebula.

    Tip:

    Keep a dry brush handy to soften any spot that gets too muddy.

    Back to all steps

  4. Step 4: Highlight the Center With White

    Watch this step · 2:15

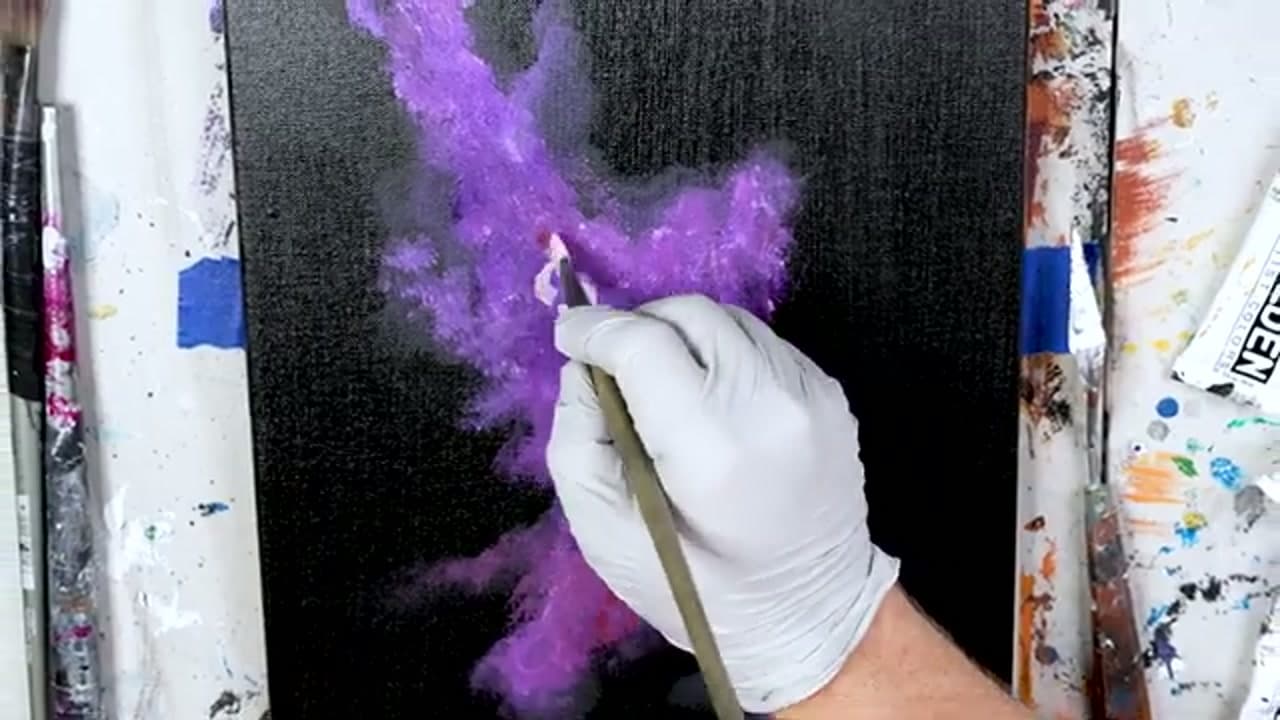
    Grab a filbert brush and some white paint. Add bright highlights right in the center of the nebula, where the light seems to come from. Think about painting the tops of fluffy clouds. That mental picture helps you build the crown and C shapes that give a nebula its glow. Leave a strong core of white in the middle and do not blend it all away.

    Back to all steps

  5. Step 5: Build Contrast and Shape

    Watch this step · 3:15

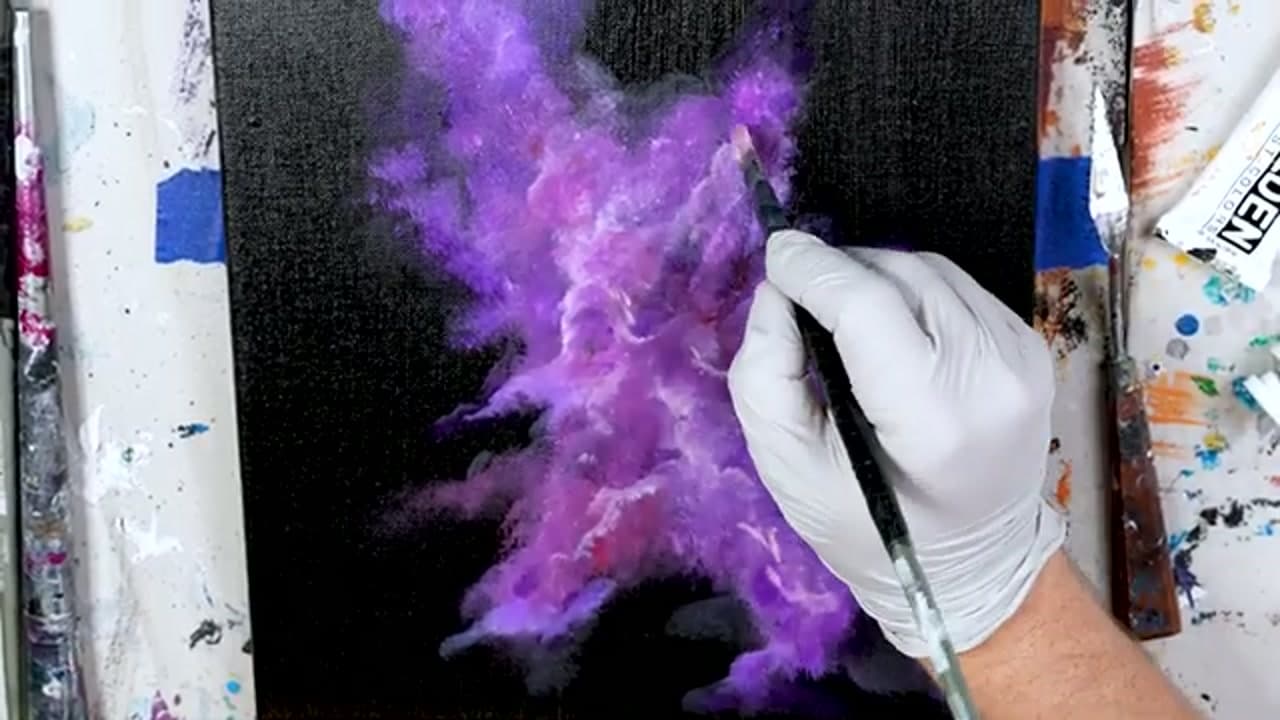
    Go back in and add more purple, red, and white to fill and shape the body. Then mix a little black into some purple and tuck that dark color right next to your white highlights. Blend it gently. That contrast between light and dark is what makes the nebula pop off the canvas. If any outer streaks bug you, just paint over them with black to clean up the edges.

    Tip:

    Build up slowly. It is easier to add another layer than to fix an overdone one.

    Back to all steps

  6. Step 6: Flick On a Star Cluster

    Watch this step · 3:48

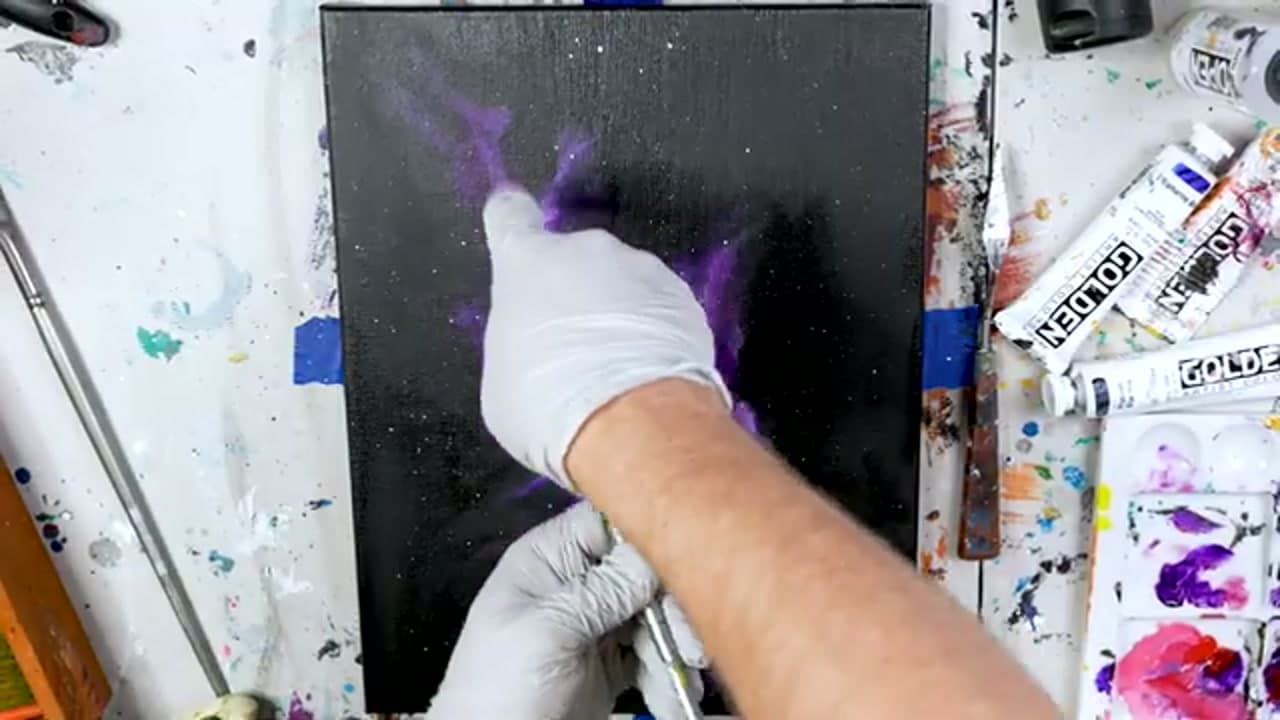
    Time for stars. Thin some white paint with a little water until it flows nicely. Dip a fan brush in it, then drag your finger across the bristles to flick tiny specks of paint over the canvas. You get a natural spray of stars this way. Work across the whole painting, and add a few extra flicks near the bright center for a dense cluster.

    Tip:

    Test your flick on scrap paper first so the dots are not too big.

    Back to all steps

  7. Step 7: Add Shining Stars to Finish

    Watch this step · 4:08

    To take it up a level, paint a few shining stars. Load a dagger or angle-shader brush with that same white mix and paint small lowercase t shapes, then softly blend over each one with a clean brush. Add one or two, or as many as you want. It is your galaxy. Step back and look. That glowing purple nebula with its field of stars is all yours now.

    Back to all steps

Keep going

How to Paint Birch Trees in Acrylics

Products Used

The Checklist

How to Paint a Galaxy Nebula in Acrylic

Tools
3
Materials
2
Steps
7
Video
6 min

Tools we recommend

As an Amazon Associate we earn from qualifying purchases. Links on this page may be affiliate links - clicking them and buying doesn't change your price, but helps support CraftingStepByStep.

Tags

The Crafter's Weekly

New painting tutorials, every Sunday

One short email with the week's best step-by-step guides. Free, no spam, unsubscribe anytime.

Test your knowledge

Did the lesson stick? Start with this one.

5 questions covering what you just read. No signup, no score saved, and you can stop after this one.

Question 1 of 5

What color do you base coat the canvas first?

Quick reference

Key takeaways from How to Paint a Galaxy Nebula in Acrylic

5 questions, answers, and one-line explanations. Tap to expand.

  1. 1.What color do you base coat the canvas first?

    Answer: Black

    A solid black base is what makes the galaxy colors glow later.

  2. 2.Which colors do you dab on over the black?

    Answer: Purple, red, and white

    Rough diagonal dabs of purple, red, and white build the nebula.

  3. 3.What is the risk when blending the colors?

    Answer: Over-blending into mud

    Over-blending muddies it, so keep strokes soft and stop while it still has variety.

  4. 4.How do you create a natural spray of tiny stars?

    Answer: Flick thinned paint off a fan brush

    Dragging a finger across a loaded fan brush flicks a natural star spray.

  5. 5.What makes the white highlights pop the most?

    Answer: Tucking dark color next to them

    Placing dark purple right beside the white highlights builds the contrast that sells it.

Did this work for you?

What's next

Related collections

Curated theme pages that include this tutorial.

Similar tutorials

Hand-picked next reads based on the one you just finished.

Liked this painting tutorial?

Pick the crafts you want to hear about. One email every Sunday with new step-by-step tutorials. No spam, easy to unsubscribe.

Get more like this in your inbox

Weekly digest. Pick the categories you want. Unsubscribe anytime.

Send me tutorials about

We only email about new tutorials. Easy unsubscribe anytime.