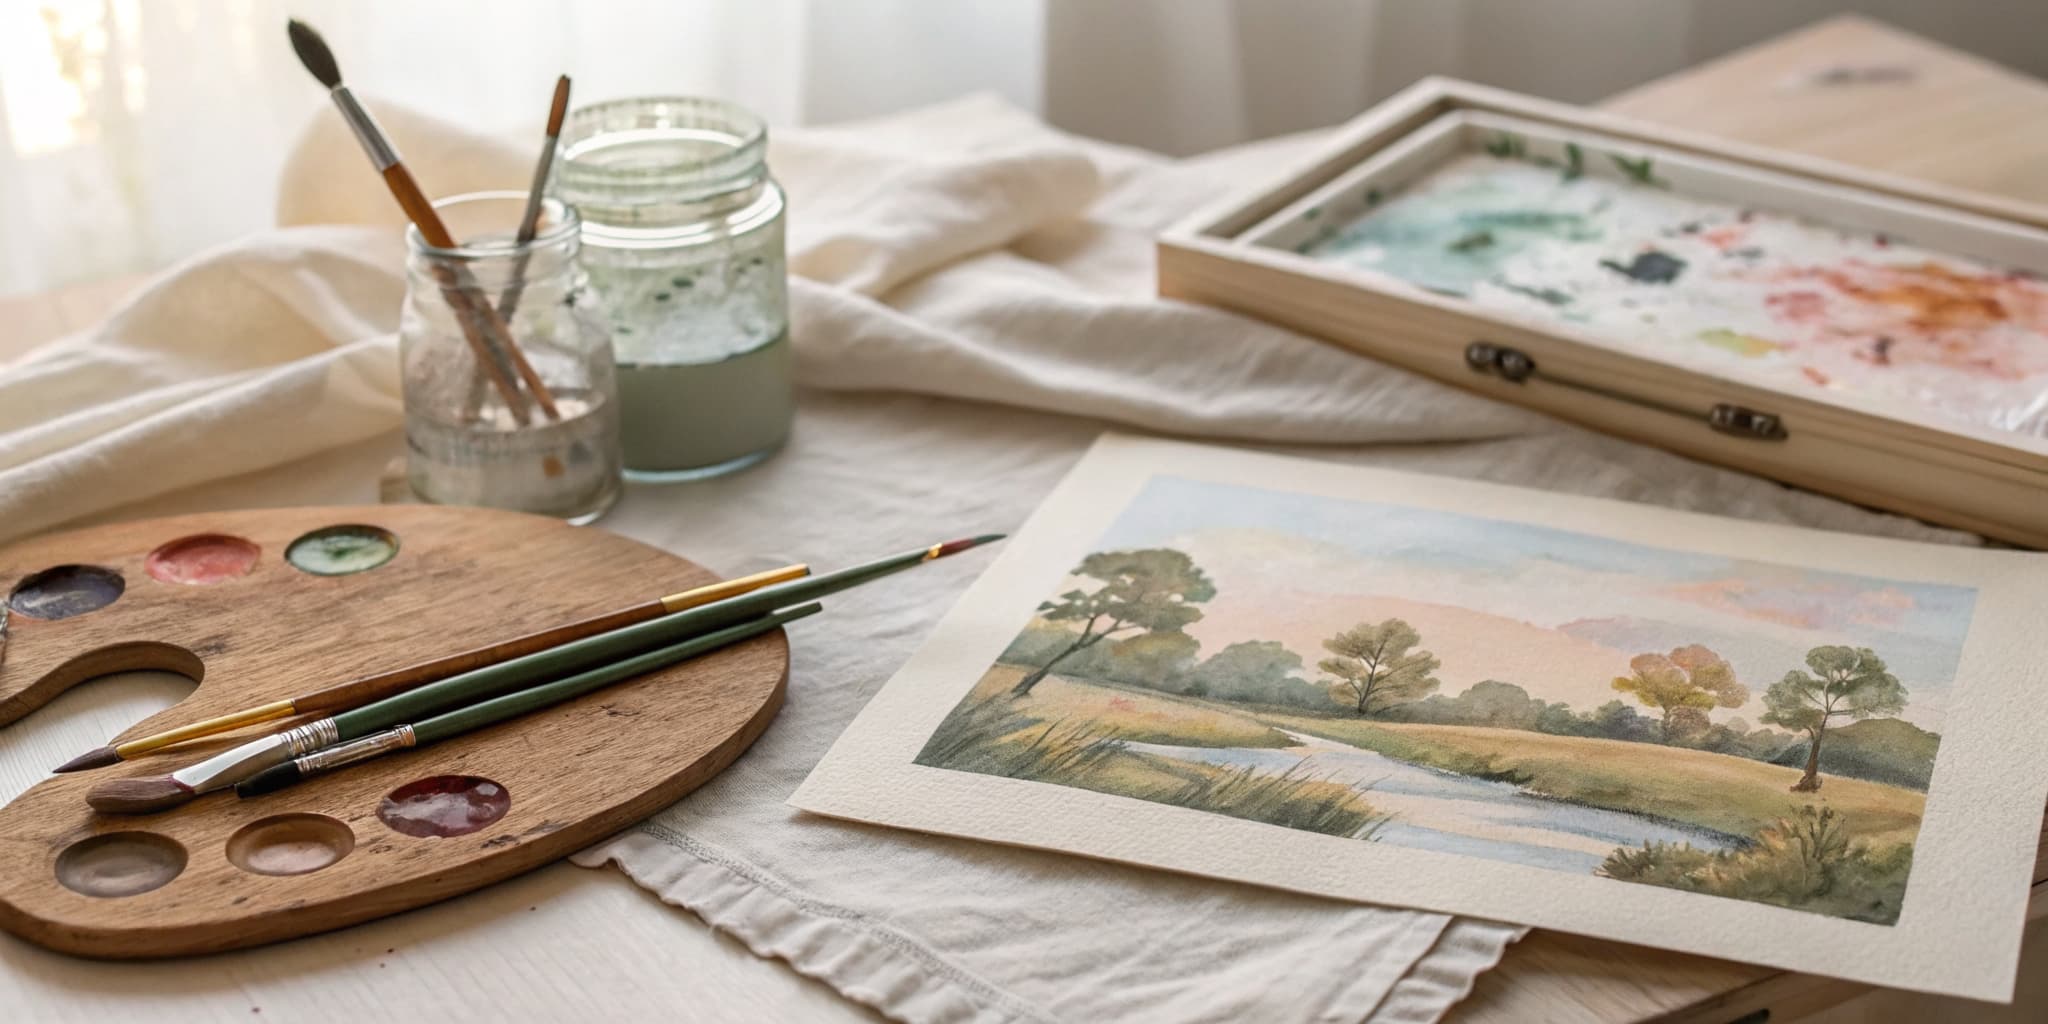
How to Mix Acrylic Paint Colors

The finished result: How to Mix Acrylic Paint Colors
  • Difficulty: Easy
  • About 15 minutes
  • 8 steps

You tapped Save

Save this project for later

We'll email you a link, no password.

How to Mix Acrylic Paint Colors

  • Your saved projects in one list
  • Your ticked steps on any device

Check your inbox for an email from us. Not there? Look in your spam folder.

Print

Steps written out by Crafting Step by Step from willkempartschool's video (opens YouTube) (4:17). Published .

Also in:Crafts

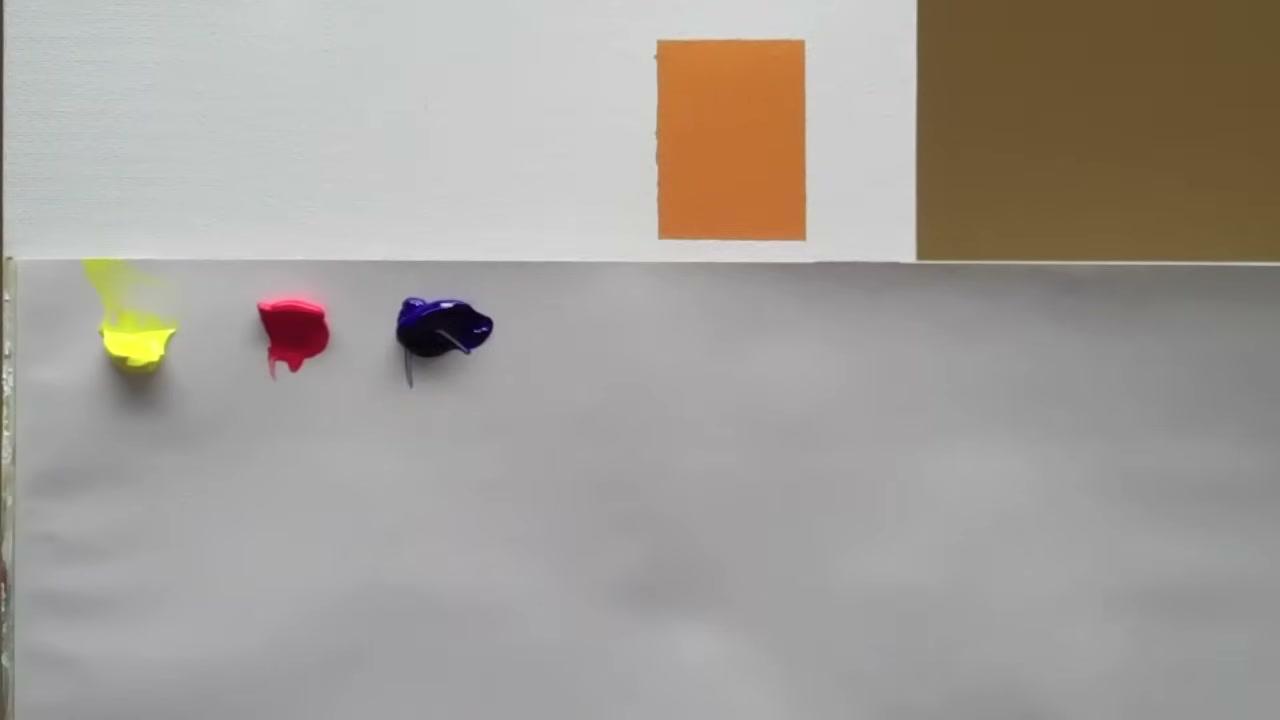
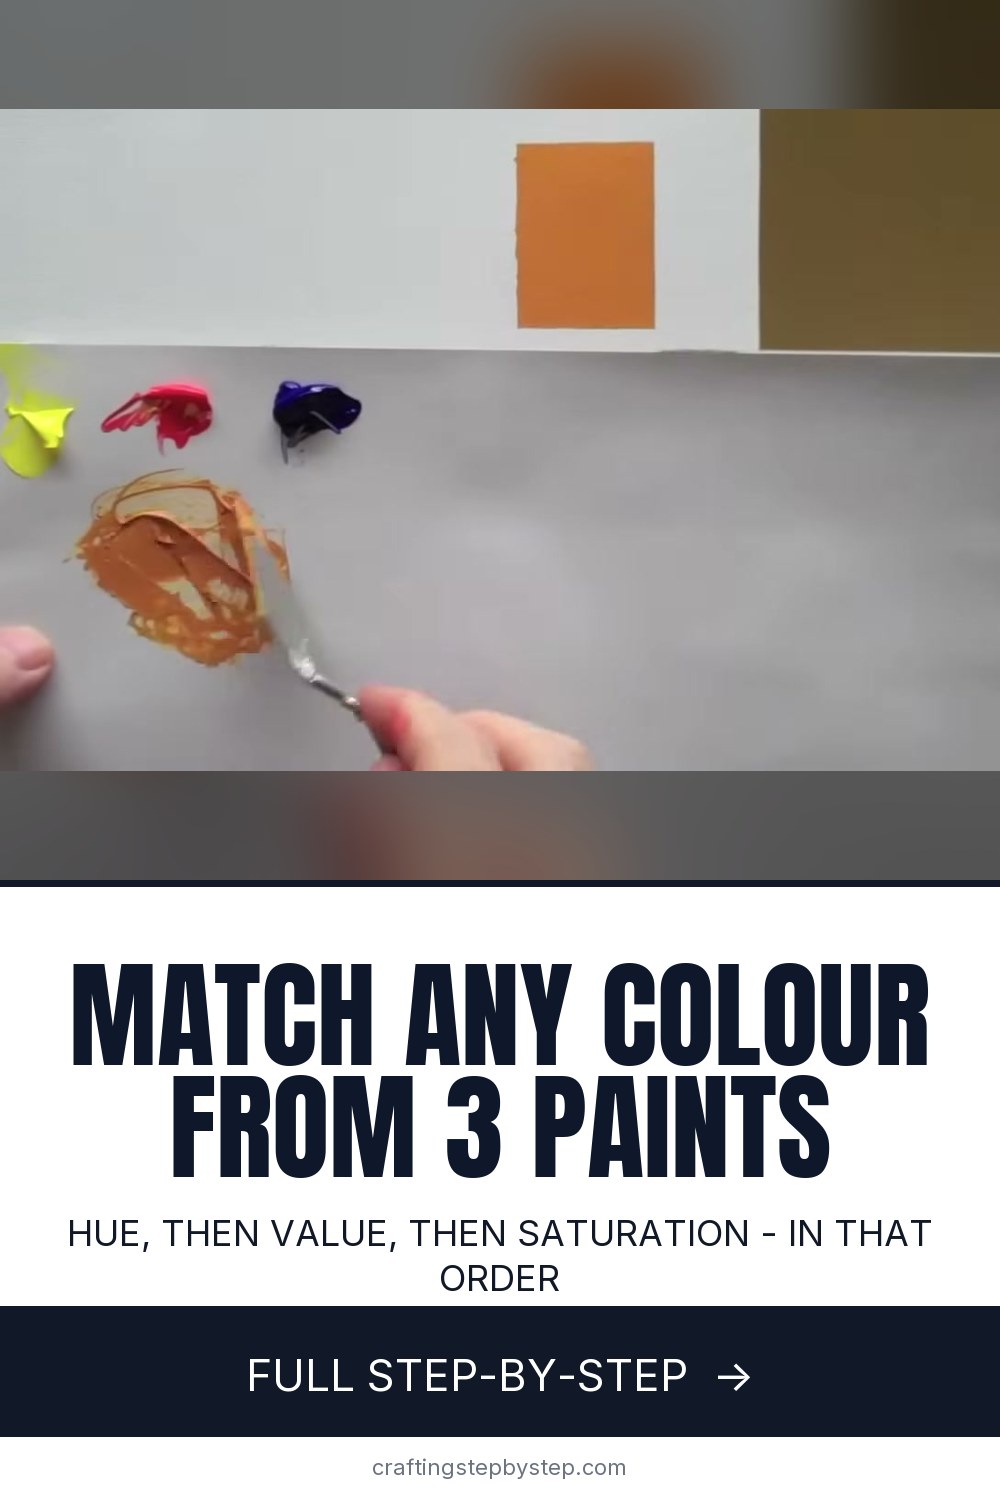
Most colour mixing goes wrong because people chase everything at once. Will Kemp works in a fixed order instead - hue first, then value, then saturation - and each stage only asks one question.

The whole demo here is matching a single yellowy orange from three primaries. Two things are worth stealing regardless of what you are painting: squint at the mix against the target so the two either merge or they do not, and remember that acrylic dries darker than it looks wet.

Free printable

Print the steps and supply list for this project

One page you can take to the table. Free with a free account, no password.

Get the free printable

What you'll need

Free, for this project

Get this checklist by email

  • All 6 tools and materials, with tick boxes
  • A link to print all 8 steps on paper, to keep by you while you craft

No password. The whole tutorial stays free on this page.

Quick answer

Match any colour with three primaries. Work hue, then value, then saturation, the order that stops you chasing a mix around the palette all day. An easy project: about 15 minutes. Materials cost about $8 to $15. You need 6 things, including Acrylic paint in yellow, Acrylic paint in red and Acrylic paint in blue. The 8 steps start with find the Hue on the Wheel, add a Little Red, mix and Compare, correct the Value and squint at It.

Step-by-step guide

8 steps, about 4 minutes. Tap a picture to jump to that step. Your progress saves automatically.

Tick each step off as you go.

  1. Step 2: Add a Little Red

    Watch this step · 0:55

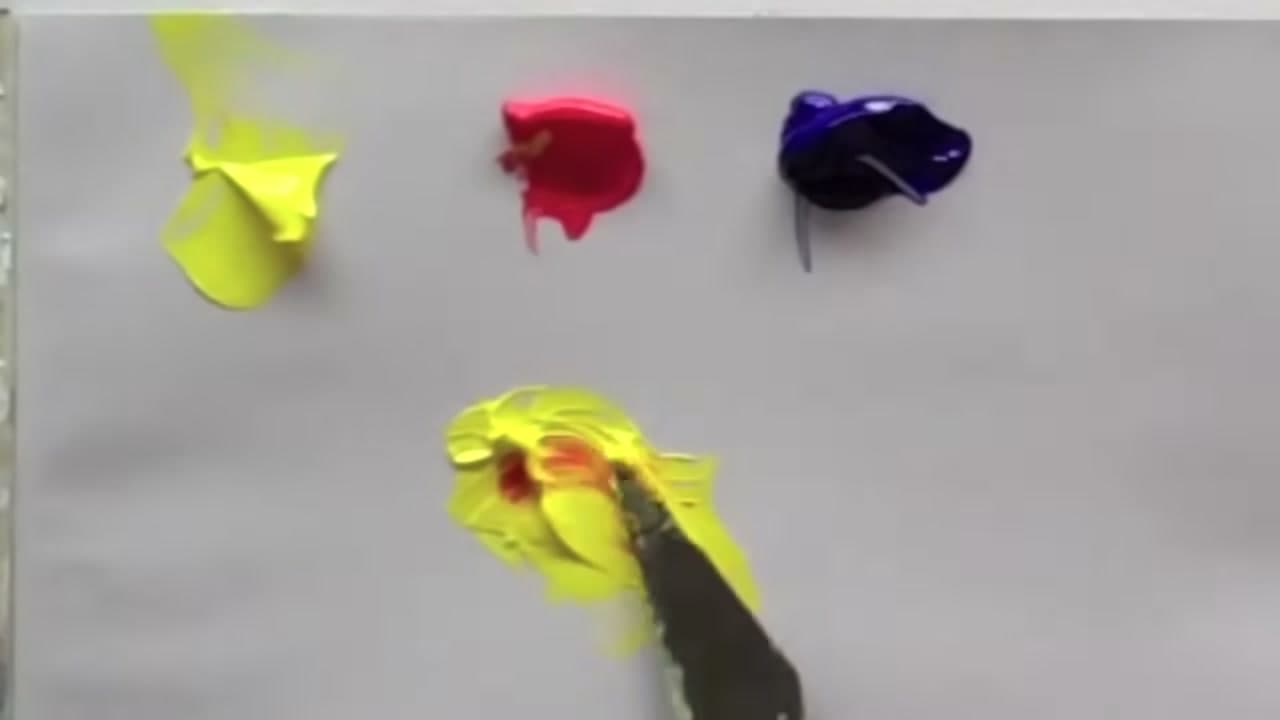
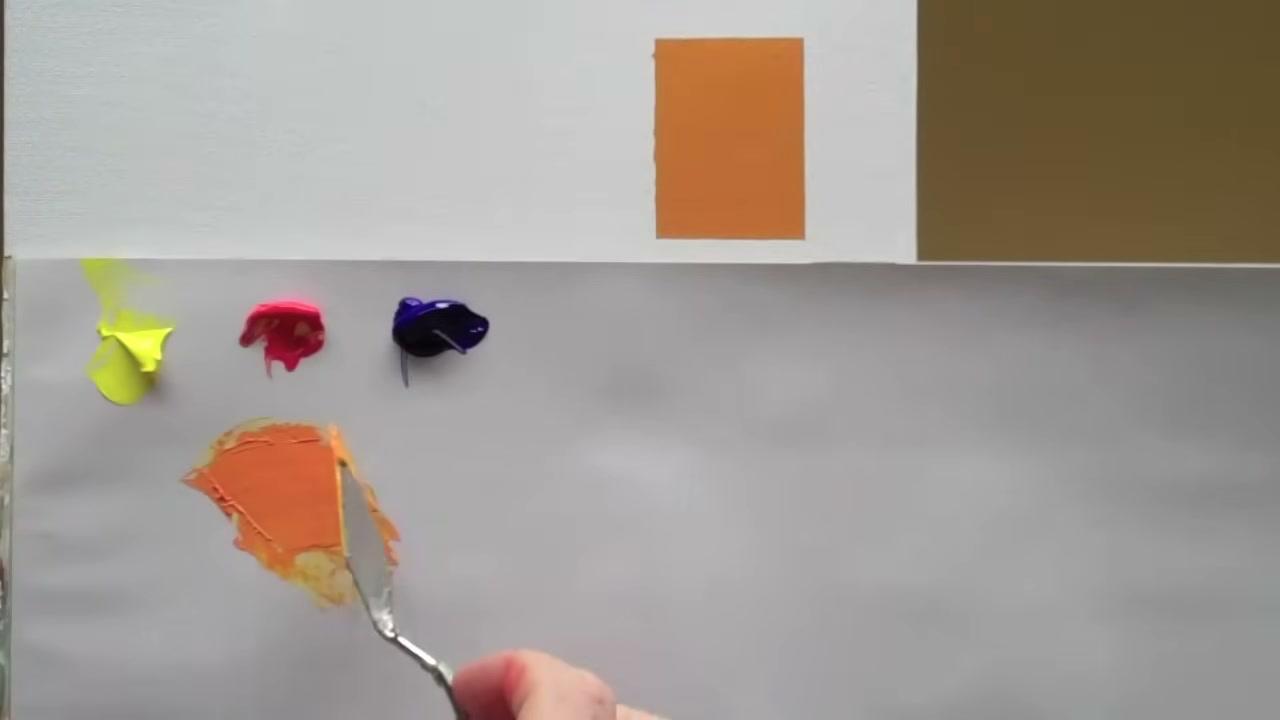
    Bring the yellow toward orange with a small amount of red.

    Add far less than feels right. The stronger pigment always dominates, and it is much easier to add more than to pull it back.

    Tip:

    Red is the strong colour in this pair. A speck moves it a long way.

    Back to all steps

  2. Step 4: Correct the Value

    Watch this step · 1:35

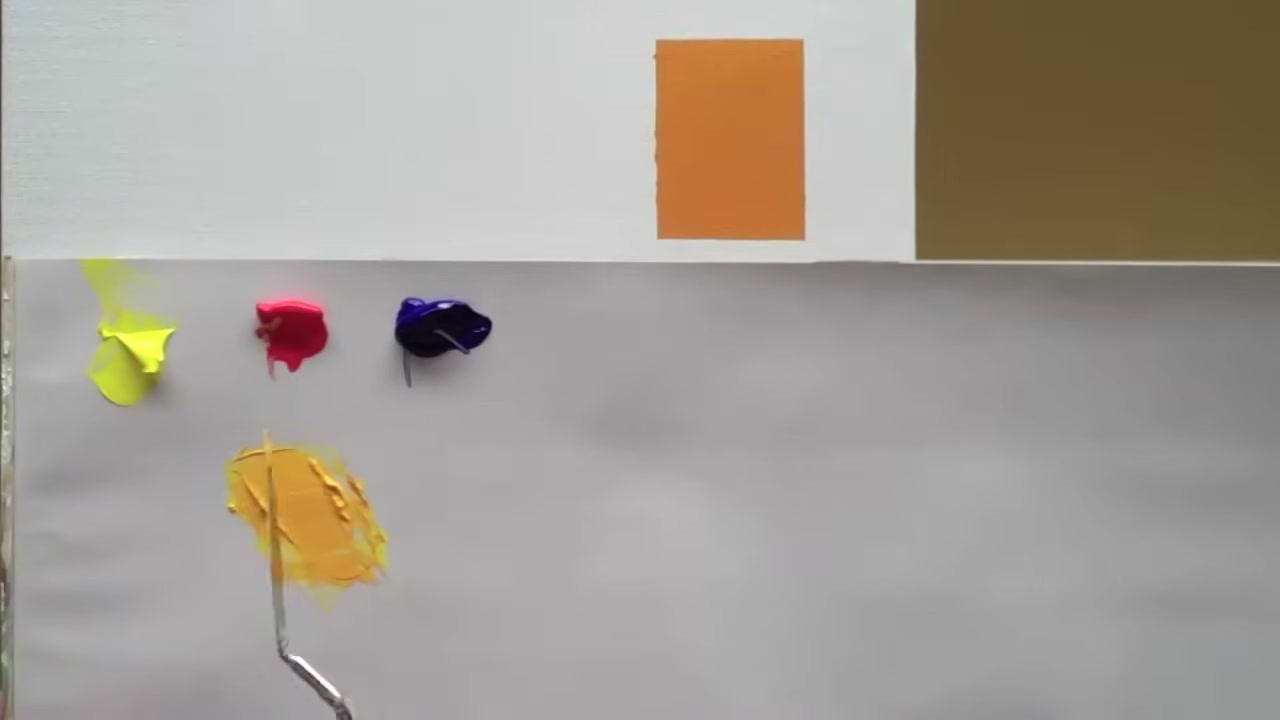
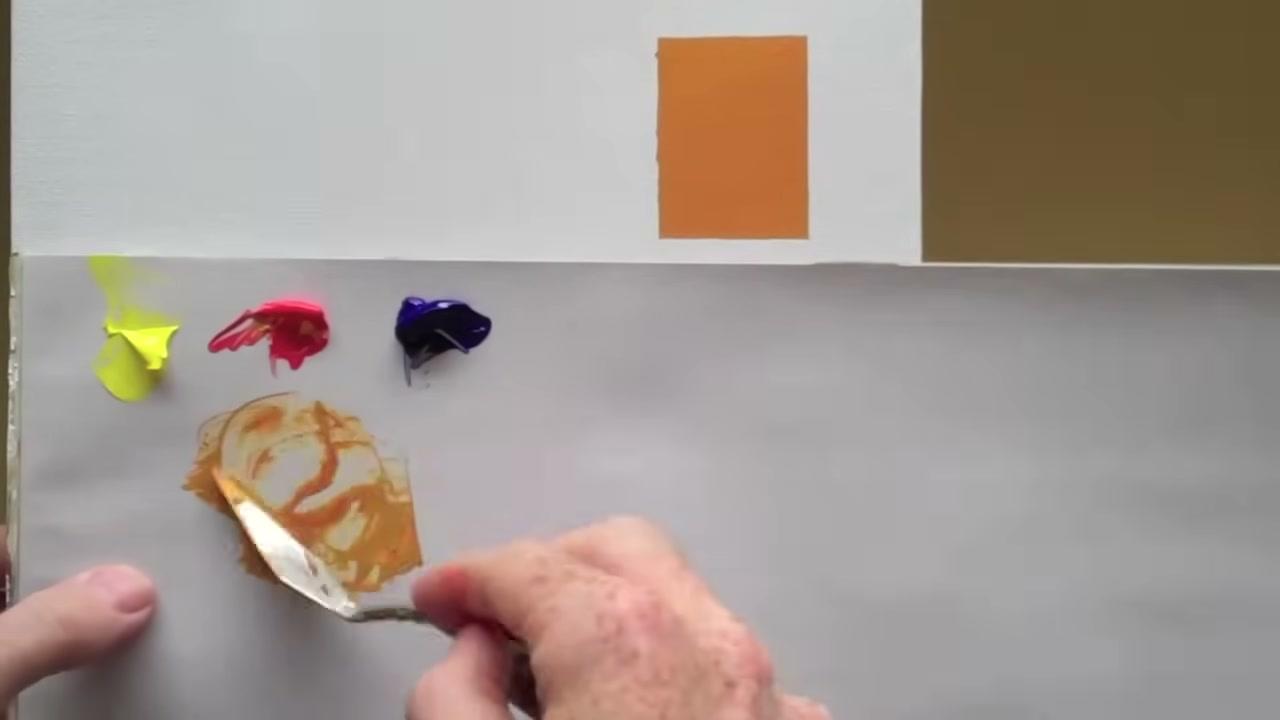
    Now ask whether the mix is lighter or darker than the target. This one is still too light.

    More red brings the value down as well as shifting the hue, because red is darker than yellow to begin with.

    Tip:

    Imagine the two in black and white. That is the value comparison you are making.

    Back to all steps

  3. Step 5: Squint at It

    Watch this step · 2:00

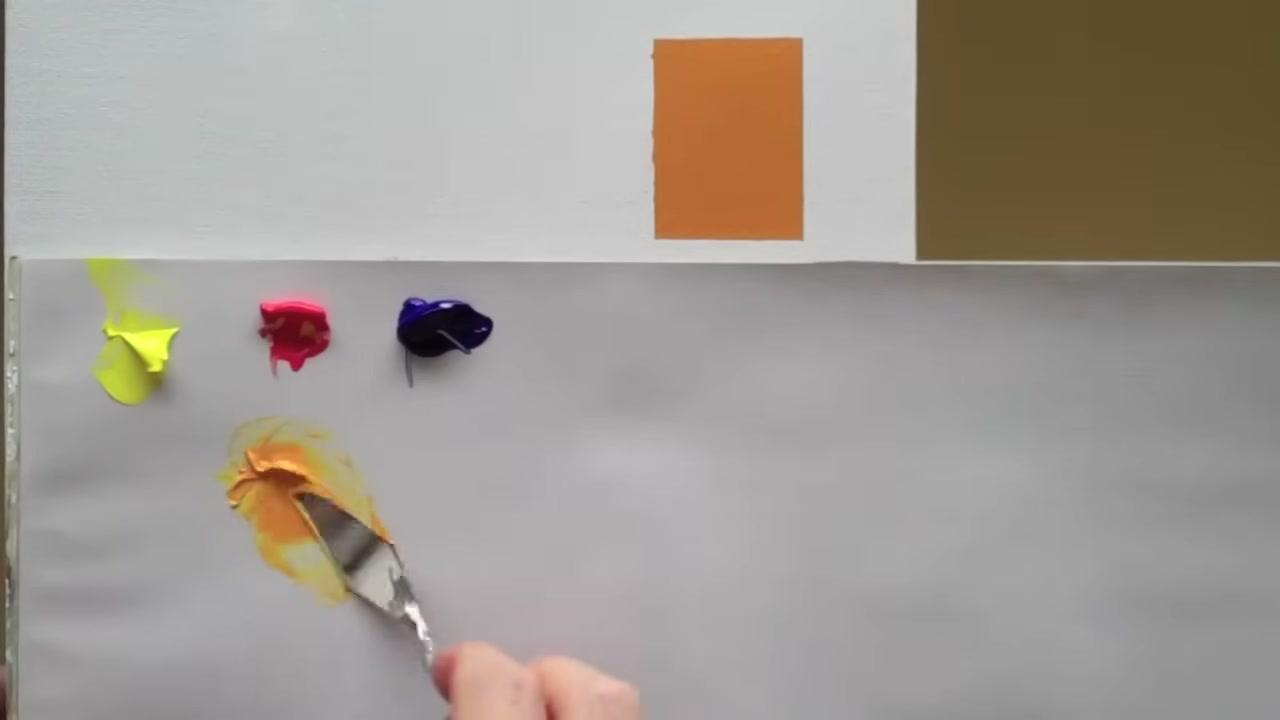
    Hold the mix over the target and squint hard at both.

    If they merge into a single patch you are close. If there is a visible jump between them, keep adjusting.

    Back to all steps

  4. Step 6: Knock Back the Saturation

    Watch this step · 2:30

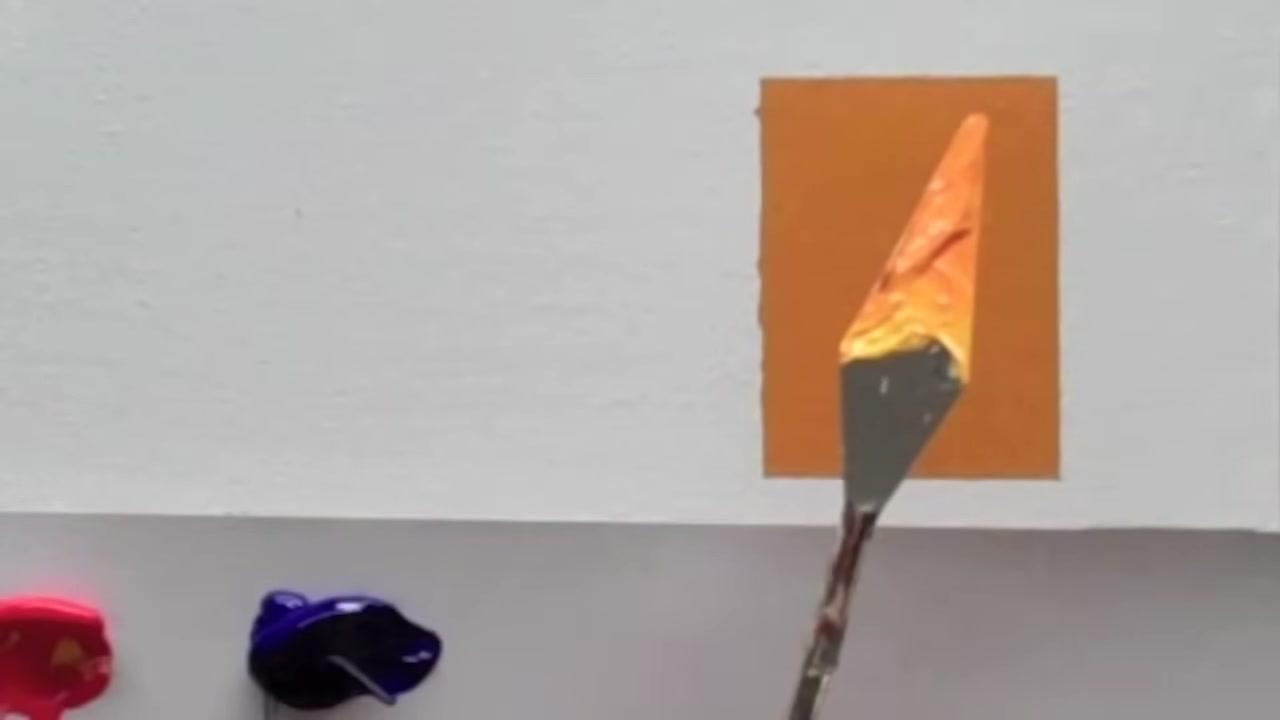
    The mix is probably still too bright. Add a tiny amount of the complement - blue, for an orange - to dull it down.

    This is the step most people skip, and it is what separates a mixed colour from a straight-from-the-tube one.

    Tip:

    Be brave and keep mixing. A complement looks alarming going in and settles as it blends.

    Back to all steps

  5. Step 7: Correct Any Overshoot

    Watch this step · 3:10

    If the complement pushes it too green, bring a little red back.

    Expect to go back and forth. Overshooting slightly and correcting is normal, not a mistake.

    Back to all steps

  6. Step 8: Swatch It and Allow for Drying

    Watch this step · 3:42

    Put a swatch of the mix right next to the target, ideally on scrap paper.

    Acrylic dries darker than it appears wet, so leave the wet mix looking a touch lighter than the target. Note how much more yellow than blue it takes to lighten - the weaker pigment needs more of it.

    Tip:

    Mix more than you think you need. Matching the same colour twice is harder than mixing enough the first time.

    Back to all steps

How to Use Texture Paste

Keep going

How to Use Texture Paste

Keep going with painting

More on this topic, picked for this project.

You reached the last step

Save this project to come back to it

Your ticked steps, the free printable and your other saved makes, together in My Projects. Free, no password.

You tapped Save

Save this project for later

We'll email you a link, no password.

How to Mix Acrylic Paint Colors

  • Your saved projects in one list
  • Your ticked steps on any device

Check your inbox for an email from us. Not there? Look in your spam folder.

Free printable

Printable sheet and shopping list for this project

The bonus is hidden until you sign up.

Free with a free account, no password. Every step above stays open to everyone.

Products Used

The Checklist

How to Mix Acrylic Paint Colors

Tools
2
Materials
4
Steps
8
Video
4 min

Tools we recommend

As an Amazon Associate we earn from qualifying purchases. Links on this page may be affiliate links - clicking them and buying doesn't change your price, but helps support Crafting Step by Step.

Tags

The Crafter's Weekly

New painting tutorials, every Sunday

One short email with the week's best step-by-step guides. Free, no spam, unsubscribe anytime.

Test your knowledge

Did the lesson stick? Start with this one.

5 questions covering what you just read. No signup, no score saved, and you can stop after this one.

Question 1 of 5

Where should you start when matching a colour?

Quick reference

Key takeaways from How to Mix Acrylic Paint Colors

5 questions, answers, and one-line explanations. Tap to expand.

  1. 1.Where should you start when matching a colour?

    Answer: From the nearest primary on the wheel

    Building from the closest primary is far quicker than starting from scratch.

  2. 2.Why add the stronger pigment in small amounts?

    Answer: It dominates, and pulling it back is hard

    Adding more is always easier than taking colour away.

  3. 3.In what order do you correct a mix?

    Answer: Hue, then value, then saturation

    Fixing the hue first stops you chasing the other two around.

  4. 4.What does squinting at the mix and target tell you?

    Answer: Whether the two merge into one patch

    A visible jump between them means you are not there yet.

  5. 5.How do you knock back a mix that is still too bright?

    Answer: Add a touch of its complement

    This is the step most people skip, and it is what stops a colour looking straight from the tube.

Did this work for you?

What's next

Related collections

Curated theme pages that include this tutorial.

Similar tutorials

Hand-picked next reads based on the one you just finished.

Liked this painting tutorial?

Pick the crafts you want to hear about. One email every Sunday with new step-by-step tutorials. No spam, easy to unsubscribe.

Get more like this in your inbox

Weekly digest. Pick the categories you want. Unsubscribe anytime.

Send me tutorials about

We only email about new tutorials. Easy unsubscribe anytime.