How to Draw - Sketching Basics for Complete Beginners

Save it for later. We'll email you a link, no password.

Find it again on your phone or computer, with your finished steps ticked.

You tapped Save

Save this project for later

We'll email you a link, no password.

How to Draw - Sketching Basics for Complete Beginners

  • Your saved projects in one list
  • Your ticked steps on any device

Check your inbox for an email from us. Not there? Look in your spam folder.

  • 8 steps
  • 15:33 video
  • Difficulty: Easy
  • About 45 minutes
  • Materials about $10 to $20
  • Drawing

Based on a video by SchaeferArt

Opens their YouTube channel

Steps written out by Crafting Step by Step · Published · Updated

The finished result: How to Draw - Sketching Basics for Complete Beginners
Also in:Painting

Drawing is a skill, not a gift. The people who are good at it are running a handful of specific habits that nobody bothers to teach, and the biggest one takes about four minutes to explain: do not try to draw the line, sketch around where the line goes and then pick the best of your attempts.

This walkthrough is the first lesson in Brandon Schaefer's drawing series on YouTube. He covers what to buy, what the letters on a pencil actually mean, how to sketch properly, and how to turn a flat circle into a sphere by deciding where the light is. Everything is shot overhead on plain paper so you can see exactly what the pencil is doing.

What you need before you start

A sketchbook, a boxed graphite pencil set, and a kneaded eraser. That is genuinely it. The whole kit costs less than a takeaway and there is no upgrade you can buy that will make your lines better.

The two ideas that matter most

Sketch, do not commit. Build every shape out of many light passes rather than one confident stroke. It feels slower and it is faster, because you stop erasing.

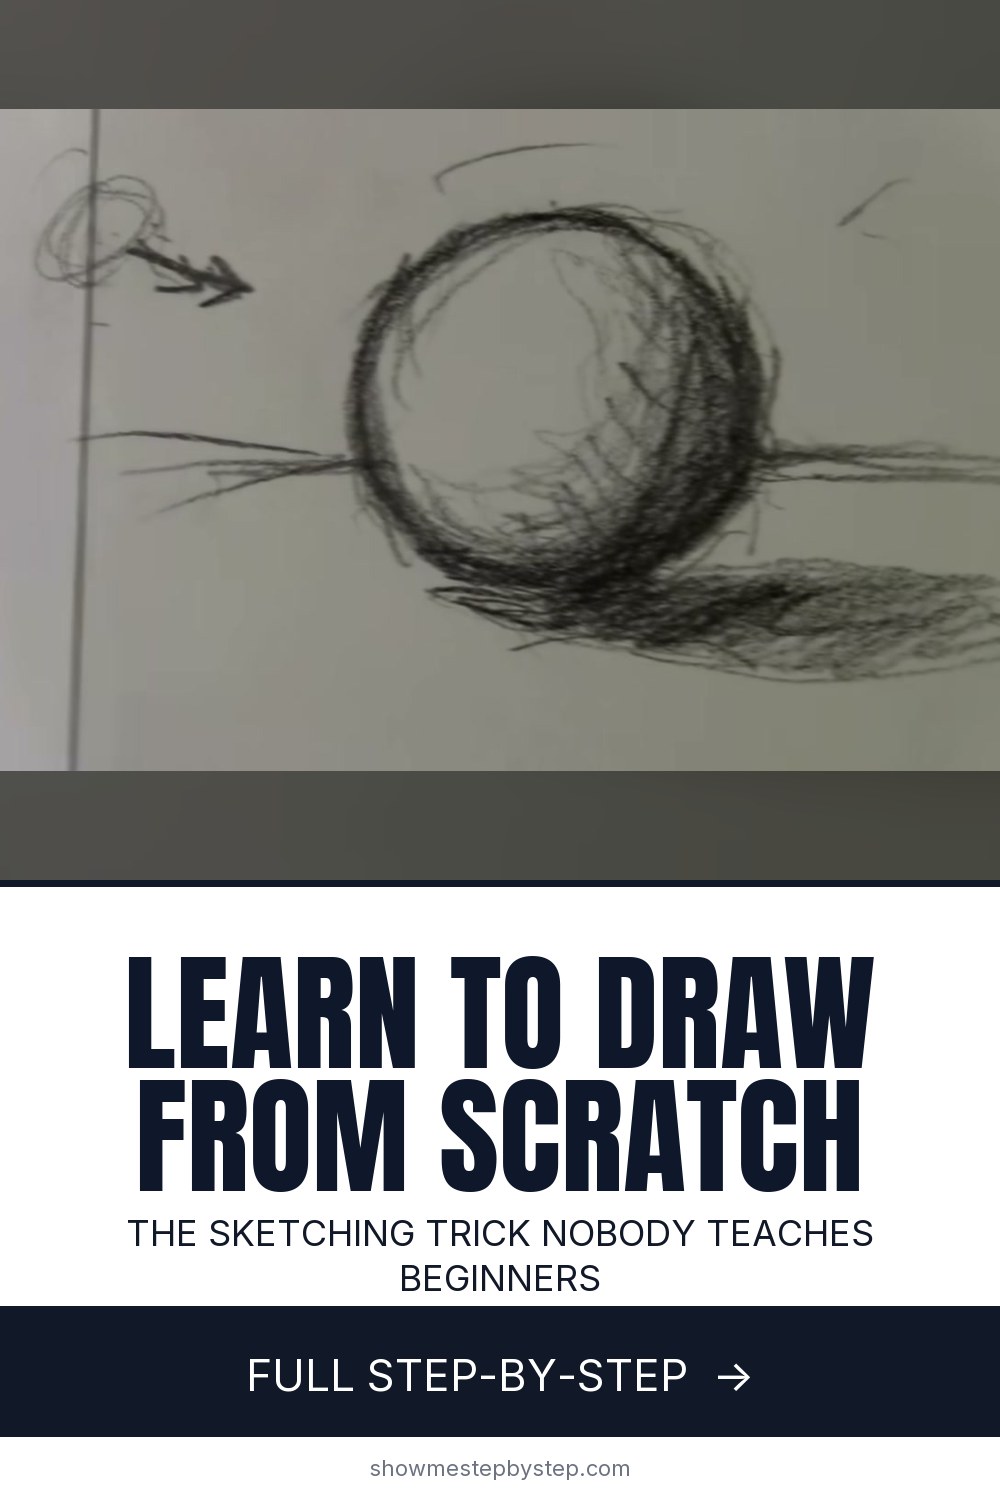
Decide where the light is. Shading is not decoration. Pick a direction, darken the far side, drop a cast shadow underneath, and a flat outline becomes a solid object.

Those two habits carry you a surprisingly long way before technique becomes the limiting factor.

Then pick something and draw it

Fundamentals only stick once you point them at a subject. Start with simple forms and work up:

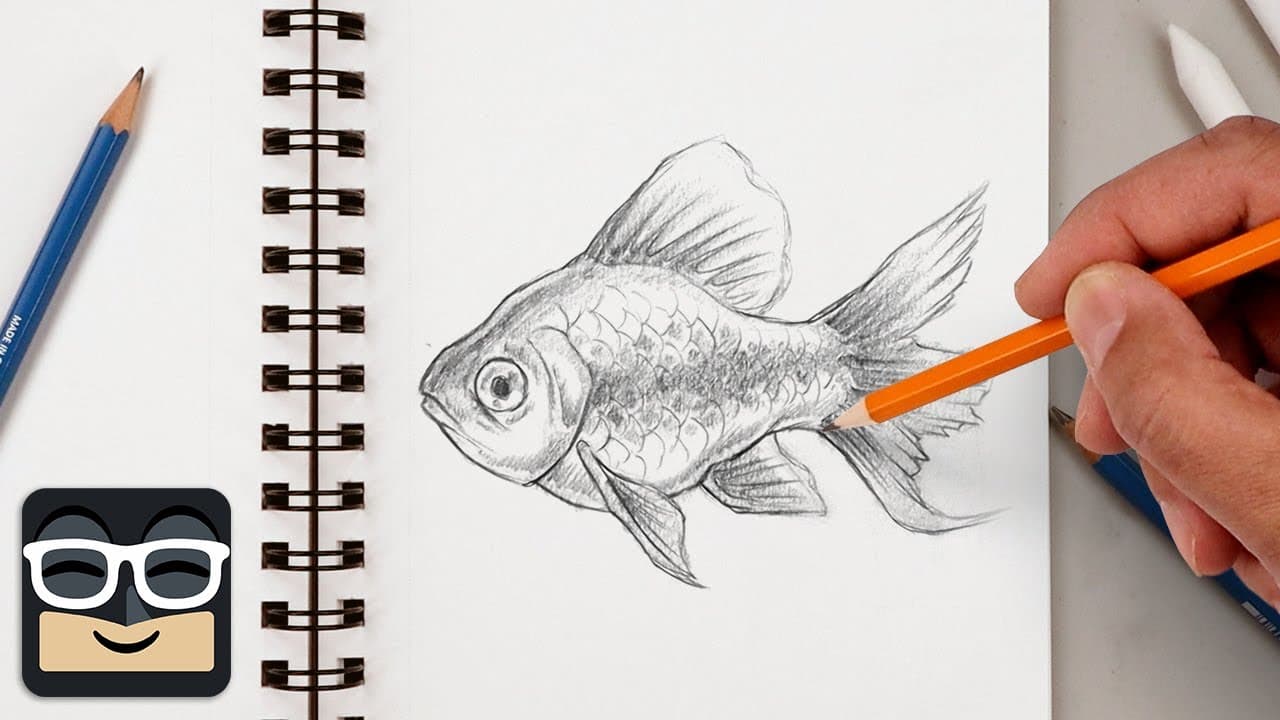
Animals are the usual next step, and they are mostly circles and cylinders underneath. Try a cat, a dog, a bird, a fish, a horse, a wolf, a fox, a lion, a shark or a dragon.

Natural subjects are forgiving because nobody can tell if a leaf is slightly wrong. A tree, a rose, a sunflower, flowers, a leaf, clouds and water all reward the loose sketching approach.

Hard-edged subjects are where the cube exercise pays off. A house and a car are both boxes with detail on top.

For the season, the Halloween set builds on exactly these shapes: a jack-o'-lantern is three triangles and a grin, a bat is a silhouette you fill in black, and a scary ghost is where the light-source and shading steps above pay off. An orb-weaver spider is the same silhouette trick with eight legs to place, and a skull is the one that keeps earning after October, because it is really a lesson in bone structure.

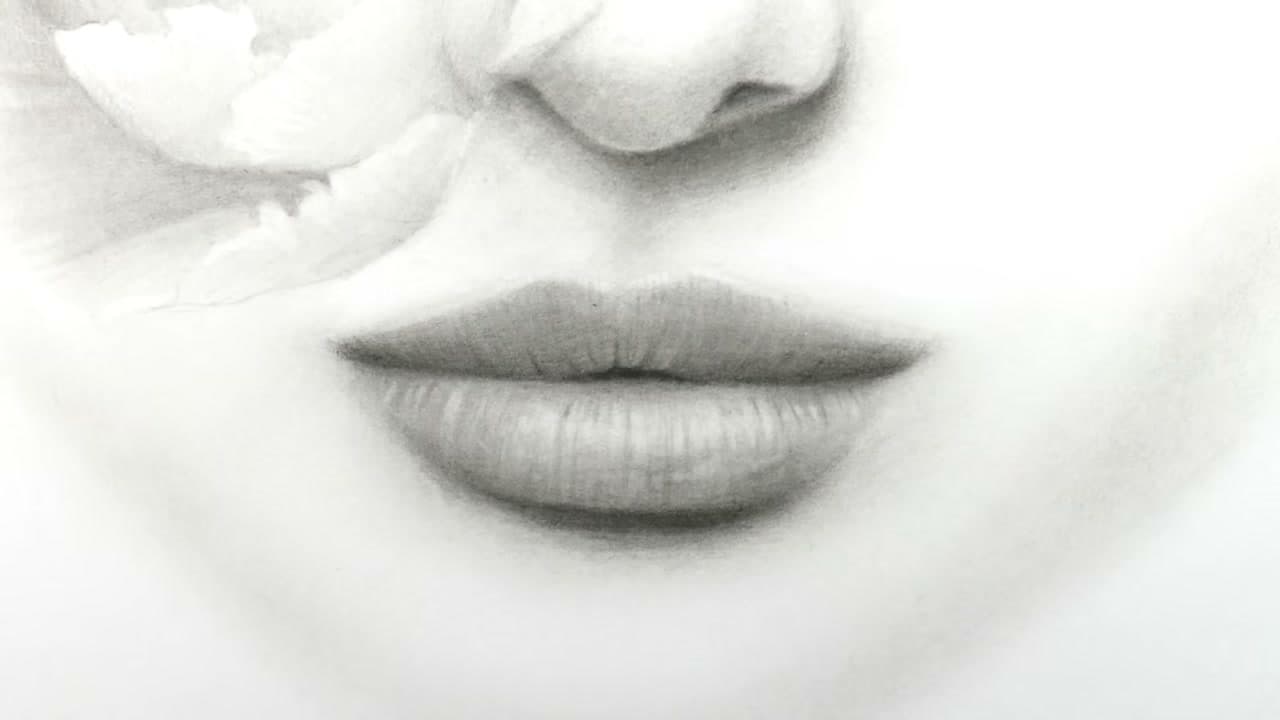
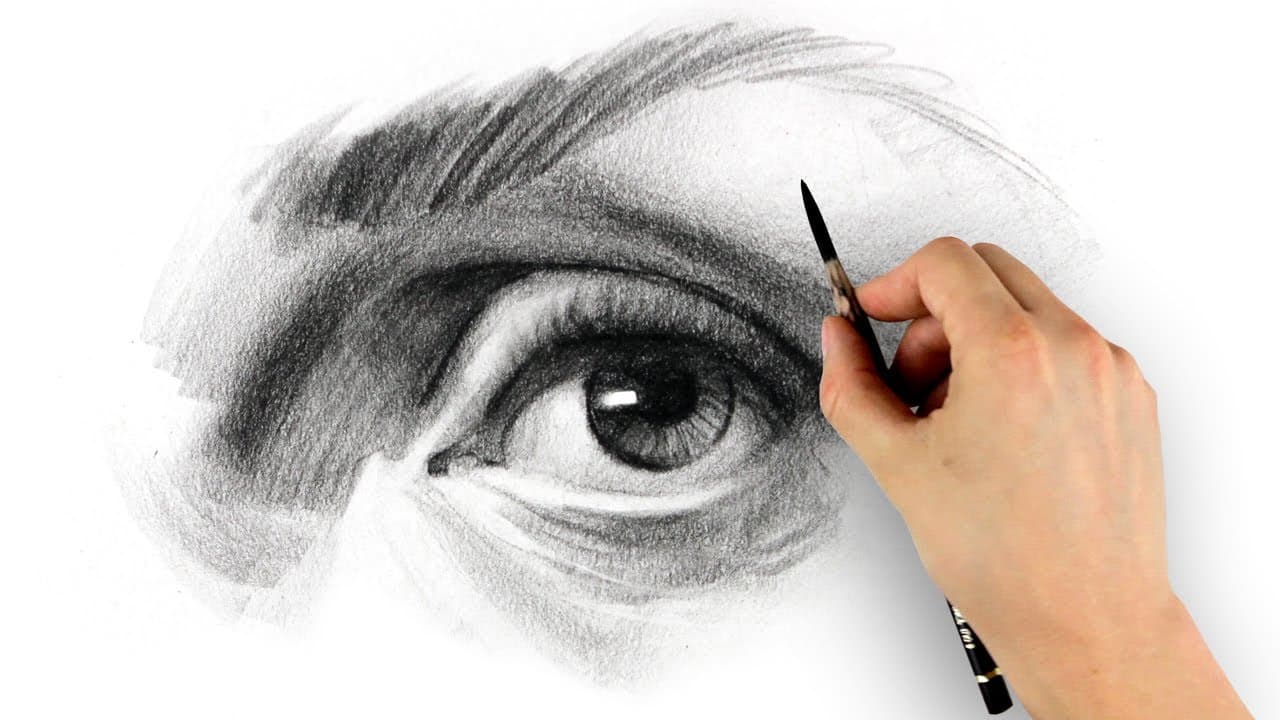
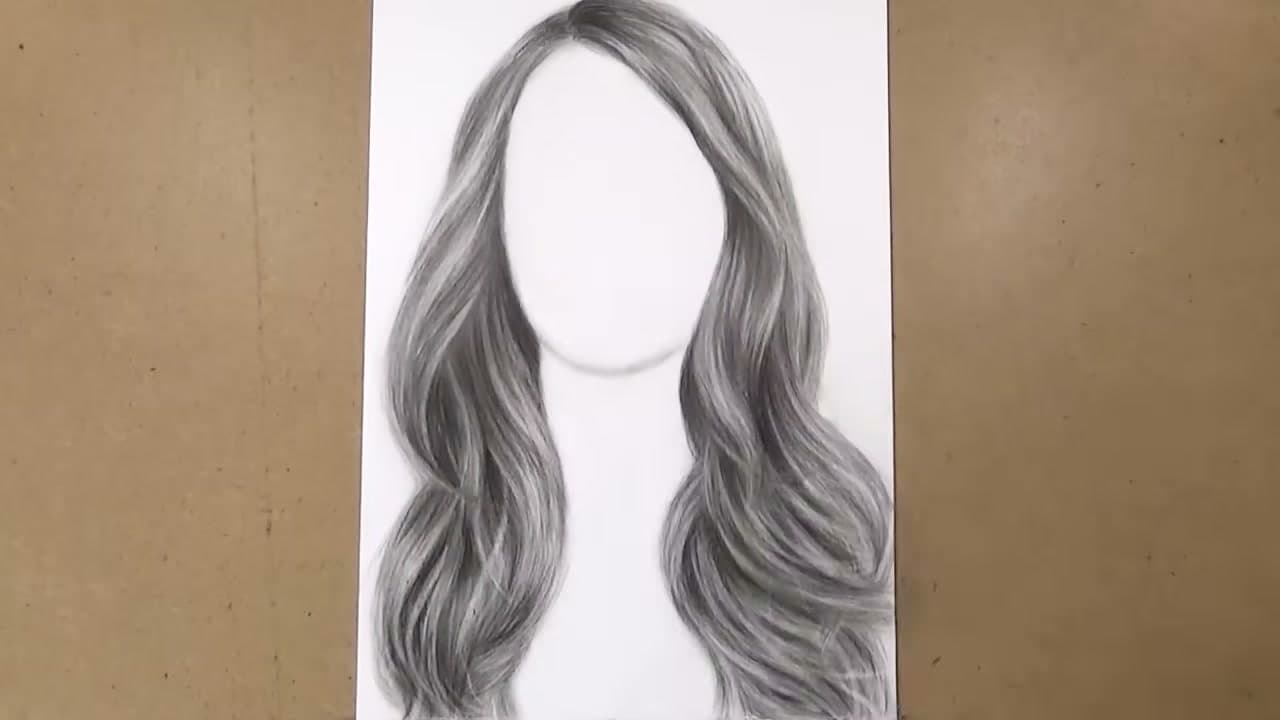
And when you are ready for the one everybody wants, drawing a face is proportion work more than pencil work. The features each get their own page: eyes, the nose, lips and hair all use the light-source and layered-shading ideas above on a smaller area.

If you would rather add colour than graphite, acrylic painting for beginners starts from the same light-and-shadow thinking.

Free printable

Print the steps and supply list for this project

One page you can take to the table. Free with a free account, no password.

Get the free printable

What you'll need

Free, for this project

Get this checklist by email

  • All 7 tools and materials, with tick boxes
  • A link to print all 8 steps on paper, to keep by you while you craft

No password. The whole tutorial stays free on this page.

Quick answer

Learn to draw from scratch. Pencil grades, the light-pass sketching method, and how to shade a circle into a sphere by choosing a light source. An easy project: about 45 minutes. Materials cost about $10 to $20. You need 7 things, including Sketchbook or drawing paper pad, Graphite pencil set and Graphite pencils. The 8 steps start with get a Sketchbook and a Basic Pencil Set and pick Up Two Kinds of Eraser.

Step-by-step guide

8 steps, about 16 minutes. Tap a picture to jump to that step. Your progress saves automatically.

Tick each step off as you go.

  1. Step 1: Get a Sketchbook and a Basic Pencil Set

    Watch this step · 0:35

    You need less than you think. A pad of sketch paper around 9x12 inches and a boxed graphite set with a spread of pencils, an eraser and a small sharpener will carry you through months of practice.

    The cheap student sets are genuinely fine. Nothing about learning to draw depends on expensive supplies, and a $12 kit has the same range of leads as a $60 one. Spend the money later, on paper, once you know what you like.

    Tip:

    Buy a spiral-bound pad rather than loose sheets. Being able to flip back through six months of bad drawings is the fastest way to notice you improved.

    Back to all steps

  2. Step 2: Pick Up Two Kinds of Eraser

    Watch this step · 2:30

    A gum eraser crumbles as it works, which lifts graphite off the surface instead of grinding it into the paper. It is the one to reach for when you want a passage gone without wrecking the tooth of the sheet.

    A kneaded eraser is the more useful of the two. It stretches, so you can pinch it to a point for fine detail or press it flat to lighten a whole area. When it gets grey, fold it over on itself and keep going. It never needs replacing until it stops holding a shape.

    The hard plastic eraser in most kits is the one you will use least.

    Tip:

    A kneaded eraser is also a shading tool. Dab it over a dark passage to pull highlights back out rather than trying to draw around them.

    Back to all steps

  3. Step 3: Learn What the H and B on a Pencil Mean

    Watch this step · 4:15

    Every graphite pencil is marked with a letter and a number, and the system is simpler than it looks. B is for blackness. The higher the number, the softer the lead and the darker the mark, so an 8B lays down far more graphite than a 2B.

    H is for hardness. Higher numbers get harder and lighter. A 6H leaves a pale grey line you can barely see. HB and F sit in the middle and behave roughly like the pencil you write with.

    For sketching, a 2B does almost everything. It is soft enough to get real darks and hard enough to hold a point.

    Tip:

    Do not buy a pencil per grade until you know your own hand. Most people end up using two or three from a twelve-pencil set and leaving the rest in the tin.

    Back to all steps

  4. Step 4: Sketch With Many Light Lines, Not One

    Watch this step · 6:40

    This is the habit that separates a sketch from a scribble, and almost nobody is taught it. Instead of trying to place one perfect line, let the pencil travel back and forth over roughly the same path, building the shape out of a loose bundle of strokes.

    Keep the pressure light. You are not drawing the edge yet, you are circling around where the edge probably goes. Ten quick passes cost you three seconds and give you ten chances to find the curve.

    Tip:

    Hold the pencil further back than you would for writing. It is harder to press hard from there, which is exactly the point.

    Back to all steps

  5. Step 5: Darken Only the Line You Committed To

    Watch this step · 9:06

    Once the shape is right, go back and press harder along the edge you actually want. That darker line becomes the drawing.

    Leave the light exploratory strokes alone. At full drawing weight they drop away visually and stop reading as part of the image, so erasing them is wasted effort. Half the sketches you admire have those ghost lines still sitting in them.

    Tip:

    If you find yourself erasing constantly, you are committing too early. Go back to lighter passes and let the shape emerge.

    Back to all steps

  6. Step 6: Compare a Sketched Shape to a Committed One

    Watch this step · 9:16

    Draw a circle in one confident stroke, then draw another using the light-pass method, and set them side by side. The sketched one is rounder. It is rounder every single time.

    Nothing about that is talent. You gave yourself several attempts at the curve and kept the best of them, instead of betting the whole shape on one movement of your wrist. That is the entire trick, and it scales from a circle up to a portrait.

    Tip:

    Try it with a straight line too. A ruled edge built from three light passes beats a single freehand stroke by a wide margin.

    Back to all steps

  7. Step 7: Pick a Light Source and Shade Away From It

    Watch this step · 10:50

    A circle is flat. A circle with shadow on one side is a sphere. That is the whole difference between a two-dimensional drawing and one with depth.

    Before you shade anything, sketch a small sun and an arrow at the edge of the page so you cannot forget which way the light runs. Then darken the far side of the form, lightly at first, building up in passes the same way you built the outline. Add a cast shadow on the surface underneath, falling away from the light.

    Ask the same question at the start of every drawing you ever make: where is the light coming from?

    Tip:

    Leave a small patch of bare paper on the lit side. That untouched highlight does more to sell the roundness than any amount of dark shading.

    Back to all steps

  8. Step 8: Practise on a Cube and a Cylinder

    Watch this step · 13:56

    A sphere has one curved surface, so the shading is one smooth gradient. A cube has flat planes that each catch a different amount of light, which makes it a harder and more useful exercise. Sketch it loosely, place your light, then decide which face is lit, which is in half-light and which is dark.

    A cylinder sits between the two. Curved around, flat on the ends.

    Then start drawing the objects around your house. Mugs, lamps, door handles, the corner of a room. Almost everything you will ever draw reduces to a sphere, a cube or a cylinder wearing a disguise.

    Tip:

    Do not stress over the ones that come out badly. Turn the page and try the same object from a different angle with the light somewhere else.

    Back to all steps

How to Draw Lips - Realistic Mouth in 8 Steps

Keep going

How to Draw Lips - Realistic Mouth in 8 Steps

You reached the last step

Save this project to come back to it

Your ticked steps, the free printable and your other saved makes, together in My Projects. Free, no password.

You tapped Save

Save this project for later

We'll email you a link, no password.

How to Draw - Sketching Basics for Complete Beginners

  • Your saved projects in one list
  • Your ticked steps on any device

Check your inbox for an email from us. Not there? Look in your spam folder.

Free printable

Printable sheet for this project

The bonus is hidden until you sign up.

Free with a free account, no password. Every step above stays open to everyone.

Products Used

The Checklist

How to Draw - Sketching Basics for Complete Beginners

Tools
5
Materials
2
Steps
8
Video
16 min

Tools we recommend

As an Amazon Associate we earn from qualifying purchases. Links on this page may be affiliate links - clicking them and buying doesn't change your price, but helps support Crafting Step by Step.

Tags

The Crafter's Weekly

New drawing tutorials, every Sunday

One short email with the week's best step-by-step guides. Free, no spam, unsubscribe anytime.

Test your knowledge

Did the lesson stick? Start with this one.

5 questions covering what you just read. No signup, no score saved, and you can stop after this one.

Question 1 of 5

On a graphite pencil, what does a higher B number mean?

Quick reference

Key takeaways from How to Draw - Sketching Basics for Complete Beginners

5 questions, answers, and one-line explanations. Tap to expand.

  1. 1.On a graphite pencil, what does a higher B number mean?

    Answer: A softer lead that leaves a darker mark

    B stands for blackness, so a higher number is softer and darker.

  2. 2.Why sketch a shape with many light passes instead of one committed line?

    Answer: Each pass is another attempt at the curve, so it lands truer

    Several light attempts average out into a rounder, more accurate line.

  3. 3.The shape is right. What should you do with the light exploratory strokes?

    Answer: Leave them, and press harder only along the edge you want

    At full drawing weight the light strokes visually drop away, so erasing them is wasted effort.

  4. 4.Which eraser is the better choice for lifting a highlight out of shading?

    Answer: A kneaded eraser shaped to a point

    A kneaded eraser can be shaped and dabbed, so it lifts graphite without scrubbing the paper.

  5. 5.What turns a drawn circle into a sphere?

    Answer: Shading one side away from a chosen light

    Depth comes from committing to one light direction and shading away from it.

Did this work for you?

What's next

Related collections

Curated theme pages that include this tutorial.

Similar tutorials

Hand-picked next reads based on the one you just finished.

Liked this drawing tutorial?

Pick the crafts you want to hear about. One email every Sunday with new step-by-step tutorials. No spam, easy to unsubscribe.

Get more like this in your inbox

Weekly digest. Pick the categories you want. Unsubscribe anytime.

Send me tutorials about

We only email about new tutorials. Easy unsubscribe anytime.