How to Make Flying Geese 4 at a Time

QuiltingMedium8:5011 stepsPart of DIY Crafts for BeginnersBrowse more →
The finished result: How to Make Flying Geese 4 at a Time

By CraftingStepByStepPublished

Based on a video by Suzy Quilts.

Four flying geese at once, out of one large square and four small ones, with nothing left over. That is the promise of this method, and it is why hardly anybody makes geese one at a time any more. The older way sews two small squares onto a rectangle and bins the trimmed-off triangles. This way uses every inch you cut.

Suzy of Suzy Quilts works through it on her Shining Star block, where four geese point in at a log cabin center. She marks a guideline rather than trusting her eye, sews either side of it, then gives the back half of the video to the part that decides whether geese look sharp: trimming them without clipping the point off.

The cutting math

A flying goose is always twice as wide as it is tall, so one that finishes 2 inches tall finishes 4 inches wide. Pick the finished size and the no-waste formula hands you both cuts:

  • One large square for the goose: finished width plus 1 1/4 inches
  • Four small squares for the background: finished height plus 7/8 inch

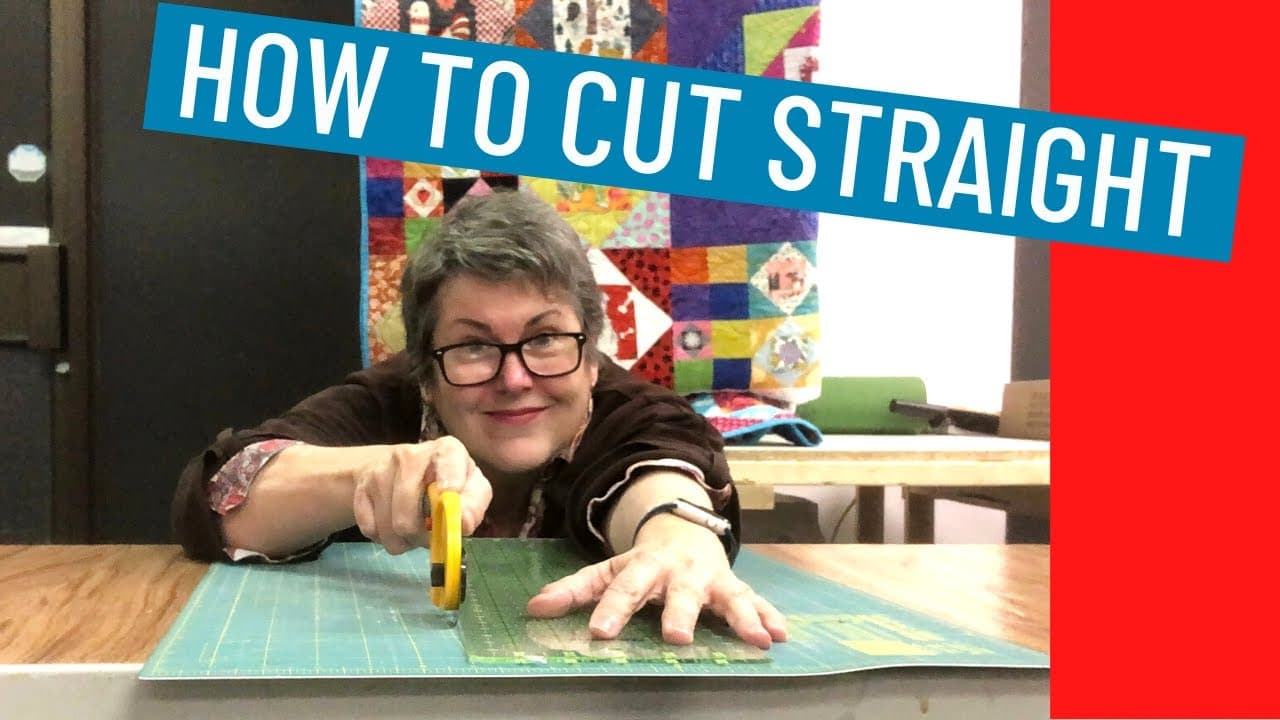
A 2 by 4 inch finished goose wants one 5 1/4 inch square and four 2 7/8 inch squares. Accurate squares matter more than anything else here, so spend a minute on cutting quilt fabric properly.

There is a second approach, and it is the one in the video. Cut slightly larger, then trim each unit down to size. You lose a thin strip of fabric and get four identical units even when a seam wandered. Suzy trims hers to 5 1/2 by 10 1/2 inches, the same ruler work as squaring up a quilt block.

Why the quarter inch has to be scant

You sew a quarter inch either side of the drawn line, never on the line itself. The line is where the rotary cutter goes later. Make both seams a scant quarter inch, a thread or two under a true quarter. The thread and the fold of the pressed seam eat a sliver of fabric, so a dead-accurate quarter finishes small.

Everything here assumes your seam is right, so if you have never tested yours, sew a quarter inch seam first and measure it. Consistency beats accuracy. A seam that is always a hair narrow gives you four matching geese. One that wanders between the two sides of the line gives you a goose with a long wing.

Press between the rounds, not at the end

After the first cut you have two units that look like hearts. Press them before the next background square goes on, or the seam allowance folds the wrong way under the next seam and buries the point. Lift the iron and set it down instead of sliding it, since every edge here is bias and bias stretches under a moving iron.

To the side or open is your call. Suzy presses to the side, which lets seams lock together later, while open lies flatter under dense quilting. Pressing quilt seams settles the trade-off. Starch earns its place here, because it stops bias edges growing.

Where flying geese go wrong

The point got cut off. Almost always from trimming before checking. Look for a quarter inch of background fabric above the tip before the blade moves. That quarter inch becomes the seam allowance in the block, and without it the tip disappears into the seam.

The units came out small. Your seam is a true quarter or a touch wide. Go scant, test on scraps, and never try to stretch a finished unit to size.

The wings are uneven. The two seams were different widths, or the squares shifted while you sewed. Four pins fix the second one.

The unit ripples. Normal halfway through, and it presses flat. Still rippling afterwards means the bias has grown.

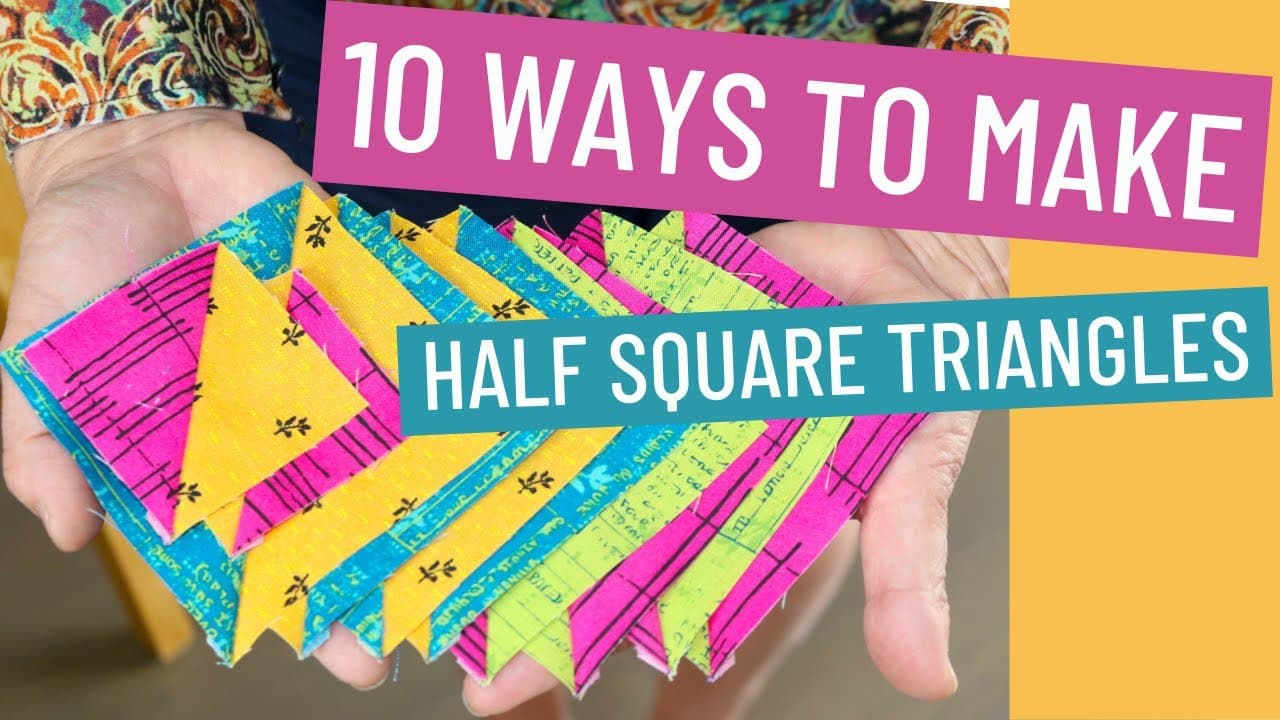
Flying geese and half square triangles are cousins, both built from squares and a drawn diagonal. Once the geese are trimmed and the blocks are sewn, adding borders to a quilt turns them into a quilt top.

What you'll need

Step-by-Step Guide

11 steps · about 9 minutes.Check off each step as you go and your progress saves automatically.

1

Lay Two Background Squares on Opposite Corners of the Large Print Square

0:33
Step 1: Lay Two Background Squares on Opposite Corners of the Large Print Square - How to Make Flying Geese 4 at a Time

Put the large print square right side up on the cutting mat. Suzy sets hers on point, as a diamond, which makes the diagonal easier to see. Lay two of the small background squares right side down on opposite corners of it, so the two inner corners meet in the middle.

They will look like they overlap slightly. They should. That overlap is what gives you the seam allowance on both sides of the cut. Smooth everything flat with your palm and check that all the outer corners line up with the corners of the big square underneath.

Tip

Starch the background fabric and press it before you cut the squares. Every edge you are about to sew is on the bias, and starched cotton holds its shape instead of growing under your fingers.

2

Draw a Diagonal Line Corner to Corner Across Both Background Squares

0:57
Step 2: Draw a Diagonal Line Corner to Corner Across Both Background Squares - How to Make Flying Geese 4 at a Time

Lay a long quilting ruler from one corner of the background squares to the opposite corner, straight through the point where the two of them meet, and draw a line along it with a fabric marker. One line, corner to corner, running across both squares.

This is a guide and nothing more. You are not going to sew on it, you are going to sew on either side of it and then cut on it. A crease pressed in with the iron works just as well, and so does a strip of tape on the machine bed, which is what Suzy uses once the pieces get small enough to fit.

Tip

Use a marker that disappears with water or heat and test it on a scrap of the same fabric. On a dark print a chalk pencil shows up better than ink and brushes straight off.

3

Pin Both Background Squares on Either Side of the Drawn Line

1:33
Step 3: Pin Both Background Squares on Either Side of the Drawn Line - How to Make Flying Geese 4 at a Time

Push four pins in, two on each side of the drawn line, well clear of where the needle is going to run. On a square this size the two layers will creep apart otherwise, and creeping is where an uneven goose comes from.

Keep them flat against the fabric and out of the seam path so you can pull them as you reach them. Once the pieces get small, in the second round, most people drop the pins entirely.

Tip

Glass head pins survive the iron. Plastic heads melt onto the fabric the first time you forget one, which is a stain that does not come out.

Used in this stepglass head quilting pins
4

Sew a Scant Quarter Inch Seam Down Each Side of the Drawn Line

1:50
Step 4: Sew a Scant Quarter Inch Seam Down Each Side of the Drawn Line - How to Make Flying Geese 4 at a Time

Run one seam a scant quarter inch to the left of the line and a second one a scant quarter inch to the right. Two separate passes, both from edge to edge. Nothing gets sewn on the line itself.

Scant means a thread or two under a true quarter inch. The thread and the fold of the pressed seam swallow that sliver, so a dead-accurate quarter inch leaves you with units that finish a whisker small. Watch the edge of the fabric against your guide rather than watching the needle. It is what keeps both seams the same width, and both seams matching matters more than either one being perfect.

Tip

The fabric will look a little rippled coming off the machine. That is the bias moving and it presses out. Do not go back and unpick it.

5

Cut the Square Apart Along the Drawn Line With a Rotary Cutter

2:06
Step 5: Cut the Square Apart Along the Drawn Line With a Rotary Cutter - How to Make Flying Geese 4 at a Time

Lay the ruler so its edge sits right on the drawn line, hold it down firmly, and run the rotary cutter along it in one pass. You are cutting between the two seams you just sewed, which splits the square into two identical halves.

Scissors work too, since the line tells you exactly where to go. A ruler and a rotary cutter are faster and give you a straighter edge, and a straight edge here makes the trimming at the end much less fiddly.

Tip

Walk your holding hand up the ruler as the blade passes it. Keeping it planted at the bottom is how the ruler pivots halfway through the cut and takes a curve out of your line.

6

Press Both Halves Open Into Heart Shaped Units

2:24
Step 6: Press Both Halves Open Into Heart Shaped Units - How to Make Flying Geese 4 at a Time

Take both halves to the iron and press the background triangles open, away from the print. What you get is a shape most quilters call a heart: one big print triangle with two background ears standing up at the top. Two of them, identical.

Press, do not iron. Lift the iron and set it down instead of sliding it across, because every edge here is cut on the bias and a moving iron drags bias out of shape. Do this now rather than at the end. An unpressed seam allowance folds the wrong way under the next seam and buries the point.

Tip

Press to the side, toward the background, and all four of your finished geese will have their seam allowances lying the same way. That is what lets them lock against the seams of whatever you sew them to next.

Used in this stepsteam ironspray starch
7

Lay the Third Background Square Over the Center of the Heart Unit

2:34
Step 7: Lay the Third Background Square Over the Center of the Heart Unit - How to Make Flying Geese 4 at a Time

Take a heart unit and lay one of your two remaining background squares right side down over the middle of it, with its corners matching the notch between the two ears. Do the same with the second heart and the last background square.

Mark a diagonal line across the new square, corner to corner, exactly as you did the first time. Pin either side of it if the pieces still feel big. By this stage they are small enough that a tape guide on the machine bed usually does the job.

Tip

Check the corners against the unit underneath before you mark anything. A background square set down a sixteenth of an inch off is a goose with a lopsided wing, and you will not see it until the very end.

8

Sew Both Sides of the New Line, Then Cut Between the Two Seams

4:05
Step 8: Sew Both Sides of the New Line, Then Cut Between the Two Seams - How to Make Flying Geese 4 at a Time

Same two passes as before. A scant quarter inch down one side of the new line, a scant quarter inch down the other, nothing on the line. Repeat on the second heart unit.

Then put the ruler back on the line and cut between the two seams. Each heart splits into two, so the two units you started this round with become four. Suzy counts them out loud at this point because it surprises people: one large square and four small ones just turned into four geese.

Tip

Chain piece both units through the machine without cutting the thread between them. It saves thread, it stops the first stitches of a small unit getting eaten into the needle plate, and you end up with everything sewn at the same tension.

9

Press Open and Count Four Flying Geese Units

4:44
Step 9: Press Open and Count Four Flying Geese Units - How to Make Flying Geese 4 at a Time

Press each of the four open, background away from the print, and lay them out together. Four flying geese, all the same size, all from five squares of fabric. Each one has the print triangle pointing up with a background triangle either side of it.

They will have little triangles of fabric poking out at the corners. Those are the dog ears and they come off in the trimming. Do not cut them now. They give you something to line the ruler up against.

Tip

Lay all four side by side and look along them. If one is visibly shorter than the other three, its seam was wider. Trim them all to the same unfinished size anyway and the block will still go together.

Used in this stepsteam iron
10

Line the Quilting Ruler Up on the Flying Geese Unit Before You Trim

7:05
Step 10: Line the Quilting Ruler Up on the Flying Geese Unit Before You Trim - How to Make Flying Geese 4 at a Time

Work out the unfinished size first. It is the finished size plus half an inch, so a 5 by 10 inch finished goose trims to 5 1/2 by 10 1/2 inches. Suzy turns the unit so the seam she wants to keep runs down one side, then lines three things up at once.

The corners of the ruler sit on the two seams where the background meets the print. The mark for your full unfinished width sits on the opposite seam. And half of that width, 5 1/4 inches on a 10 1/2 inch unit, lands on the tip of the goose so the point stays centered. Get your head over the ruler and check all three before the blade moves.

Tip

A 6 by 12 inch ruler is easier to steer around a goose than a long 6 by 24. If the long one is all you have it works, it just hangs off the mat and wants to slide.

11

Check the Quarter Inch of Background Above the Flying Geese Point

8:34
Step 11: Check the Quarter Inch of Background Above the Flying Geese Point - How to Make Flying Geese 4 at a Time

Before you cut the top edge, look for a quarter inch of background fabric above the tip of the goose. That strip becomes the seam allowance when the unit gets sewn into a block. Trim it away and the tip vanishes into the seam, which is what people mean when they complain about blunt geese.

Cut two sides, rotate the unit, line the cut edges up against the ruler and cut the last two. The second pair of cuts is much quicker because the alignment is already done. Repeat on the other three and you have four trimmed flying geese ready to sew.

Tip

Trim all four units in one sitting while the ruler placement is still in your hands. Coming back to it tomorrow means working the alignment out again from scratch, and that is where a set of four stops matching.

Keep going

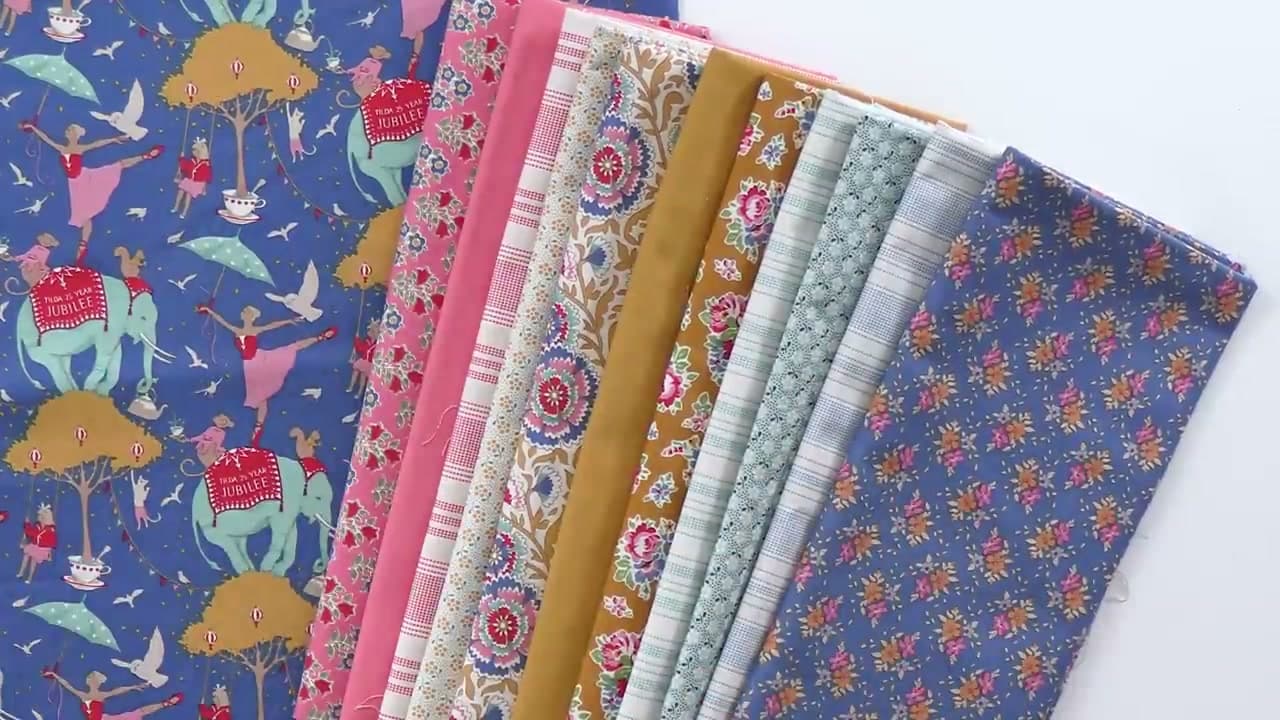
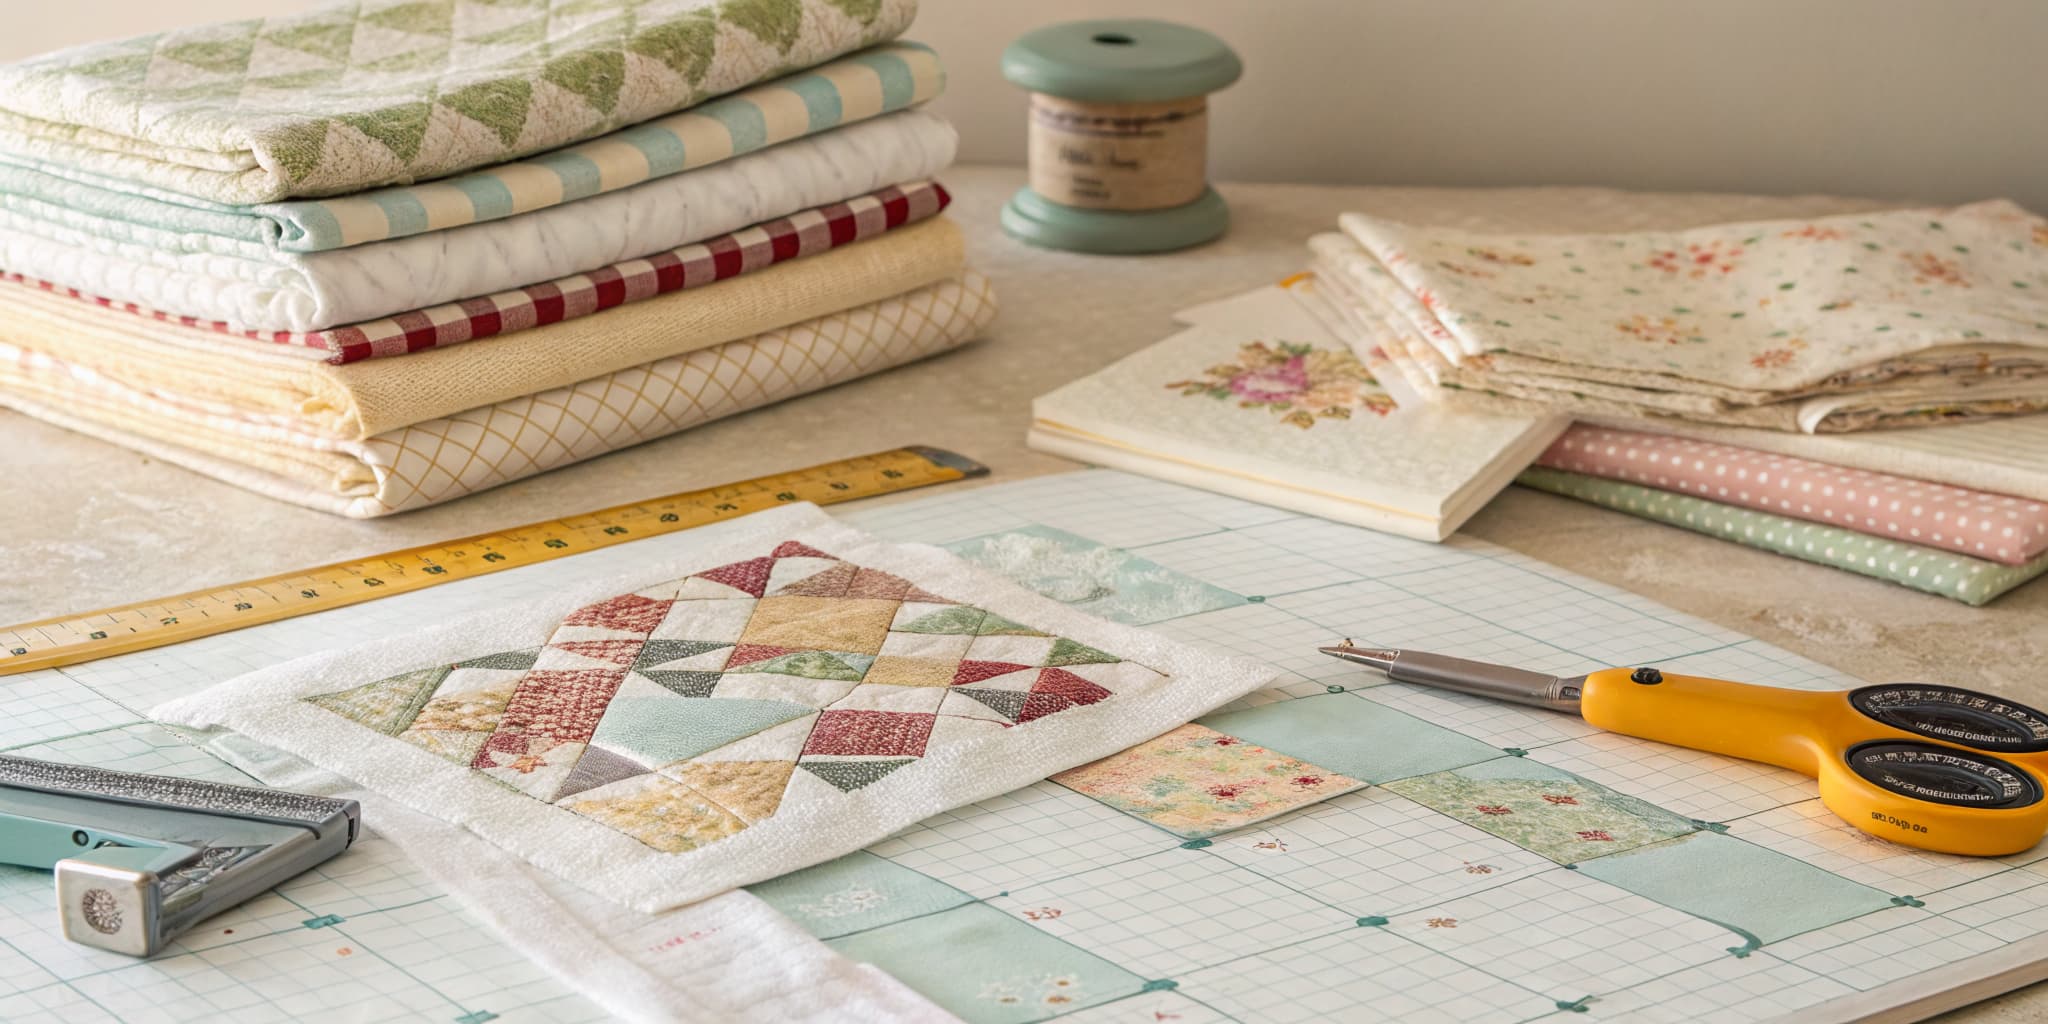
How to Choose Quilting Fabric (A Quilter's Fabric Pull Walkthrough)

7 steps · about 12 minutes

Products Used

The Checklist

How to Make Flying Geese 4 at a Time

Tools
8
Materials
6
Steps
11
Video
9 min

Tools we recommend

Your Guide

Suzy Quilts

As an Amazon Associate we earn from qualifying purchases. Links on this page may be affiliate links - clicking them and buying doesn't change your price, but helps support CraftingStepByStep.

Tags

Sunday How-To

New quilting tutorials, every Sunday

One short email with the week's best step-by-step guides. Free, no spam, unsubscribe anytime.

Did this work for you?

What's next

Related collections

Curated theme pages that include this tutorial.

Weekly Digest

Liked this quilting tutorial?

Pick the categories you want to hear about. Weekly digest of new step-by-step tutorials. No spam, easy unsubscribe.

Send me tutorials about

We only email about new tutorials. Easy unsubscribe anytime.