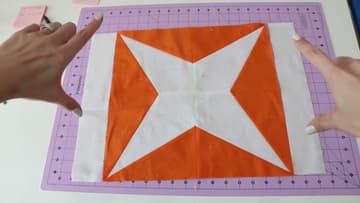
How to Add Borders to a Quilt Top So They Lie Flat
Source: Melanie Ham • Full tutorial: www.craftingstepbystep.com/quilting/how-to-add-borders-to-a-quilt
- Difficulty
- Easy
- Hands-on time
- About 1 hour 30 minutes
- Cost
- About $15 to $30

Tools
- Tape measure
- Rotary cutter
- Long quilting ruler
- Self-healing cutting mat
- Square quilting ruler
- Sewing machine
- 1/4-inch patchwork foot
- Walking foot
- Iron
- Bone folder
Materials
- Cotton quilting fabric for the borders
- 50 wt cotton thread
- Glass head quilting pins
Steps
1. Run a Tape Measure Down the Centre of the Quilt Top
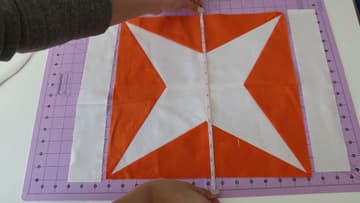
Lay the top flat and smooth it with your palms. Run a tape measure from the top edge to the bottom edge straight through the middle and note the number.
Tip: Measure with the top lying flat on a table, not hanging off the edge. Gravity adds a quarter inch to a quilt top the moment part of it drops over the side.
2. Read the Three Numbers Off the Tape and Average Them
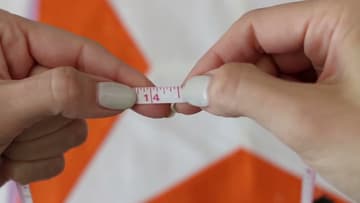
Melanie's three came out at 14 and 9/16, 14 and 7/16, and 14 and 9/16. She averaged them and rounded to 14 and a half, because that is a mark you can cut to without squinting.
Tip: Round to the nearest eighth rather than chasing sixteenths. You will ease a sixteenth in without noticing, and a number you can actually find on the ruler gets cut more accurately.
3. Fold the Border Strip in Half and Crease the Centre
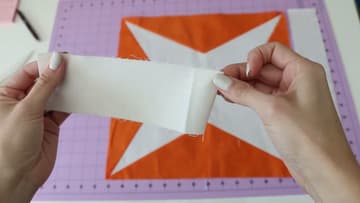
Bring the two short ends of the strip together and pinch a hard crease at the fold. Open it, fold each half back to that centre crease, and pinch again.
Tip: Press the crease with your thumbnail rather than your fingertip. A nail gives you a sharp line you can see; a fingertip gives you a soft bend you will lose.
4. Fold the Quilt Top in Half to Find Its Centre
Do the same to the quilt top. Fold it edge to edge and the fold lands on the centre, then fold again for the quarters.
Tip: Fold the quilt top the same direction as the border strip. Matching a lengthways crease to a crossways one is how people end up sewing a side border onto the top edge.
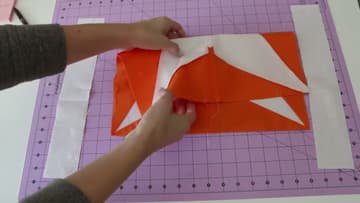
5. Press the Centre Fold Flat With a Bone Folder
Run a bone folder down the fold to set a crease you can see from across the table. It takes one pass and costs nothing in fabric.
Tip: Keep the bone folder flat rather than on its edge. Worked on edge it can burnish a shiny line into cotton that shows up after pressing.
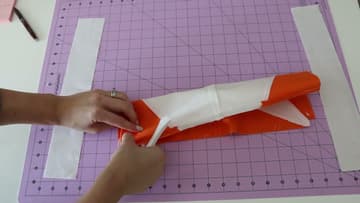
6. Lay the Border Strip Along the Quilt Edge, Right Sides Together
Turn the strip face down onto the quilt top so the right sides meet, then line up the raw edges. Match the centre crease on the strip to the centre crease on the quilt, then the two quarter creases, then the two ends.
Tip: Do the sides before the top and bottom. The top and bottom strips then run the full width of the quilt and the corner seams all read the same way round.
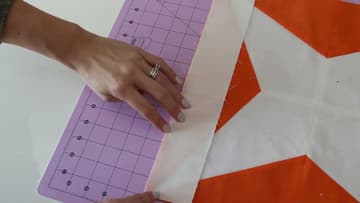
7. Pin the Border at the Centre, the Quarter Marks and Both Ends
Pin every crease you matched. Both ends first, then the centre, then the two quarters.
Tip: If the quilt edge overhangs the end of the strip by an eighth of an inch, pin it flush with the strip end anyway. That eighth gets eased into the seam, not trimmed off.
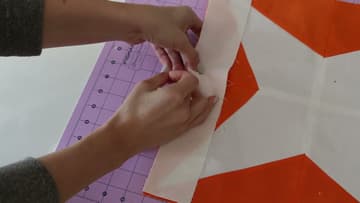
8. Ease the Extra Quilt Fabric In Between the Pins
Between the pins the quilt edge runs slightly longer than the strip. Spread that extra out with your fingertips as you go so it never gathers into a fold under the needle.
Tip: Slow down between pins rather than tugging. Pulling the fabric straight stretches the bias you were trying to control and puts the wave back.
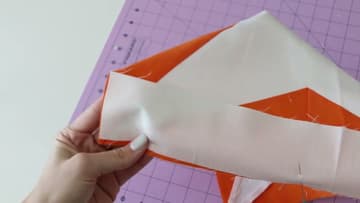
9. Sew the Side Borders On, Then Measure the Full Width for the Top and Bottom
Sew both sides with a quarter inch seam and press. Now measure again for the top and bottom, and this time the tape has to cross the side borders you just added, so the number is bigger than the one you started with.
Tip: Measure for the top and bottom after the side borders are sewn AND pressed.