How to Make Half-Square Triangles: 6 Easy HST Methods

QuiltingMedium13:047 stepsBrowse more →
Also in:Crafts

By CraftingStepByStepPublished Updated

Based on a video by Just Get it Done Quilts.

The half-square triangle is the second skill every quilter learns after sewing squares and rectangles together. Two right triangles joined along the diagonal, set side by side, and suddenly you have pinwheels, broken dishes, friendship stars, and a hundred other classic blocks. There are at least ten different ways to make them, and each one solves a different problem.

This guide pulls the six most useful methods from Karen Brown of Just Get It Done Quilts. She tested all ten and ranked them by accuracy, speed, and project type. The right method depends on how many HSTs you need, whether your fabrics are pre-cuts, and how much trimming you tolerate. Once you know all six, you can match the technique to the project instead of forcing one approach onto every quilt.

If you're building a full quilt around HSTs, pair this with our guides on how to bind a quilt, how to machine quilt, and how to applique for the full finish.

Step-by-Step Guide

1

Method 1: Classic 1-at-a-Time

3:15
Step 1: Method 1: Classic 1-at-a-Time

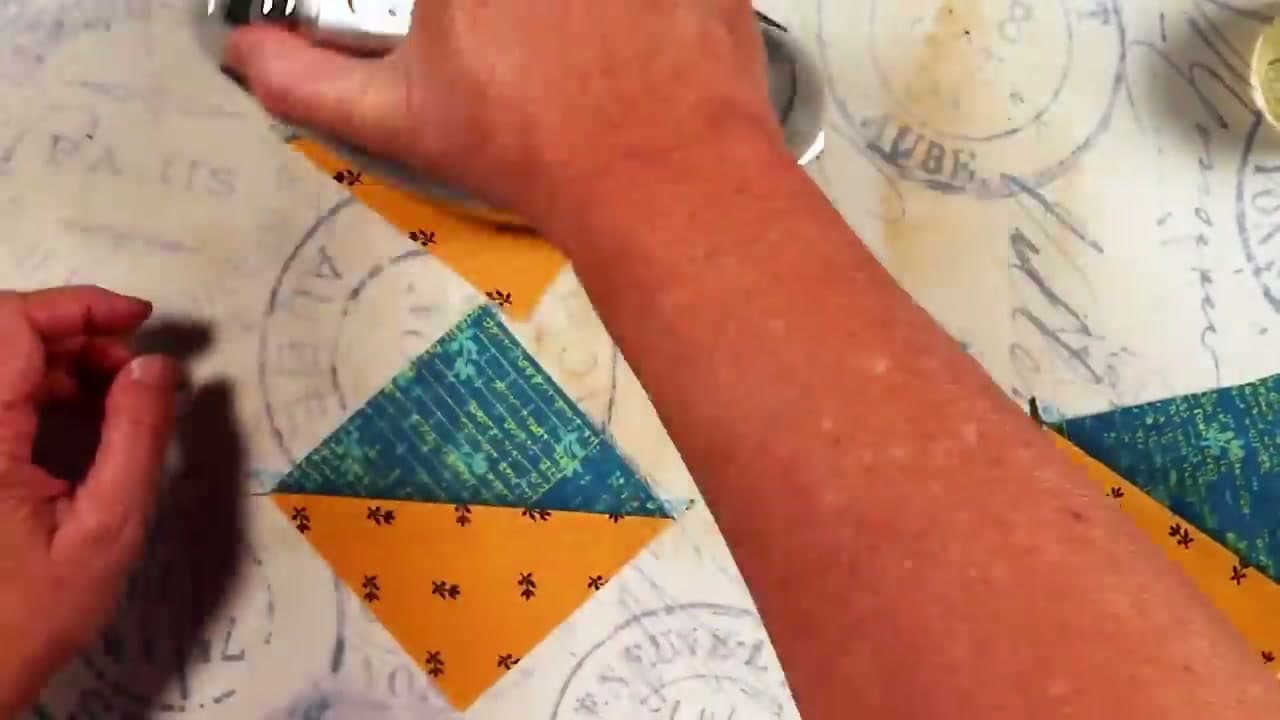
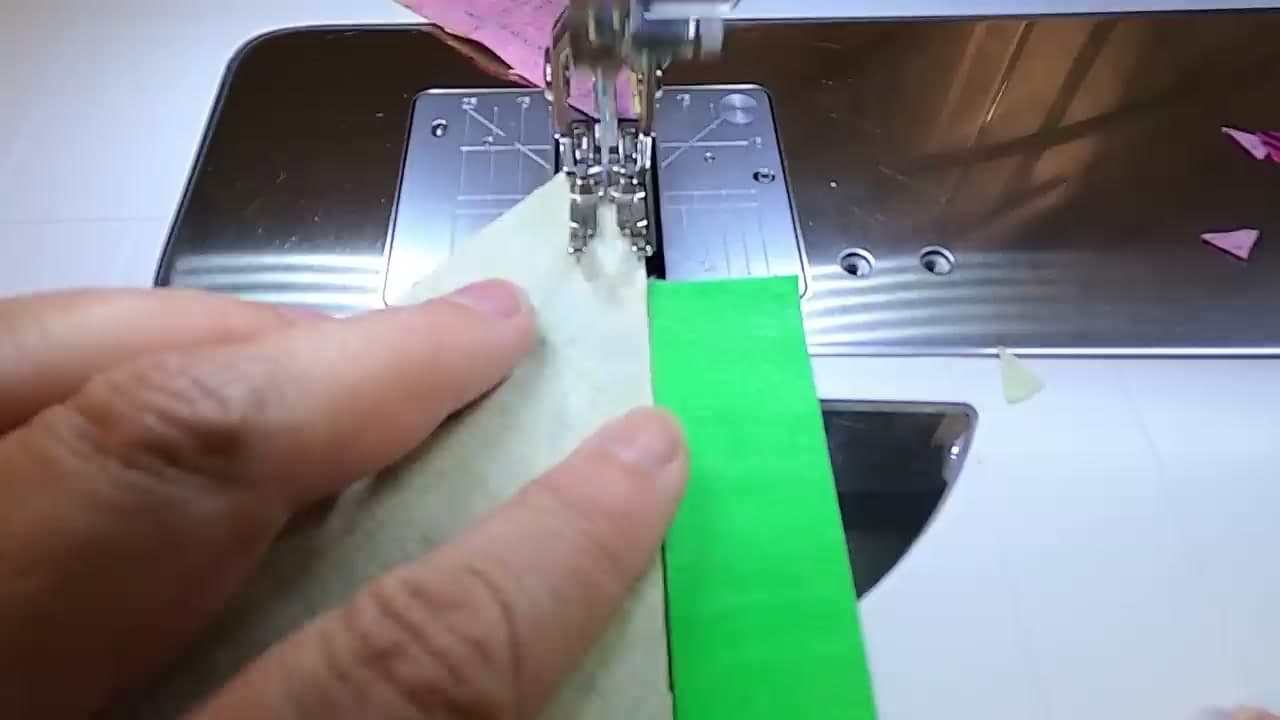
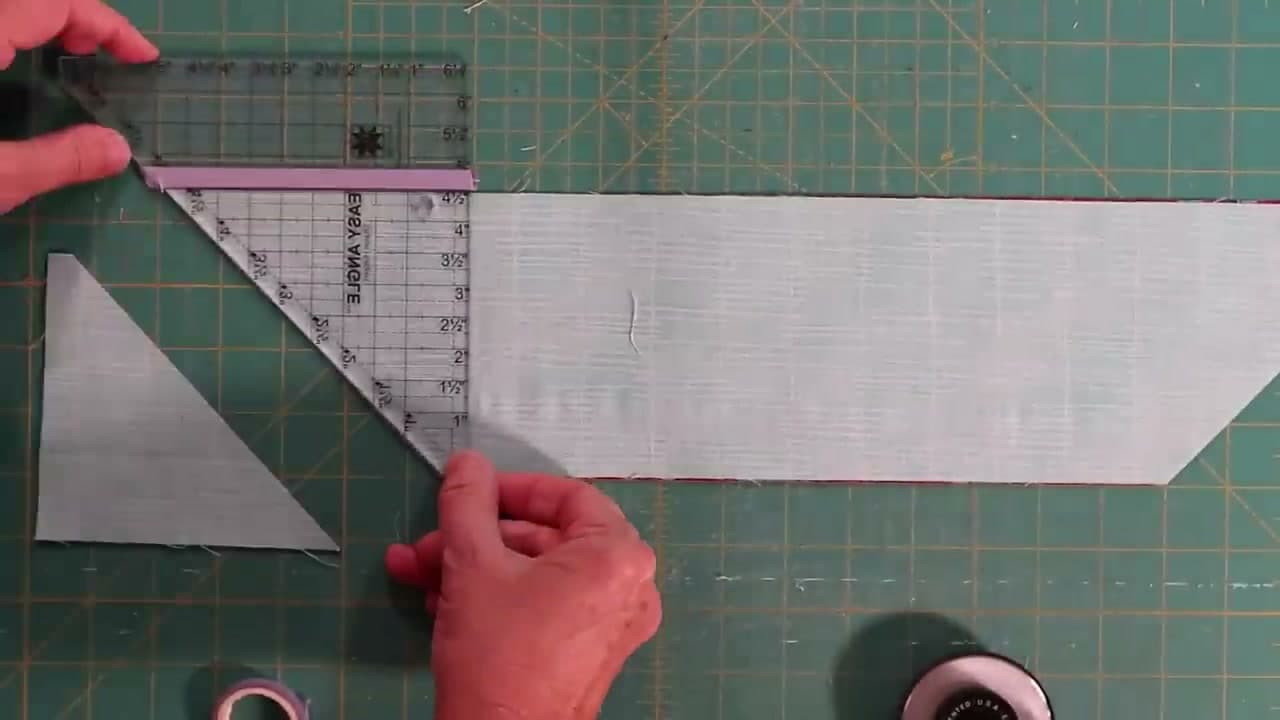
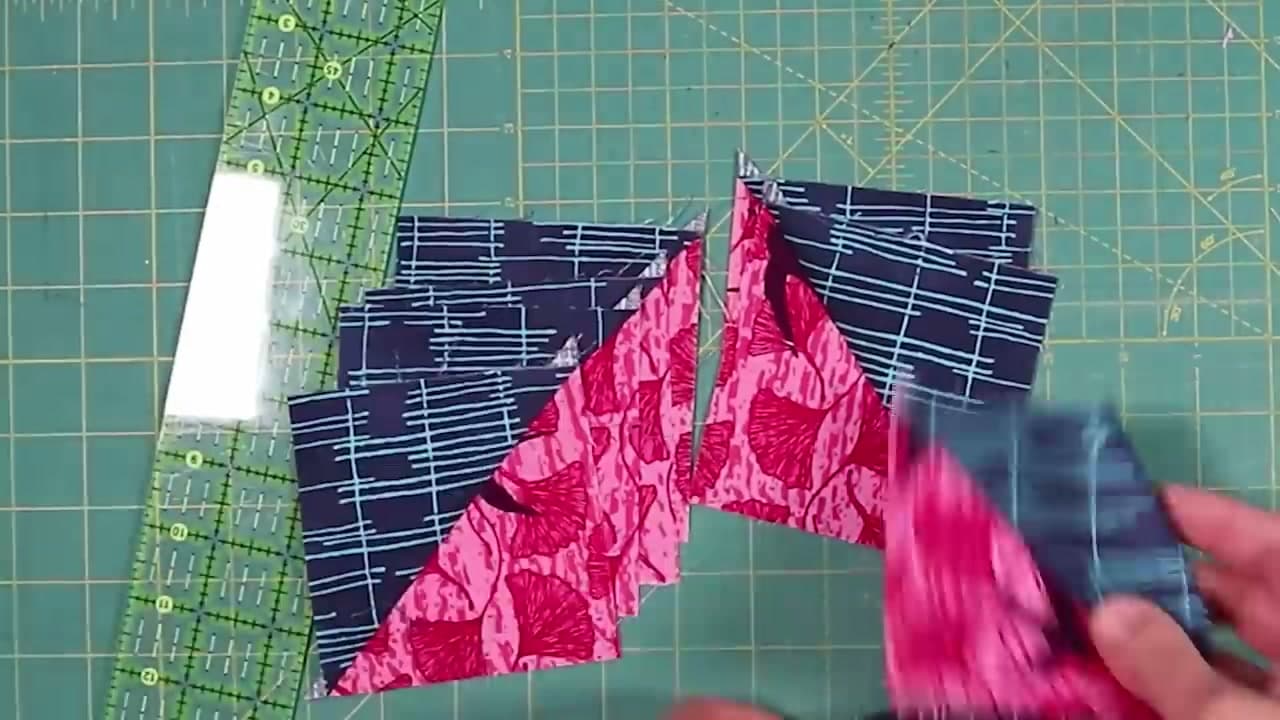
The most direct method. Cut a square the finished size of your HST plus seven-eighths of an inch, then slice it diagonally corner to corner. Two right triangles. Sew them back together along the long bias edge with a quarter-inch seam.

This is the right pick when you only need one or two HSTs, or when you want maximum variety in fabric pairings. The trade-off is the bias edge stretches easily under the presser foot, so keep your seam slow and steady. Karen recommends cutting an inch larger than seven-eighths and trimming back, since the bias makes squaring up a near guarantee.

Tip

If you're making a scrappy quilt with no two HSTs alike, this is your method - every square can pair with a different partner.

2

Method 2: The Workhorse 2-at-a-Time

2:10
Step 2: Method 2: The Workhorse 2-at-a-Time

Stack two squares right sides together. Mark the diagonal across the top square with a water-soluble pen or use a half-inch ruler to mark both stitching lines. Stitch a scant quarter inch down one side of the diagonal, pivot at the corner, and stitch back up the other side. Cut between the two seam lines and you have two matching HSTs.

Because the fabric stays in one piece while you sew, it doesn't stretch the way method one does. This is the go-to method for everyday quilting and what most quilters use as their default.

Tip

A strip of low-tack washi tape on the bed of the machine gives you a ledge to butt against, replacing the missing presser-foot edge guide.

3

Method 3: Sew On the Line for Pre-Cuts

4:15
Step 3: Method 3: Sew On the Line for Pre-Cuts

Made for charm packs, mini charms, and any pre-cut you don't want to recut. Stack two squares right sides together, mark the diagonal, and sew directly on the line. Trim the waste a quarter inch from the seam.

The finished HST stays the same size as your original square, which is why this method shines for fussy-cutting - if you cut a charm square around a specific motif, that motif lands in your block. The trade-off is one HST per square plus a triangle of waste. Karen makes a bonus HST by sewing a second line over a half-inch from the first, banking a smaller HST for another project.

4

Method 4: Magic 8 for Bulk Production

6:40
Step 4: Method 4: Magic 8 for Bulk Production

When you need eight identical HSTs at once. Stack two squares right sides together with both squares cut four times larger than your finished HST size. Mark both diagonals on the top fabric. Stitch a scant quarter inch on each side of both diagonal lines.

Press to set the seams, then square the piece on your cutting mat. Cut horizontally through the centre, vertically through the centre, then along both diagonals. Eight HSTs from one stitched square. The math is fussy and the long bias seams are harder to keep straight, but for bulk-identical blocks nothing beats the speed.

Tip

For beginners, add a full inch to your starting square size rather than the standard seven-eighths. You'll have more wiggle room and the trimming step compensates for any drift in those long diagonal seams.

5

Method 5: Easy Angle Ruler for Jelly Roll Strips

8:00
Step 5: Method 5: Easy Angle Ruler for Jelly Roll Strips

The Easy Angle is a specialty triangle ruler designed for strip cutting. Lay a fabric strip flat and align the ruler so its height matches the strip width. Cut along the diagonal edge. Flip the ruler over, align the new diagonal to the cut you just made, and cut the next triangle.

This is the method to reach for when you're working from jelly rolls or any pre-cut strip. The triangles come off the strip already trimmed to the right size, so there's no squaring up afterward. Same bias caveat as method one - be gentle while you sew the pairs together.

6

Method 6: Triangle Paper for Precision

8:24
Step 6: Method 6: Triangle Paper for Precision

Triangle paper has the stitching lines and cutting lines printed on it. Pin a sheet to two stacked fabric squares, right sides together. Stitch directly on the printed dashed lines through paper and fabric. Then cut along the solid lines, which gives you a stack of pre-sized HSTs.

Accuracy is the selling point. If you're making a precision block where every HST needs to be identical to the eighth of an inch, the paper guarantees the math. The downside is removing the paper afterward - a slow, tedious step. Buy paper in the exact HST size you need; multiple sizes mean multiple boxes.

Tip

Crease along the stitching lines before you tear the paper. The paper releases at the perforation, and the seam stays put.

7

Which Method Goes With Which Project

11:55
Step 7: Which Method Goes With Which Project

Pick by project, not by habit. For everyday quilt blocks where you need two matching HSTs, the 2-at-a-time method is the right default. For bulk-identical blocks across a whole quilt top, the Magic 8 cuts your work in half.

If you're piecing charm packs or fussy-cutting a specific motif, sew on the line so your finished HST keeps the same size as your starting square. For jelly roll strips, the Easy Angle ruler matches the cut size to the strip height. When precision is non-negotiable - a complicated sampler block where every angle has to line up - triangle paper is worth the tear-away time. And keep the classic 1-at-a-time in your back pocket for one-off blocks or scrappy variety.

A universal rule from Karen: cut every starting square a half-inch larger than the formula calls for and trim back after sewing. Your HSTs will be perfect every time.

Tip

When in doubt, default to 2-at-a-time. It's the most forgiving, the most accurate without specialty tools, and works for almost every block you'll ever make.

Products Used

☐ The Checklist

How to Make Half-Square Triangles: 6 Easy HST Methods

Tools
5
Materials
4
Steps
7
Video
13 min

Your Guide

Just Get it Done Quilts

As an Amazon Associate we earn from qualifying purchases. Links on this page may be affiliate links - clicking them and buying doesn't change your price, but helps support ShowMeStepByStep.

Tags

What's next

Related collections

Curated theme pages that include this tutorial.

Weekly Digest

Liked this quilting tutorial?

Pick the categories you want to hear about. Weekly digest of new step-by-step tutorials. No spam, easy unsubscribe.

Send me tutorials about

We only email about new tutorials. Easy unsubscribe anytime.