How to Knit in the Round (Beginner Step-by-Step)

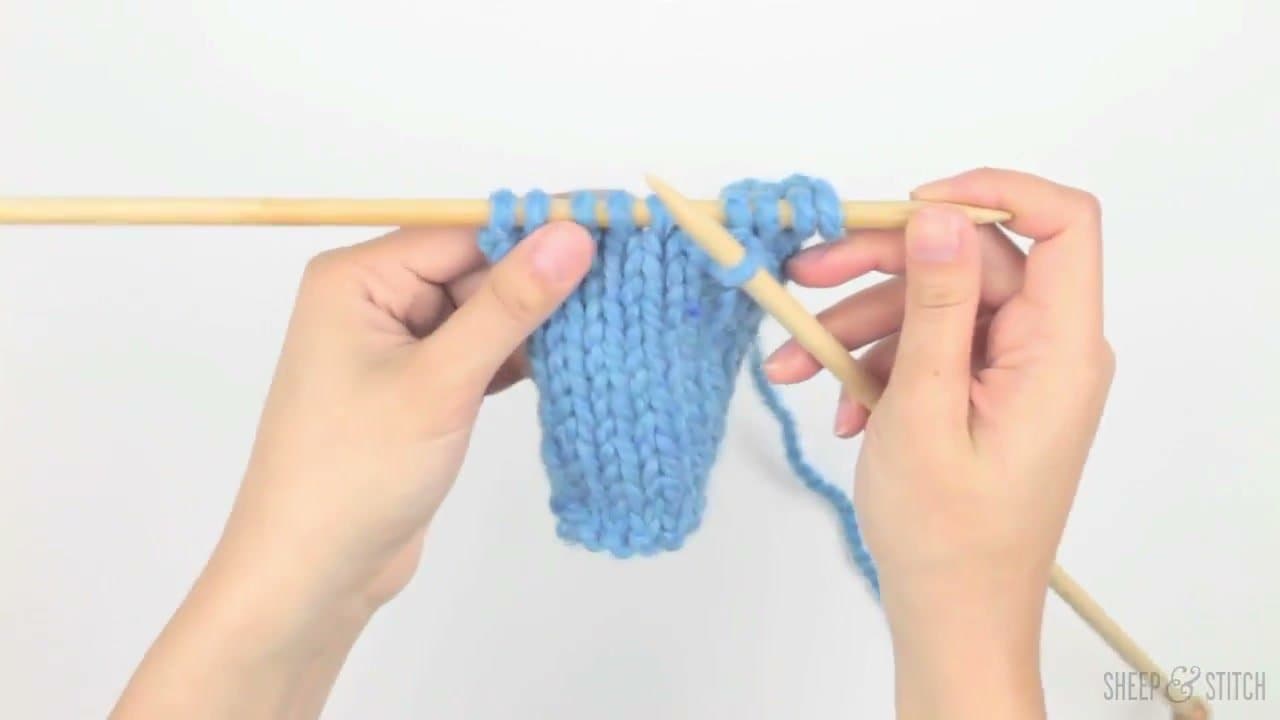
The finished result: How to Knit in the Round (Beginner Step-by-Step)
  • Difficulty: Medium
  • About 30 minutes
  • 7 steps

You tapped Save

Save this project for later

We'll email you a link, no password.

How to Knit in the Round (Beginner Step-by-Step)

  • Your saved projects in one list
  • Your ticked steps on any device

Check your inbox for an email from us. Not there? Look in your spam folder.

Print

Steps written out by Crafting Step by Step from Sheep & Stitch's video (opens YouTube) (11:57). Published .

Also in:Crafts

Flat scarves are a great place to start, but the moment you want a hat, a cowl, mittens, or socks you need a tube. That means knitting in the round. The technique looks intimidating from outside - all that cable curving back on itself - but it is genuinely simple once you have done it once. You cast on the way you always do, untwist your stitches, knit the first stitch on the other end, and you are off.

Davina at Sheep & Stitch walks through it cleanly with circular needles. If you are still working on the basics, brush up on absolute-beginner knitting, casting on, and the purl stitch first. When you finish your tube you will need a bind off and a way to weave in the ends - both wait for you at the other side.

Circular needles, DPNs or magic loop

ToolGood forSize rule
Circular needlesHats, cowls, sweater bodiesCable shorter than the project: 16-inch for an adult hat
Double-pointed needlesHat crowns, mittens, sock cuffsStitches on 3 or 4 needles, knit with one more
Magic loopSocks, sleeves, any small tubeOne circular with a 32 to 40-inch cable

Straight needles cannot knit in the round. You need one of these three.

Joining without a twist

A twisted join is the number one failure. Before you knit the first stitch, lay the work down and check that the cast-on edge runs along the inside of the circle the whole way around, with no spot where it flips over the needle. If you join with a twist, the tube becomes a loop you cannot fix later. Spot it after one round and you can sometimes untwist the cast-on edge. After that, rip back.

Finding the beginning of the round

Slip a ring marker on right after the join and move it every time you pass it. Lost the marker? The cast-on tail hangs at the start of the round, so follow it straight up the fabric.

The jog at color changes

Rounds are a spiral, so a new stripe color leaves a step where the round starts. To hide it, knit one round in the new color. On the next round, slip the first stitch purlwise, then knit on. That lifts the old stitch up to meet the new row.

Good first projects

A plain cowl is the easiest: cast on, knit around, bind off. Then try a knitted hat, which adds a crown decrease and a switch to DPNs or magic loop near the top. Socks come after that.

Common mistakes

  • Twisted join. Check the cast-on edge twice before stitch one.
  • Ladders between DPNs. Tug the first two stitches on each new needle snug.
  • Cable too long. Stitches stretch and will not reach around. Go shorter or use magic loop.
  • Purling by habit. In the round you knit every stitch for stockinette.

Free printable

Print the steps and supply list for this project

One page you can take to the table. Free with a free account, no password.

Get the free printable

What you'll need

Free, for this project

Get this checklist by email

  • All 6 tools and materials, with tick boxes
  • A link to print all 7 steps on paper, to keep by you while you craft

No password. The whole tutorial stays free on this page.

Quick answer

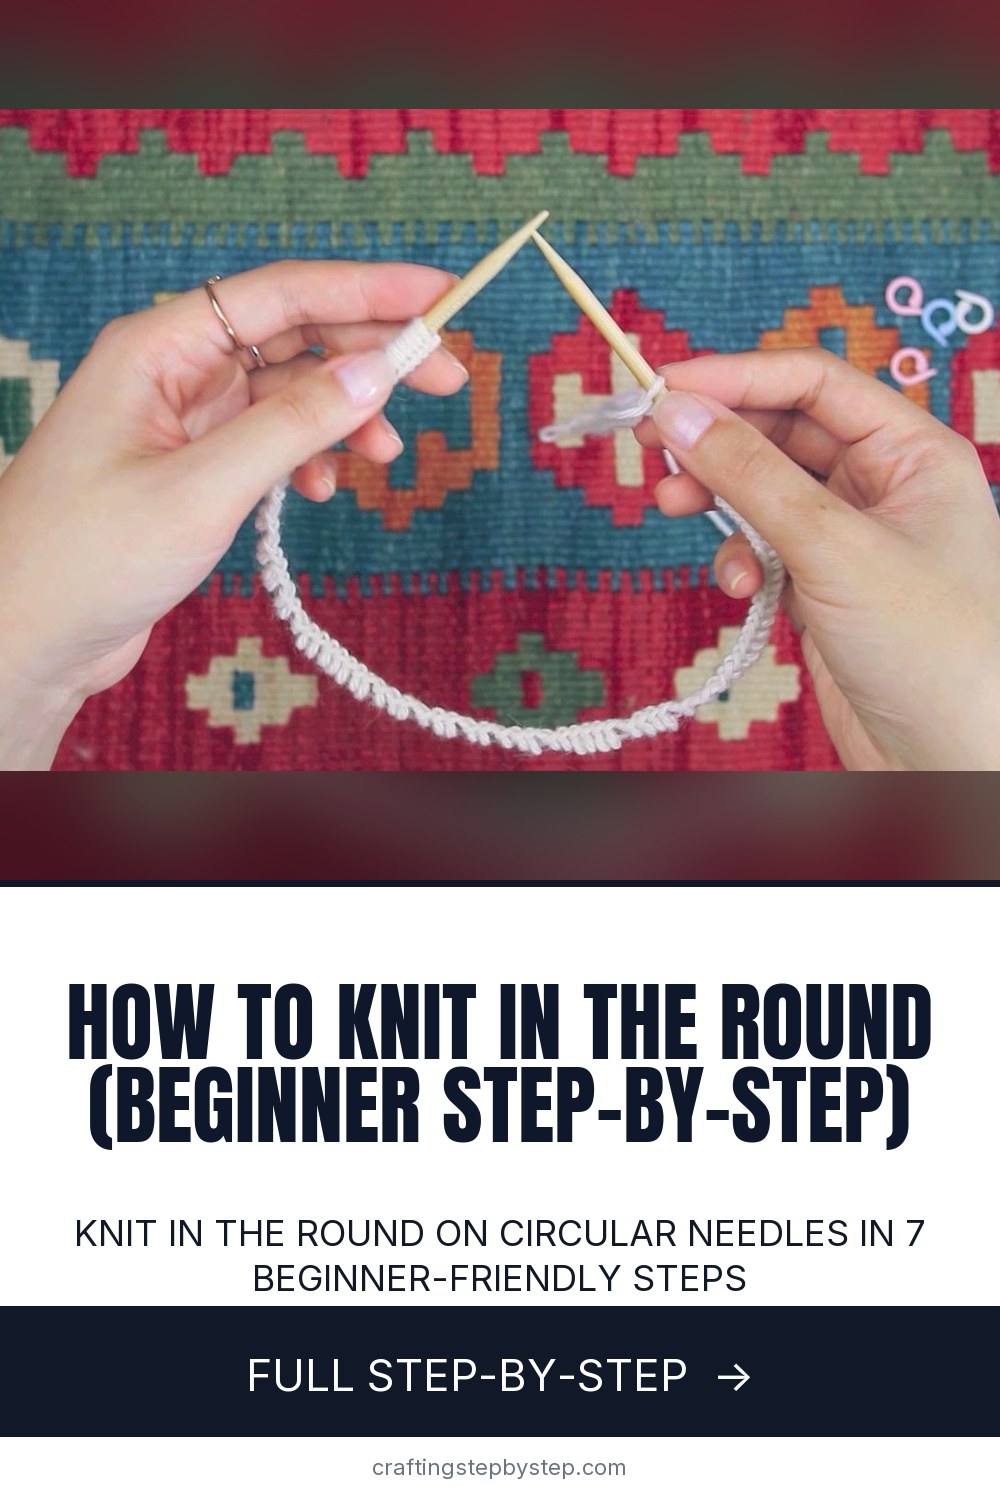
Knit in the round on circular needles in 7 beginner-friendly steps. A medium project: about 30 minutes. You need 6 things, including worsted or DK weight yarn, project pattern and circular knitting needles. The 7 steps: pick Your Circular Needles, cast On the Way You Already Know, untwist Every Stitch, bring the Two Needle Tips Together, knit the First Stitch to Join, pull Tight and Place a Stitch Marker and keep Knitting Around (and Switch Tools if You Need To).

Step-by-step guide

7 steps, about 12 minutes. Tap a picture to jump to that step. Your progress saves automatically.

Tick each step off as you go.

  1. Step 1: Pick Your Circular Needles

    Watch this step · 1:00

    Circular needles come in the same sizes as straight needles, so the size you pick is driven by your yarn (the yarn band lists a recommended needle size). What is different is the cable. Pick a cable length that is shorter than the finished circumference of whatever you are knitting. A 16-inch needle is the sweet spot for an adult hat. A 24-inch or 32-inch works for a cowl. A 9-inch is for socks but is fiddly - most knitters skip it and use double-pointed needles or magic loop for socks instead.

    If your cable is too long for your project, the stitches get stretched taut around the loop and you cannot knit them. The rule of thumb: choose a cable shorter than your project, never longer.

    Tip:

    Bamboo needles grip slippery yarns and are kinder on the hands. Metal needles let stitches slide faster once you have your gauge dialed in. Start with bamboo if you are new.

    Back to all steps

  2. Step 2: Cast On the Way You Already Know

    Watch this step · 1:40

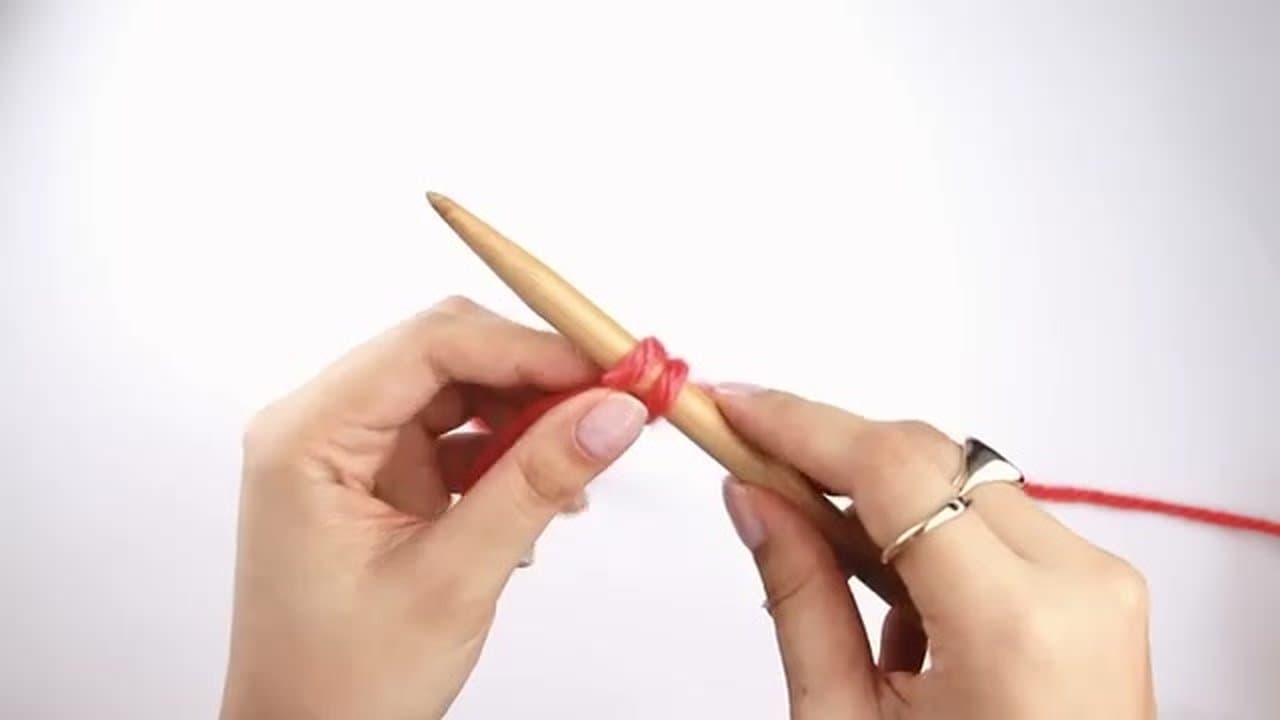
    Casting on for the round is exactly the same as casting on for a flat project. Long tail cast on works great here - it gives you a clean, stretchy edge. Cast on the number of stitches your pattern calls for, sliding each stitch onto the right needle as you go.

    Push the stitches along the cable so they spread out evenly between the two needle tips. Do not crowd them all on one tip. Spreading them across the cable is the move that makes the next step (the untwist check) much easier.

    Tip:

    The cast-on edge is the hem of your finished piece. Keep it slightly looser than your normal stitch tension so the bottom of your hat or cowl does not pull in.

    Back to all steps

  3. Step 3: Untwist Every Stitch

    Watch this step · 2:20

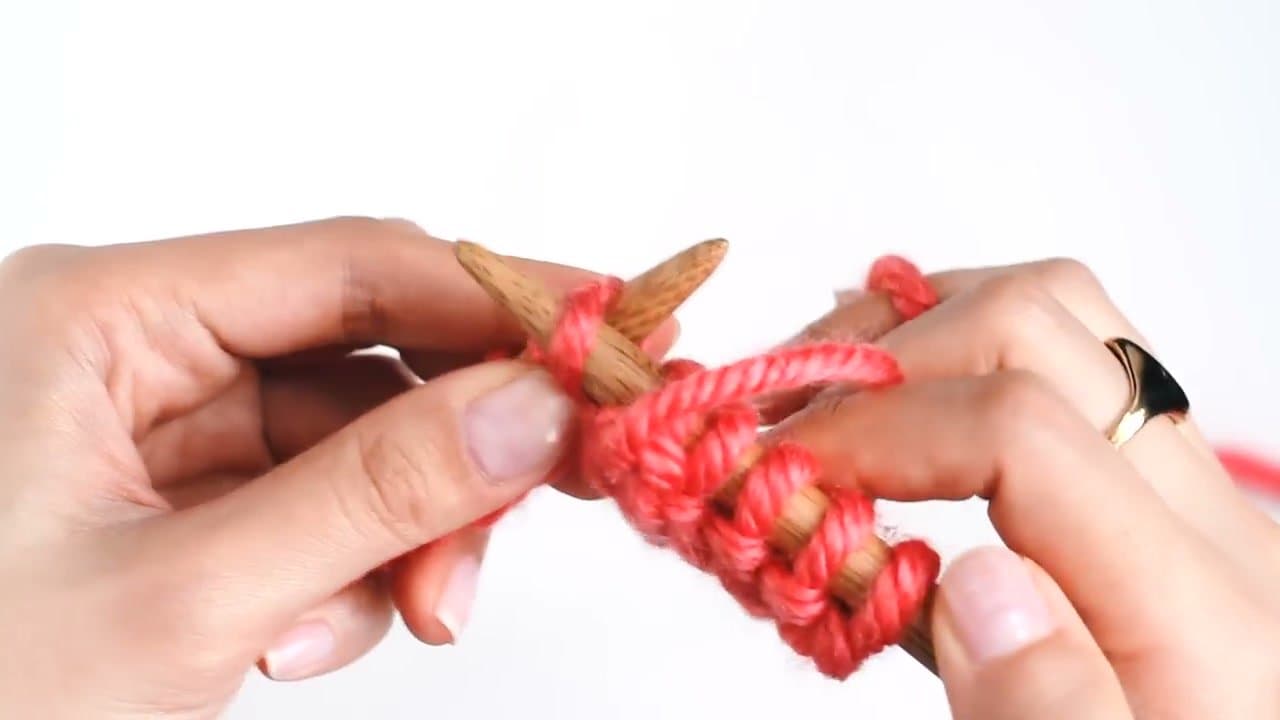
    This is the one step where people get themselves into permanent trouble - and the one step where the fix is free if you do it now. Lay the needle on a flat surface and look down the row of stitches. Every single one should face the same direction along the cable. The little V-shaped base of each stitch should sit on the inside of the loop, not flipped over the top.

    Walk your eye all the way around the cable. If you find a stitch that is twisted, gently rotate it back into line. A twist that survives this step becomes a Mobius strip when you join, and there is no way to untwist it without ripping back to the cast on.

    Tip:

    If you are nervous, work the first row flat (knit one row, then look at it before joining). A single flat row gets hidden when you sew the bottom together later, and it gives you a much easier inspection edge.

    Back to all steps

  4. Step 4: Bring the Two Needle Tips Together

    Watch this step · 3:50

    Find the working yarn - the strand still attached to the ball - and the needle tip closest to it. That goes in your right hand. The other tip (with the first cast-on stitch on it) goes in your left hand. The cable curves around between them, forming a circle.

    Hold the two tips close together with the stitches kissing at the join point. This is the position you will start every round from for the rest of the project.

    Tip:

    Double-check the untwist one more time as the tips come together. The moment before you knit the first stitch is your last chance to fix anything.

    Back to all steps

  5. Step 5: Knit the First Stitch to Join

    Watch this step · 5:50

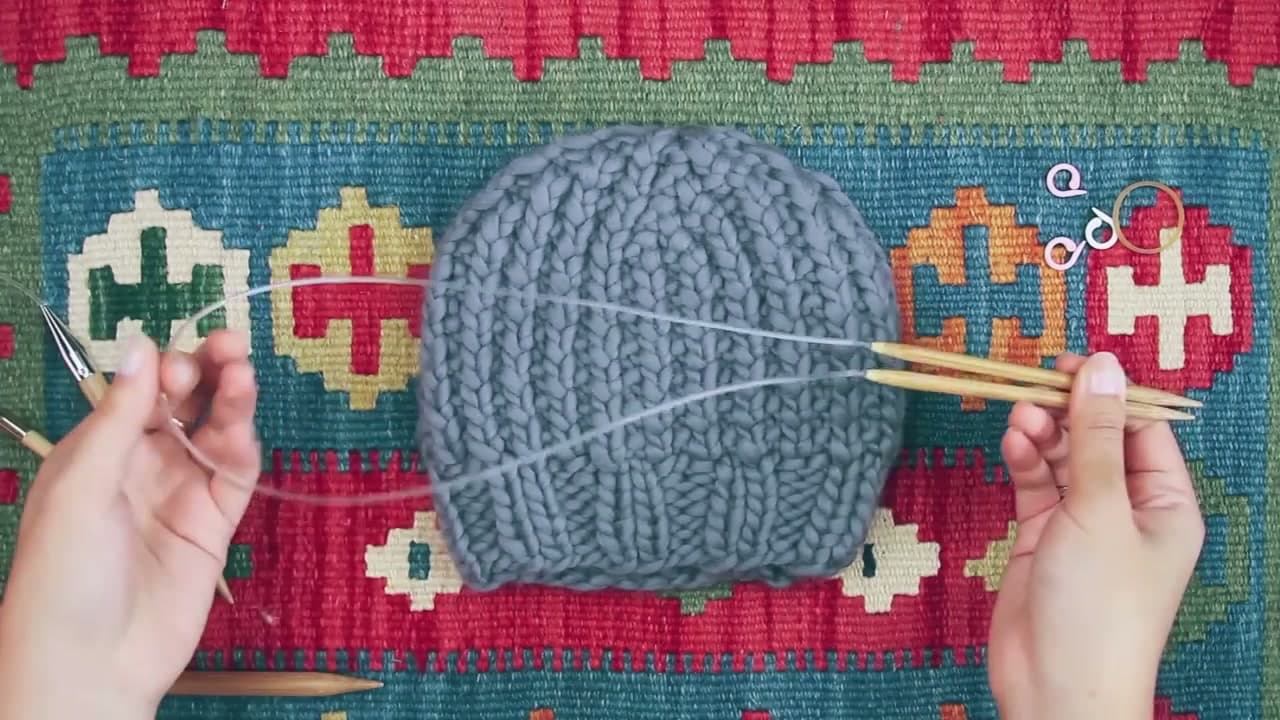
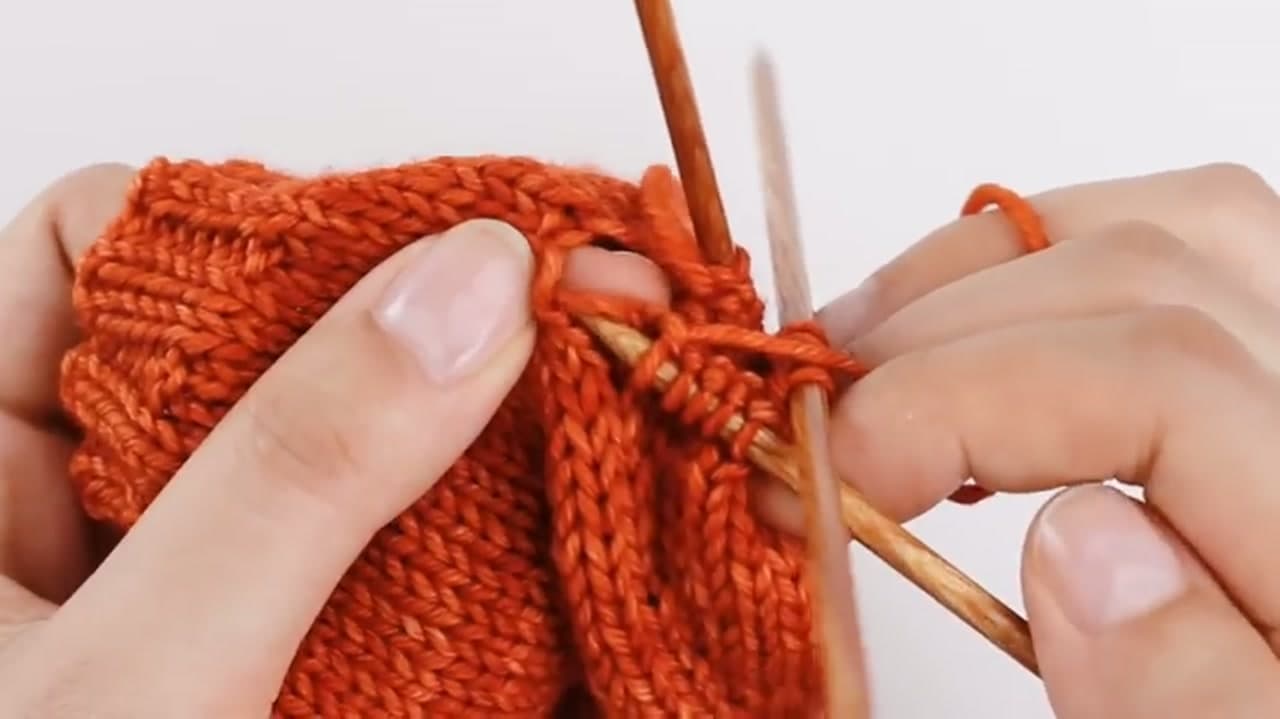
    Knit the first stitch on the left needle using the working yarn from the right. That single stitch is your join - the moment your flat row of cast-on stitches becomes a closed circle. There is no special technique. It is a regular knit stitch, just bridging the two ends.

    You should feel and see the tube form. The cable curves around the back, the working yarn comes off the right needle, and you are now knitting in the round.

    Tip:

    Some knitters swap the first and last stitch before joining to tighten the seam. Skip that trick on your first project - the basic join works fine, and you can hide any tiny gap with the cast-on tail when you weave in.

    Back to all steps

  6. Step 6: Pull Tight and Place a Stitch Marker

    Watch this step · 4:20

    Right after that first joining stitch, pull the working yarn snug. This closes the gap between the last cast-on stitch and the first knit stitch. Skip the tug and you get a little ladder running up the side of your project. It is the most common rookie tell, and the fix is just two extra seconds of tension.

    Now slip a stitch marker onto the right needle, right after the joining stitch. The marker rides between rounds and tells you when one round ends and the next begins. Without it, you will lose count almost immediately - the join disappears into the fabric after a few rounds.

    Tip:

    Anything ring-shaped works as a stitch marker - a snipped piece of contrasting yarn, a rubber band, a small ring. Just make sure it slides freely on your needle.

    Back to all steps

  7. Step 7: Keep Knitting Around (and Switch Tools if You Need To)

    Watch this step · 10:40

    From here, knit every stitch on every round and you get stockinette fabric (no purling, no turning). When you reach the marker, slip it from the left needle to the right and start the next round. That is the whole technique.

    If your project gets smaller than your cable length - the crown of a hat, the tip of a mitten, the toe of a sock - the stitches will not stretch around the loop any more. Switch to double-pointed needles or use the magic loop method with a longer circular. Most beginner hats and cowls match the 16-inch or 24-inch circular all the way through, so you will not hit this for a while.

    Tip:

    When you reach the bind off, work it loosely so the top of your hat or cowl flexes over your head. A tight bind off is the second most common rookie mistake after twisting the cast on.

    Back to all steps

How to Slip Stitch in Knitting (Purlwise vs Knitwise)

Keep going

How to Slip Stitch in Knitting (Purlwise vs Knitwise)

Keep going with knitting

More on this topic, picked for this project.

You reached the last step

Save this project to come back to it

Your ticked steps, the free printable and your other saved makes, together in My Projects. Free, no password.

You tapped Save

Save this project for later

We'll email you a link, no password.

How to Knit in the Round (Beginner Step-by-Step)

  • Your saved projects in one list
  • Your ticked steps on any device

Check your inbox for an email from us. Not there? Look in your spam folder.

Free printable

Printable sheet and shopping list for this project

The bonus is hidden until you sign up.

Free with a free account, no password. Every step above stays open to everyone.

Products Used

The Checklist

How to Knit in the Round (Beginner Step-by-Step)

Tools
4
Materials
2
Steps
7
Video
12 min

Tools we recommend

As an Amazon Associate we earn from qualifying purchases. Links on this page may be affiliate links - clicking them and buying doesn't change your price, but helps support Crafting Step by Step.

Tags

The Crafter's Weekly

New knitting tutorials, every Sunday

One short email with the week's best step-by-step guides. Free, no spam, unsubscribe anytime.

Test your knowledge

Did the lesson stick? Start with this one.

5 questions covering what you just read. No signup, no score saved, and you can stop after this one.

Question 1 of 5

How should the circular needle's cable length compare to your project's circumference?

Quick reference

Key takeaways from How to Knit in the Round (Beginner Step-by-Step)

5 questions, answers, and one-line explanations. Tap to expand.

  1. 1.How should the circular needle's cable length compare to your project's circumference?

    Answer: Shorter than the finished circumference

    A cable too long stretches stitches taut around the loop and pulls them off the tips.

  2. 2.16-inch circulars are the sweet spot for what kind of project?

    Answer: Adult hats

    16 inches matches the circumference of most adult hats.

  3. 3.After casting on, what's the critical check BEFORE joining the round?

    Answer: Untwist every stitch so they all face the same direction along the cable

    A twist that survives the join becomes a permanent Mobius - no fix without ripping out.

  4. 4.What does 'joining' the round actually mean?

    Answer: Knitting the first stitch on the left needle - that closes the circle

    One regular knit stitch bridges the two ends and turns the cast-on row into a closed tube.

  5. 5.Right after the first joining stitch, what should you do?

    Answer: Pull the working yarn snug AND slip a stitch marker on the right needle

    Snug the yarn (else you get a ladder up the side) and place the marker (else you lose the round count fast).

Did this work for you?

What's next

Related collections

Curated theme pages that include this tutorial.

Similar tutorials

Hand-picked next reads based on the one you just finished.

Liked this knitting tutorial?

Pick the crafts you want to hear about. One email every Sunday with new step-by-step tutorials. No spam, easy to unsubscribe.

Get more like this in your inbox

Weekly digest. Pick the categories you want. Unsubscribe anytime.

Send me tutorials about

We only email about new tutorials. Easy unsubscribe anytime.