Fingerless gloves are the right next step after you have basic knitting down. You already know how to knit and purl. You can cast on without thinking about it. You have a bind off in your back pocket. Time to put it all together in the round and end up with something you want to wear.
Davina at Sheep & Stitch walks through her free pattern from cast on to weaving in ends. This walkthrough shrinks her 46-minute video into seven steps so you can see the whole shape of the project before you cast on. The pattern is knit in sport-weight yarn, with a 2x2 ribbed cuff, a worked thumb gusset, and a second ribbed edge at the fingers. Three sizes are built in.
Yarn and needles
One hank of sport-weight yarn makes a pair. A soft merino or merino blend is the pick, since these sit against the skin all day. You need two needle sizes, 3.25mm for the ribbing and 3.75mm for the body.
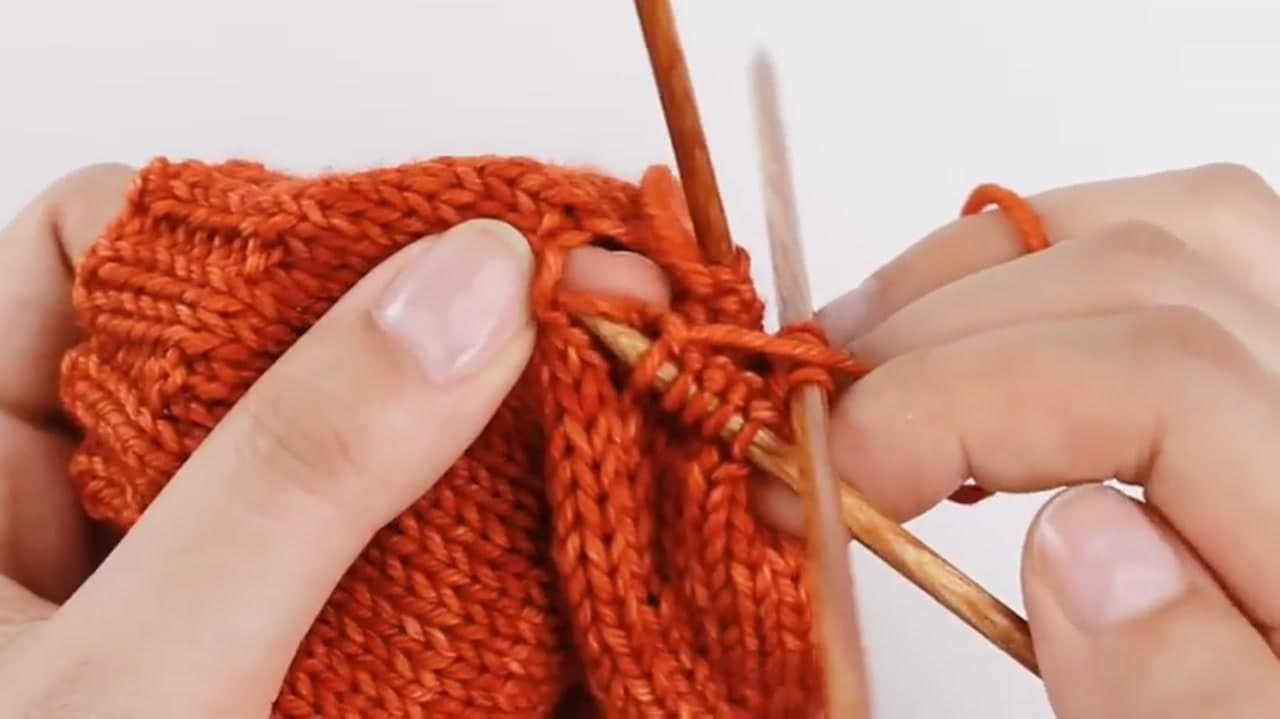
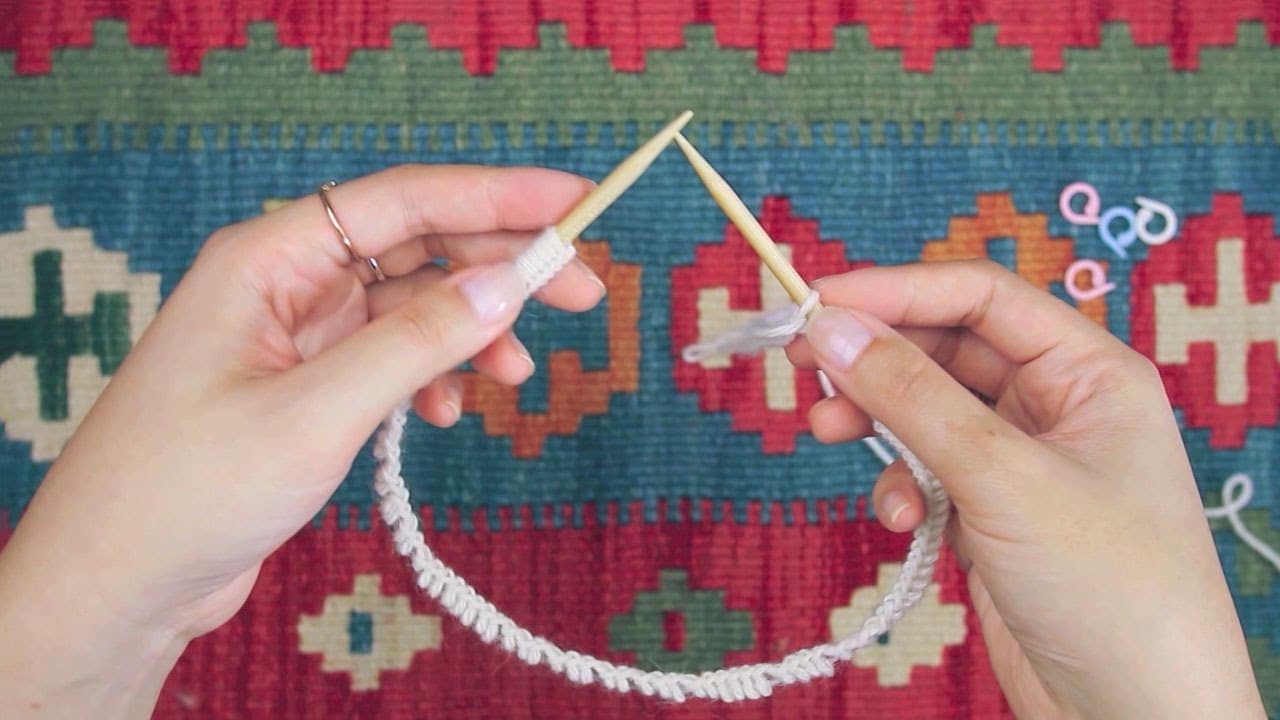
A glove is too small around for a 16 inch circular, so you have two choices. Double-pointed needles are what Davina uses, with the stitches split across three needles. Or work the same stitches on a long circular with the magic loop method. Both give the same glove. If you have not knit a small tube before, practise knitting in the round on a swatch first.
Sizing by hand circumference
Measure around your hand right below the knuckles, relaxed, not clenched. Cast on 44 stitches for small, 48 for medium, 52 for large. Between sizes, go down. Rib and stockinette both stretch, and a loose glove slides down and lets the cold in. For length, the 8 rounds above the thumb cover the knuckles on most hands. Add rounds there if you want the gloves to reach mid-finger.
What a thumb gusset does
A slit glove is a tube with a hole in it. It pulls across the base of the thumb every time you grip something. A gusset is a wedge of extra stitches that grows from 4 to 16 stitches over a few inches, the same shape your hand makes where the thumb joins the palm. The glove sits flat across your palm and the thumb moves without dragging the cuff around.
Picking up the thumb without a hole
The thumb stitches come off the scrap yarn and you add two across the bridge stitch. Holes form at the two corners of that bridge. Pick up into the strand right at each corner, not the stitch beside it, then knit those new stitches together with their neighbour on the next round if the thumb feels loose. The pick up stitches tutorial covers the same technique on a larger edge.
Making the second glove match
Write things down on glove one. Note every round count: cuff rounds, plain rounds before the gusset, increase rounds, rounds above the thumb. Tick them off on glove two. Better still, knit both cuffs, then both gussets, then both bodies, so your tension matches across the pair. A tiny difference in one round shows up the moment they sit side by side on a table.
Common mistakes
- Ladders between needles. Tug the first stitch on each new DPN firmly.
- A tight finger edge. Bind off on the larger needle, or one size up again.
- Increases that lean wrong. M1L on one side and M1R on the other. Mixing them up still works, it only looks less tidy.
A quick gift
A pair takes a few evenings, uses one hank and fits most adults in size medium. That makes it an easy December gift. If you crochet, the crochet fingerless gloves version is flat and seamed, and even faster.