1
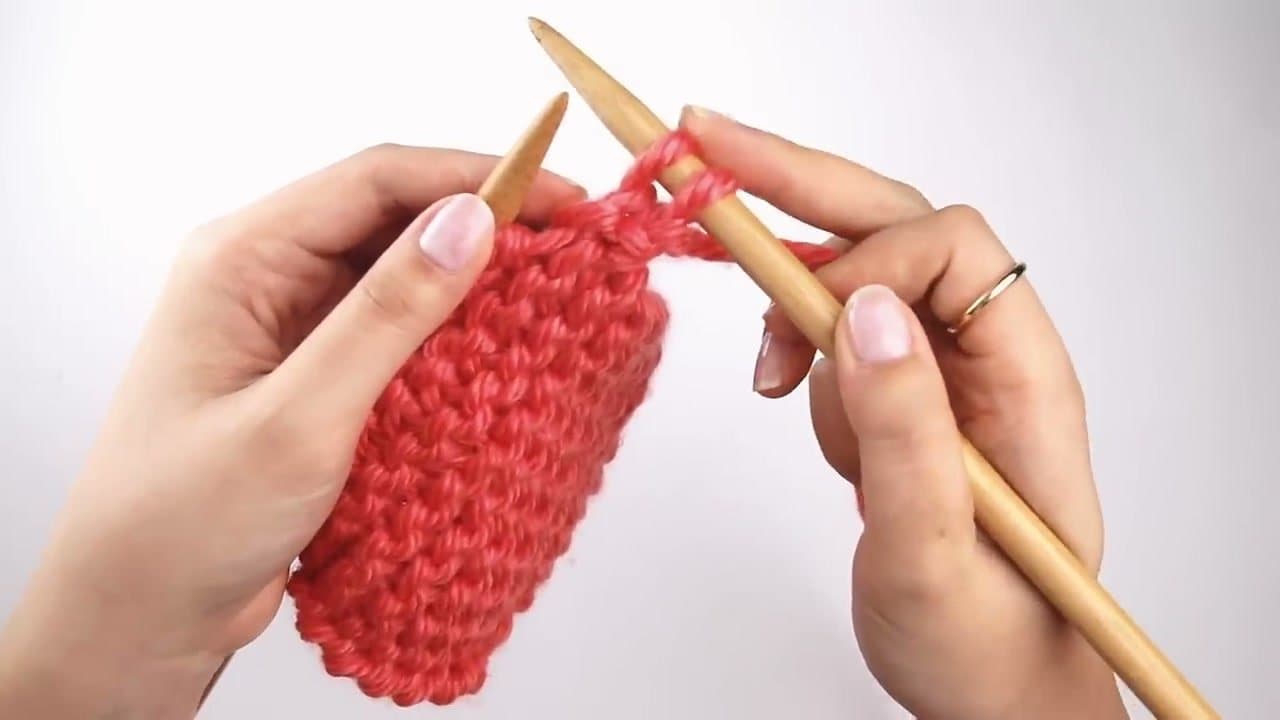
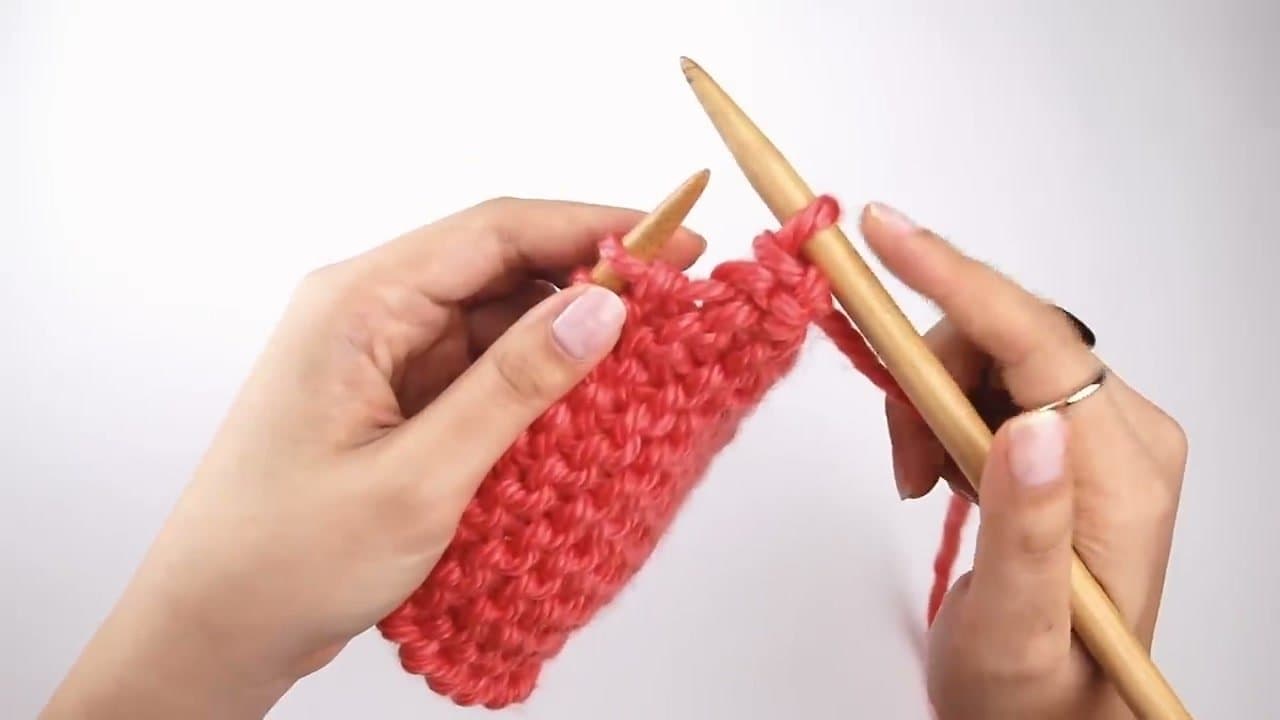
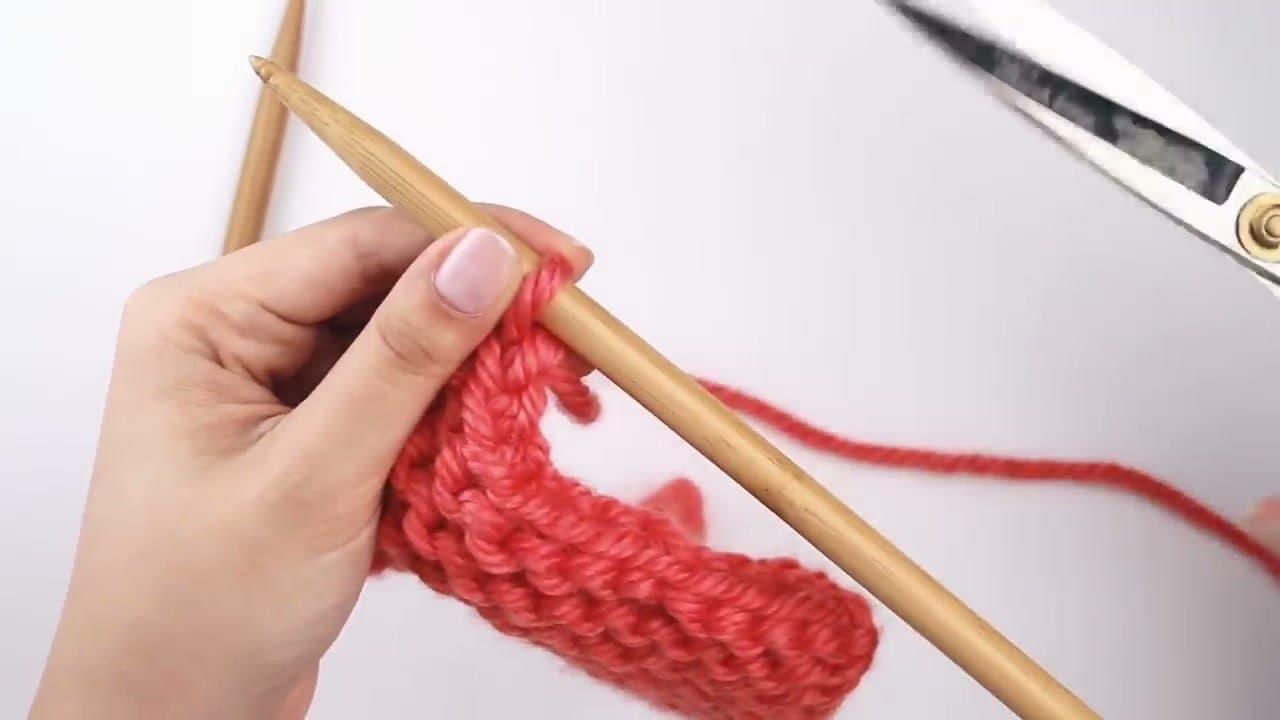
Step 1: Knit the First Two Stitches
1:05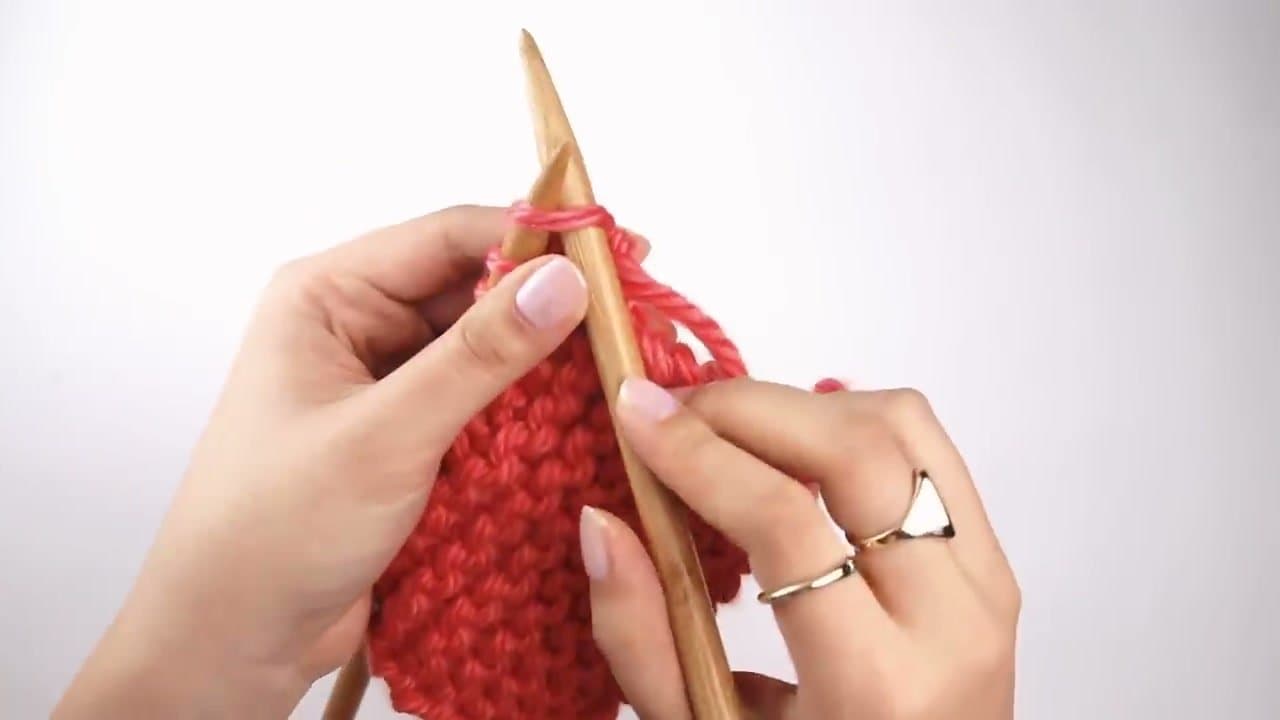
Start at the beginning of a fresh row. Knit the first stitch the way you normally would, then knit the second one. You now have two live stitches sitting on the right needle.
That's the setup. The bind off needs exactly two stitches on the right needle to work - one to lift, and one to leave behind.