How to Knit Socks

The finished result: How to Knit Socks
Also in:Crafts

By CraftingStepByStepPublished Updated

Based on a video by PleasantSeas.

A sock looks like the hardest thing you can knit and it is really five short, separate jobs in a row: a ribbed cuff, a flat heel flap, a turned heel, a gusset, and a toe. Each one is a few rounds of knitting you already know how to do. This ankle sock from PleasantSeas walks through all five in one sitting, on double pointed needles, in a yarn thick enough that you can see what every stitch is doing.

You need double pointed needles in US 3 (3.25mm), one or two 50g balls of DK or light worsted yarn, a stitch marker and a tapestry needle. If you would rather knit small circles on one long needle, magic loop works for every step here.

Sizes and gauge

The pattern comes in three women's sizes. Cast on 42 stitches for a small (shoe size 5 to 7), 48 for a medium (7.5 to 9) and 56 for a large (9.5 and up). The video shows the small; every number below is for that size. Gauge is 28 stitches and 40 rounds to 4 inches in stockinette. Knit a small swatch first, because a sock that is half an inch too big around slouches down into your shoe by lunchtime.

The heel is the only new idea

Everything above and below the heel is plain knitting in the round. The heel is where a sock turns a corner, and it happens in three moves. The heel flap is worked flat on half the stitches, slipping the first stitch of every row so the edges form a neat chain. The heel turn is a set of short rows that cups the flap. Then you pick up those chain stitches down each side to rejoin the round, which creates the gusset, and decrease them away until you are back to your starting count.

Most first socks go wrong at the pick-up, by leaving a small hole where the flap meets the instep. Pick up one extra stitch in that corner and knit it together with its neighbour on the next round. The hole closes and nobody ever sees it.

Closing the toe

This sock decreases to 10 stitches and then draws them closed with the tail, the same way you finish a hat crown. It is fast and it is hard to get wrong. If you want a flat toe with no gathered point, stop the decreases at around 16 stitches and graft them together instead with Kitchener stitch, which is what most sock patterns use.

Choosing sock yarn

Socks take more wear than anything else you will knit, so the fibre matters. Most sock yarn is about 75 percent wool and 25 percent nylon. The wool keeps feet warm and dry; the nylon is what stops the heel wearing through in a season. Pure merino is soft but thin at the heel within months, and cotton has no stretch, so the cuff sags.

This pattern uses a light DK, which is thicker than classic fingering-weight sock yarn. That is a good thing on a first pair. The stitches are bigger, the sock is finished in a weekend rather than a month, and you learn the heel without squinting. Once the shape makes sense, the same steps work in fingering yarn on 2.25mm needles with a larger cast-on.

Second sock syndrome

The first sock always feels like an achievement and the second always feels like homework. Cast the second one on the day you finish the first, while your hands still remember the heel. Or knit both at once, one step at a time: two cuffs, then two heel flaps, then two turns. They come out matching and you are never left with one sock in a drawer.

When a hole wears through later, darning a sock takes ten minutes and a hand-knit pair is worth saving.

What you'll need

Step-by-Step Guide

10 steps · about 20 minutes.Check off each step as you go and your progress saves automatically.

1

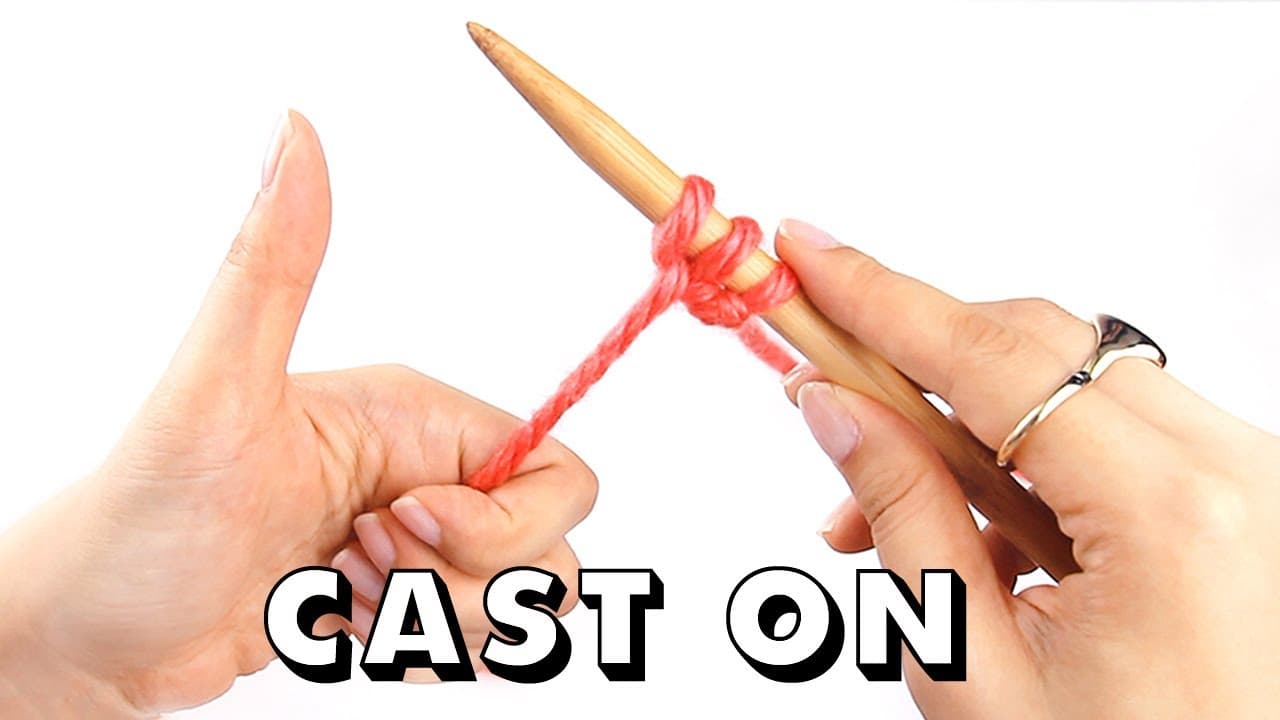
Cast On 42 Stitches Across Three Double Pointed Needles

1:18
Step 1: Cast On 42 Stitches Across Three Double Pointed Needles - How to Knit Socks

Cast on 42 stitches and divide them evenly, 14 on each of three double pointed needles. Lay the needles in a triangle and check that the cast-on edge runs round the inside without twisting before you join. A twist here spirals down the whole sock and cannot be fixed.

Tip

A stretchy cast-on matters on a sock because it has to go over your heel. The long tail cast-on on a needle one size up is enough.

2

Knit the Ribbed Sock Cuff in the Round

1:50
Step 2: Knit the Ribbed Sock Cuff in the Round - How to Knit Socks

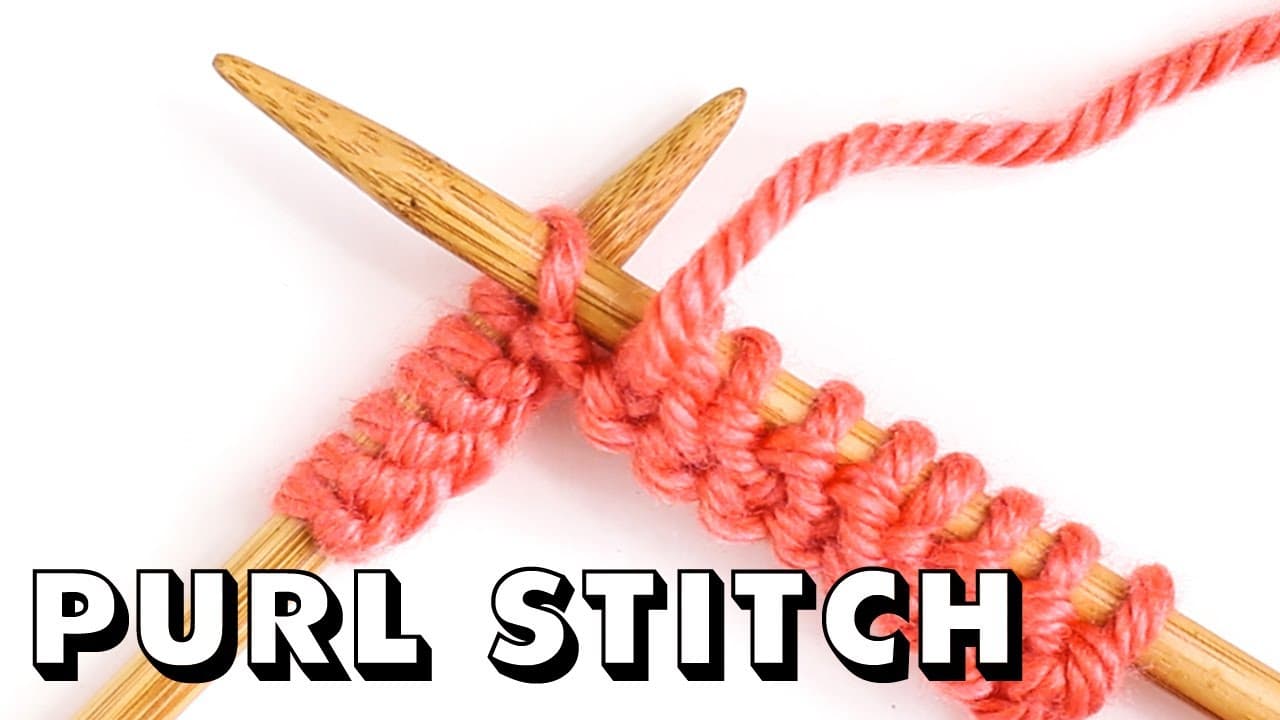
Place a stitch marker to mark the start of the round and work knit one, purl one all the way round. Repeat for 7 rounds. That is a short ankle cuff; for a crew sock, keep going to an inch and a half or two inches.

Tip

Keep the working yarn snug as you move from one needle to the next. That changeover is where ladders form.

Used in this stepknitting stitch markers
3

Work the Heel Flap Back and Forth on Half the Stitches

5:30
Step 3: Work the Heel Flap Back and Forth on Half the Stitches - How to Knit Socks

Knit across 21 stitches, then leave the other 21 resting on a needle for the top of the foot. Turn and work only the heel stitches back and forth: slip the first stitch purlwise, purl across, turn, slip the first stitch, knit across. Repeat until the flap is square, about as long as it is wide.

Tip

Always slip the first stitch of every row. The chain edge it makes is what you pick up from in step five.

4

Turn the Heel With Short Rows

9:05
Step 4: Turn the Heel With Short Rows - How to Knit Socks

The heel turn uses decreases to cup the bottom of the flap. Knit 14, slip slip knit, turn. Slip one, purl 7, purl two together, turn. Slip one, knit 7, slip slip knit, turn. Keep working one stitch further each time, closing the gap with a decrease, until every heel stitch has been used.

Tip

The gap between worked and unworked stitches is your guide. Each decrease always spans that gap.

5

Pick Up the Gusset Stitches Along the Heel Flap

11:30
Step 5: Pick Up the Gusset Stitches Along the Heel Flap - How to Knit Socks

Knit across the remaining heel stitches, then pick up and knit one stitch in each slipped chain loop down the side of the flap, 12 in all. Knit across the 21 instep stitches, then pick up 12 more up the other side. You are back to knitting in the round, with extra stitches at each side of the heel.

Tip

Pick up one extra stitch in the corner where the flap meets the instep, then knit it together with its neighbour next round. It closes the hole.

6

Decrease the Gusset to Shape the Sock Instep

15:30
Step 6: Decrease the Gusset to Shape the Sock Instep - How to Knit Socks

On the next round, knit to three stitches before the instep, knit two together, knit one. Knit across the instep. At the start of the other side, knit one, slip slip knit, and knit to the end. Knit one plain round. Repeat those two rounds until you are back to 42 stitches.

Tip

Two stitches go every other round. Count at the end of each decrease round so you know exactly when to stop.

7

Knit the Foot of the Sock in Plain Rounds

16:08
Step 7: Knit the Foot of the Sock in Plain Rounds - How to Knit Socks

Now it is just knitting. Work every round plain until the foot measures about 7 inches from the back of the heel, or two inches less than the full length of the wearer's foot. Try it on as you go if you are knitting for yourself.

Tip

Measure along the sole with the sock lying flat, not stretched. Stretched measurements always come out short.

Used in this stepself-patterning sock yarn
8

Decrease for the Toe of the Sock

18:45
Step 8: Decrease for the Toe of the Sock - How to Knit Socks

Knit one plain round. On the next, decrease at both sides of the foot: knit two together and knit one before each side edge, knit one and slip slip knit after it. Alternate decrease rounds with plain rounds four times, then work decrease rounds only until 10 stitches remain.

Tip

Match the decreases to where the gusset decreases sat and the toe lines up with the sides of the foot.

9

Draw the Toe Closed and Weave In the Yarn Tail

19:05
Step 9: Draw the Toe Closed and Weave In the Yarn Tail - How to Knit Socks

Cut the yarn with a long tail and thread it on a tapestry needle. Pass it through all 10 live stitches, slip them off the needles, and pull tight to gather the toe. Take the tail to the inside and weave it in along the purl bumps.

Tip

Weave the tail in on the diagonal. Straight up and down, it pulls out in the wash.

Used in this stepblunt tapestry needle
10

Try On the Finished Knit Ankle Socks

19:40
Step 10: Try On the Finished Knit Ankle Socks - How to Knit Socks

Put it on. The heel should sit snug on the back of your foot and the cuff should hold without sliding down. Then cast on the second one straight away, using the same counts, so the pair matches.

Tip

Wash hand-knit socks on a wool cycle and dry them flat. Sock blockers help them keep their shape.

Used in this stepsock blockers

Keep going

How to Knit Cables

8 steps · about 16 minutes

Products Used

The Checklist

How to Knit Socks

Tools
5
Materials
1
Steps
10
Video
20 min

Tools we recommend

Your Guide

PleasantSeas

As an Amazon Associate we earn from qualifying purchases. Links on this page may be affiliate links - clicking them and buying doesn't change your price, but helps support CraftingStepByStep.

Tags

Sunday How-To

New knitting tutorials, every Sunday

One short email with the week's best step-by-step guides. Free, no spam, unsubscribe anytime.

Test your knowledge

Did the lesson stick? Start with this one.

5 questions covering what you just read. No signup, no score saved, and you can stop after this one.

Question 1 of 5

Why check the cast-on edge for a twist before joining in the round?

Quick reference

Key takeaways from How to Knit Socks

5 questions, answers, and one-line explanations. Tap to expand.

  1. 1.Why check the cast-on edge for a twist before joining in the round?

    Answer: A twist spirals down the sock and cannot be undone

    Once joined, a twisted round carries through every round below it.

  2. 2.How is the heel flap worked?

    Answer: On half of the stitches, back and forth flat

    The other half rests on a needle for the top of the foot.

  3. 3.Why slip the first stitch of every heel flap row?

    Answer: It makes a chain edge to pick up stitches from

    Those slipped chains become the gusset stitches you pick up later.

  4. 4.What are the gusset decreases for?

    Answer: They bring the stitch count back to the cast on

    Picking up along the flap adds stitches, and the gusset takes them back off.

  5. 5.When do you stop knitting the foot and start the toe?

    Answer: About two inches short of the full foot length

    The toe decreases add roughly the last two inches themselves.

Did this work for you?

What's next

Related collections

Curated theme pages that include this tutorial.

Weekly Digest

Liked this knitting tutorial?

Pick the categories you want to hear about. Weekly digest of new step-by-step tutorials. No spam, easy unsubscribe.

Send me tutorials about

We only email about new tutorials. Easy unsubscribe anytime.