How to Fix a Dropped Knitting Stitch: 7 Step Rescue Tutorial

The finished result: How to Fix a Dropped Knitting Stitch: 7 Step Rescue Tutorial
  • Difficulty: Easy
  • About 10 minutes
  • 7 steps

You tapped Save

Save this project for later

We'll email you a link, no password.

How to Fix a Dropped Knitting Stitch: 7 Step Rescue Tutorial

  • Your saved projects in one list
  • Your ticked steps on any device

Check your inbox for an email from us. Not there? Look in your spam folder.

Print

Steps written out by Crafting Step by Step from Sheep & Stitch's video (opens YouTube) (8:27). Published .

Step 3 of 5 inKnitting for Absolute Beginners

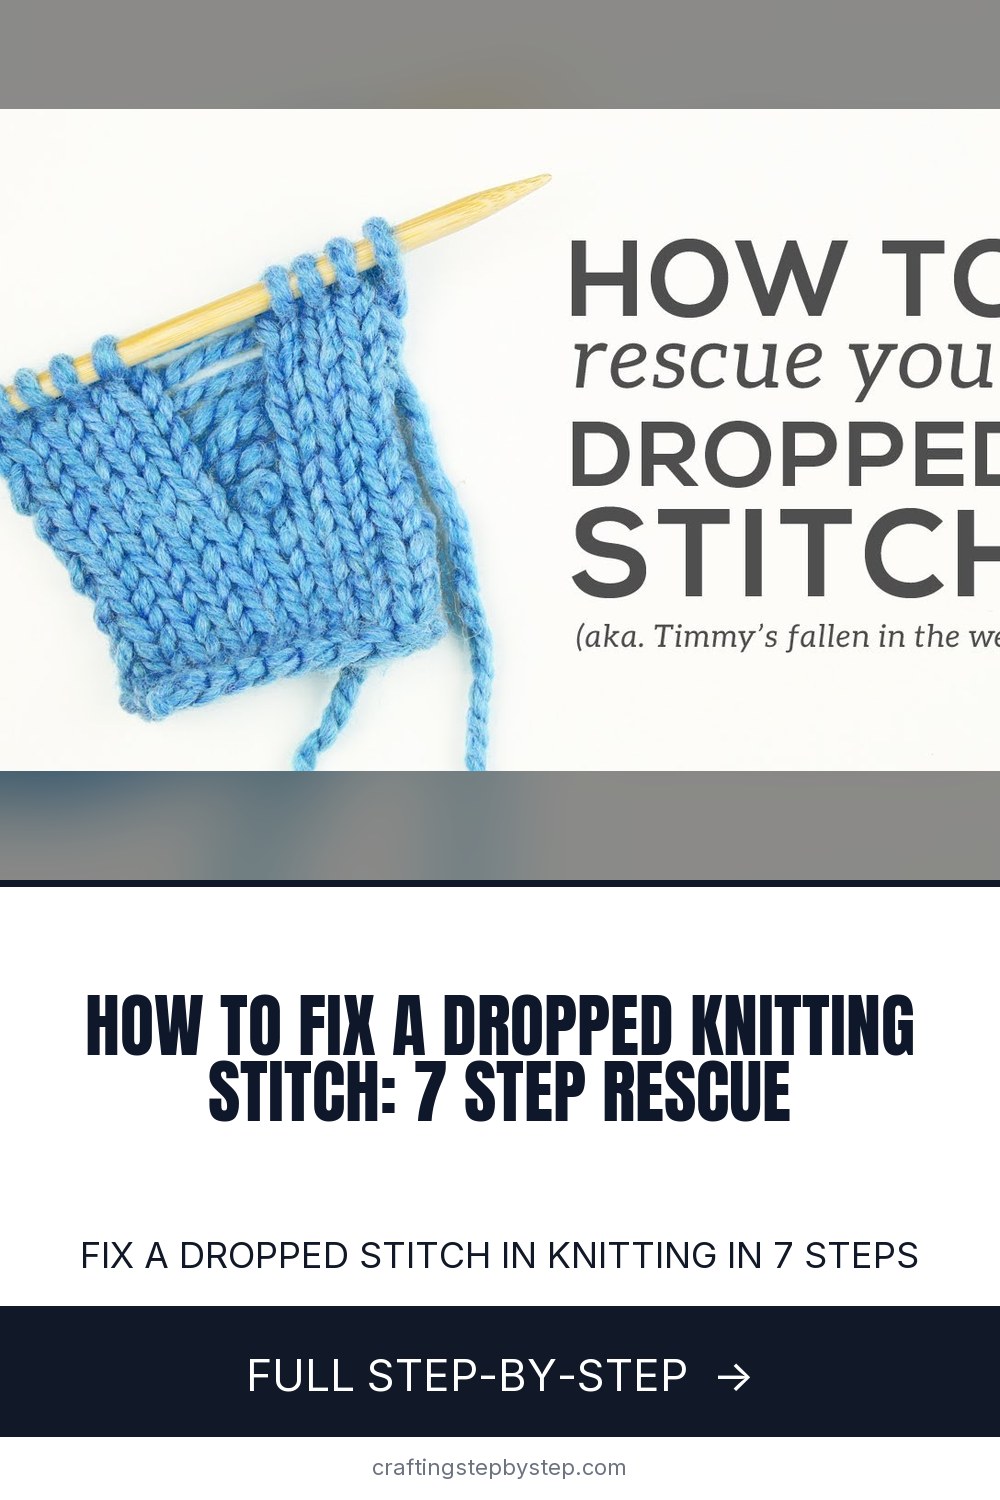
Dropping a stitch in knitting is the most common beginner panic moment - it looks like the project is about to unravel. It isn't. As long as the ladder of horizontal yarn rungs is intact above the dropped stitch, you can rescue it back to the needle in under a minute.

This walkthrough from Davina at Sheep & Stitch breaks the rescue into seven clean steps. The technique is the same for stockinette and garter stitch with one important variation - garter stitch needs you to alternate climbing direction every other rung. Pin the dropped stitch first, then climb.

Free printable

Print the steps and supply list for this project

One page you can take to the table. Free with a free account, no password.

Get the free printable

What you'll need

Free, for this project

Get this checklist by email

  • All 2 tools and materials, with tick boxes
  • A link to print all 7 steps on paper, to keep by you while you craft

No password. The whole tutorial stays free on this page.

Quick answer

Fix a dropped stitch in knitting in 7 steps. An easy project: about 10 minutes. You need 2 things, including Knitting needle and Crochet hook. The 7 steps: find the Dropped Stitch, catch the Dropped Stitch, catch the Bottom Ladder Rung, pull the Stitch Over the Rung, repeat Until Level With the Needle, slot the Stitch Back Onto the Needle and garter Stitch - Alternate Climbing Direction.

Step-by-step guide

7 steps, about 8 minutes. Tap a picture to jump to that step. Your progress saves automatically.

Tick each step off as you go.

  1. Step 1: Find the Dropped Stitch

    Watch this step · 0:12
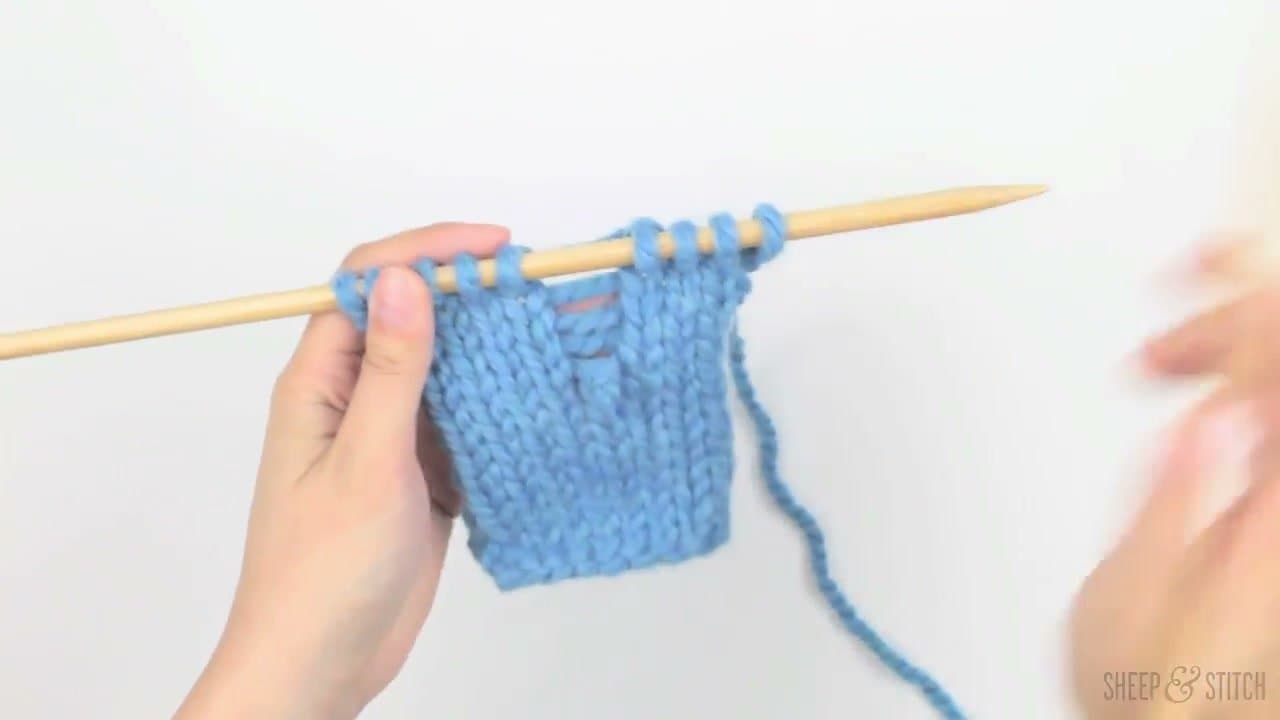
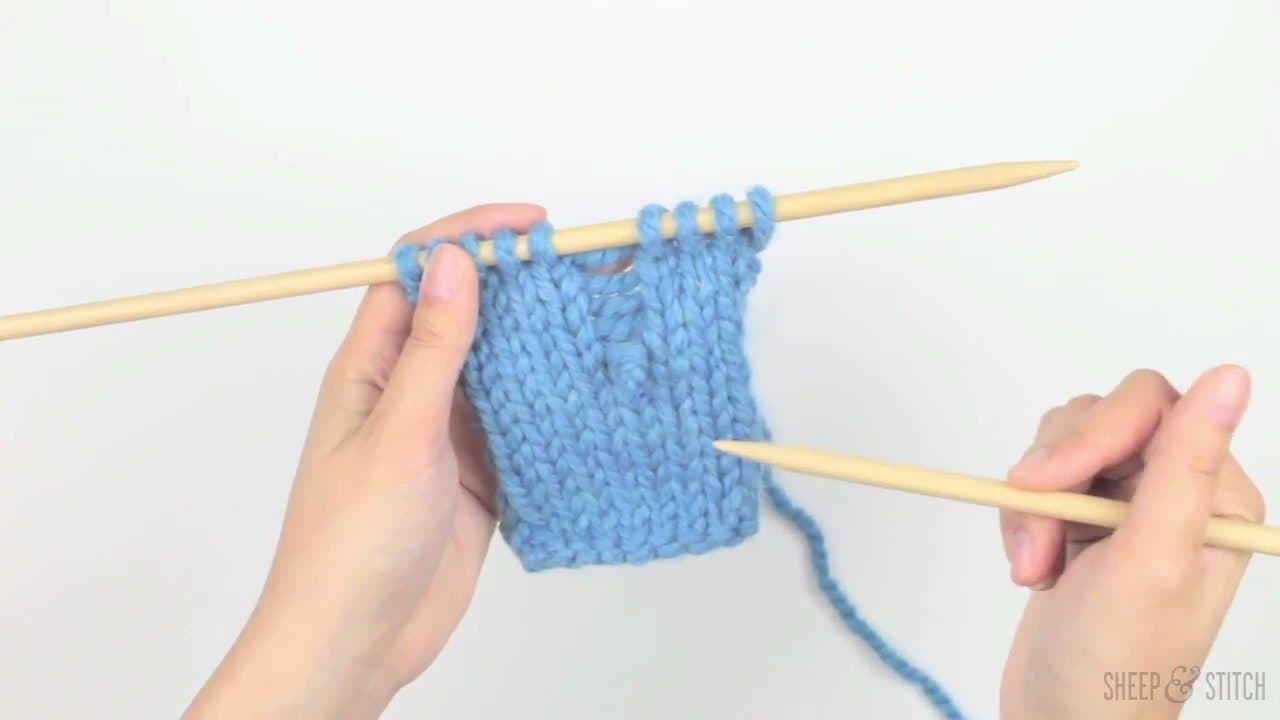
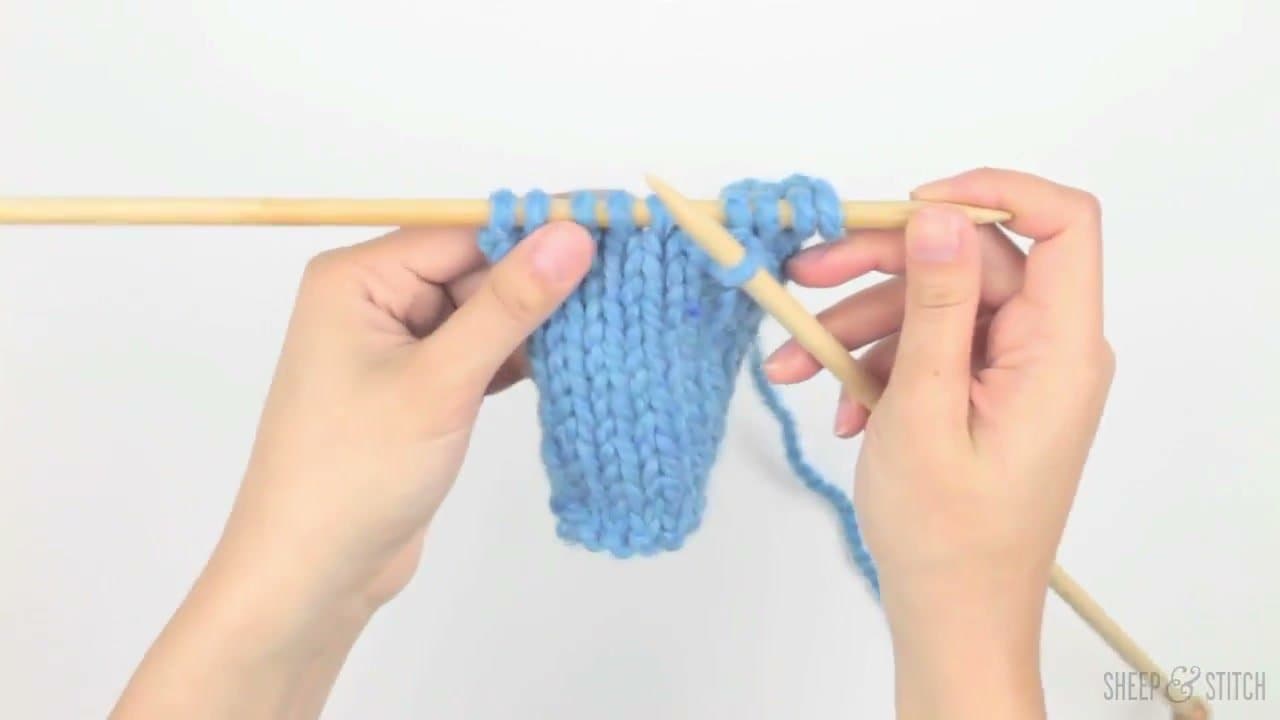
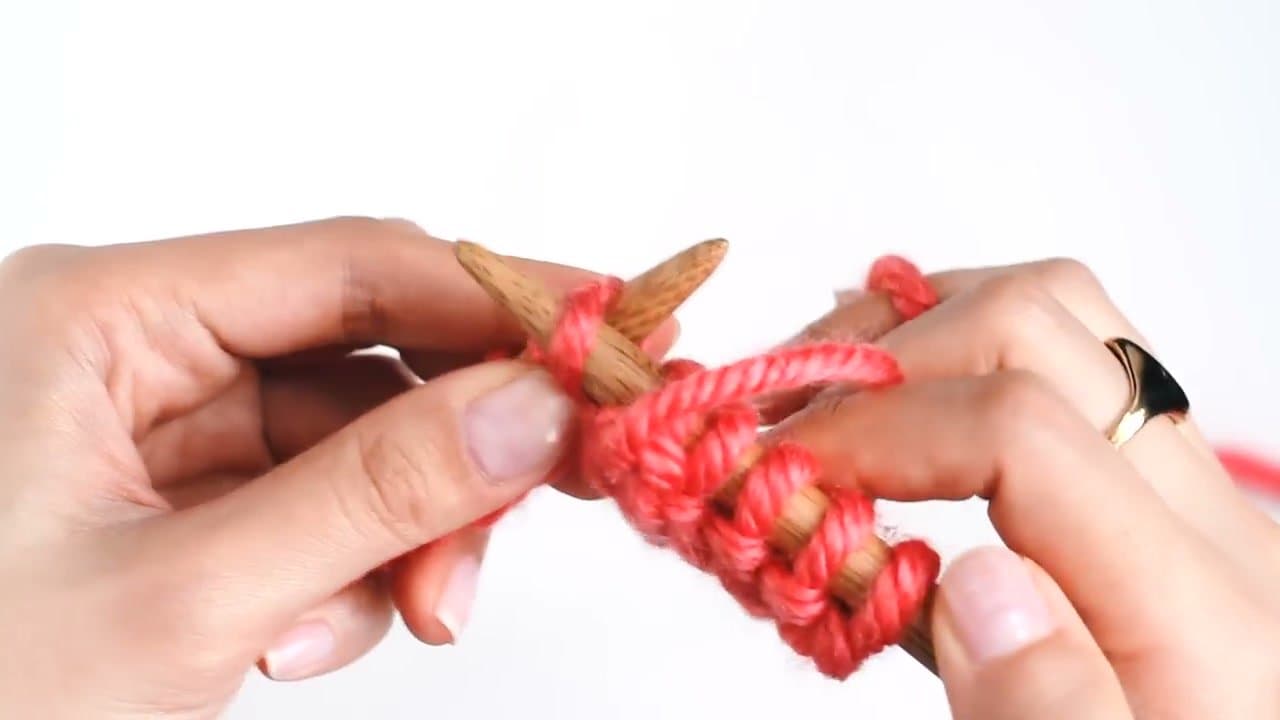
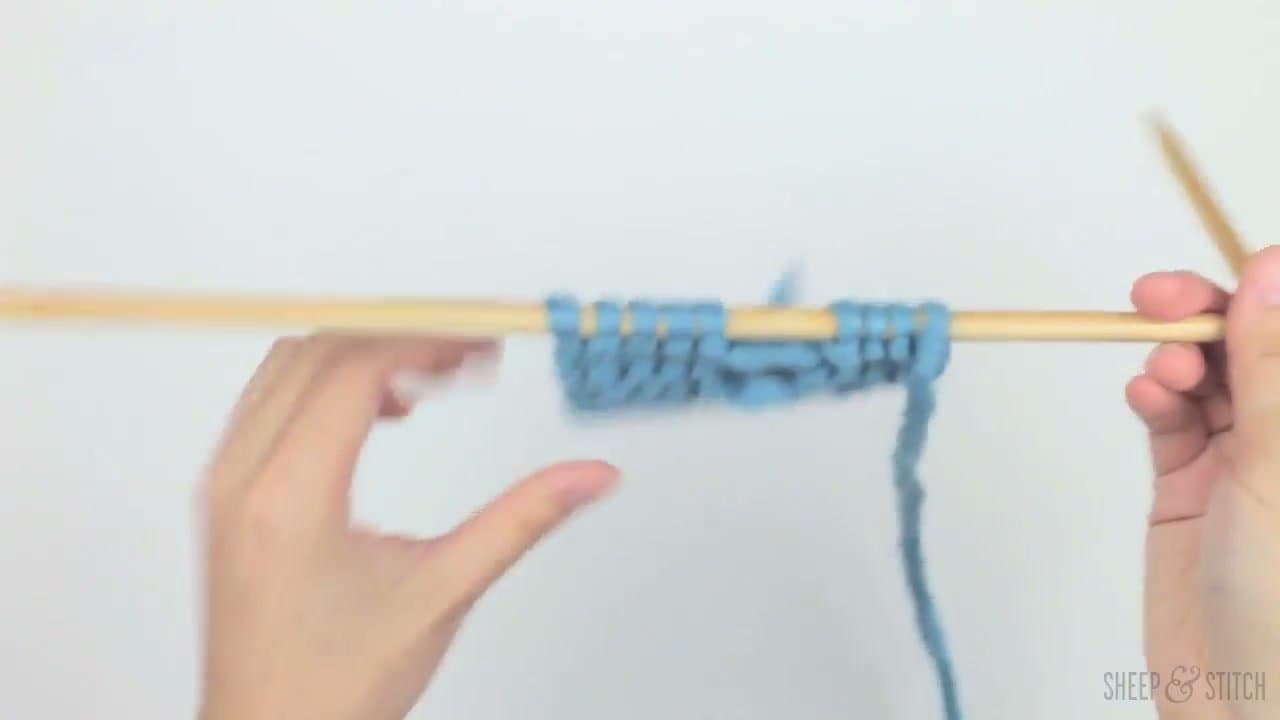
    A dropped stitch shows up as a single loop hanging below the needle with a vertical column of horizontal yarn strands ('ladder rungs') connecting it to the working row above. Don't panic and don't pull the needle out of the rest of the work.

    The stitch only unravels further if you tug on it. Leave everything alone and grab a spare needle (or a crochet hook - even easier) to start the rescue.

    Back to all steps

  2. Step 2: Catch the Dropped Stitch

    Watch this step · 0:57

    Insert your spare needle (or crochet hook) THROUGH the dropped stitch loop. Direction doesn't matter for this step - you're just stabilizing the stitch so it can't fall any further.

    If you're nervous about it falling more, you can pin the stitch with a stitch marker or safety pin instead of a needle. Same effect.

    Back to all steps

  3. Step 3: Catch the Bottom Ladder Rung

    Watch this step · 1:10

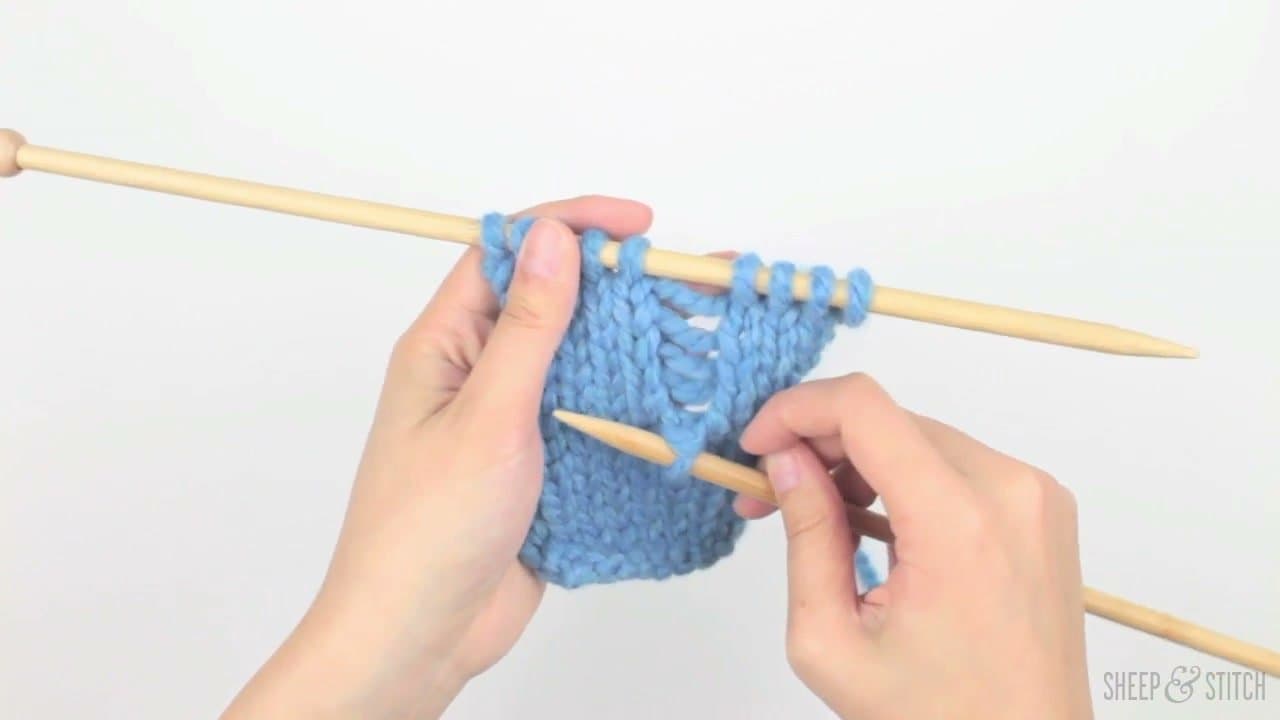
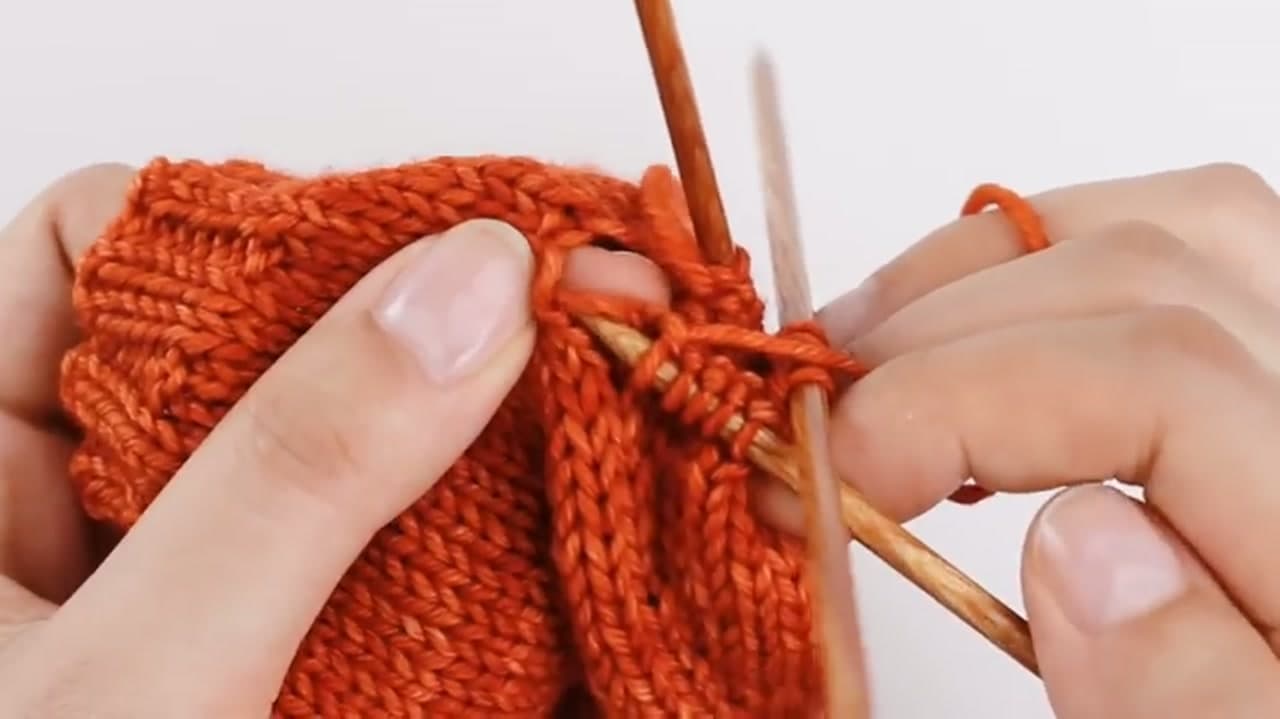
    Slide your needle UNDERNEATH the bottom-most ladder rung - the horizontal yarn strand directly above the dropped stitch loop. Your needle should now be holding both the stitch loop AND going under the rung above it.

    The dropped stitch needs to climb the ladder one rung at a time. Each rung is one row of knitting that you're recovering.

    Back to all steps

  4. Step 4: Pull the Stitch Over the Rung

    Watch this step · 1:20

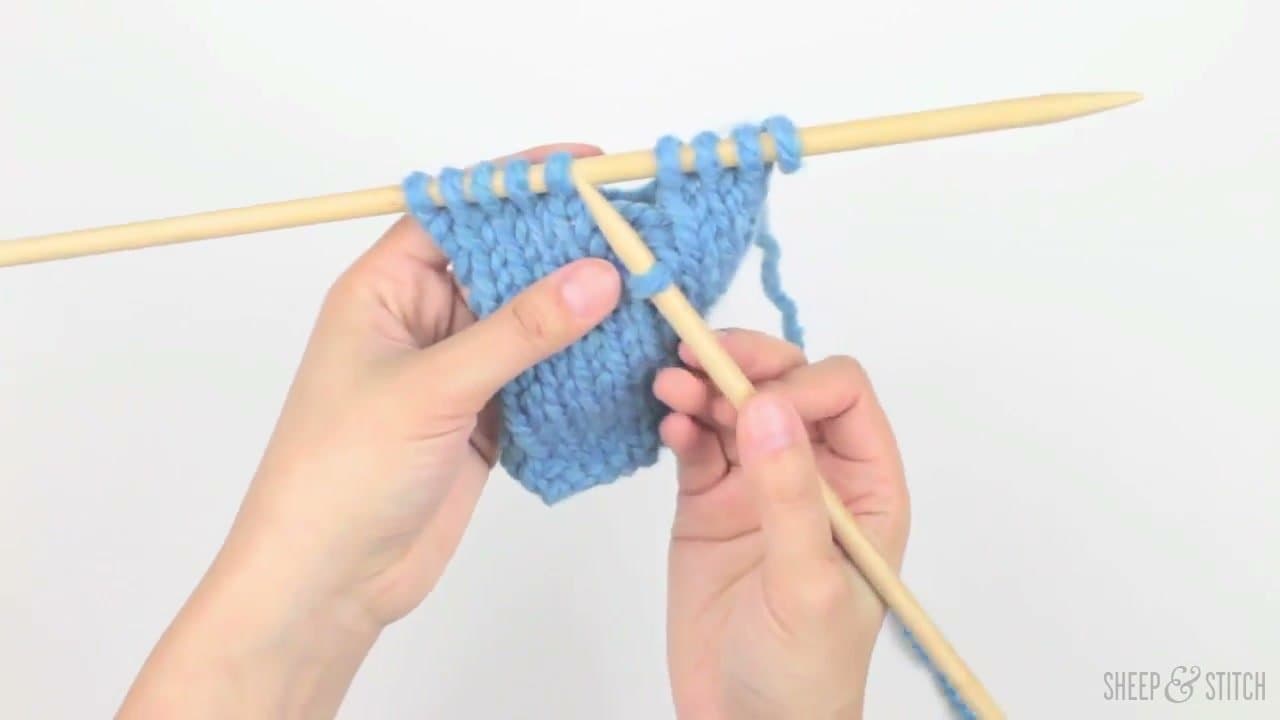
    Use your fingers (or another needle tip) to pull the original dropped stitch loop UP and OVER the ladder rung. The stitch loop drops off; the rung becomes the new active loop on your needle.

    Congratulations - you just climbed one row. The fabric is now restored up to that rung; one less ladder rung remains.

    Back to all steps

  5. Step 5: Repeat Until Level With the Needle

    Watch this step · 1:40

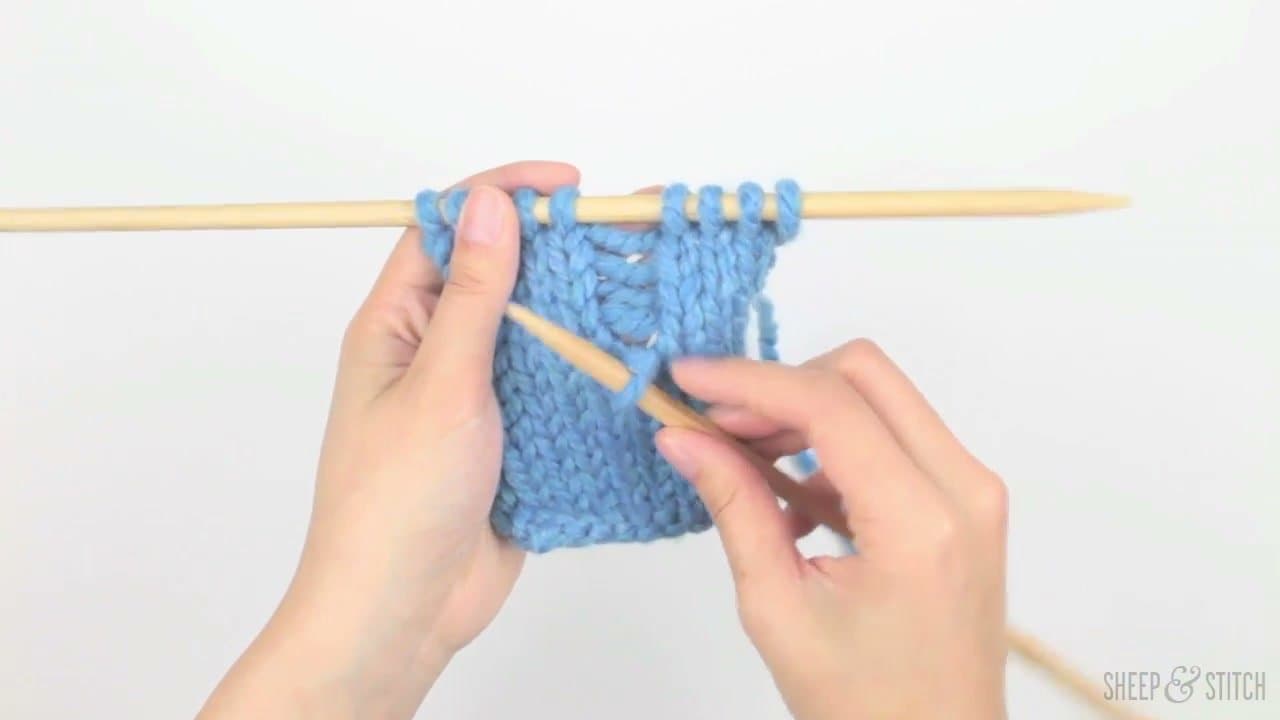
    Slide the needle under the next ladder rung up. Pull the loop over it. Repeat for every remaining rung until the stitch reaches the same level as the other stitches on your working needle.

    The pattern: under, over. Under, over. As you climb, the empty space (gap) shrinks until the fabric looks unbroken.

    Back to all steps

  6. Step 6: Slot the Stitch Back Onto the Needle

    Watch this step · 2:25

    Slide the rescued stitch from your spare needle onto your working left needle, in the correct position next to its neighbors. Don't twist it - the loop should sit the same orientation as the surrounding stitches.

    If you can't get it on cleanly, slip a few adjacent stitches off the needle, slot the rescued one in place, and slide them all back together.

    Back to all steps

  7. Step 7: Garter Stitch - Alternate Climbing Direction

    Watch this step · 3:20

    For GARTER stitch (alternating purl and knit rows), the technique is the same but you must alternate the direction you climb each rung to match the original pattern.

    Knit-row rungs: needle UNDER the rung from below (same as steps 3-4). Purl-row rungs: needle DOWN through the rung from above. Wrong direction creates a visibly mismatched stitch on that row. Look at neighboring stitches on each row to confirm direction before climbing.

    Tip:

    A crochet hook makes the rescue much easier than a knitting needle - the hook can grab the dropped stitch and pull it through each rung in one motion. Keep a small crochet hook in your knitting bag specifically for stitch rescues.

    Back to all steps

How to Increase in Knitting (5 Methods: KFB, YO, M1, M1L/M1R)

Keep going

How to Increase in Knitting (5 Methods: KFB, YO, M1, M1L/M1R)

Keep going with knitting

More on this topic, picked for this dropped knitting stitch.

You reached the last step

Save this project to come back to it

Your ticked steps, the free printable and your other saved makes, together in My Projects. Free, no password.

You tapped Save

Save this project for later

We'll email you a link, no password.

How to Fix a Dropped Knitting Stitch: 7 Step Rescue Tutorial

  • Your saved projects in one list
  • Your ticked steps on any device

Check your inbox for an email from us. Not there? Look in your spam folder.

Free printable

Printable sheet and shopping list for this project

The bonus is hidden until you sign up.

Free with a free account, no password. Every step above stays open to everyone.

Products Used

The Checklist

How to Fix a Dropped Knitting Stitch: 7 Step Rescue Tutorial

Tools
2
Steps
7
Video
8 min

Tools we recommend

As an Amazon Associate we earn from qualifying purchases. Links on this page may be affiliate links - clicking them and buying doesn't change your price, but helps support Crafting Step by Step.

Tags

The Crafter's Weekly

New knitting tutorials, every Sunday

One short email with the week's best step-by-step guides. Free, no spam, unsubscribe anytime.

Test your knowledge

Did the lesson stick? Start with this one.

5 questions covering what you just read. No signup, no score saved, and you can stop after this one.

Question 1 of 5

Quick reference

Key takeaways from How to Fix a Dropped Knitting Stitch: 7 Step Rescue Tutorial

5 questions, answers, and one-line explanations. Tap to expand.

  1. 1.

    Answer: A hanging loop below the needle with a vertical column of loose horizontal strands (a ladder) running up above it

    The dropped loop hangs below with a ladder of loose rungs above it — one rung for each row it unraveled through.

  2. 2.

    Answer: No — catching the loop from either direction works fine

    Just get the needle through the loop; any twist can be corrected when you return the stitch to the working needle in the right orientation.

  3. 3.

    Answer: The horizontal yarn strands above the dropped loop — one for each row the stitch unraveled

    Each rung is the float of yarn that should have formed a stitch in that row; pulling the loop through each rung restores the stitch one row at a time.

  4. 4.

    Answer: Slide it onto the LEFT needle in the correct orientation to prevent a twisted stitch

    Correct orientation on the left needle before you work the stitch prevents it from sitting twisted in the finished fabric.

  5. 5.

    Answer: Alternate the climbing direction with each rung, because garter alternates knit and purl rows

    Garter stitch alternates knit and purl rows, so you must alternate the direction you pull the stitch through each rung — otherwise every rescued row comes out twisted.

Did this work for you?

What's next

Related collections

Curated theme pages that include this tutorial.

Similar tutorials

Hand-picked next reads based on the one you just finished.

Liked this knitting tutorial?

Pick the crafts you want to hear about. One email every Sunday with new step-by-step tutorials. No spam, easy to unsubscribe.

Get more like this in your inbox

Weekly digest. Pick the categories you want. Unsubscribe anytime.

Send me tutorials about

We only email about new tutorials. Easy unsubscribe anytime.