How to Knit in the Round (Beginner Step-by-Step)
Source: Sheep & Stitch • Full tutorial: www.craftingstepbystep.com/knitting/how-to-knit-in-the-round
- Difficulty
- Medium
- Hands-on time
- About 30 minutes
Tools
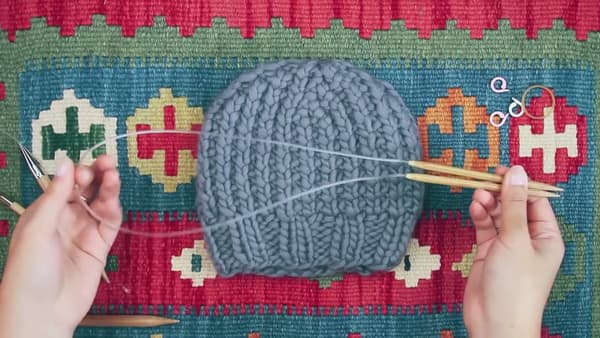
- circular knitting needles (16-inch for hats, 24 or 32-inch for cowls)
- double-pointed needles (set of 5, optional for small circumferences)
- stitch markers (ring style)
- tape measure
Materials
- worsted or DK weight yarn
- project pattern (hat, cowl, mittens, or socks)
Steps
1. Pick Your Circular Needles
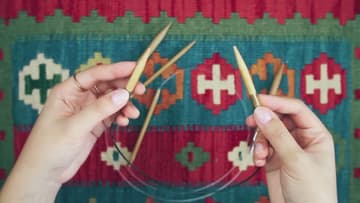
Circular needles come in the same sizes as straight needles, so the size you pick is driven by your yarn (the yarn band lists a recommended needle size). What is different is the cable.
Tip: Bamboo needles grip slippery yarns and are kinder on the hands. Metal needles let stitches slide faster once you have your gauge dialed in. Start with bamboo if you are new.
2. Cast On the Way You Already Know
Casting on for the round is exactly the same as casting on for a flat project. Long tail cast on works great here - it gives you a clean, stretchy edge.
Tip: The cast-on edge is the hem of your finished piece. Keep it slightly looser than your normal stitch tension so the bottom of your hat or cowl does not pull in.
3. Untwist Every Stitch
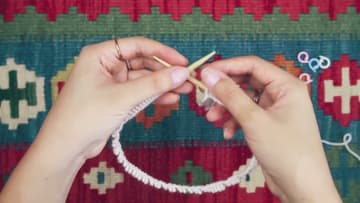
This is the one step where people get themselves into permanent trouble - and the one step where the fix is free if you do it now. Lay the needle on a flat surface and look down the row of stitches.
Tip: If you are nervous, work the first row flat (knit one row, then look at it before joining).
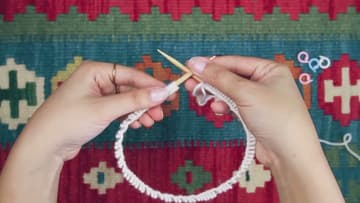
4. Bring the Two Needle Tips Together
Find the working yarn - the strand still attached to the ball - and the needle tip closest to it. That goes in your right hand.
Tip: Double-check the untwist one more time as the tips come together. The moment before you knit the first stitch is your last chance to fix anything.
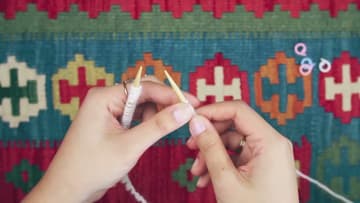
5. Knit the First Stitch to Join
Knit the first stitch on the left needle using the working yarn from the right. That single stitch is your join - the moment your flat row of cast-on stitches becomes a closed circle.
Tip: Some knitters swap the first and last stitch before joining to tighten the seam.
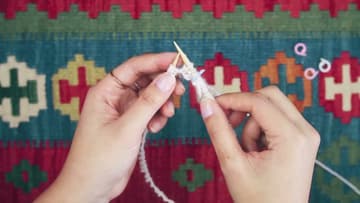
6. Pull Tight and Place a Stitch Marker
Right after that first joining stitch, pull the working yarn snug. This closes the gap between the last cast-on stitch and the first knit stitch.
Tip: Anything ring-shaped works as a stitch marker - a snipped piece of contrasting yarn, a rubber band, a small ring. Just make sure it slides freely on your needle.
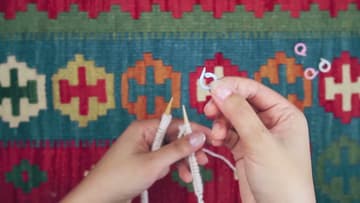
7. Keep Knitting Around (and Switch Tools if You Need To)
From here, knit every stitch on every round and you get stockinette fabric (no purling, no turning). When you reach the marker, slip it from the left needle to the right and start the next round.
Tip: When you reach the bind off, work it loosely so the top of your hat or cowl flexes over your head.