1
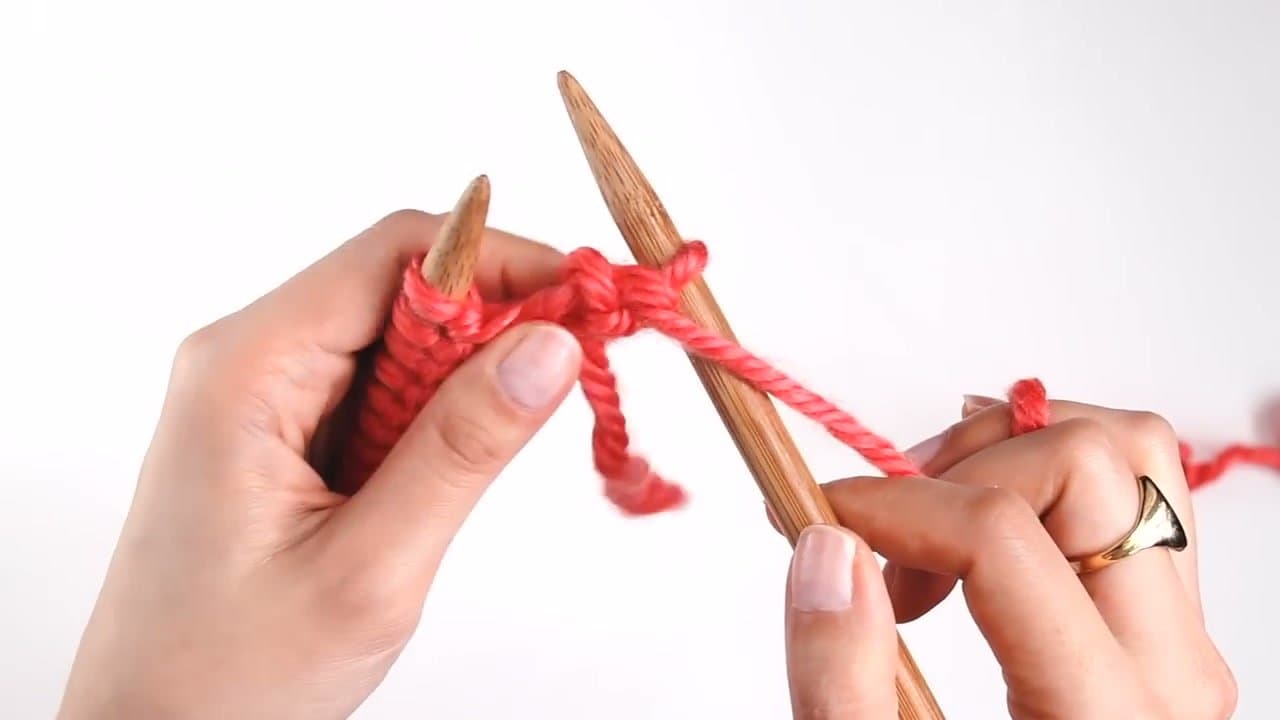
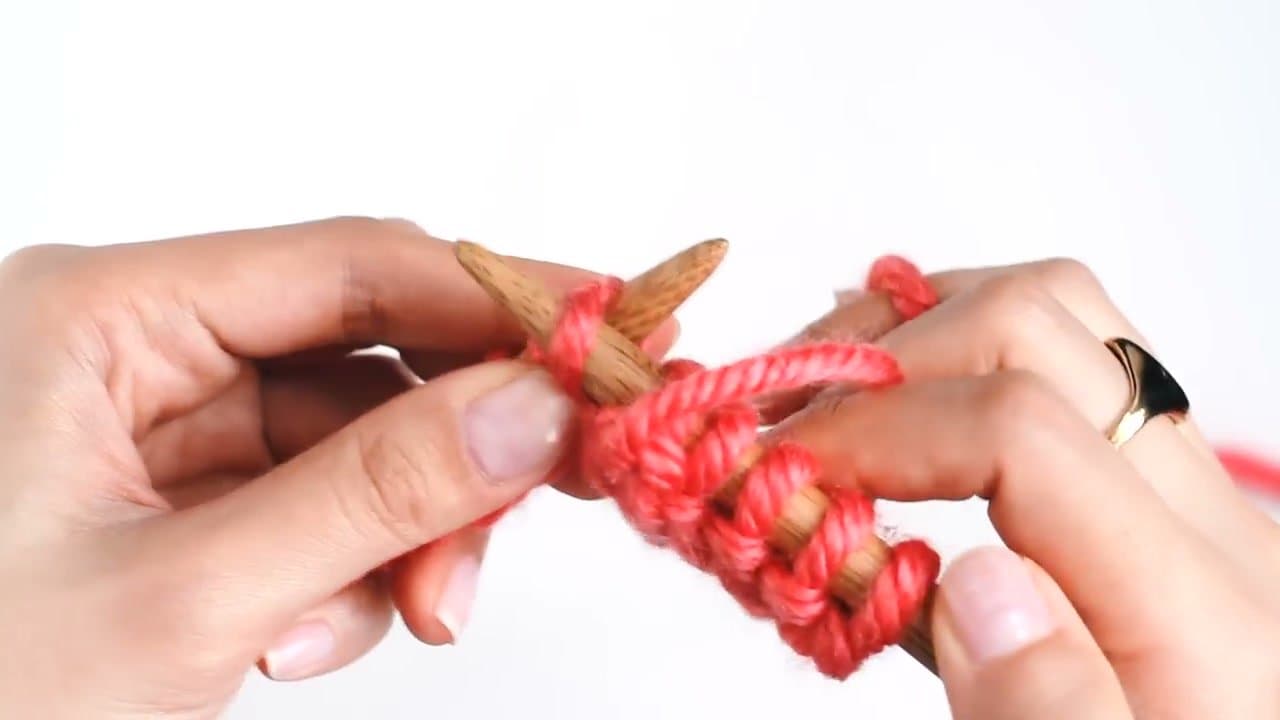
Step 1: Set Up the Starting Position
0:36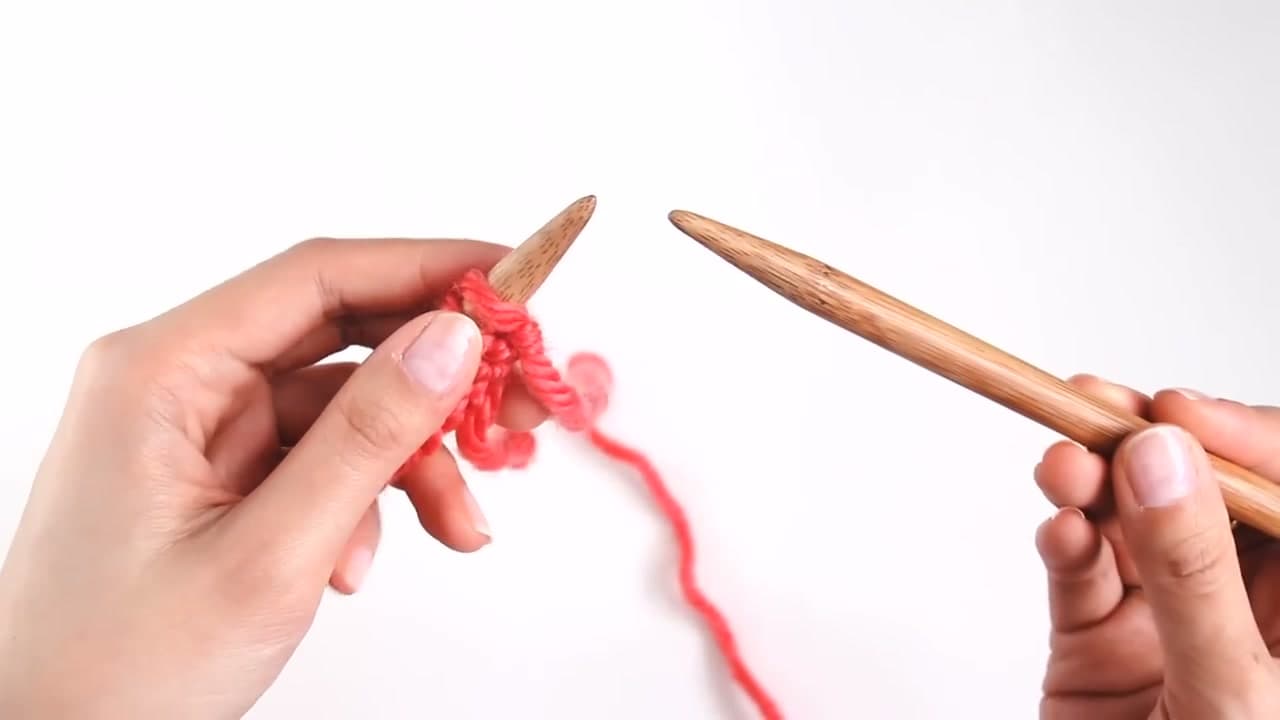
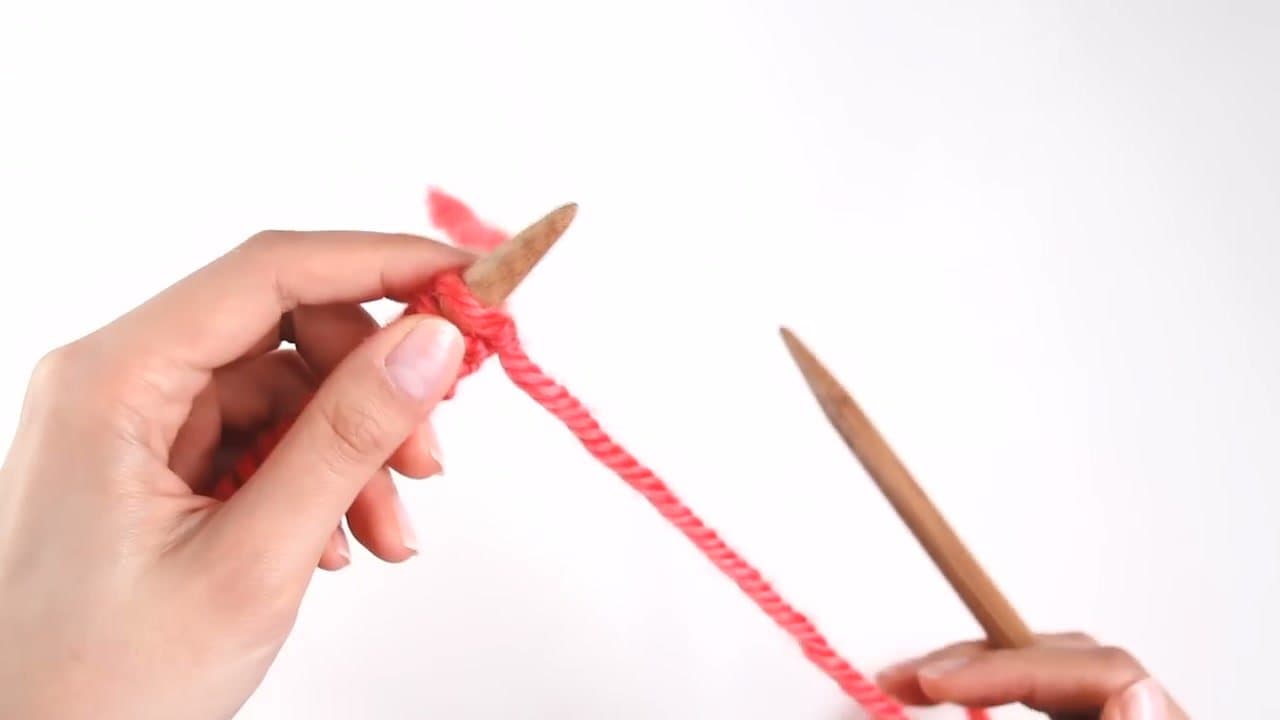
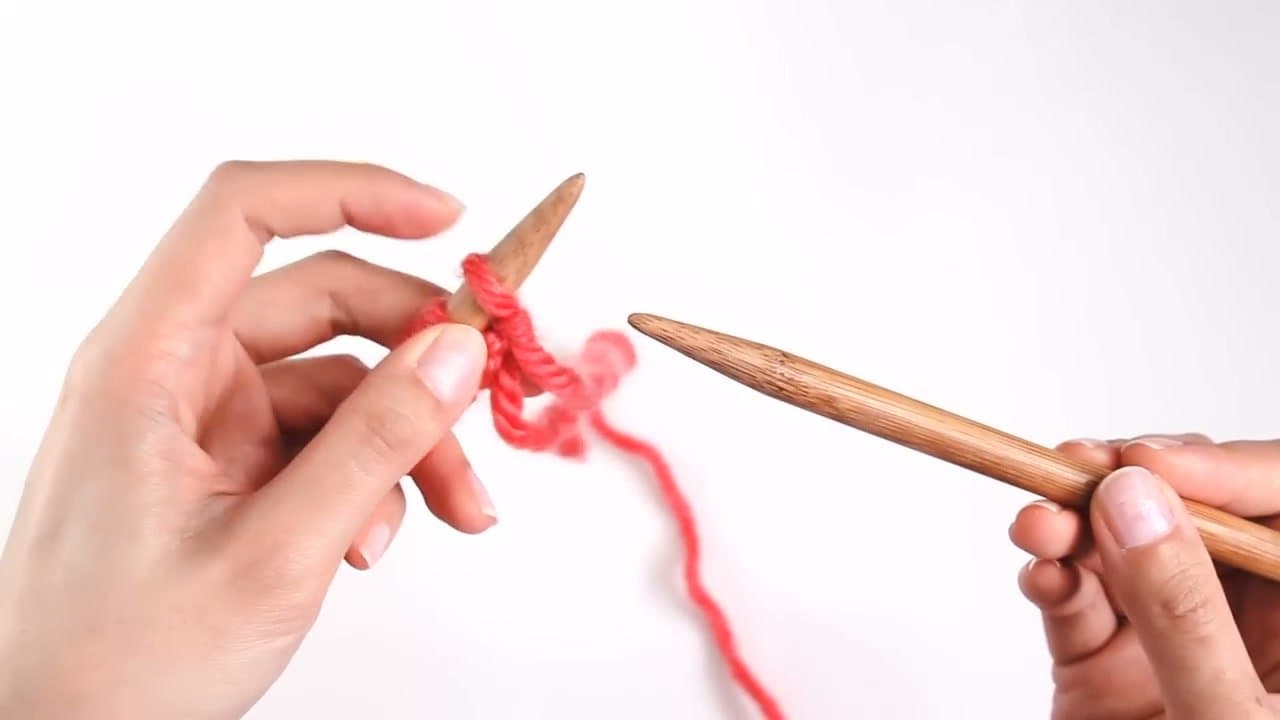
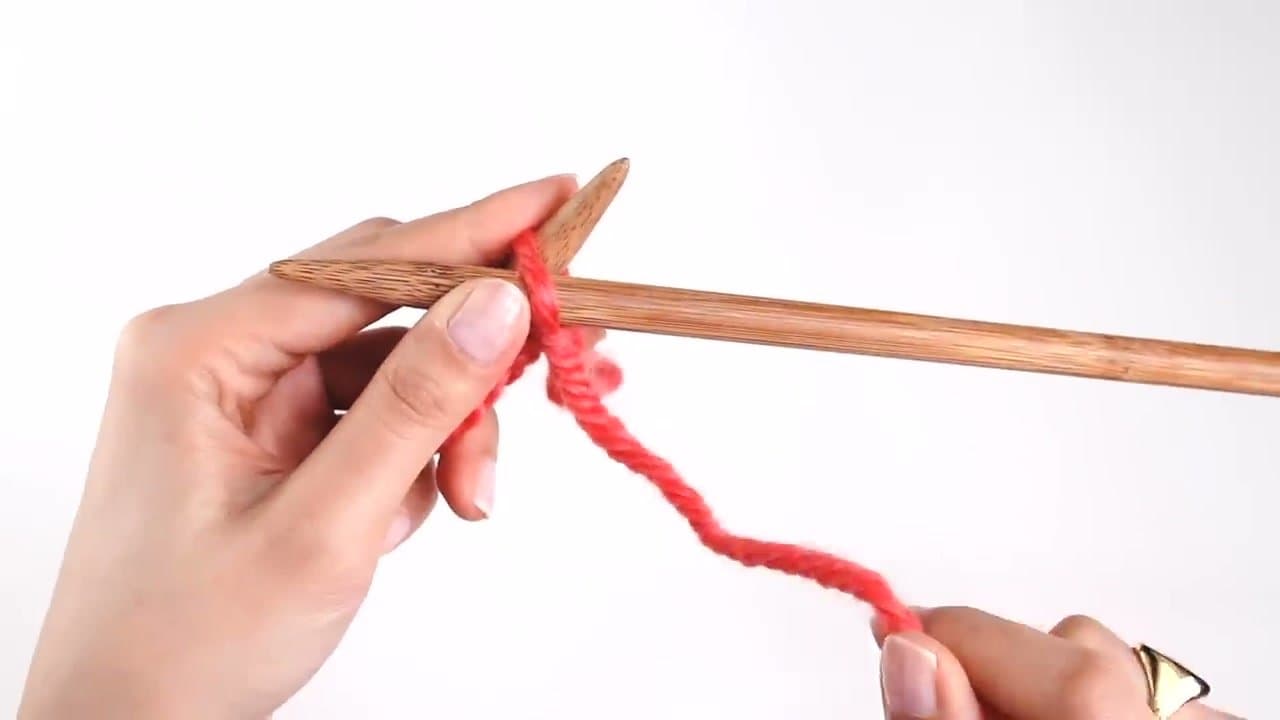
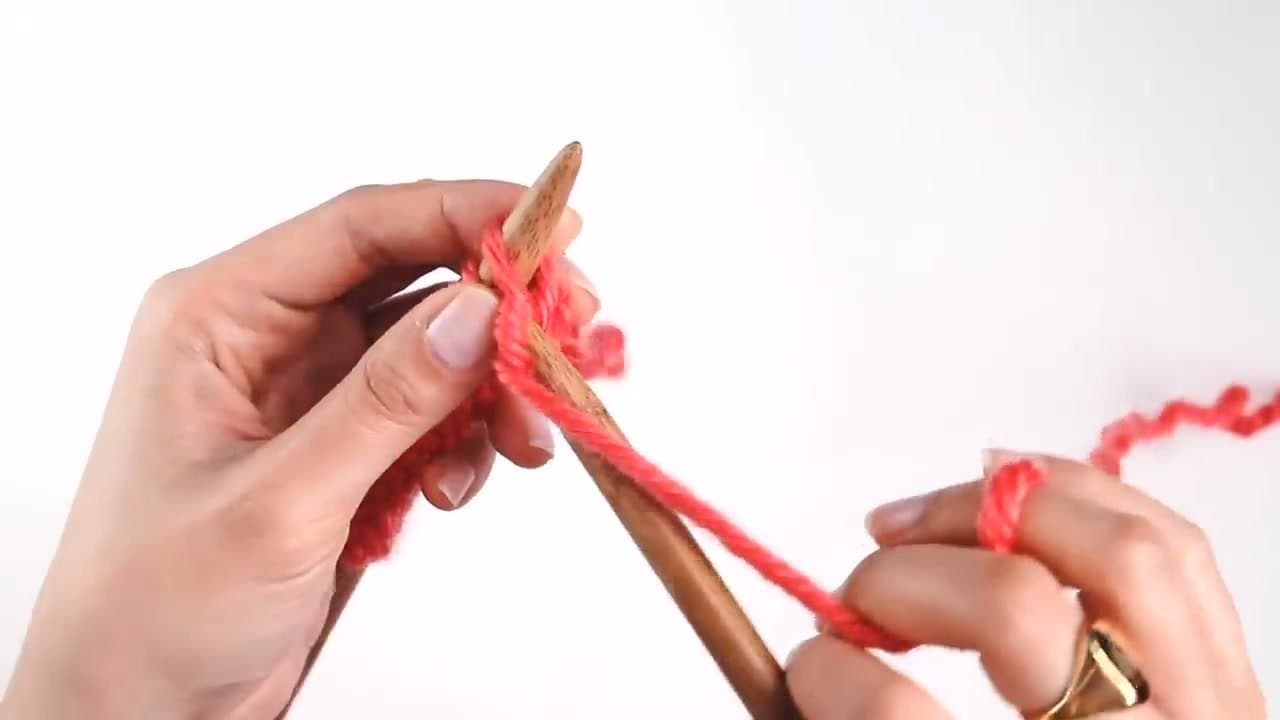
Hold needles in standard knitting position. Your cast-on stitches sit on the LEFT needle. The RIGHT needle starts empty - that's where each new stitch will land as you work.
The working yarn comes from the right side of the cast-on row. About 10-15 cast-on stitches gives you enough to practice the row without running out before the rhythm clicks.