How to Knit Magic Loop

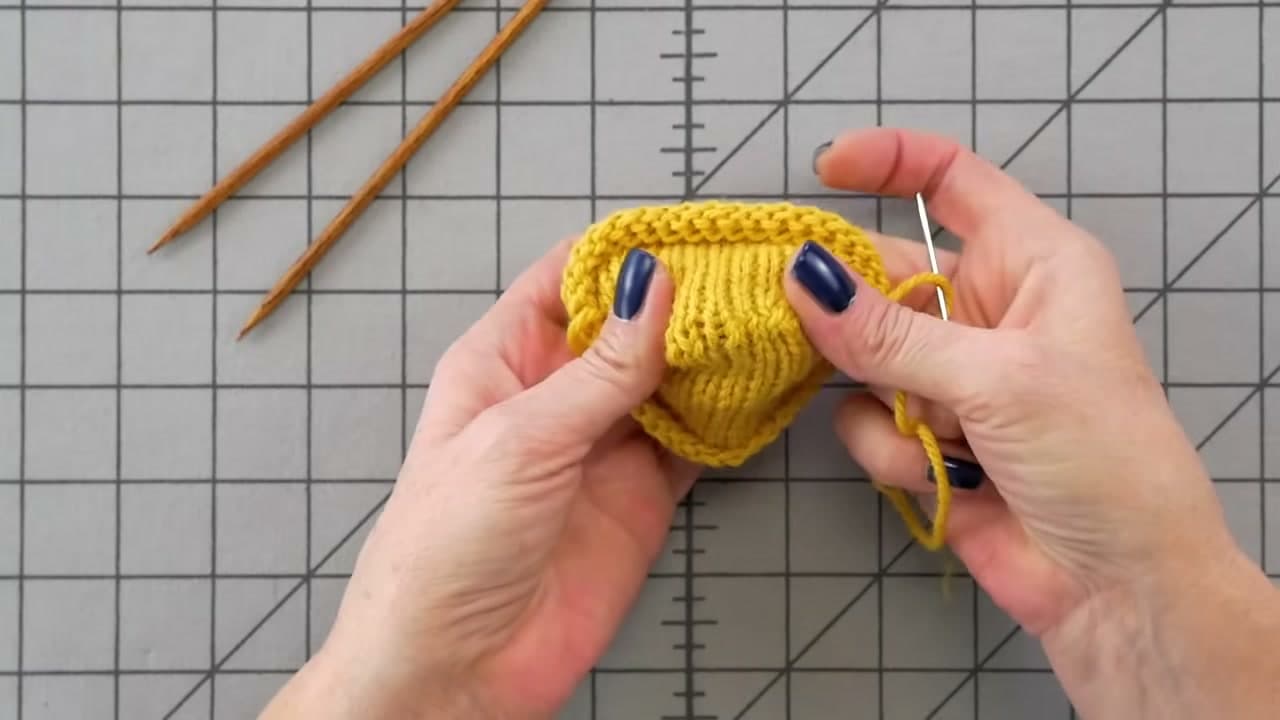
The finished result: How to Knit Magic Loop
Also in:Crafts

By CraftingStepByStepPublished

Based on a video by LoveCrafts.

Knitting something small in the round is where a lot of people stall out. A hat is fine on a 16 inch circular right up until the crown decreases, and then the stitches will not stretch around the cable any more. Sleeves, mitten thumbs, socks, toy arms: all too small for a standard circular, all fiddly on a set of five double pointed needles. Magic loop is the workaround, and it needs one needle instead of five.

Merion at LoveCrafts teaches it at beginner pace in the video above, casting on 16 stitches in chunky yarn so every move is big enough to follow. Copy that setup for your first go. Fat yarn and a fat needle will teach your hands the rhythm in about ten minutes, and the technique is identical once you scale down to sock weight.

What magic loop is doing

The trick lives in the cable, not the needles. You split the stitches into two equal halves, pull a bight of cable out between them, and work one half at a time while the other half parks on the cable. Both needle tips belong to the same needle, so nothing is ever passed from one needle to another. Turn, pull, slide, knit. That cycle is the whole technique.

Because the resting stitches sit on a cable instead of on four loose double points, nothing slides out while the project lives in your bag. That one detail converts a lot of knitters who gave up on knitting in the round the first time a needle dropped out of a sock on the bus.

Magic loop, double points, or two circulars

Double pointed needles are quicker once they click, and plenty of knitters never leave them. Two circulars solve the same problem and cost you a second needle. Magic loop wins on gear and on portability: one needle, no spares to lose, and the work folds flat. It loses on speed, because you stop twice a round to rearrange.

Choose by project. A heel full of short rows is kinder on double points. A sleeve you knit in waiting rooms is magic loop every time.

Cable length is what beginners get wrong

You need 32 inches of cable as a floor, and 40 inches is more comfortable. A 24 inch cable does not leave enough slack to pull a loop and still reach around the work, so the stitches fight you the whole way and you conclude you are doing it wrong. You are not. The needle is too short.

Cable softness counts as much as length. Stiff nylon that remembers its packaging coil keeps springing back and dragging your stitches out of shape. If you own an interchangeable set, fit the longest cable in the case before you start.

The ladder where the halves meet

A column of slack stitches running up the tube at the changeover point is called a ladder, and it is the one flaw magic loop is known for. Two fixes, both easy. Give the first stitch of each half a firm tug, then knit the next two or three a shade tighter than feels natural. After that, stop inspecting it. The fabric evens out under blocking, and the cast on tail closes any gap at the very beginning when you weave in your ends.

What to make once it clicks

Sleeves worked down from the shoulder, mitten thumbs, the crown of a knitted hat, fingerless gloves, i-cord, toy limbs, and every sock you will ever make. Anything tubular under roughly 16 inches around is fair game. When the tube reaches the length your pattern asks for, bind off the way you always do.

What you'll need

Step-by-Step Guide

8 steps · about 10 minutes.Check off each step as you go and your progress saves automatically.

1

Cast On Your Stitches With a Long Circular Needle

0:51
Step 1: Cast On Your Stitches With a Long Circular Needle - How to Knit Magic Loop

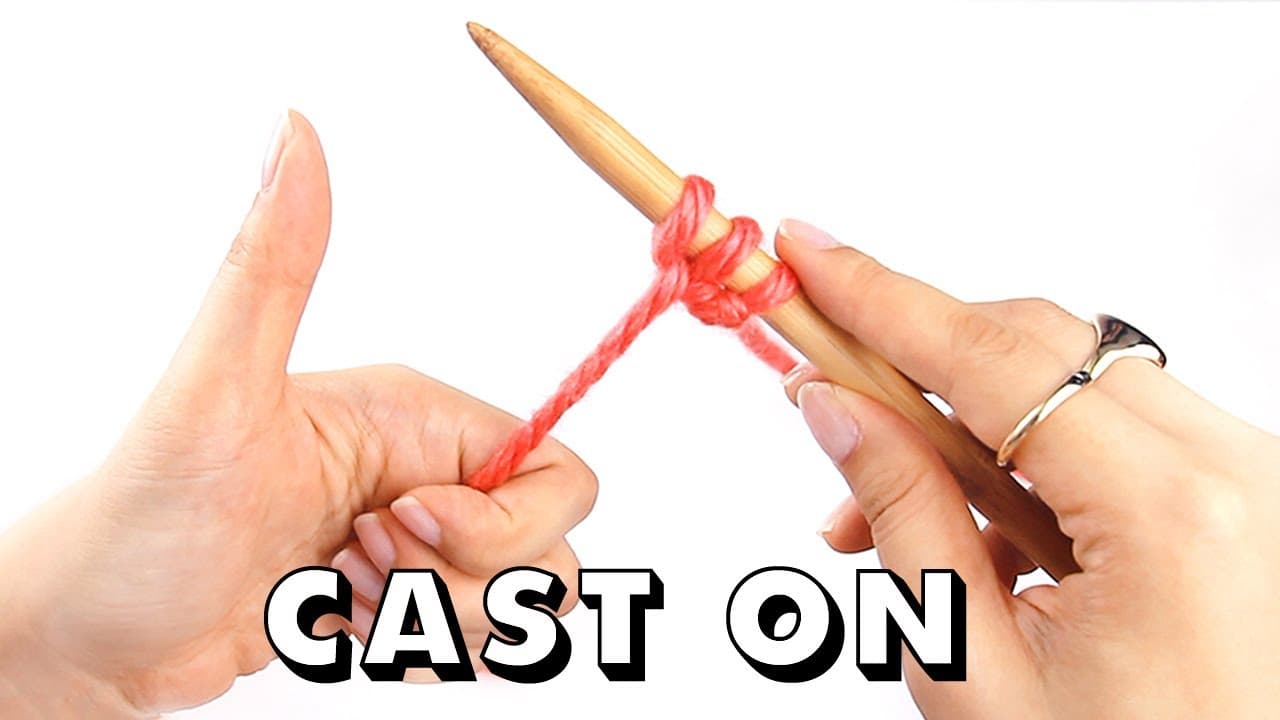
Cast on an even number of stitches with whichever method your pattern calls for. Merion uses 16 in chunky yarn, which is a sensible practice number because you can see every loop. The cast on method makes no difference to what follows. The needle does: one circular with a cable of at least 32 inches, and longer if you own one.

Tip

Practise in chunky or aran before you take this to sock yarn. Big stitches on a fat needle show you exactly what your hands are doing.

2

Count Off Half the Stitches on the Needle

1:20
Step 2: Count Off Half the Stitches on the Needle - How to Knit Magic Loop

Count halfway along the cast on row and pinch that spot. With 16 stitches you want 8 on each side of your fingers. Push that first half down the needle toward the cable until the stitches slide off the tip and sit on the flexible part. Nothing will run. The cable holds them the same way the needle does, because it is one continuous piece.

Tip

Drop a stitch marker in at the halfway point for your first few projects. Recounting 32 stitches with your nose an inch from the work gets old quickly.

Used in this stepknitting stitch markers
3

Pull the Cable Out Into a Loop to Split the Stitches

1:29
Step 3: Pull the Cable Out Into a Loop to Split the Stitches - How to Knit Magic Loop

Hold the half that is resting on the cable, then bend the cable and draw it out sideways between the two groups. A wide open loop appears and the far half of the stitches slides onto the second needle tip. This is the move the technique is named after. Your stitches now sit in two equal groups facing each other, with a loop of cable hanging out at the side.

Tip

Pull out more cable than looks necessary. A generous loop gives your hands room to work, while a stingy one drags on every stitch you make.

4

Line Up the Two Needle Tips With the Yarn at the Back

2:00
Step 4: Line Up the Two Needle Tips With the Yarn at the Back - How to Knit Magic Loop

Square everything up before you knit a stitch. Both needle tips point to the right, the cable loop sits out to the left, and half the stitches wait on each needle. Check where the working yarn comes from: it belongs on the back needle, the one furthest from you. Keep it there every round and the knit side of your stockinette lands on the outside of the tube.

Tip

Working yarn on the front needle instead of the back is the most common setup error in magic loop. It turns the tube inside out, and knitters tend not to spot it for three rounds.

5

Slide the Back Needle Out and Bring It Round to the Front

2:50
Step 5: Slide the Back Needle Out and Bring It Round to the Front - How to Knit Magic Loop

Let go of the back needle and draw it straight out, so its stitches drop onto the cable and wait there. Swing that empty tip around to the right, alongside the front needle. Take a moment to run your eye along the cast on edge and confirm nothing has twisted. A twist at this point becomes a moebius strip, and no amount of knitting fixes it afterwards.

Tip

Run a thumb along the whole cast on edge, not only the part you can see from above. The bumps should all face the same direction.

6

Knit the First Stitch Tight to Close the Round

3:20
Step 6: Knit the First Stitch Tight to Close the Round - How to Knit Magic Loop

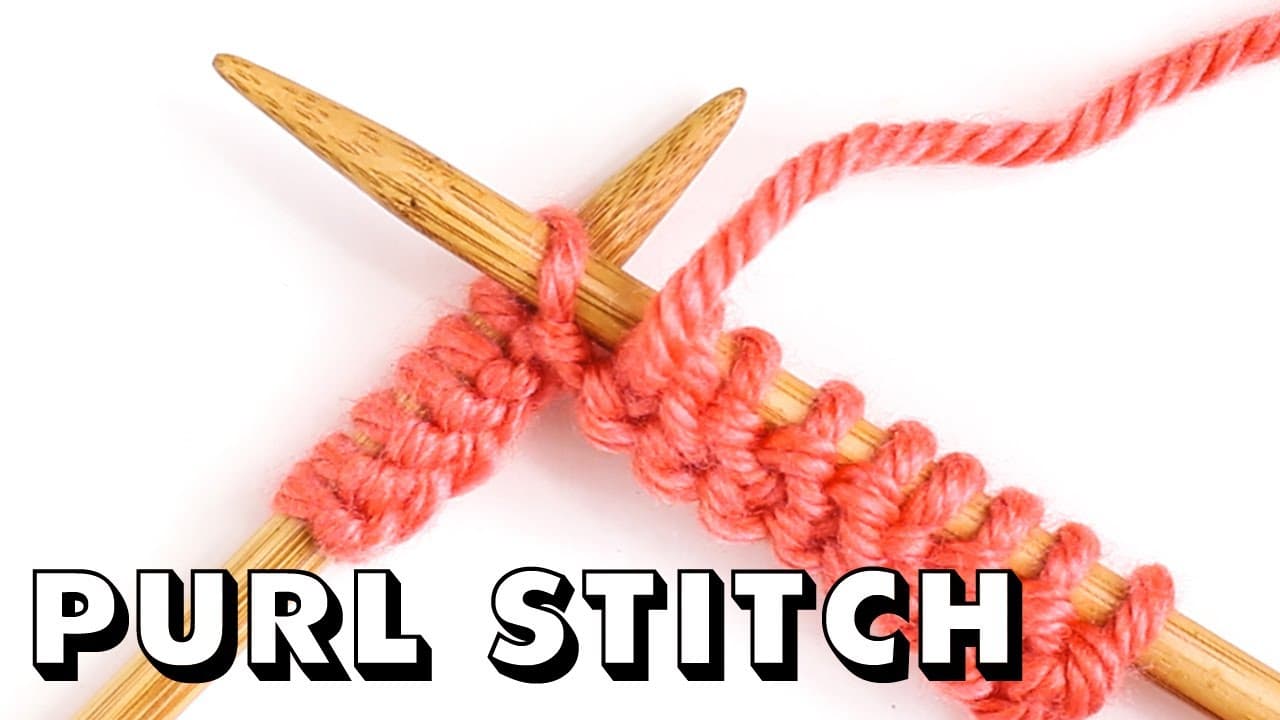
Pick up the working yarn and knit the first stitch on the front needle. That stitch is what joins the two halves into a circle, so pull it snug rather than leaving it soft. Work across the rest of the front needle as usual. The cable behind will bow out into a strange shape while you do it. Leave it alone, that is how it should look.

Tip

The first two rounds always look like a mess. Nobody has ever knitted a tidy magic loop join on round one, so keep going rather than ripping back.

Used in this stepknitting row counter
7

Turn the Work and Pull the Cable Loop Through

3:36
Step 7: Turn the Work and Pull the Cable Loop Through - How to Knit Magic Loop

With the front needle empty, turn the whole piece around. Move the working yarn to the back again, then pull the cable so the waiting stitches travel along it and up onto the needle tip nearest you. You are back at the setup from step 4: half on the front, half on the back, yarn at the back. Bring the back needle round and knit across. That is one full round.

Tip

Say the sequence out loud for the first few rounds. Turn, yarn at the back, pull the cable, slide the stitches on, knit. Four moves and a knit row, over and over.

8

Repeat Until the Knitted Tube Grows Off the Needles

6:48
Step 8: Repeat Until the Knitted Tube Grows Off the Needles - How to Knit Magic Loop

Work that sequence again and again. Around round four or five the scrappy flat thing in your hands becomes a small tube and the technique stops feeling abstract. Carry on until the tube measures what your pattern asks for, then bind off, or park the stitches on hold if they are joining something else. Use the cast on tail to close any gap at the very start.

Tip

A loose column where the halves meet is a ladder. Tug the first stitch of each half firmly and knit the next two a shade tighter, and it tightens up within a few rounds.

Keep going

How to Do Kitchener Stitch

Products Used

The Checklist

How to Knit Magic Loop

Tools
6
Materials
3
Steps
8
Video
10 min

Tools we recommend

Your Guide

LoveCrafts

As an Amazon Associate we earn from qualifying purchases. Links on this page may be affiliate links - clicking them and buying doesn't change your price, but helps support CraftingStepByStep.

Tags

Sunday How-To

New knitting tutorials, every Sunday

One short email with the week's best step-by-step guides. Free, no spam, unsubscribe anytime.

Test your knowledge

Did the lesson stick? Start with this one.

5 questions covering what you just read. No signup, no score saved, and you can stop after this one.

Question 1 of 5

What needle does magic loop need?

Quick reference

Key takeaways from How to Knit Magic Loop

5 questions, answers, and one-line explanations. Tap to expand.

  1. 1.What needle does magic loop need?

    Answer: One circular with a long flexible cable

    The cable has to be long enough to pull out into a loop, around 32 inches.

  2. 2.After casting on, what happens to half the stitches?

    Answer: They slide down onto the flexible cable

    The cable holds stitches just as safely as the needle tip does.

  3. 3.Where does the working yarn belong at the start of each half?

    Answer: On the back needle, the one furthest away

    Yarn at the back every time is what keeps the rounds consistent.

  4. 4.Why is the first stitch of each half knitted tightly?

    Answer: It is what joins the halves into a circle

    A loose join at that point is what leaves a ladder up the tube.

  5. 5.What produces a moebius twist in the finished tube?

    Answer: A twisted cast on edge when the round is joined

    Check the cast on edge runs flat before working the first round.

Did this work for you?

What's next

Related collections

Curated theme pages that include this tutorial.

Weekly Digest

Liked this knitting tutorial?

Pick the categories you want to hear about. Weekly digest of new step-by-step tutorials. No spam, easy unsubscribe.

Send me tutorials about

We only email about new tutorials. Easy unsubscribe anytime.