1
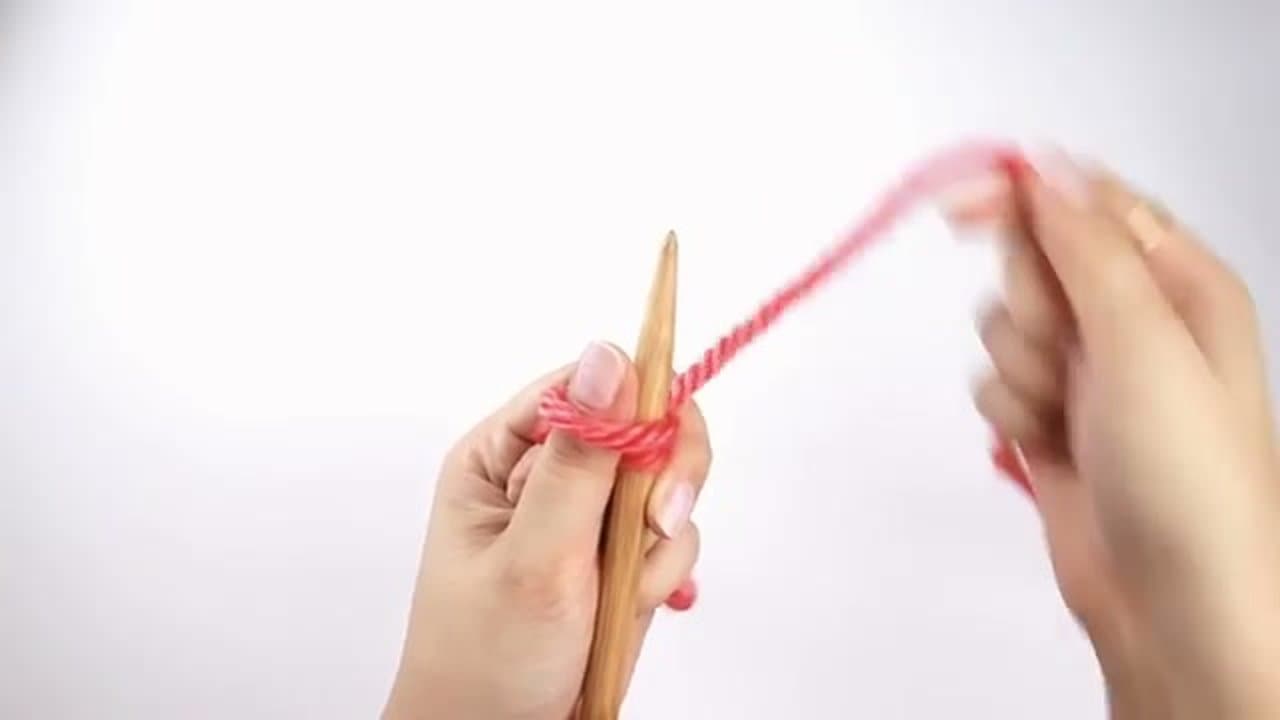
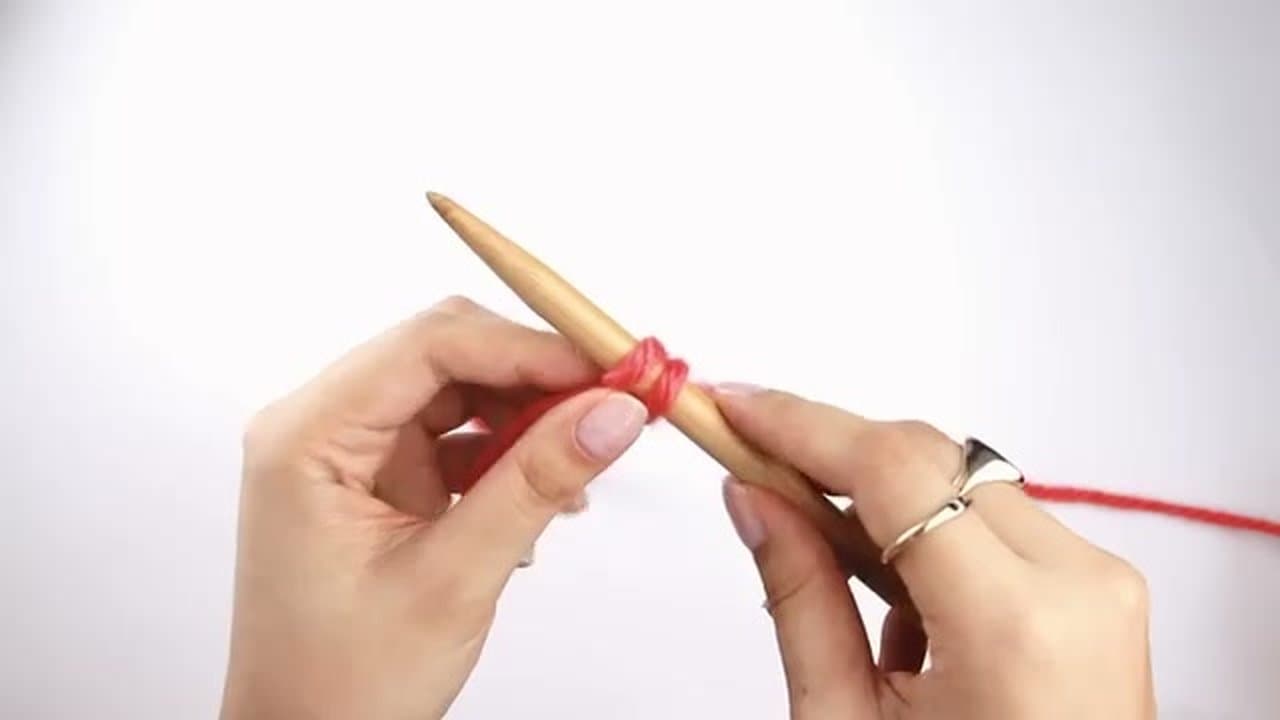
Step 1: Pick Beginner-Friendly Yarn and Needles
0:20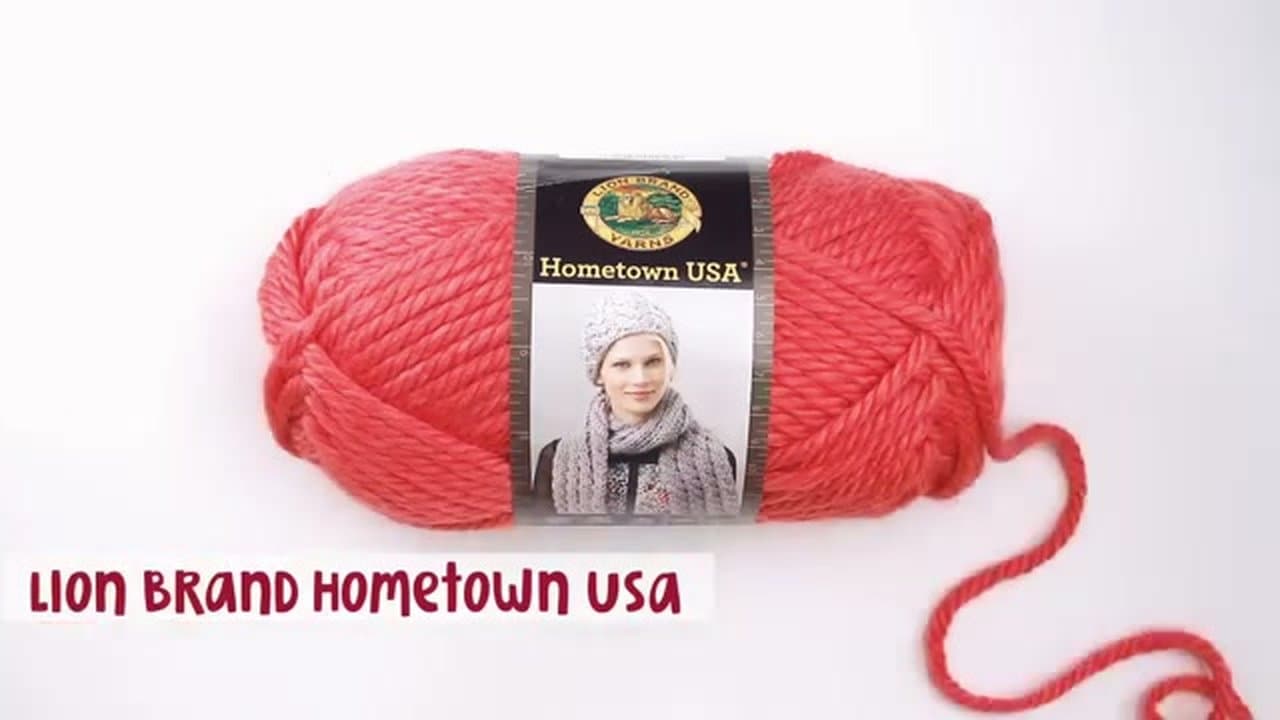
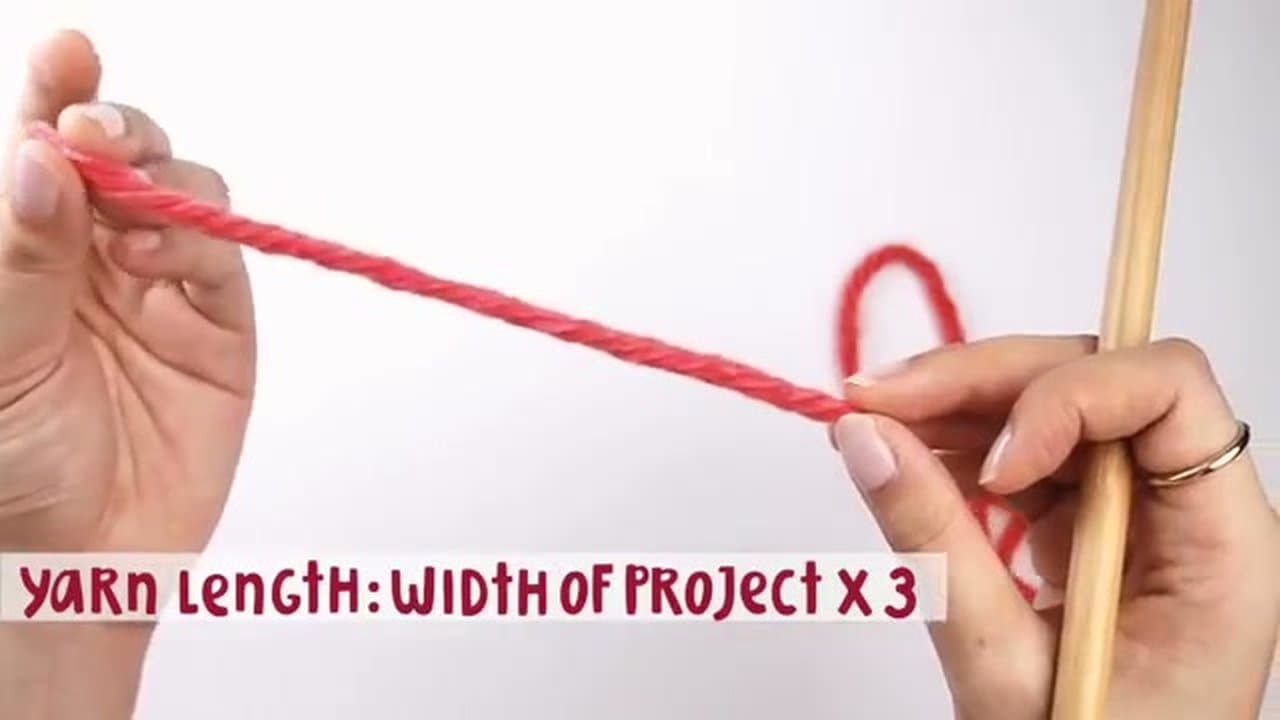
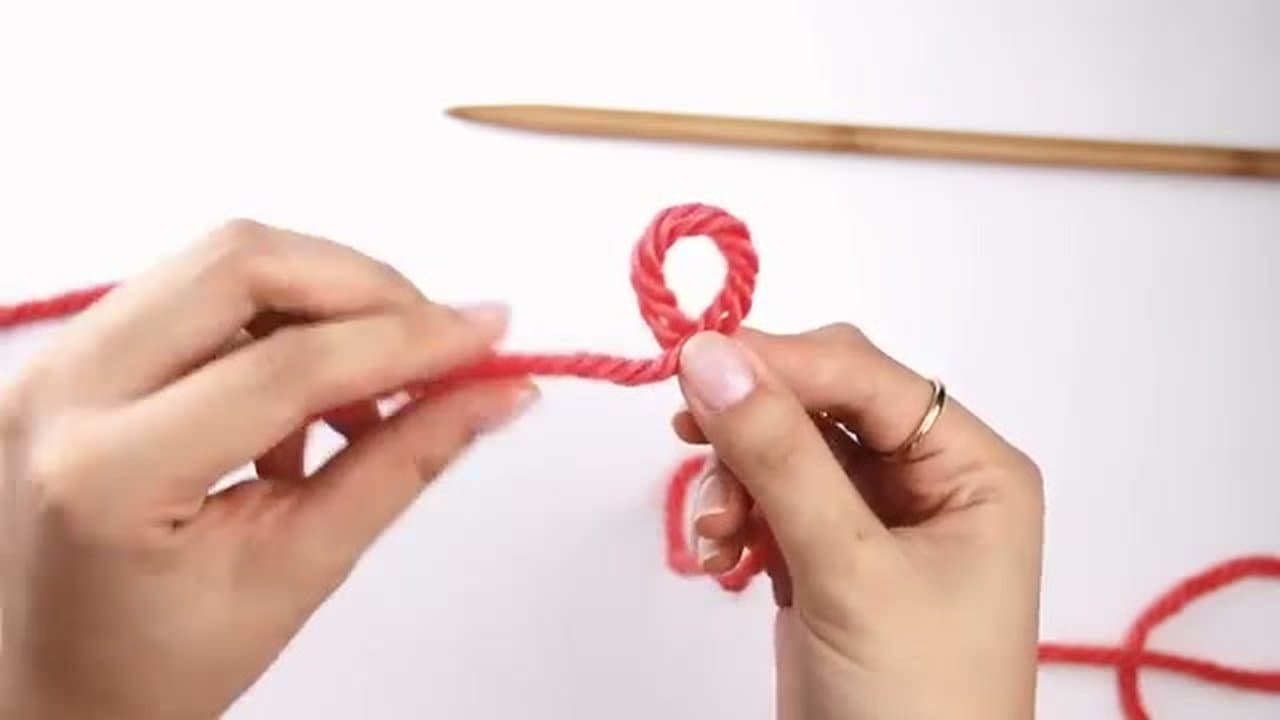
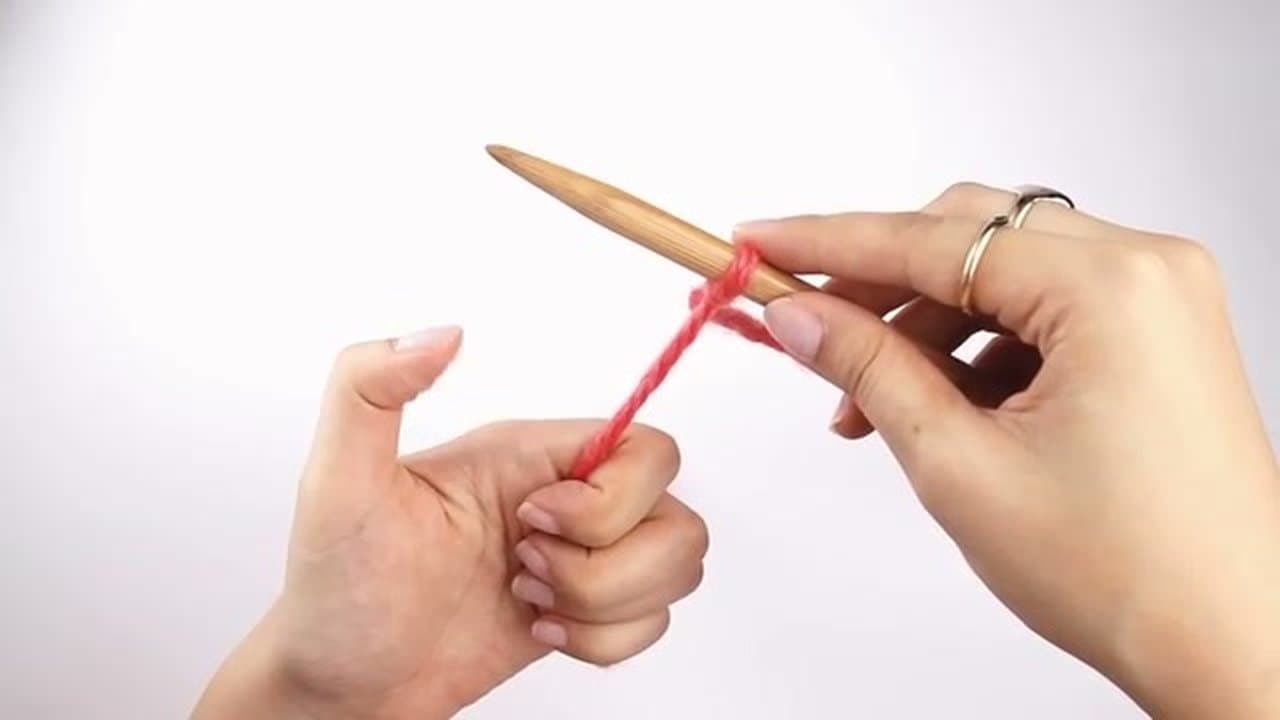
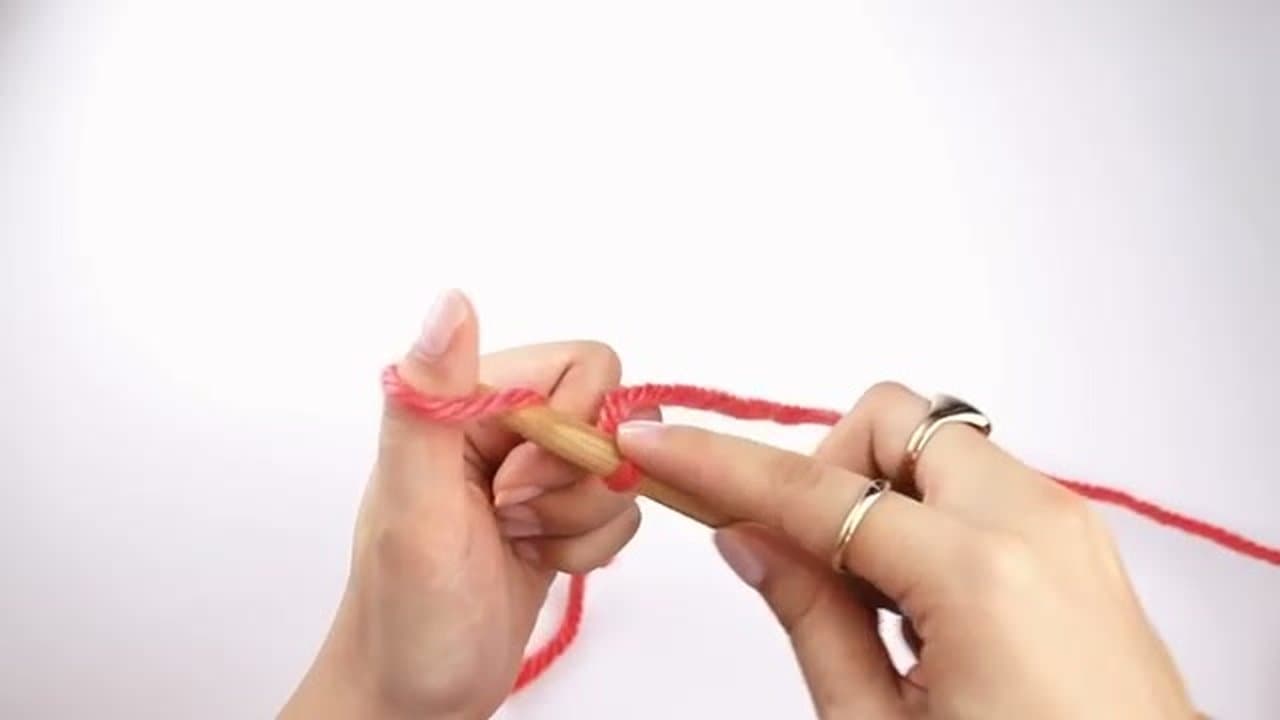
Use bulky weight yarn for your first cast on. Lion Brand Hometown USA, Wool-Ease Thick & Quick, or any chunky yarn works - the thick strands are easier to see and harder to drop than fine yarn.
Pair the yarn with 10mm needles in bamboo or wood. Bamboo and wooden needles have just enough surface drag to grip the yarn and keep stitches from sliding off while you learn the motions.